This northern lights squeegee painting painting craft is a cheerful hands-on project for kids, classrooms, and family craft time. It uses the tutorial steps below as the practical guide while adding helpful planning notes so the project feels easier to prepare, follow, and finish. Gather the supplies first, give yourself a little workspace, and enjoy making something creative from simple materials.
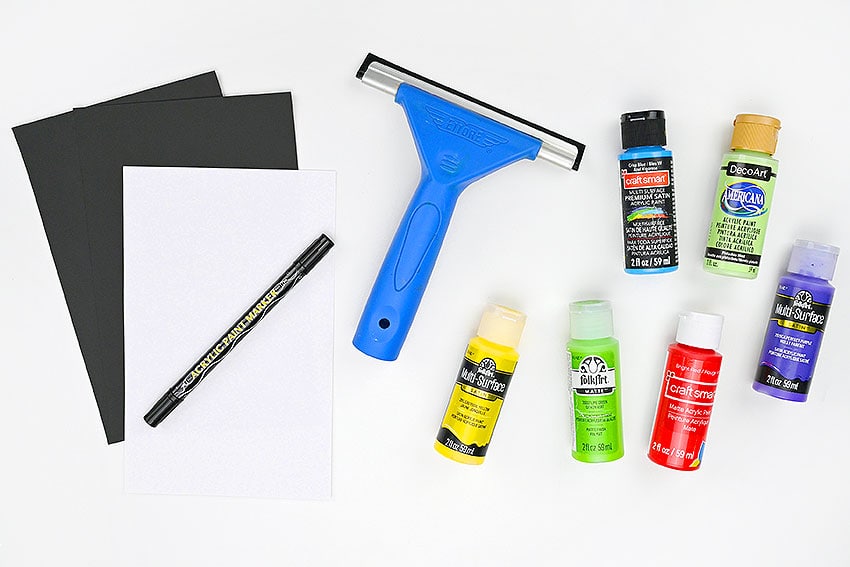
Materials:
- Black cardstock
- (multiple colours)
- Black paint pen (or Sharpie)
- White cardstock
- Glue tape
Equipment:
Instructions:
Step 1: Find what you need
- Gather your supplies and materials.
Step 2: Add northern lights to the paper
- To make your northern lights squeegee art you’ll need a piece of black cardstock and a protected surface to work on, like a baking sheet or silicone mat.

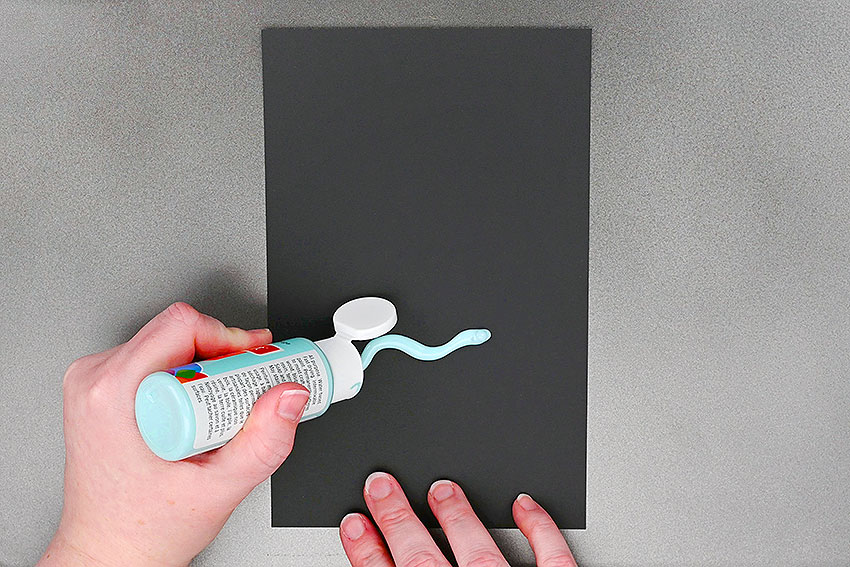
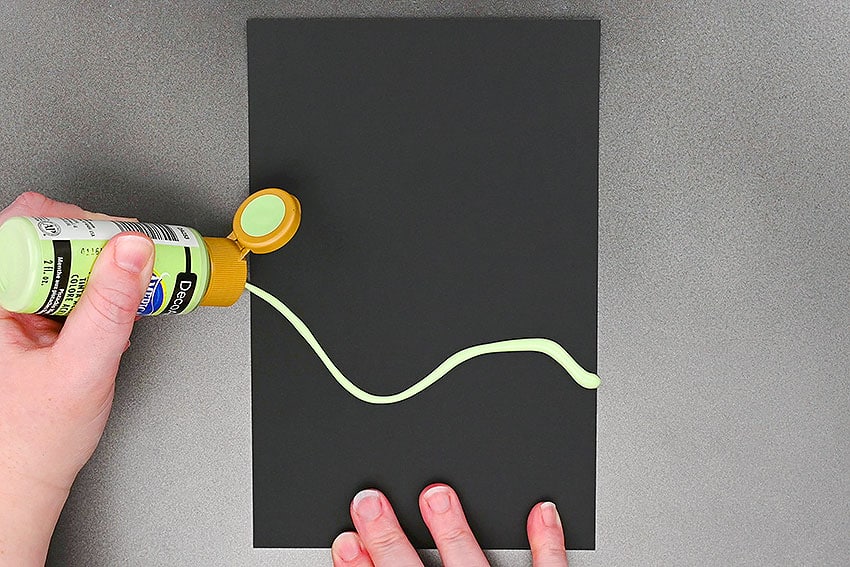
- Begin by adding a line of paint about 1/3 of the way up the page. Use white paint or a light pastel shade, like blue or green. It needs to be something that creates a base coat for your other colours.As you add the paint you can make a straight line, a curved line, a wavy line — whatever you feel like.
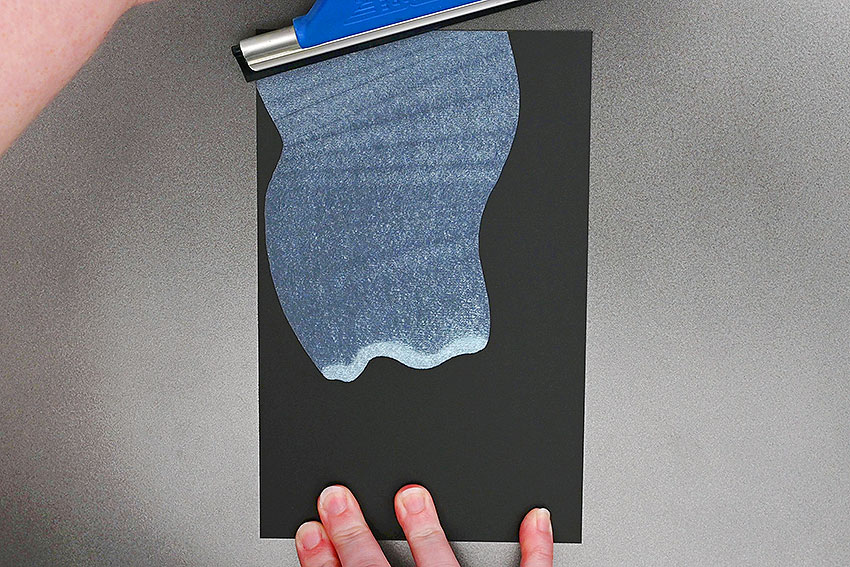
- Then take your squeegee and put it below the paint. Hold the bottom of the paper and use a bit of pressure as you begin to swipe the squeegee up.

- As you move the squeegee up, however you move your wrist will determine where the paint goes.You can go straight up, go on a curved angle, or move your hand back and forth to create dancing lights.
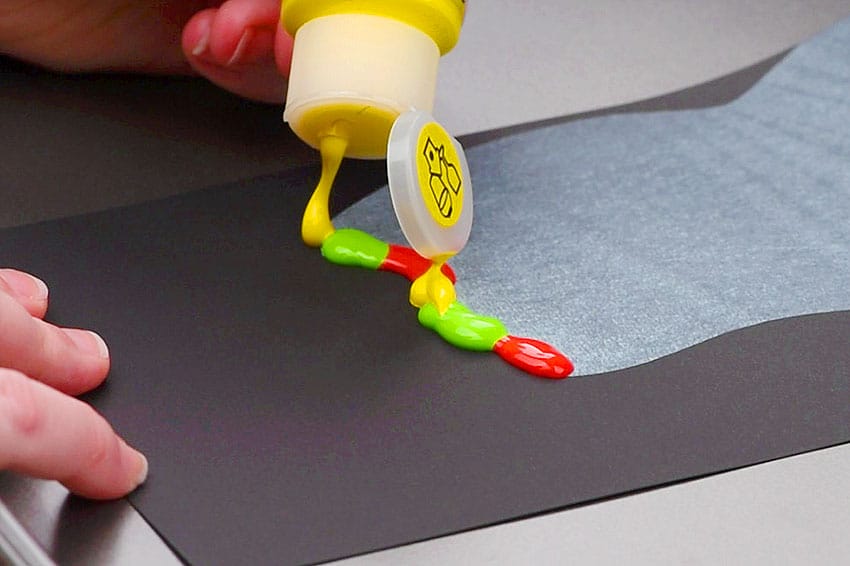
- Now you’ll add different colours of paint in the same location as your first line of paint. Look up the real northern lights online for inspiration of what colours to use.In our paintings we used all sorts of combinations of red, green, yellow, blue, pink, and purple.
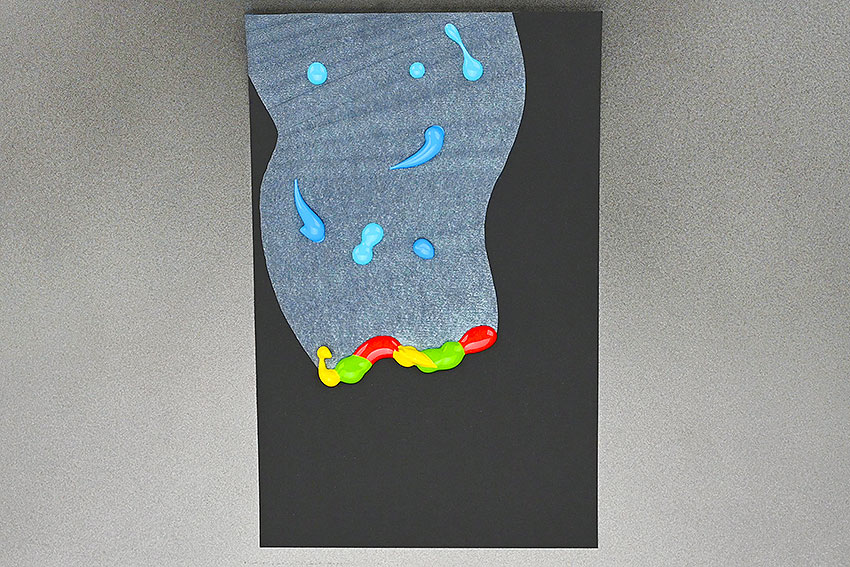
- Now add a few lines or dots of a different colour within the first paint swipe.
- Bring your clean squeegee below the colours and swipe up. Try to follow the path of your first swipe, but it’s okay if it’s not perfect.Then allow to dry. It should only take a few minutes to be dry enough to work with.
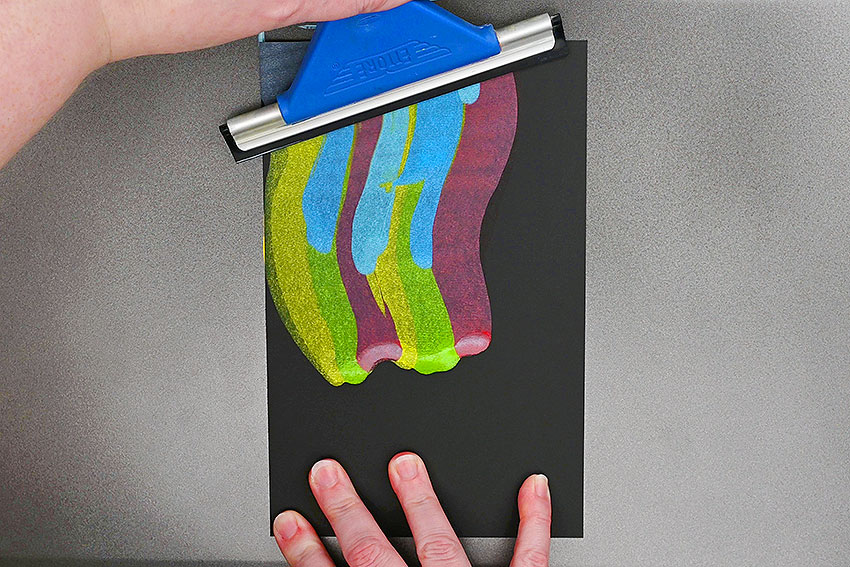
Step 3: Finish off the picture
- Cut a snowy mountain from white cardstock, leaving the sides and bottom flat to match the paper.Measure how tall your hills need to be and then try to follow the same curves as your paint swipes.
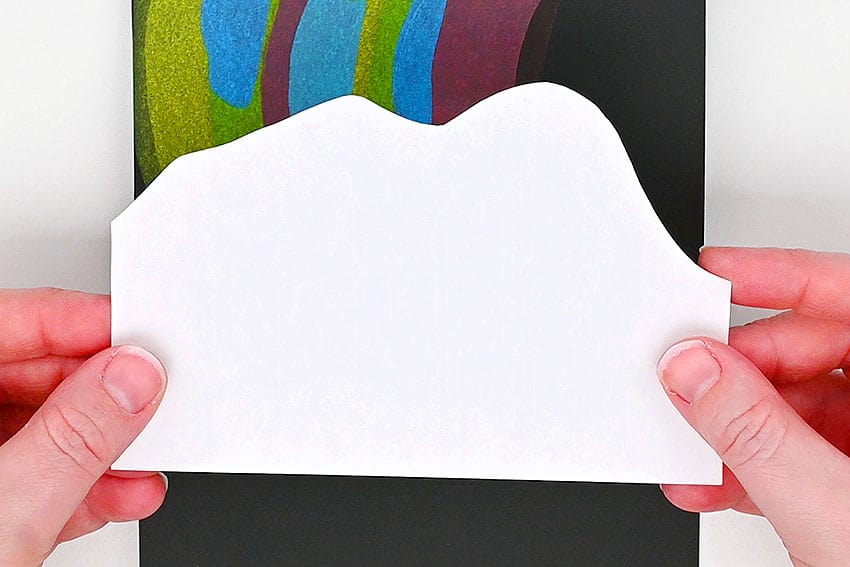
- Add glue tape or glue stick onto the back of the cardstock.
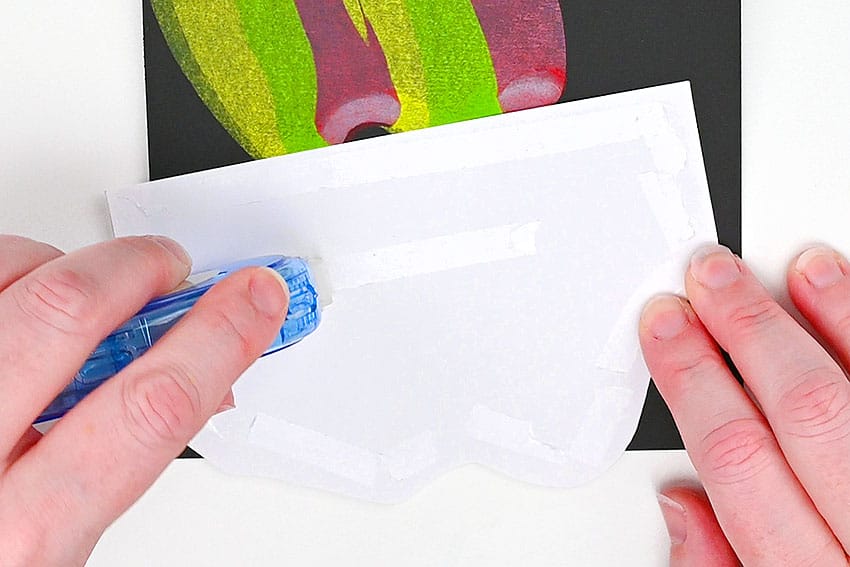
- Press the mountain into place, lining up the edges.
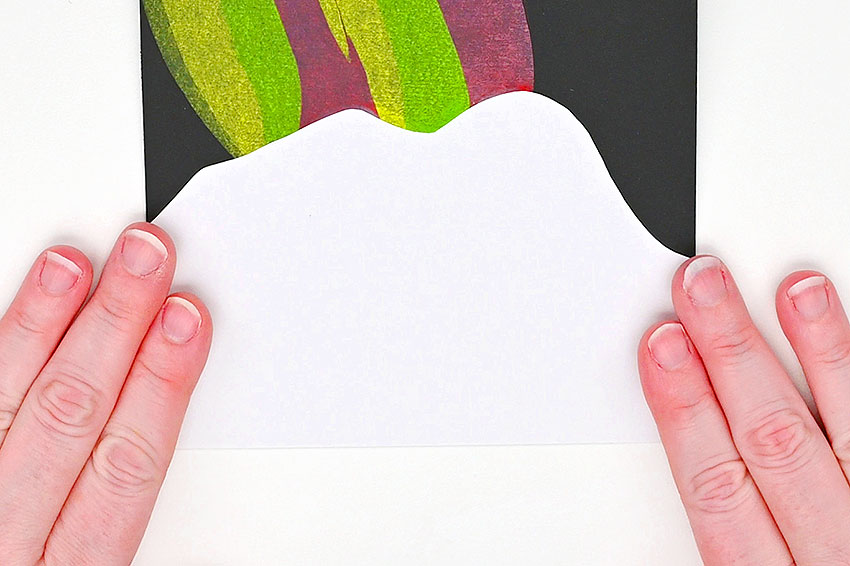
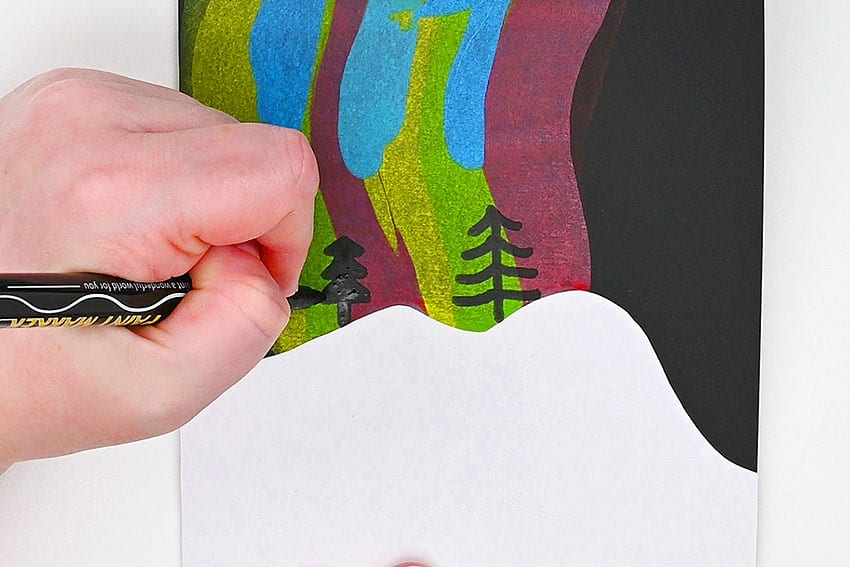
- Now use a black paint marker to draw silhouettes within the painted section. Here we drew a couple different styles of trees.
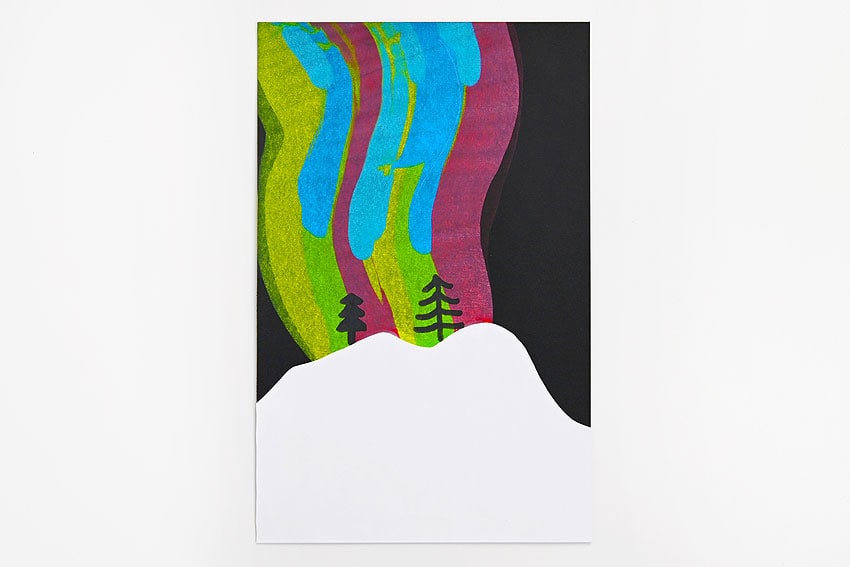
- Your winter northern lights squeegee painting is complete!
Step 4: Make another version
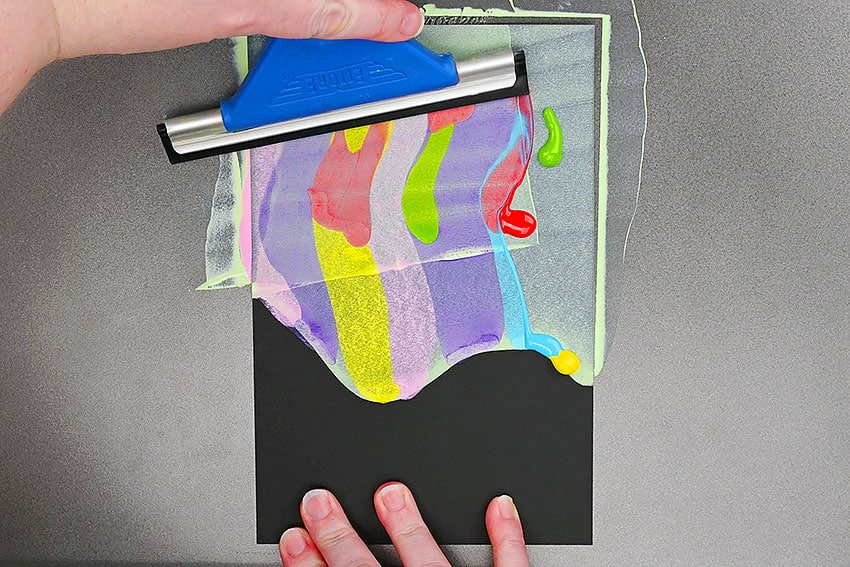
- You can also make northern lights that cover the entire sky. To do this, make a line of paint that goes across the whole paper.Then swipe the paint up so it covers the sky section.
- Add different paint colours to the bottom of the painted section and the sky. You don’t need to fill the bottom line entirely.
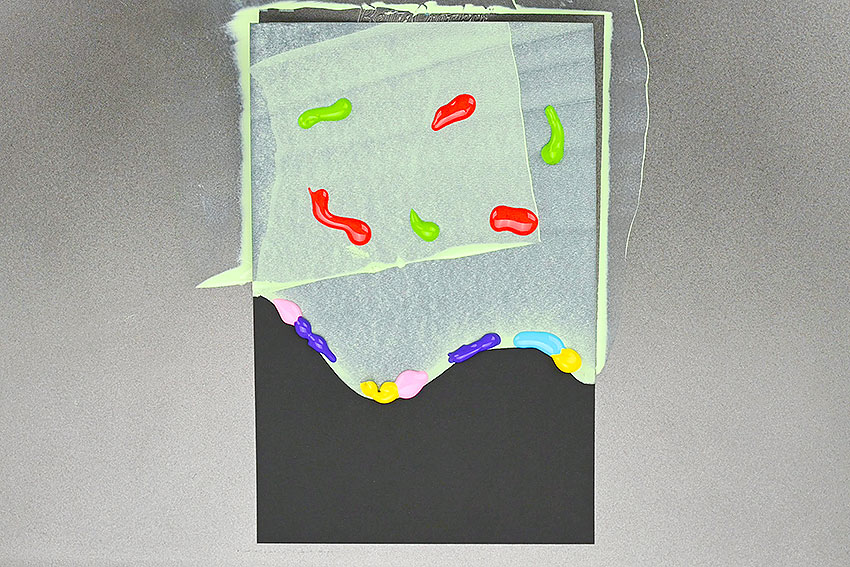
- Bring the squeegee up to spread the paint. If your squeegee is narrower, like ours, you may need to swipe again to get the whole page.Clean your squeegee between swipes.
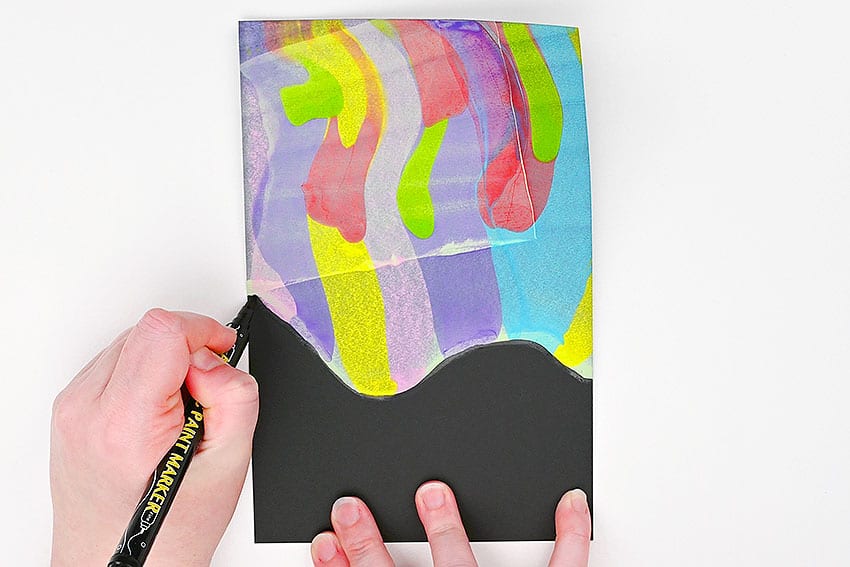
- For a full sky of lights we like to go along the line of paint with a black paint marker to clean up the bottom edge.
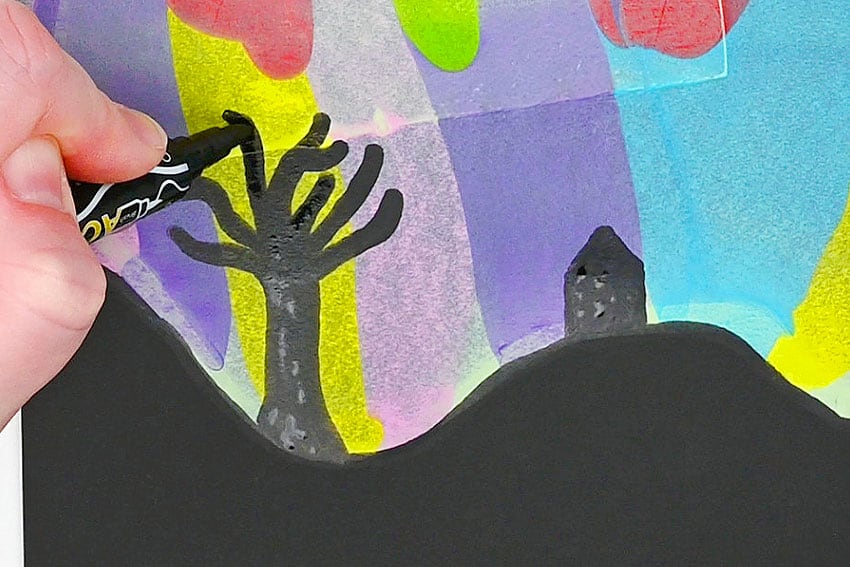
- Then draw in the sky section of the paper. Here we drew a little house, a tree silhouette, and a moon.
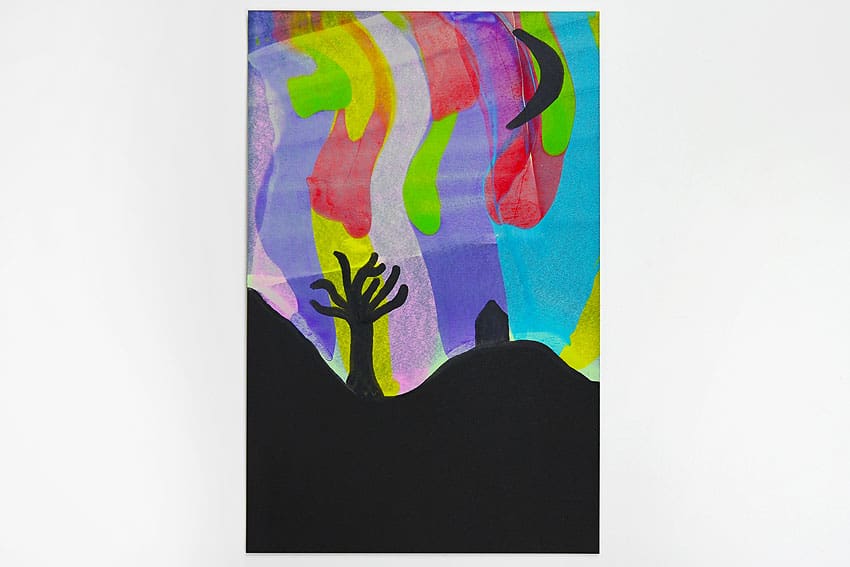
- Your Northern lights squeegee art is complete!
Helpful Tips
- Read through the full tutorial before starting.
- Prepare the listed supplies ahead of time so each step is easier to follow.
- Check the finished craft against the instructions before displaying or using it.
FAQs
Is this tutorial beginner friendly?
Yes. This northern lights squeegee painting painting craft is written with simple steps and extra tips for beginners.
Can kids make this craft independently?
Older kids may be able to work independently, while younger kids should have help with any steps that require close attention or small pieces.
How long does the craft take?
Most versions take about 30 minutes, depending on the materials and the pace of the crafter.
Can I use different colors?
Yes. Changing the colors is one of the easiest ways to personalize the finished craft.
Final Thoughts
Once the northern lights squeegee painting painting craft is finished, take a moment to check the details, compare the result with the tutorial, and display the project somewhere kids can enjoy their work.
Affiliate disclosure: This post may contain Amazon affiliate links. As an Amazon Associate, Easy Crafts Ideas may earn from qualifying purchases at no extra cost to you.