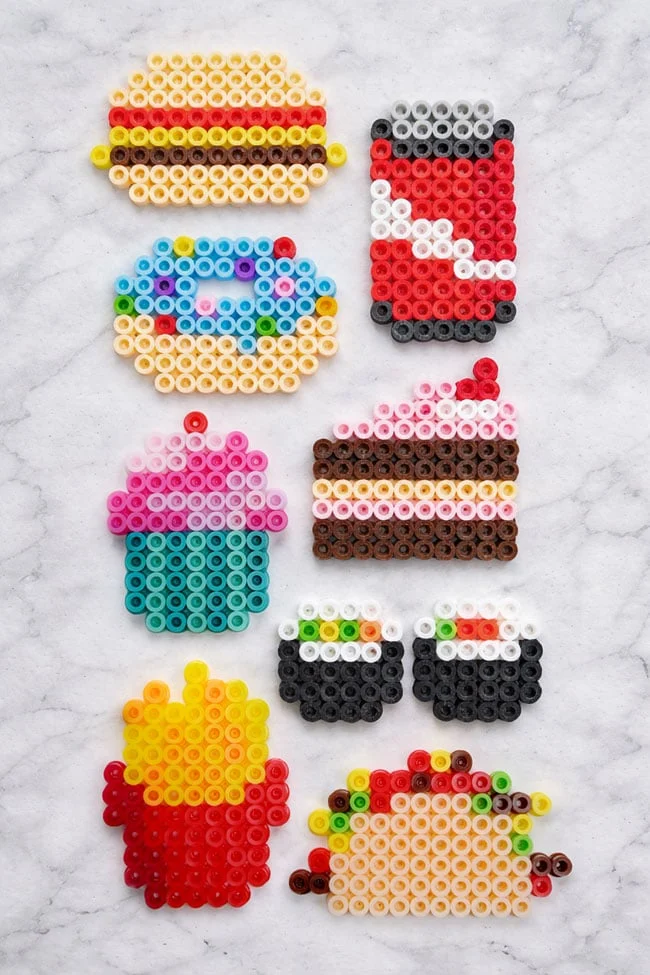
If crafting makes you hungry for something cute, you’re going to love these Perler bead food designs! From sweet treats to classic snacks, these mini melty bead creations are colourful, playful, and surprisingly satisfying to make. They’re perfect for kids, teens, and adults who enjoy quick projects with big visual payoff.
To make things extra easy, we’ve included free printable Perler bead food patterns you can follow bead-by-bead. Whether you’re crafting for fun, making magnets or keychains, or planning a simple activity for a rainy afternoon, these food-themed Perler bead patterns are a fun way to spark creativity and keep everyone happily crafting.
How to Make Perler Bead Food
Materials:
- FREE Perler Bead Food Pattern(see more below)
- Perler beads pegboard(small square)
- Perler beads
Instructions:
Step 1: Find what you need
-
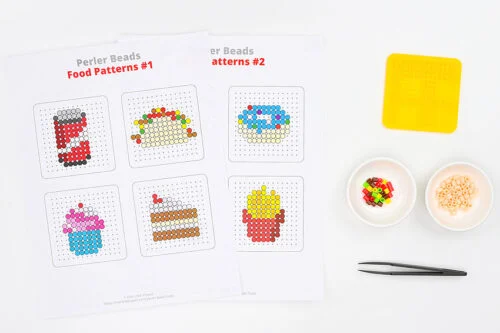
Gather your supplies and materials.
Step 2: Prepare your pegboard
-
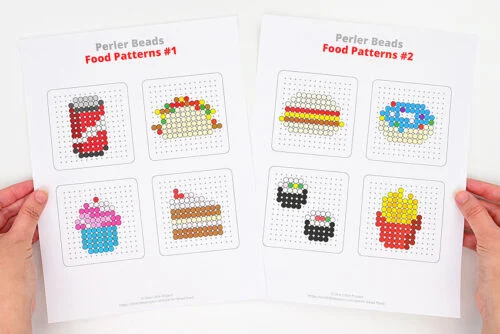
Print our free Perler bead food patterns, or follow along with the template on your device’s screen.Find the link to one pattern in the material’s list above, with the other link and more information found below the tutorial.
-
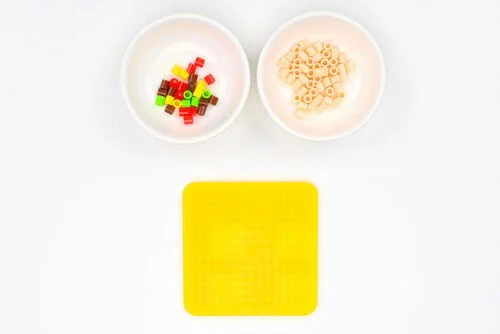
To make these Perler bead food designs you’ll need a small square pegboard. If you have a clear pegboard you can place it on top of the template.We also find it helpful to sort the colours of Perler beads we need in small bowls.
Step 3: Follow the pattern
-
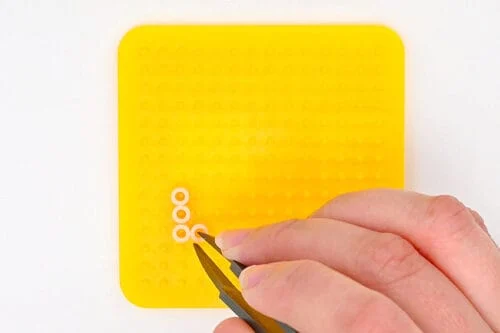
Begin placing the beads according to the pattern. We also find it helpful to use tweezers to place the Perler beads.
-
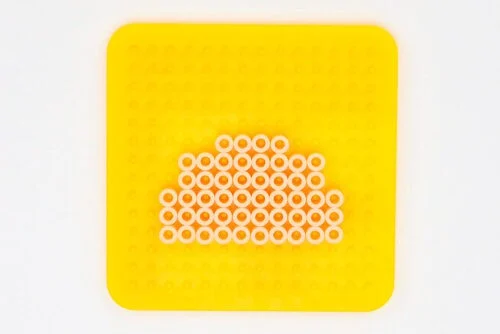
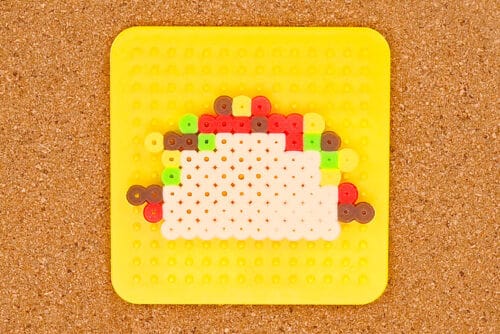
You can add the beads working from one direction to another, doing 1 colour at a time, or whatever is easiest for you. For the taco we completed the shell first.
-
Now add colour details to the pattern. Again, work from left to right, switching between colours, or add all the “ground beef” before moving on to the “tomatoes”, etc.
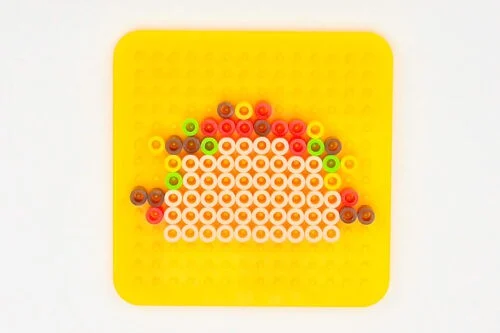
Step 4: Iron the design
-
Place the pegboard on an ironing board or other heat safe surface. Cover your Perler design with parchment paper.
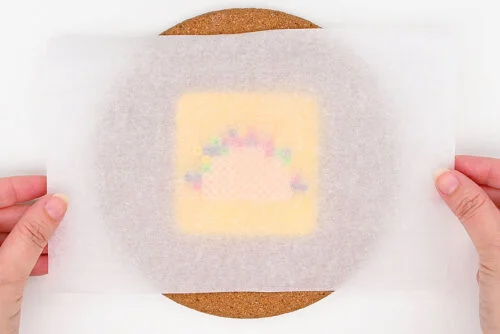
-
Heat your iron to medium heat, no steam. Place the iron onto the parchment covered beads and move it around in a circular motion for at least 15 to 20 seconds.
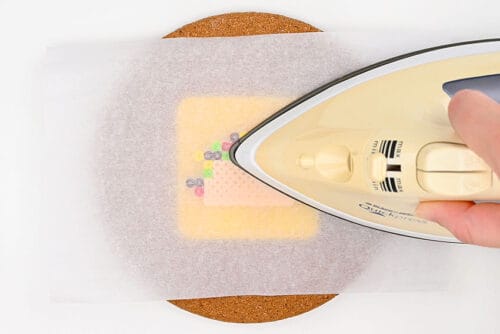
-
Check the beads to see if they’re melted together. Continue to iron for another 10 to 20 seconds, if necessary.The beads are melted correctly when the parchment paper sticks a bit and you have to peel it up.
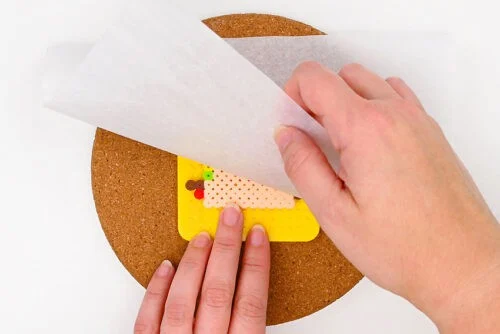
-
Leave the Perler bead food on the pegboard until it’s cool to the touch.Once removed, place it under a stack of heavy books so it doesn’t warp as it cools completely.
-
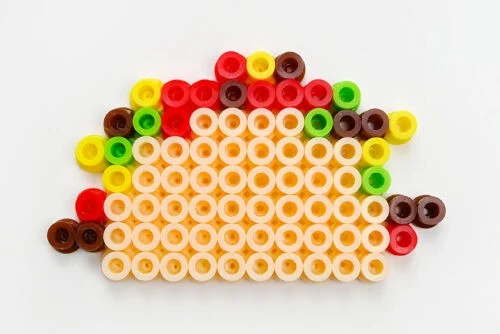
Your Perler bead taco is complete!
-
Now have fun making all of these cute food patterns!
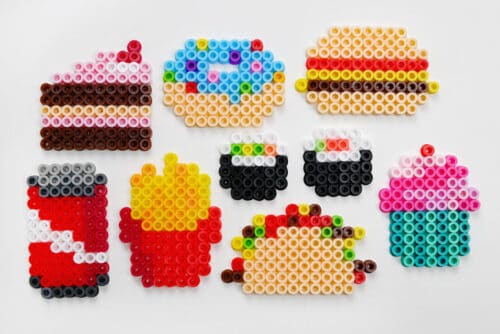
Get our free printable Perler bead food patterns:
The links and pictures below will take you to our free, printable Perler bead food templates! The PDF files will open in a new window.
Then simply follow along with the pattern on your device’s screen, or print the patterns in colour on 8.5 x 11 (letter size) printer paper.
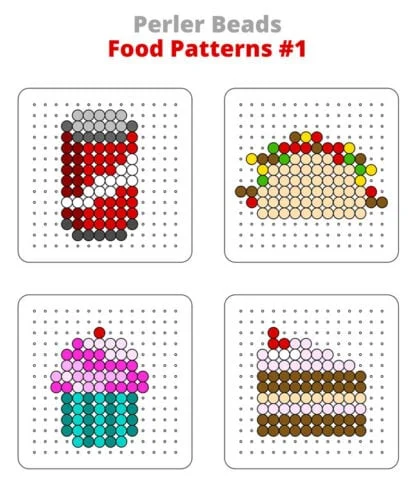
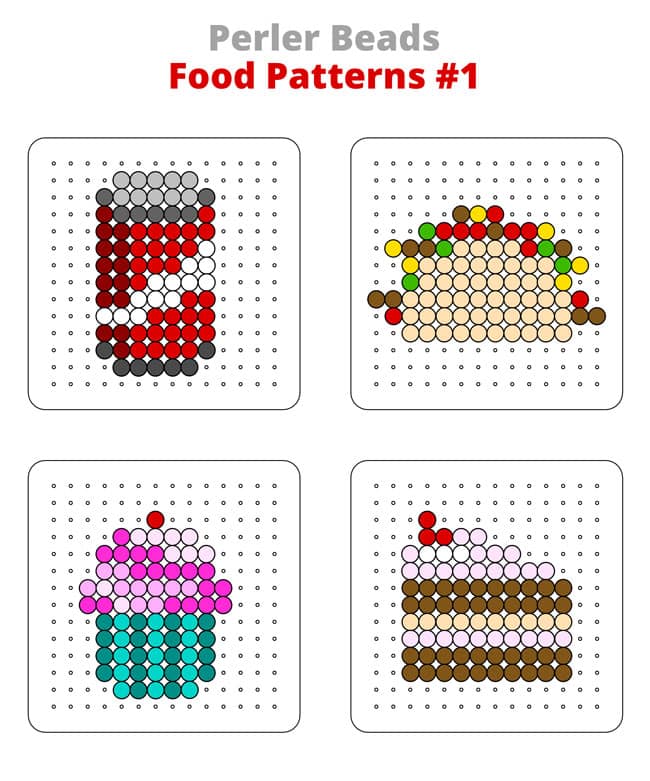
>>> Perler Bead Food Pattern #1 <<<
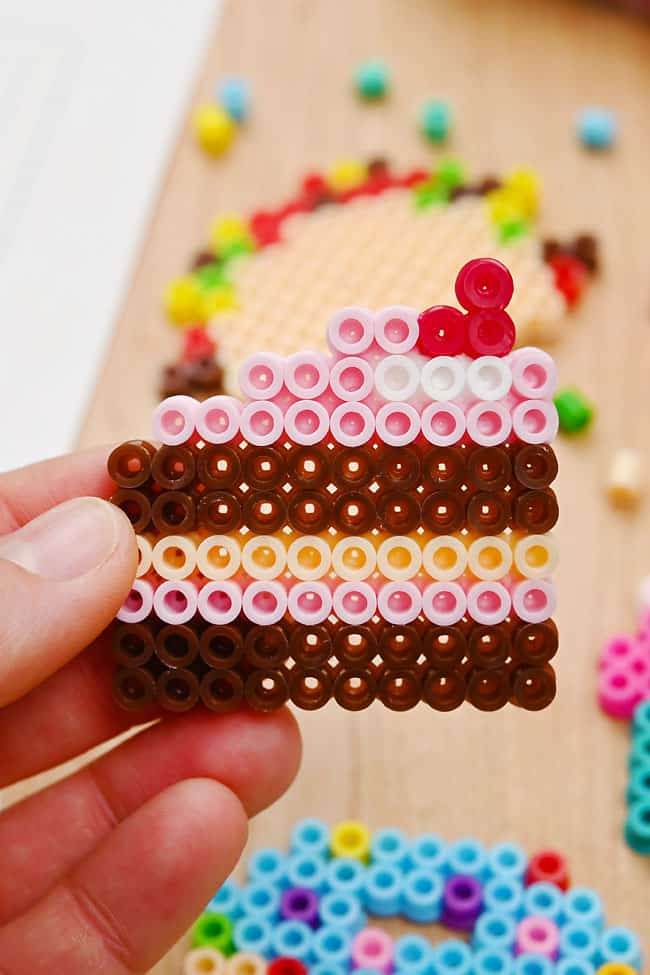
Pattern #1 features a pop can, taco, cupcake, and cake slice.
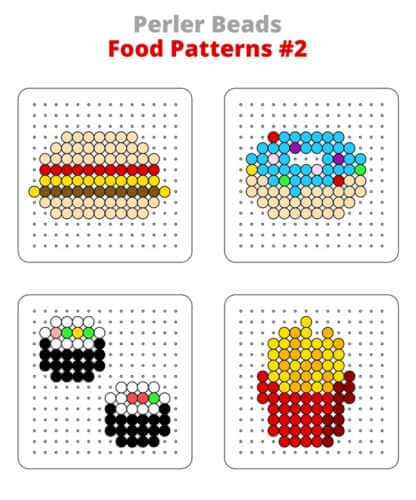
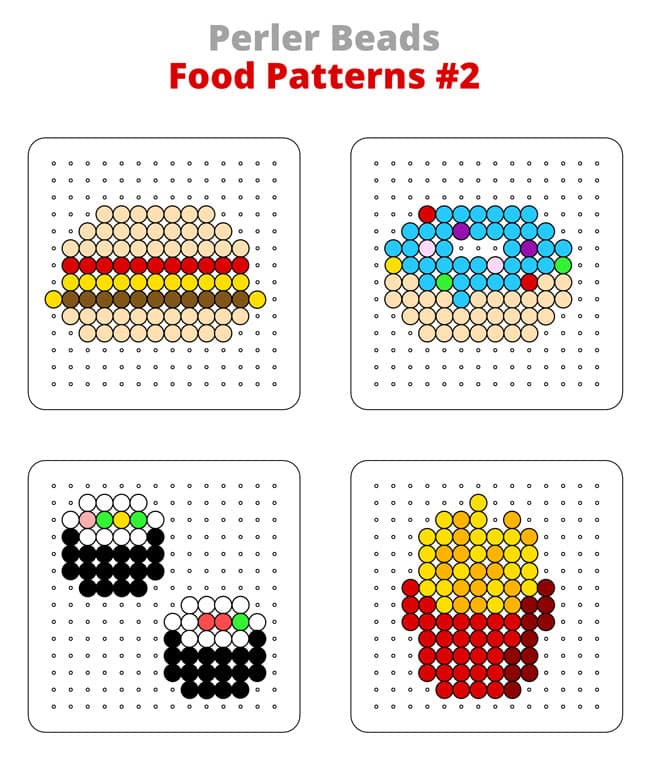
>>> Perler Bead Food Pattern #2 <<<
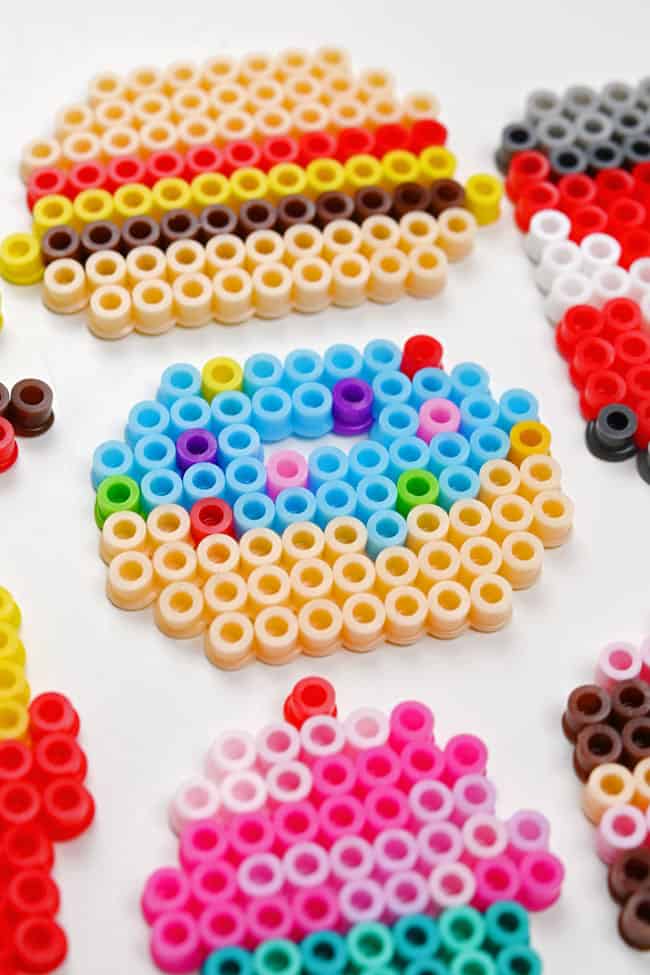
Pattern #2 features a burger, donut, sushi, and French fries.
What are Perler beads?
Perler beads are small, colourful plastic beads that are placed on a pegboard to create designs and pictures. They’re also known as “melty beads” or “fuse beads”.
Once the design is complete, the beads are fused together using heat from an iron, turning them into a solid shape. Perler bead crafts are popular with both kids and adults because they’re easy to use, creative, and don’t require messy supplies.
What’s the best way to melt my Perler bead food so it doesn’t warp?
To iron Perler beads, place parchment paper over your finished design and use a dry iron on medium heat. Gently move the iron in small circular motions until the beads fuse together. Avoid pressing down too hard or staying in one spot for too long.
To prevent warping, let the design cool completely before removing it from the pegboard. If you remove the design from the pegboard a bit early you can place it under a heavy stack of books (or other items) so it stays flat as it cools completely.
Can I make my own Perler bead food designs?
Yes, of course — it’s a lot of fun to design your own Perler food! Try and make some of the following by memory, or search “(food name) pixel art” to get examples.
- Avocado
- Pineapple
- Watermelon
- Hot dog
- Chicken leg
- Popsicle
- Waffle
- Toast
You can also check out our kawaii Perler bead patterns with faces for inspiration in making:
- Strawberry
- Bubble tea
- Pizza
- Ice cream
- Popcorn
- Egg
Perler bead food is such a fun way to mix creativity with bright colours and playful designs. With simple supplies and free printable patterns to follow, these food-themed projects are easy to jump into and satisfying to finish. Whether you stick closely to the patterns or start designing your own tasty creations, these Perler bead food designs are a great way to enjoy relaxed, hands-on crafting from start to finish.