This bottle cap snowman kids craft is a cheerful hands-on project for kids, classrooms, and family craft time. It uses the tutorial steps below as the practical guide while adding helpful planning notes so the project feels easier to prepare, follow, and finish. Gather the supplies first, give yourself a little workspace, and enjoy making something creative from simple materials.
Materials:
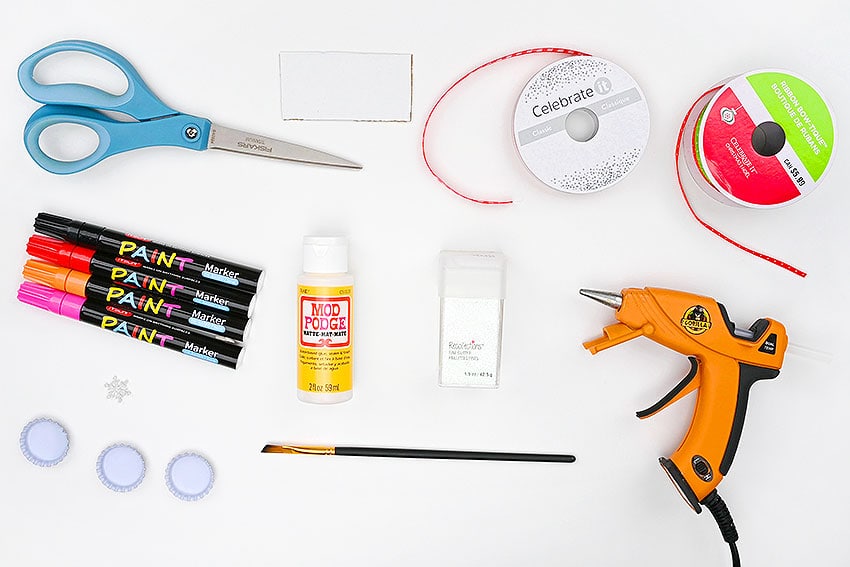
- White bottle caps
- Paint markers (black, orange, pink)
- Matte Mod Podge
- Iridescent glitter (fine)
- Scrap cardboard
- Christmas ribbon (1/4 inch wide)
- Small plastic snowflake(s) (15mm)
- Thin Christmas ribbon (1/8 inch wide)
Equipment:
Instructions:
Step 1: Find what you need
- Gather your supplies and materials.
Step 2: Add snowman details to the bottle caps
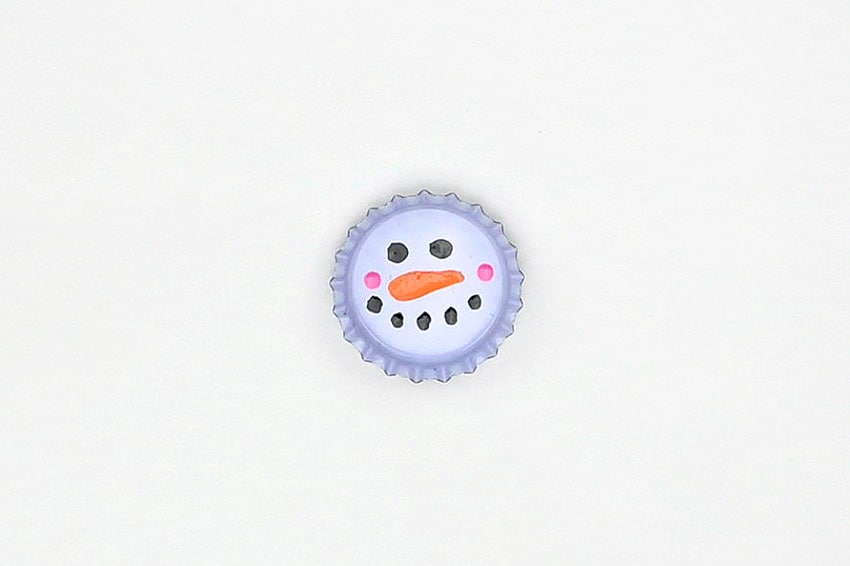
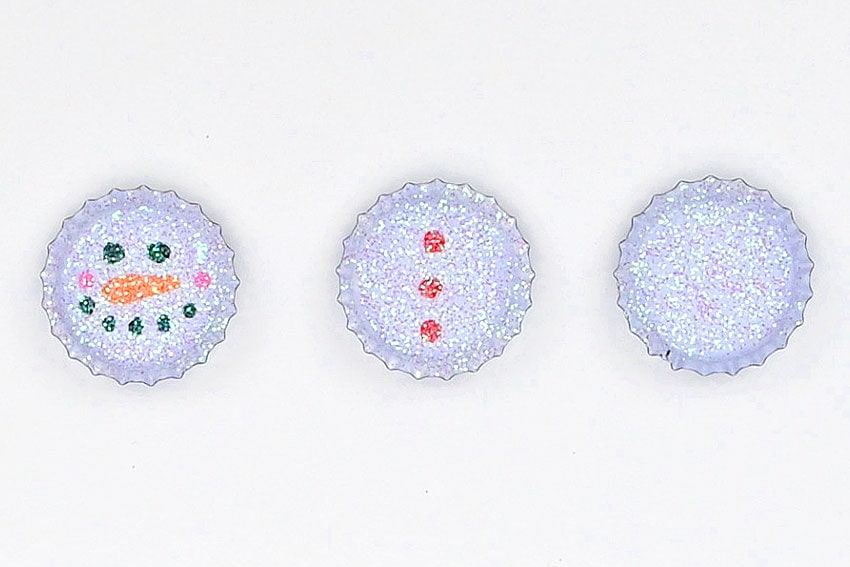
- Use a black oil paint marker to draw eyes and a mouth for the snowman on 1 bottle cap.
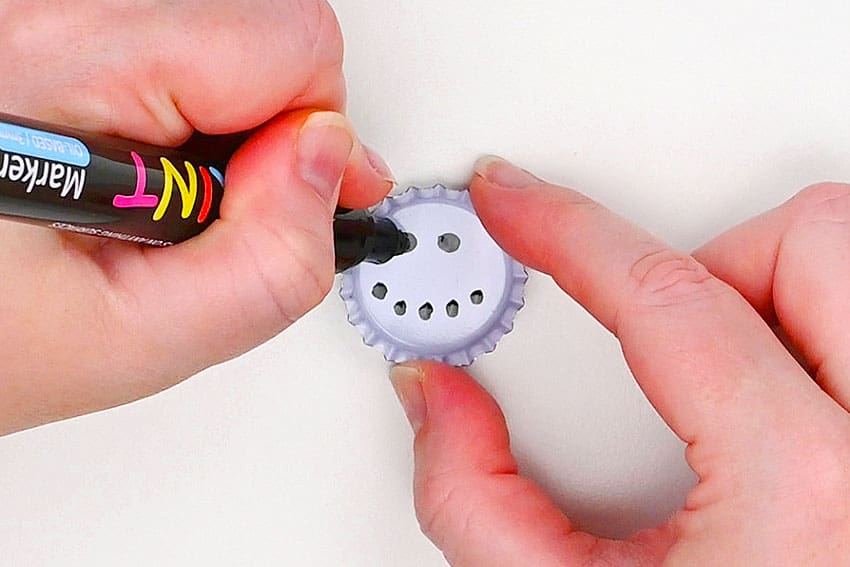
- With an orange marker, draw a carrot nose.
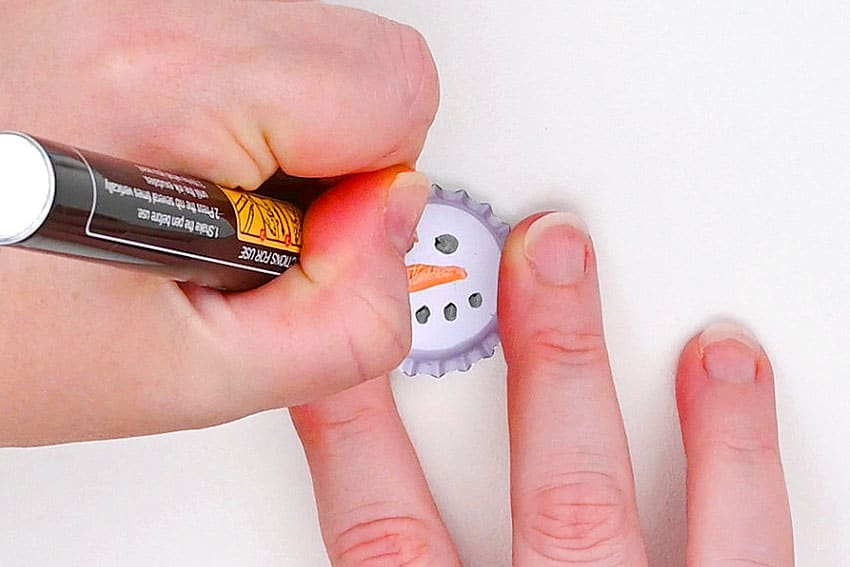
- Then make 2 pink dots for the snowman’s rosy cheeks.
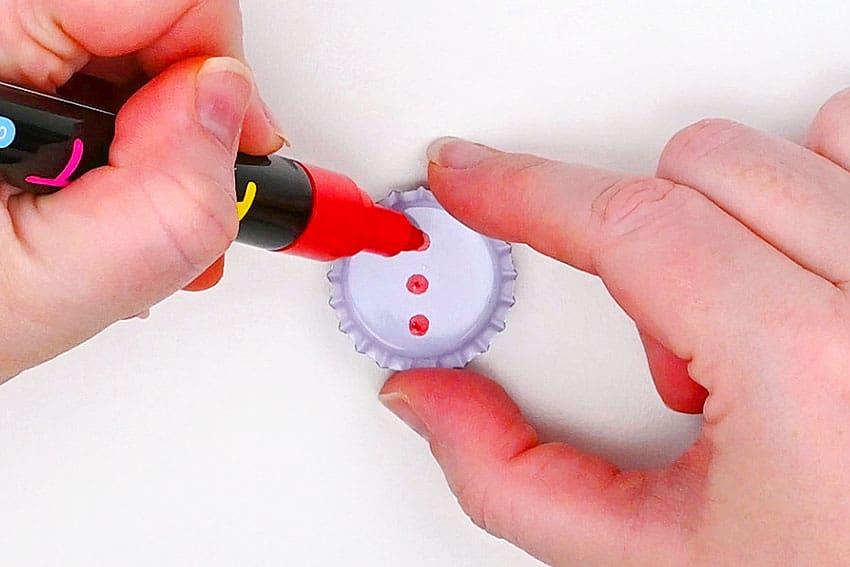
- On a second bottle cap, draw 3 vertical circles for the buttons. We used red to match our snowman’s accessories, but you can also use black.
Step 3: Add glitter! (Optional)
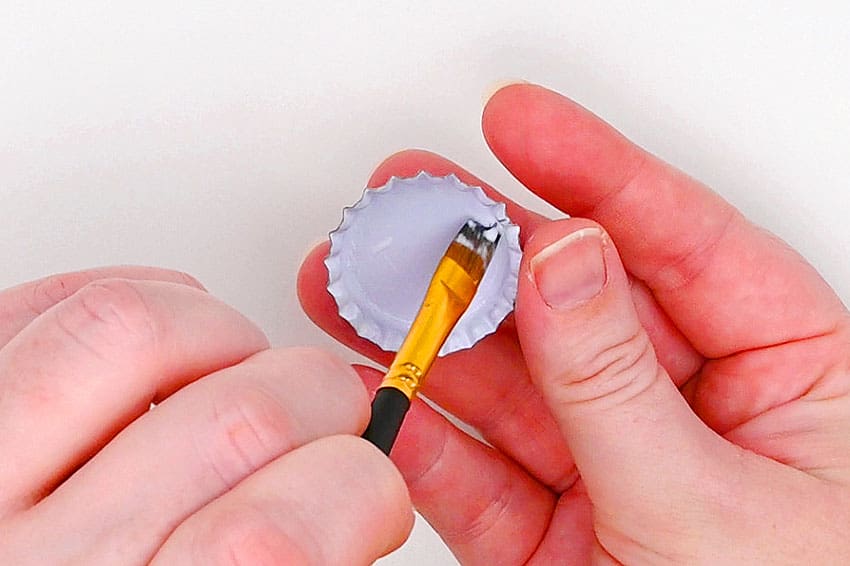
- Use a paintbrush to add a thin coat of matte Mod Podge to the third bottle cap.
- Add white iridescent glitter into the cap.
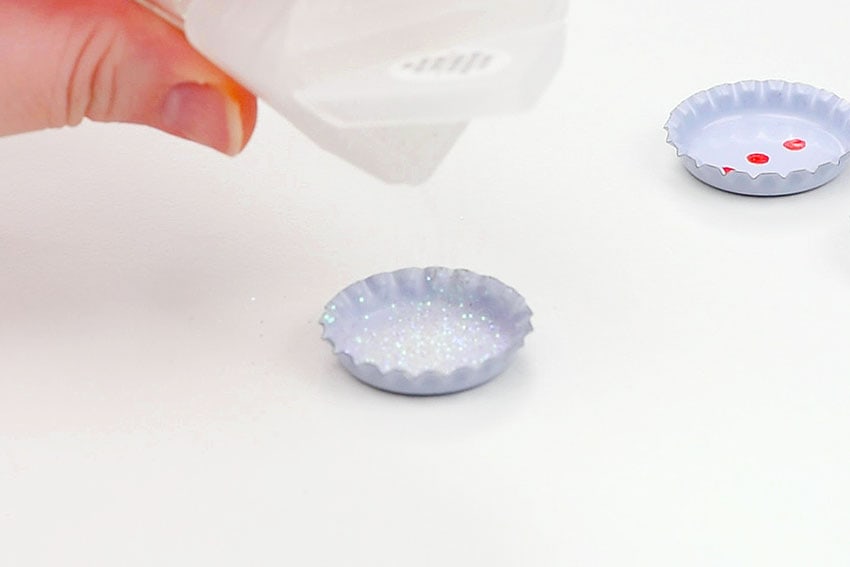
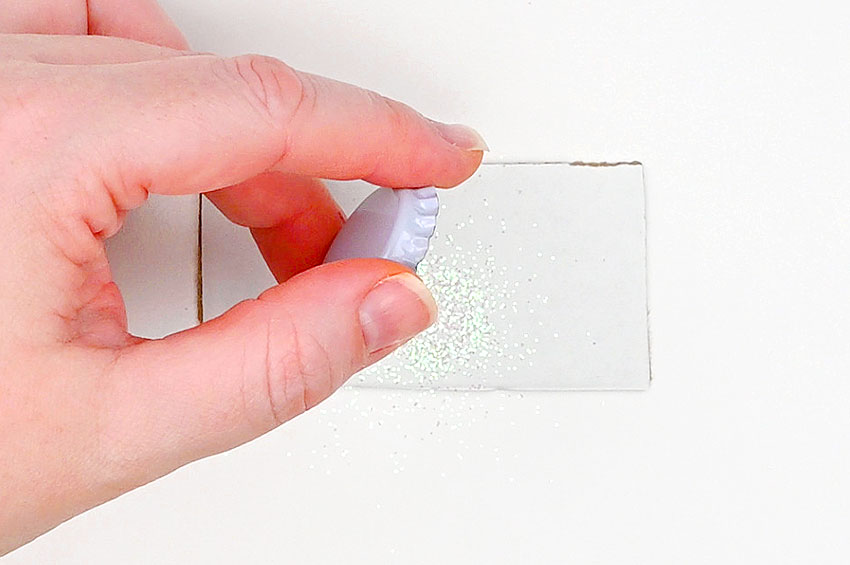
- Twist the cap around so that the glitter reaches all sides, and then tap to remove the excess glitter.
- Repeat with the other 2 bottle caps.
Step 4: Form the snowman
- Cut a thin piece of cardboard, about 3 inches long by just over 1/4 inch wide.(It should almost be as long as the bottoms of the 3 bottle caps combined.)
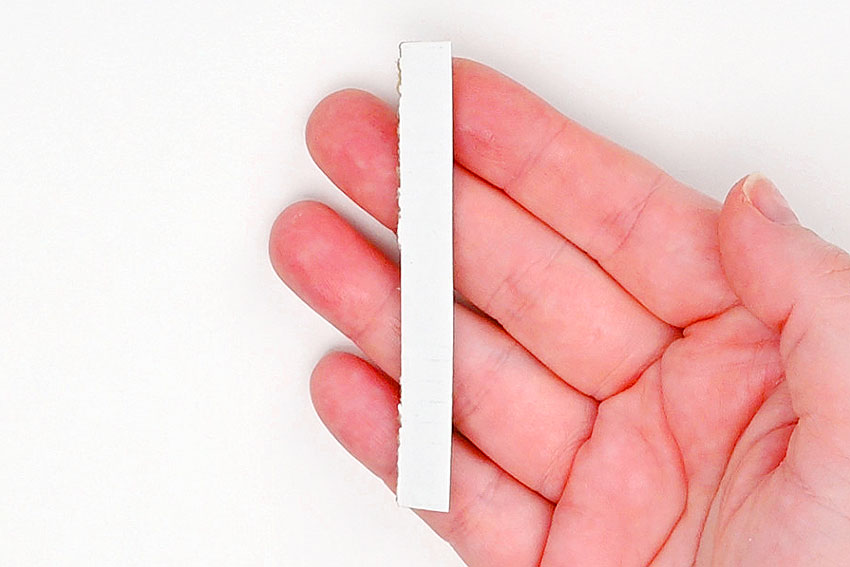
- Add a generous line of hot glue to the cardboard.
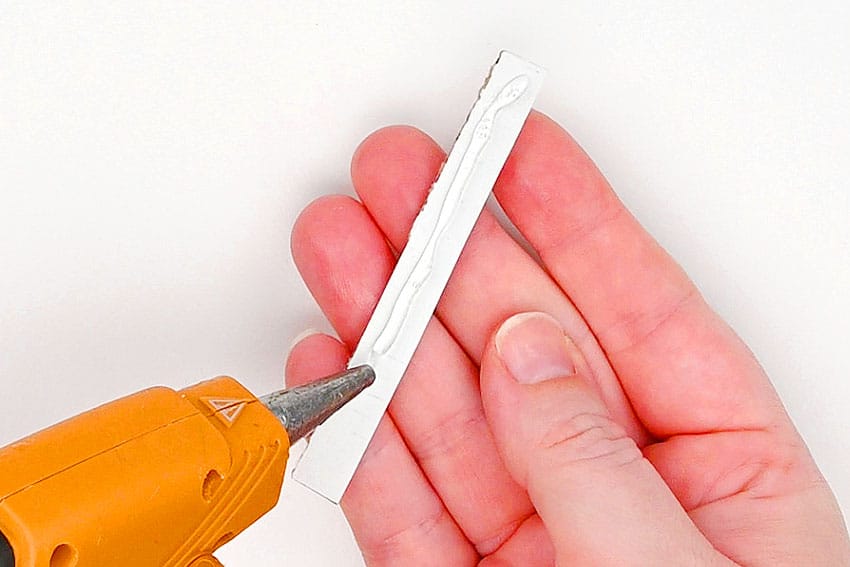
- Place the bottle caps in the glue, setting them as close together as possible.
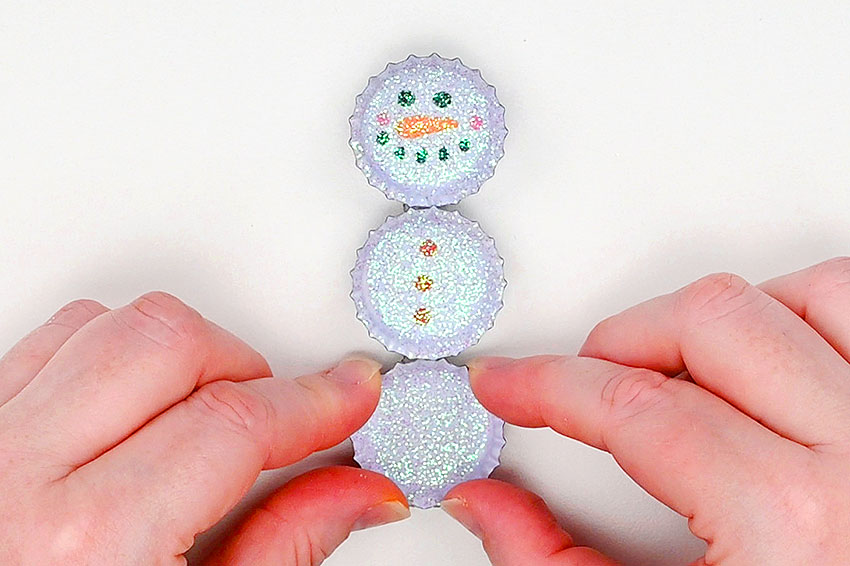
Step 5: Decorate the snowman
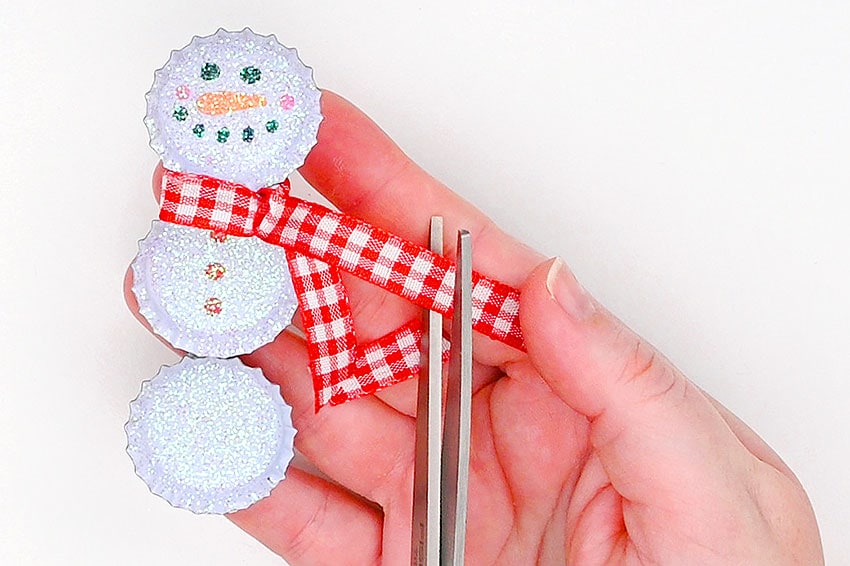
- Cut a piece of 1/4 inch wide ribbon about 7 inches long for the snowman’s scarf. A plaid, striped, or polka dot pattern looks really nice.
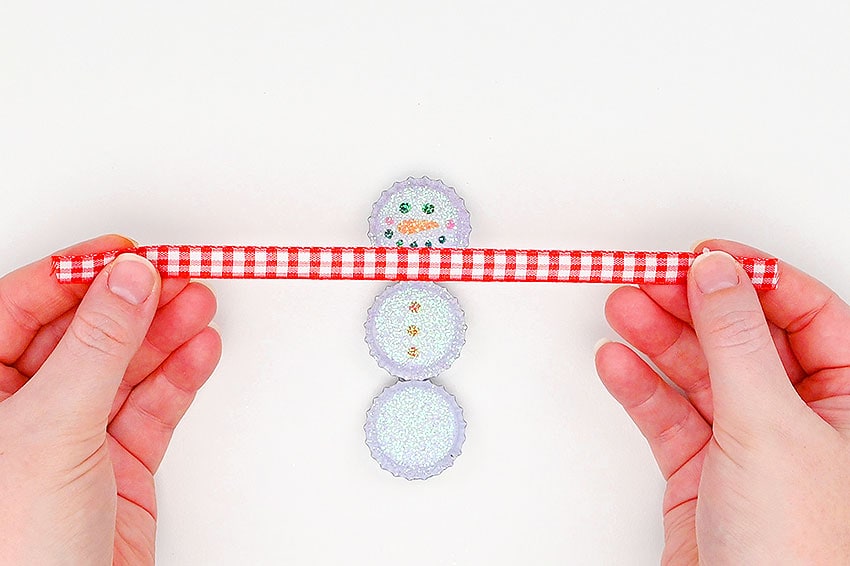
- Tie the scarf between the first and second bottle caps at the side so that the ribbon sits flat at the front.
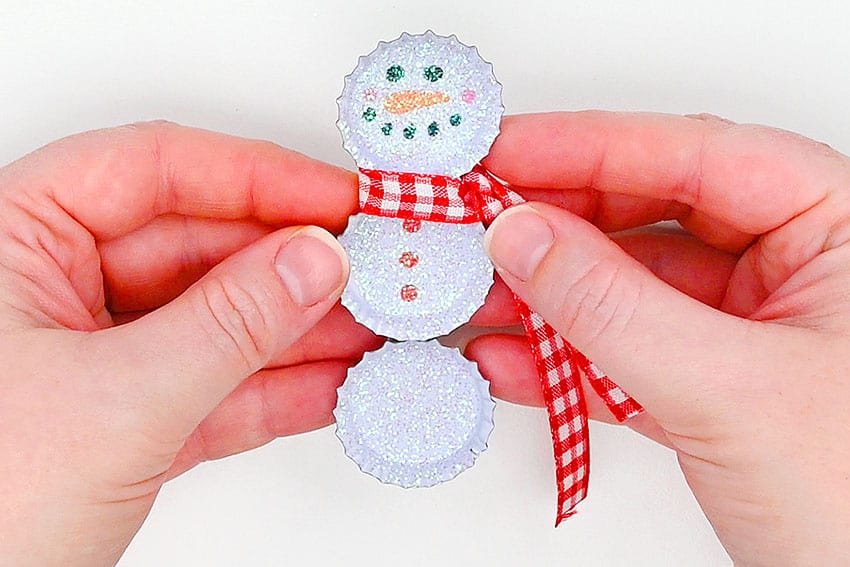
- Add a bit of glue at the back and front under the ribbon. You can also glue down the top ribbon so the scarf sits nicely.Then cut the scarf to whatever length you’d like.
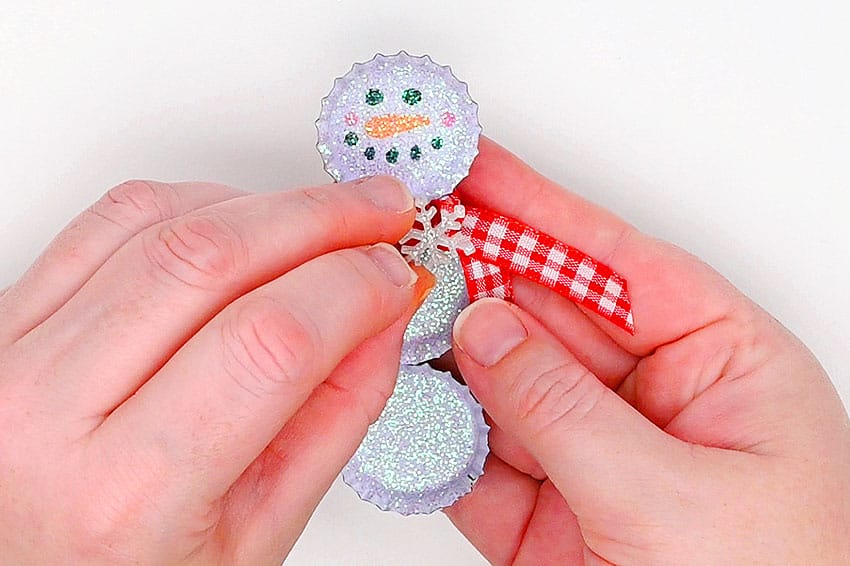
- Add a tiny dot of glue to the side of the scarf (where the ribbons overlap) and place a snowflake accent onto the scarf.
- Cut a piece of 1/8 inch wide ribbon to be 7-1/2 inches long. We chose red polka dot to match the rest of our snowman’s accessories.
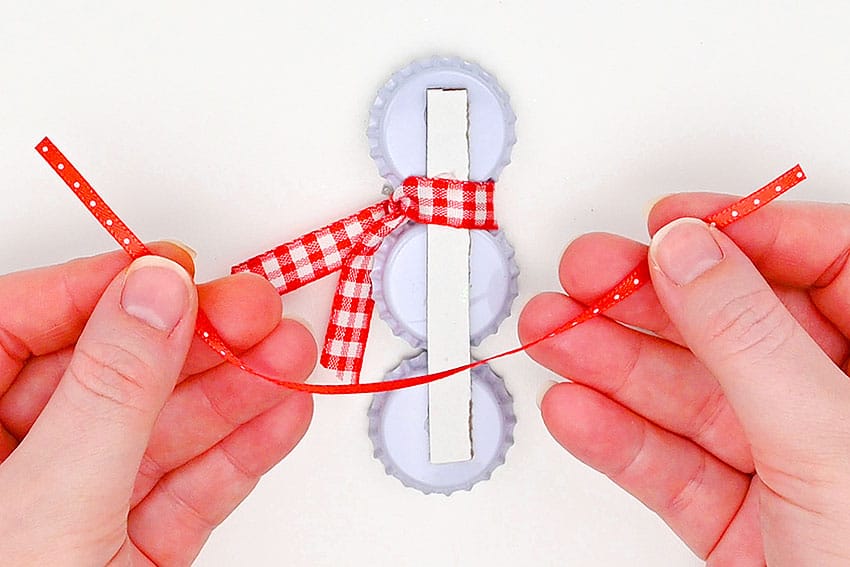
- Attach the ribbon to the back of the top bottle cap, creating an ornament hanger.
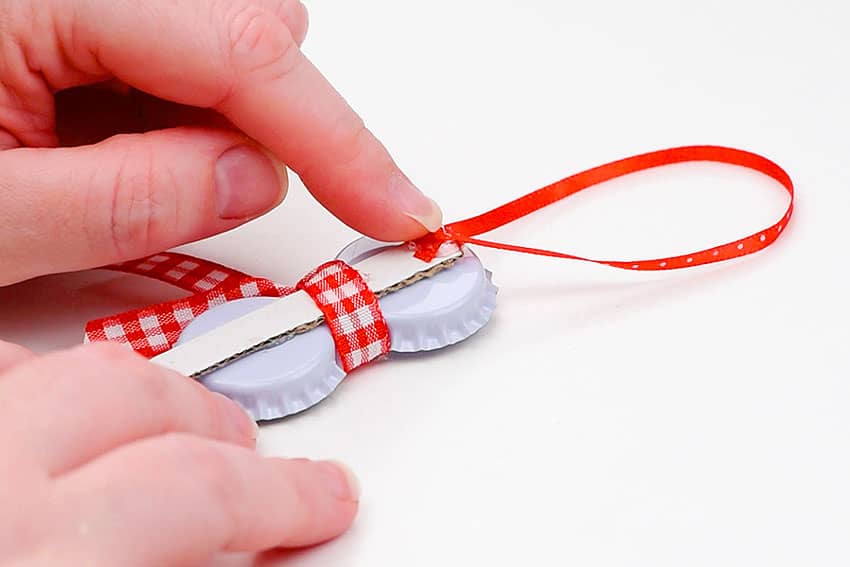
- Your bottle cap snowman is complete!
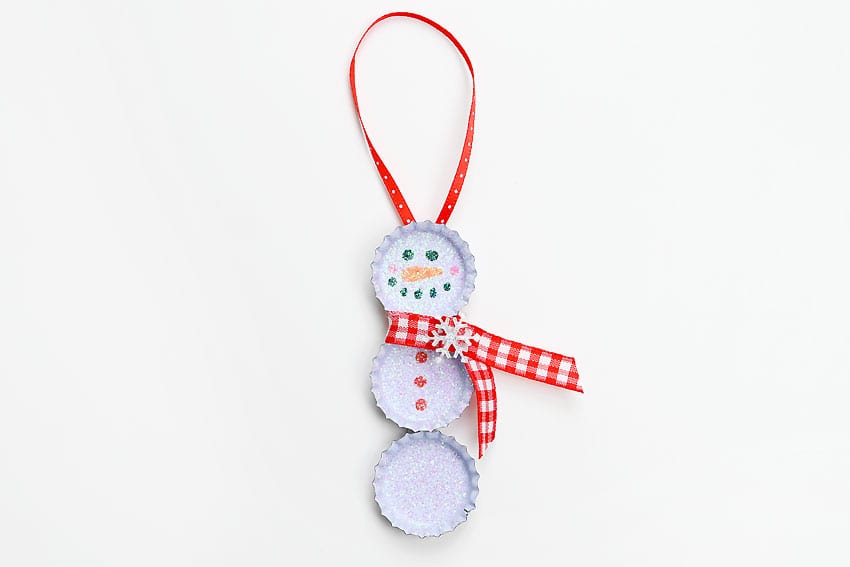
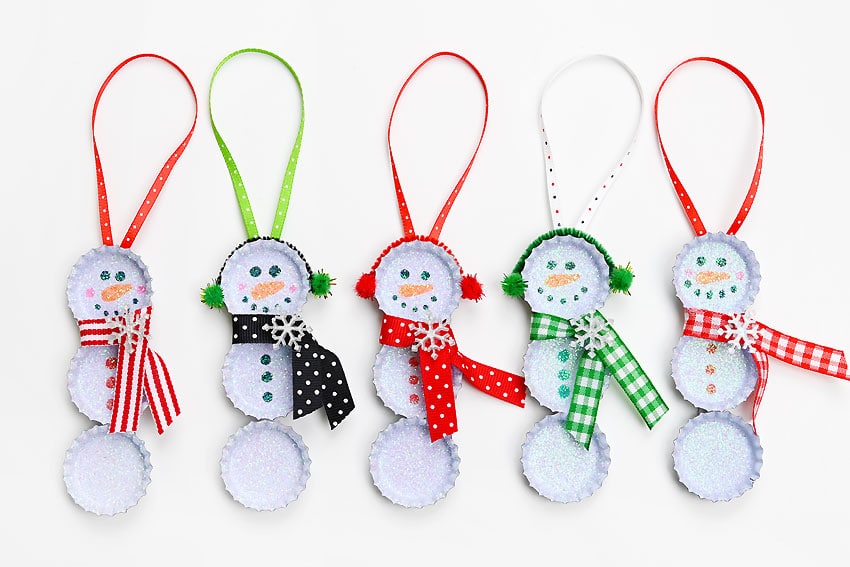
- Have fun making a whole family of snowmen with different coloured buttons and scarves.
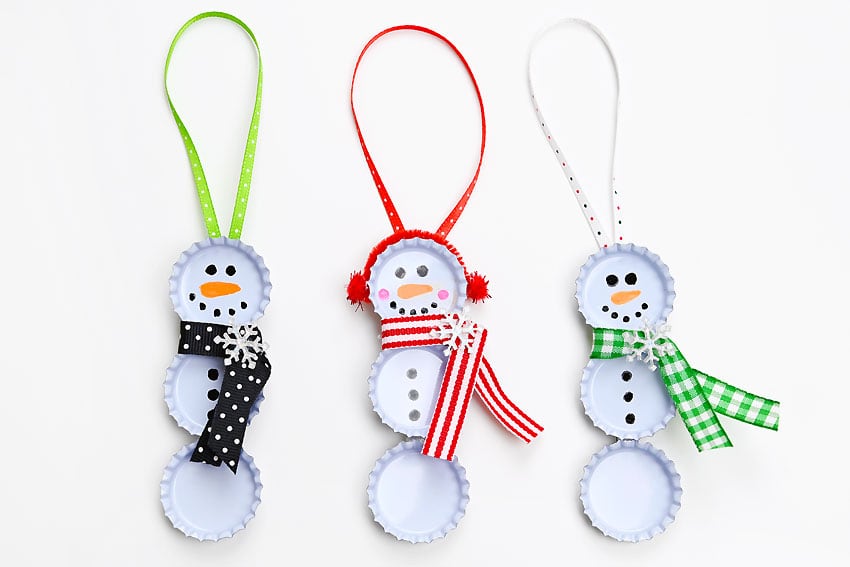
- You can also skip the Mod Podge and glitter if you’d like a cleaner look.We love the way the glitter makes the other snowmen look perfectly snowy, but it’s also fun how you can see the faces more clearly on these!
Helpful Tips
- Read through the full tutorial before starting.
- Prepare the listed supplies ahead of time so each step is easier to follow.
- Check the finished craft against the instructions before displaying or using it.
FAQs
Is this tutorial beginner friendly?
Yes. This bottle cap snowman kids craft is written with simple steps and extra tips for beginners.
Can kids make this craft independently?
Older kids may be able to work independently, while younger kids should have help with any steps that require close attention or small pieces.
How long does the craft take?
Most versions take about 30 minutes, depending on the materials and the pace of the crafter.
Can I use different colors?
Yes. Changing the colors is one of the easiest ways to personalize the finished craft.
Final Thoughts
Once the bottle cap snowman kids craft is finished, take a moment to check the details, compare the result with the tutorial, and display the project somewhere kids can enjoy their work.
Affiliate disclosure: This post may contain Amazon affiliate links. As an Amazon Associate, Easy Crafts Ideas may earn from qualifying purchases at no extra cost to you.