This loom knit pickle crochet yarn craft is a cheerful hands-on project for kids, classrooms, and family craft time. It uses the tutorial steps below as the practical guide while adding helpful planning notes so the project feels easier to prepare, follow, and finish. Gather the supplies first, give yourself a little workspace, and enjoy making something creative from simple materials.
Materials:
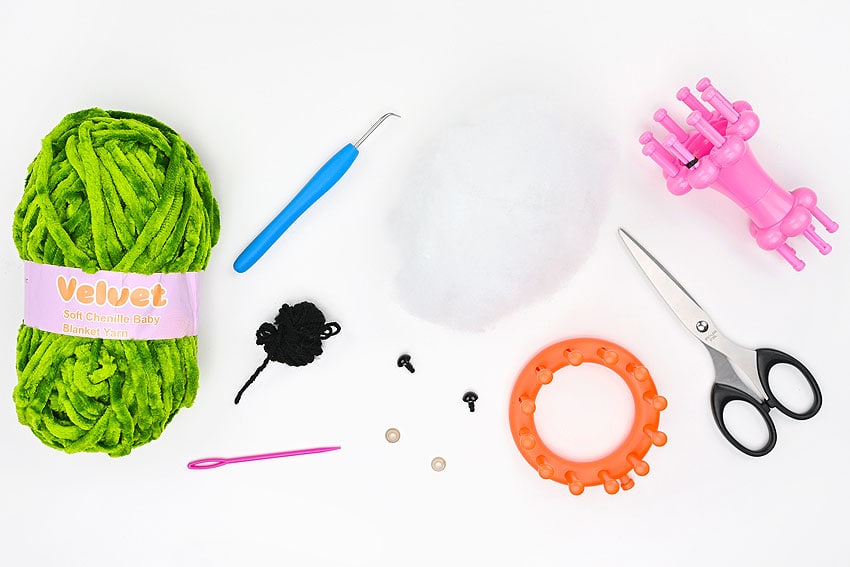
- Green chenille yarn (bulky; size 5)
- Polyester fiber fill
- Safety eyes (10 mm)
- Printable Loom Knit Pickle Pattern
Equipment:
- Flower loom (12 pegs)
- Knitting spool (8 pegs)
- Loom hook
- Yarn needle
- Scissors
- Row counter (optional, but helpful)
Instructions:
Find what you need:
- Gather your supplies and materials. The larger pickle is made on a 12-peg flower loom, while the small pickle is made on an 8-peg knitting spool.
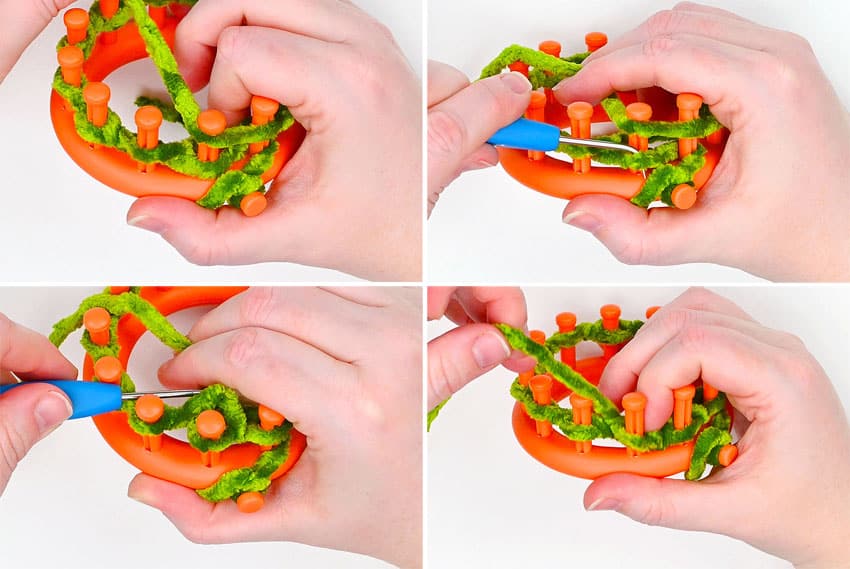
How to U-knit (UK):
- To do the u-knit stitch, bring the working yarn across the peg above the loop currently on the peg. Use your non-dominant hand to hold the working yarn towards the inside of the loom.Use your hook to grab the loop at the bottom. Bring the bottom loop over the wy, taking it off the peg. Optional: Push the new loop down on the loom to make room for your next st.
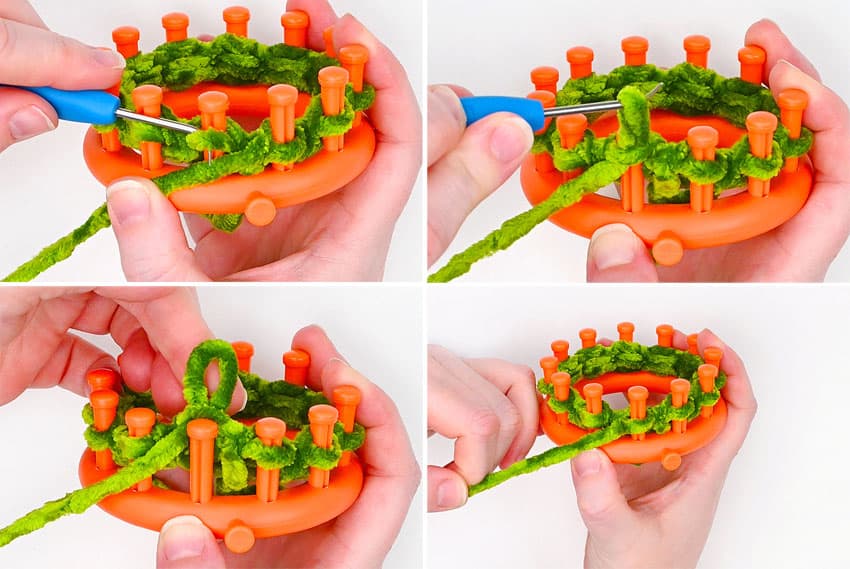
How to Purl (p):
- To do a purl stitch on a loom bring the wy below the loop on the peg and insert your hook down through the top loop.Grab the working yarn with your hook and pull it up through the existing loop.Pull the existing loop off the peg and put the new loop (made from the wy) on the peg.Pull the wy to tighten the loop on the peg.
>> Larger Loom Knit Pickle <<
Drawstring cast-on:
- Begin by making a slip knot and attaching it to the anchor peg on the side of the flower loom.
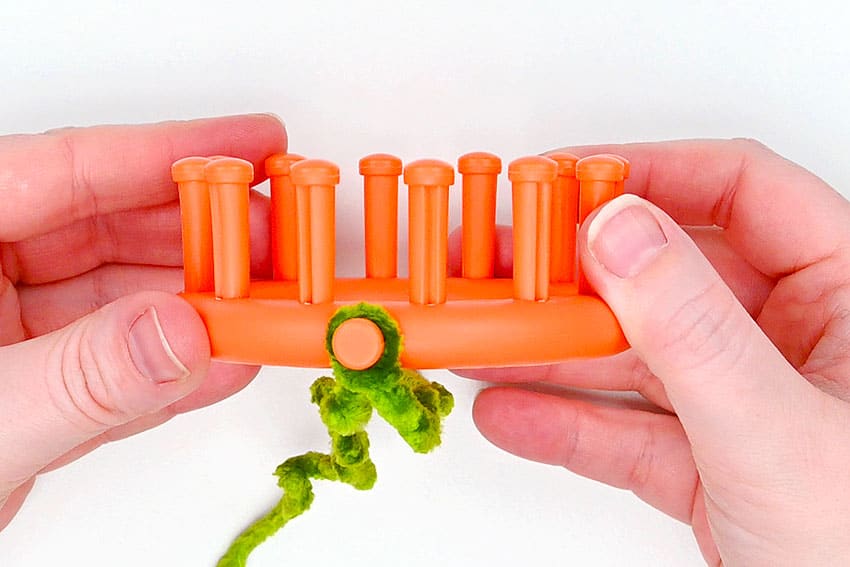
- Use a drawstring cast-on to attach the yarn. To do this, weave the yarn around the pegs. Start by going behind one peg, in front of the next, repeating (behind, in front, etc.) all the way around.I’m left handed, so I’m going around the loom clockwise, starting with the peg to the left of the anchor peg. If you’re right handed you may prefer counter-clockwise — the pattern works either way.
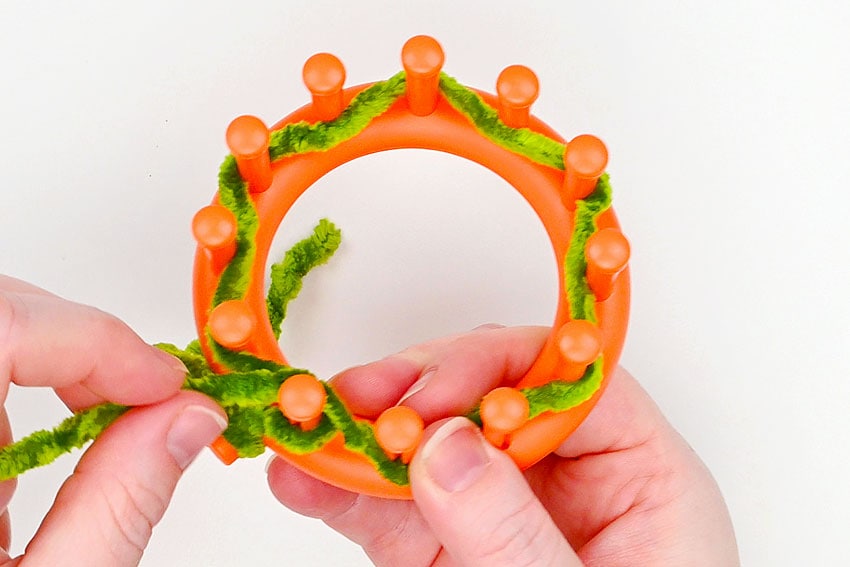
- Next, wrap the yarn around the whole loom, going in front of the pegs and above the first strands of yarn.Knit over on each peg that has 2 loops (i.e. use your loom hook to lift the bottom loop up and over the top loop, and off the peg — to the back).
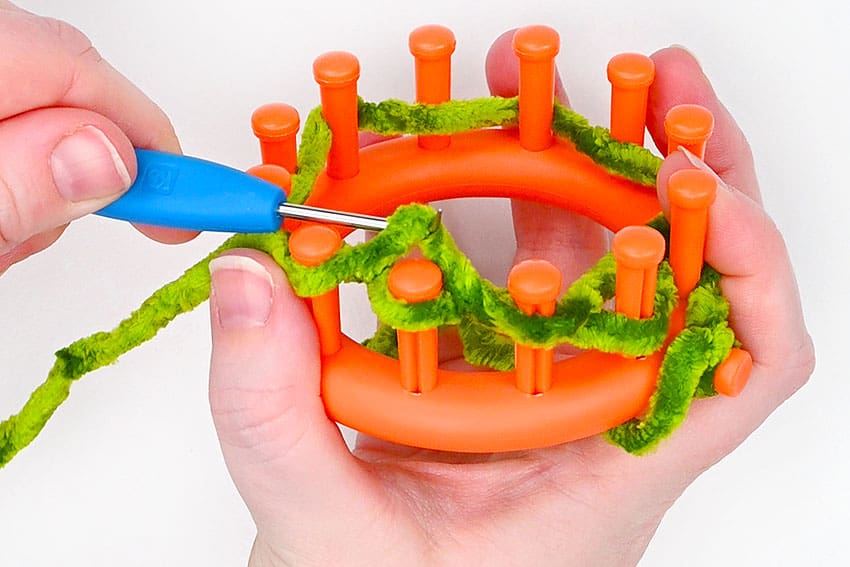
- Repeat around, until you’re back at the anchor peg. This completes the CO.
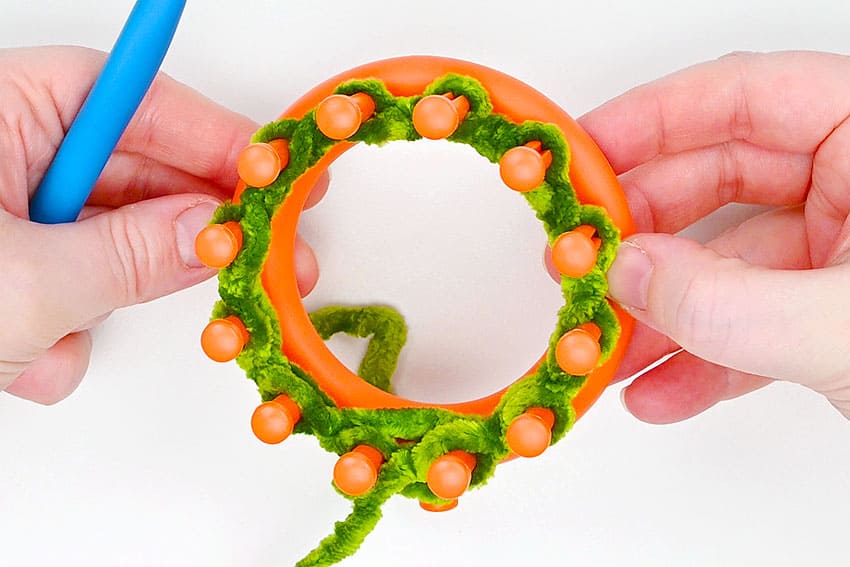
Rounds 1-3:
- UK around.”Around” means to repeat on every peg for a full round. After your first round of knits you can release the slipknot from the anchor peg and push it to the inside of the loom.
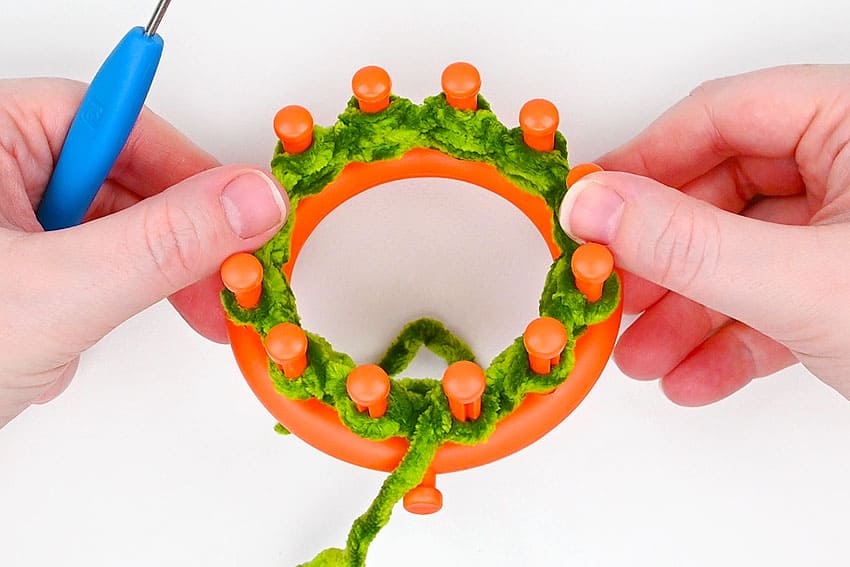
Round 4:
- P around.Here’s what your project should look like. Normally you can tell the difference of what a loop made with a purl looks like versus a knit, but it’s a lot harder to see on the chenille yarn.
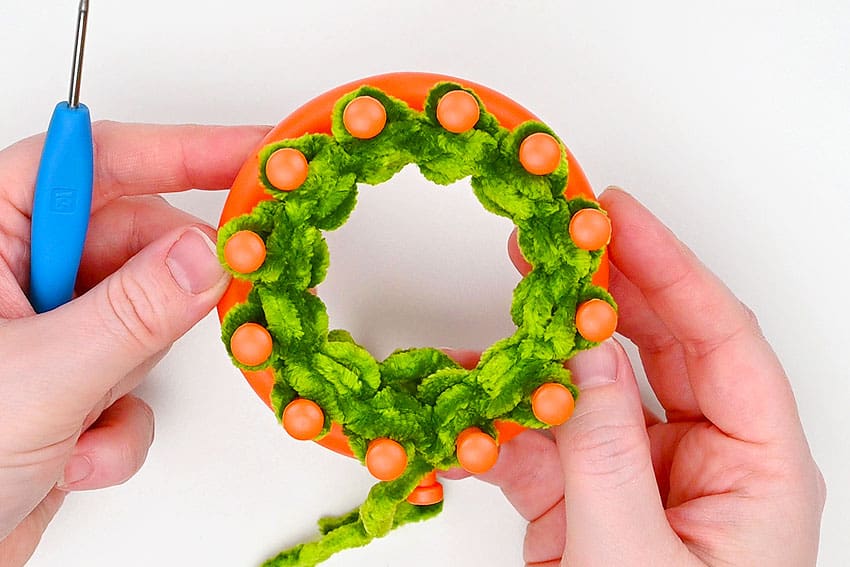
Rounds 5-6:
- UK around.
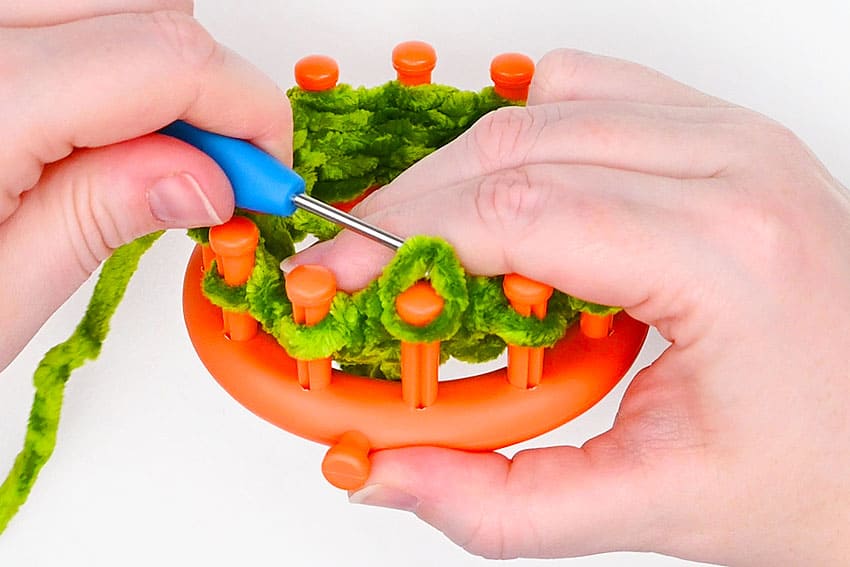
Round 7:
- Now we’re going to do a round that has knits and purls in it. Work the following stitches around:UK, UK, p, UK, p, UK, UK, p, UK, UK, p, UK.
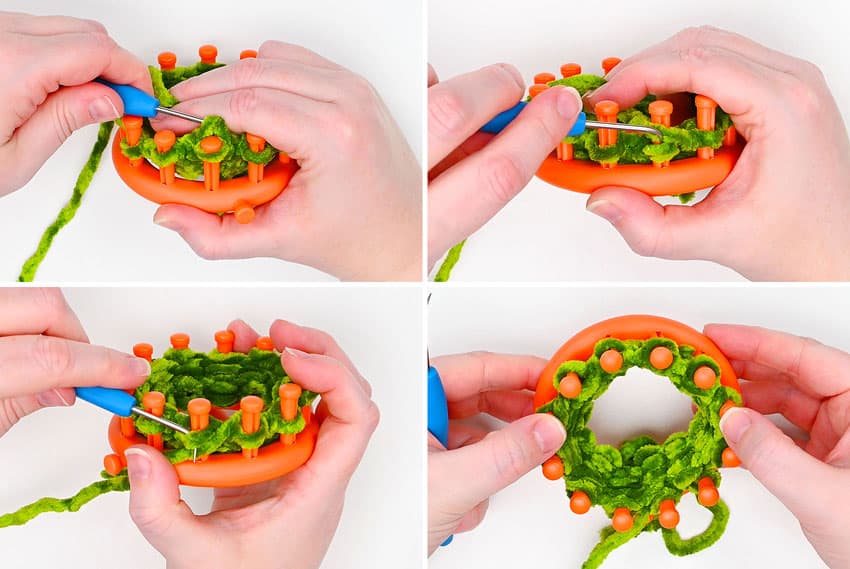
Rounds 8-9:
- UK around.
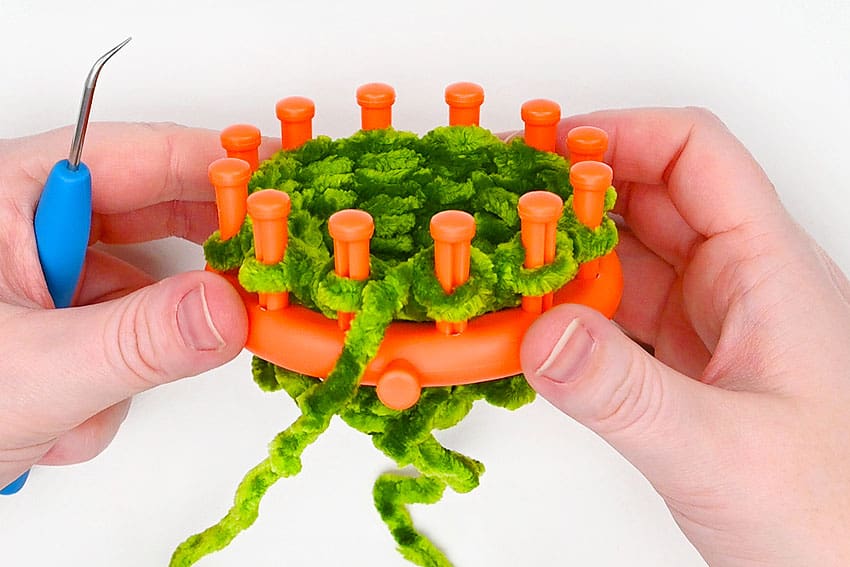
Round 10:
- P around.
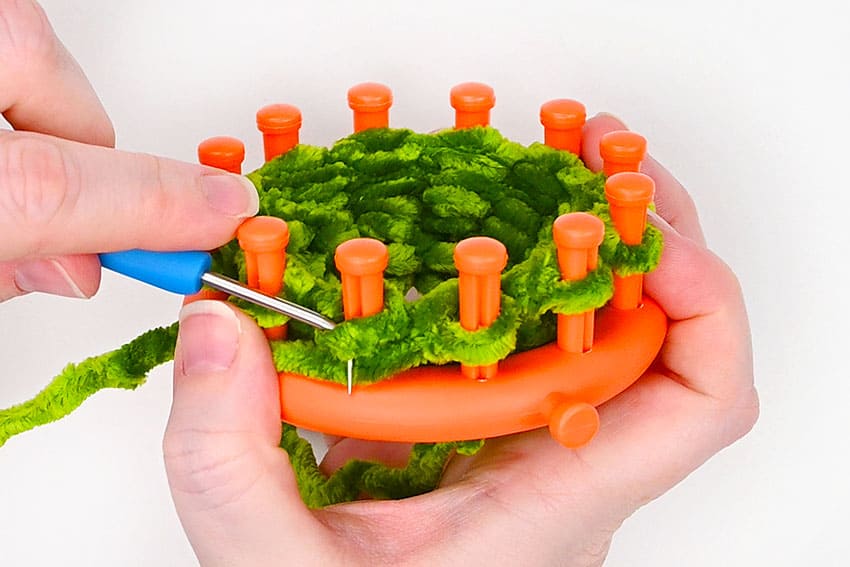
Rounds 11-12:
- UK around.
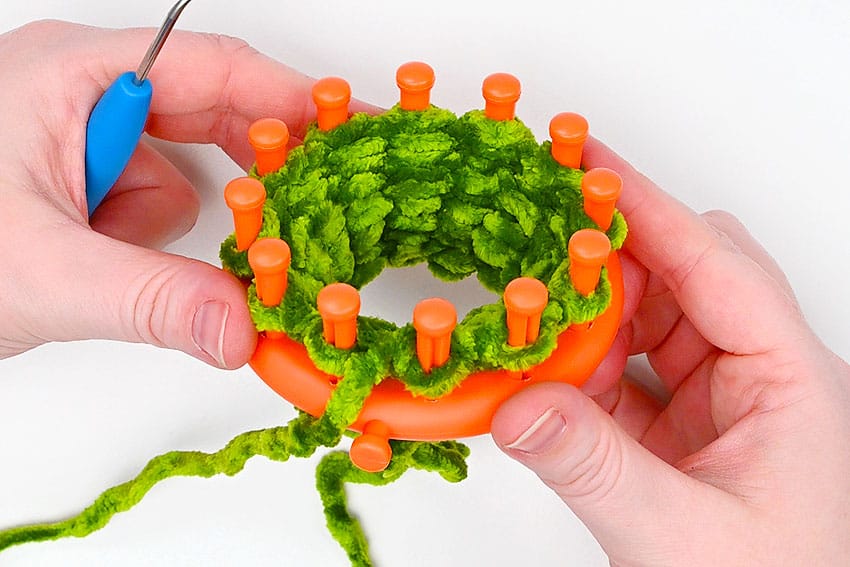
Round 13:
- UK, p, UK, UK, p, UK, p, UK, UK, p, UK, UK.
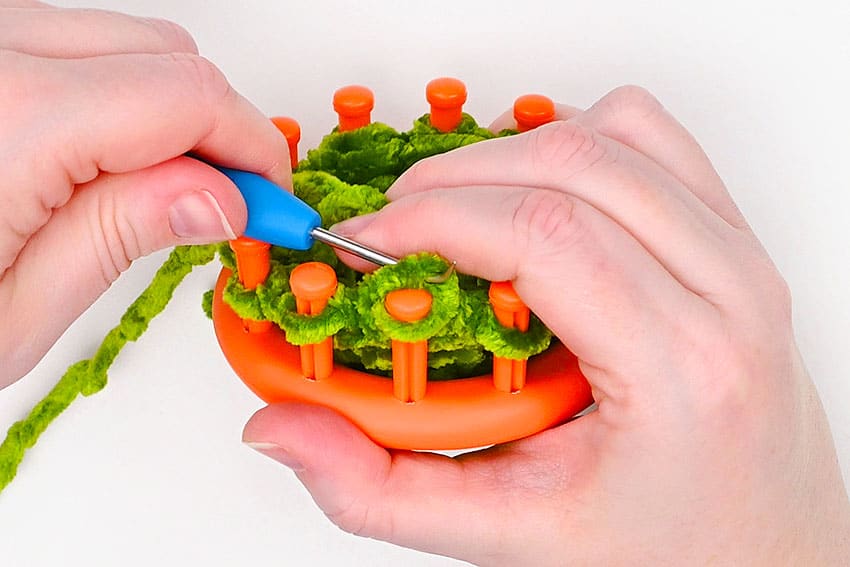
Rounds 14-15:
- UK around.
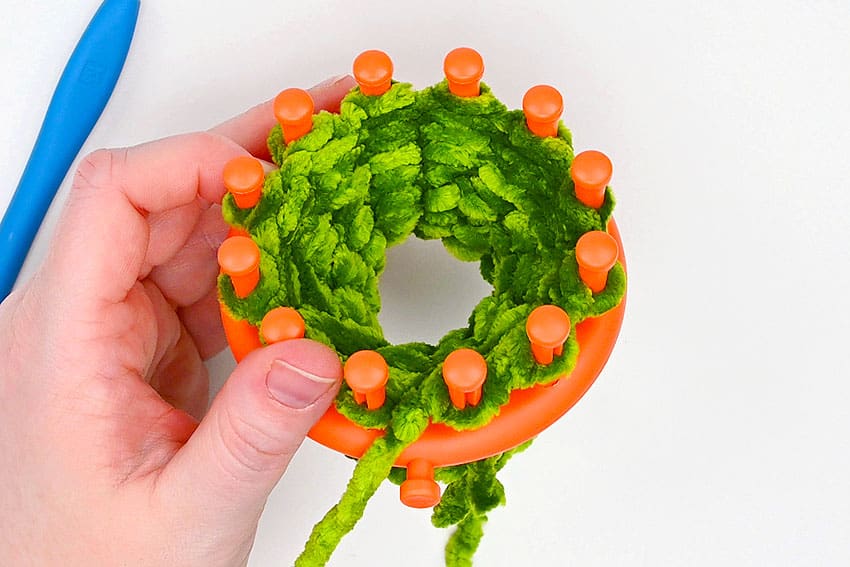
Round 16:
- P around.
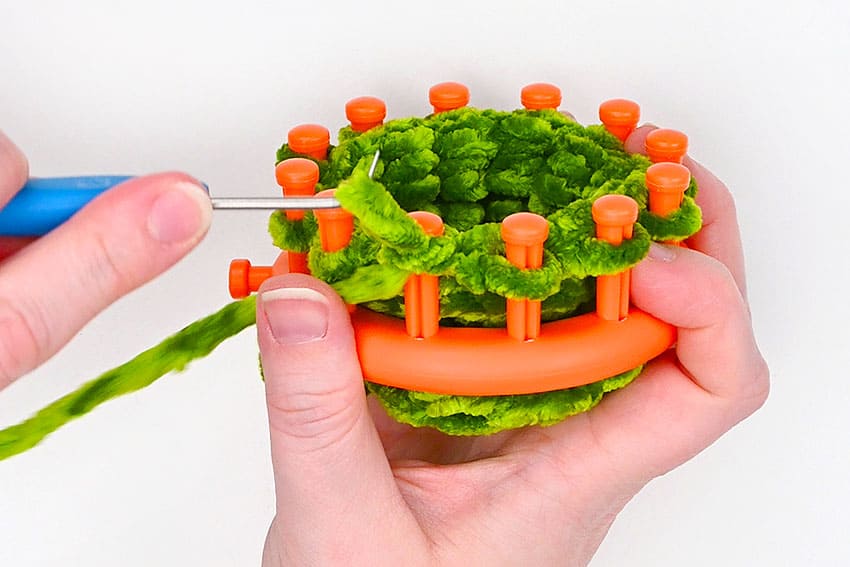
Rounds 17-18:
- UK around.
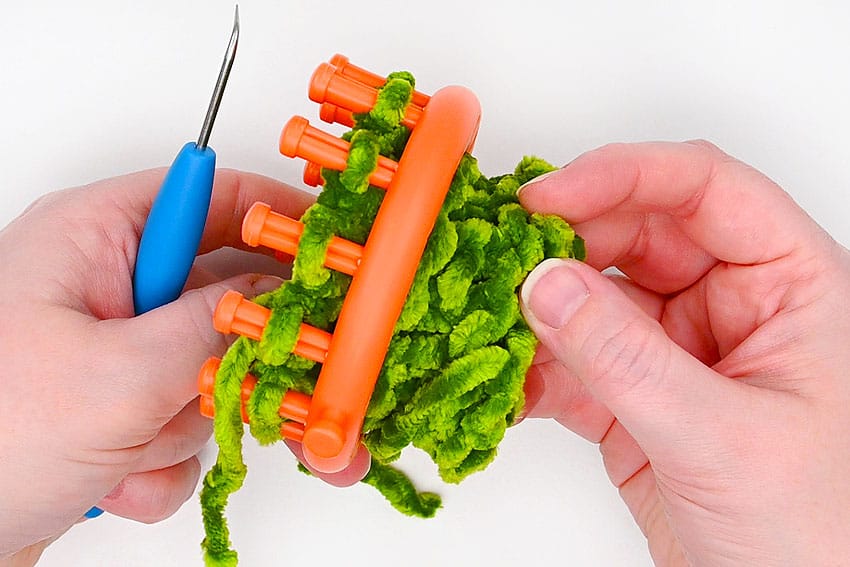
Round 19:
- UK, UK, p, UK, UK, p, UK, p, UK, UK, p, UK
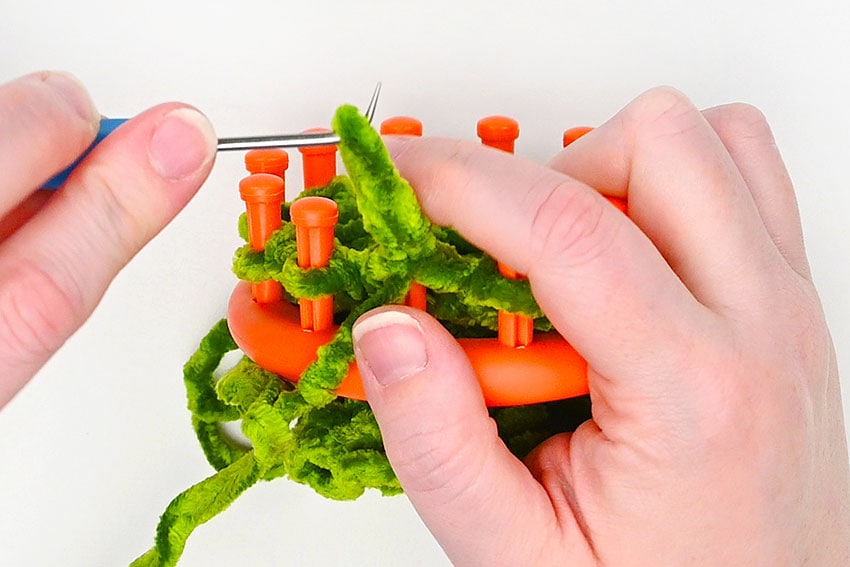
Rounds 20-21:
- UK around.
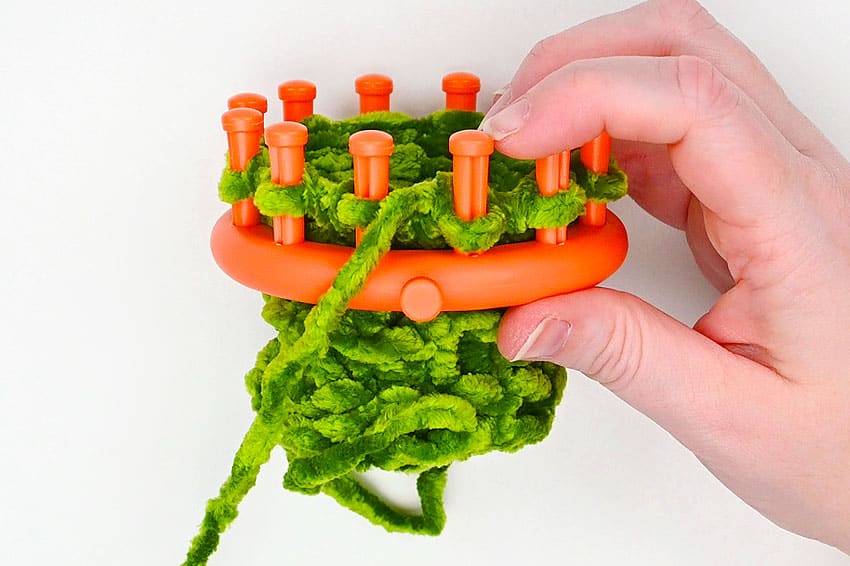
Round 22:
- P around.
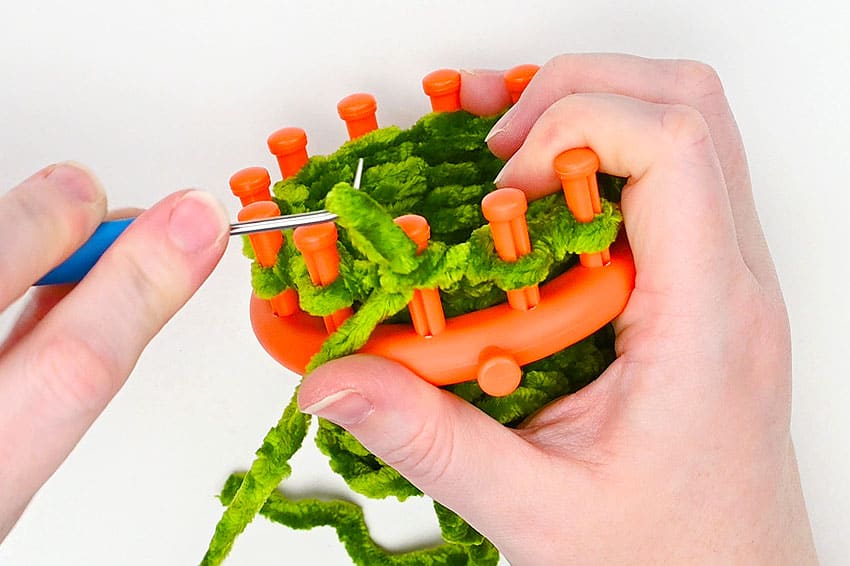
Rounds 23-24:
- UK around.
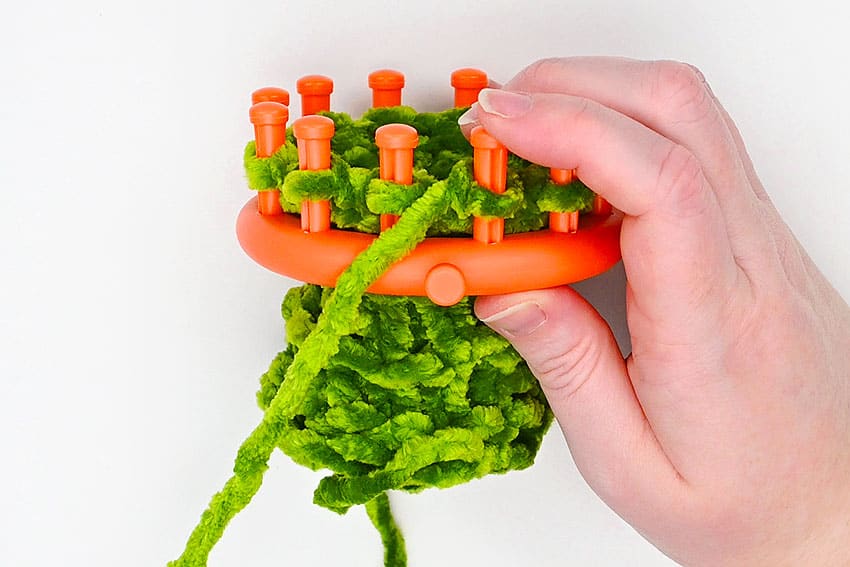
Round 25:
- p, UK, UK, p, UK, p, UK, UK, p, UK, UK, UK.
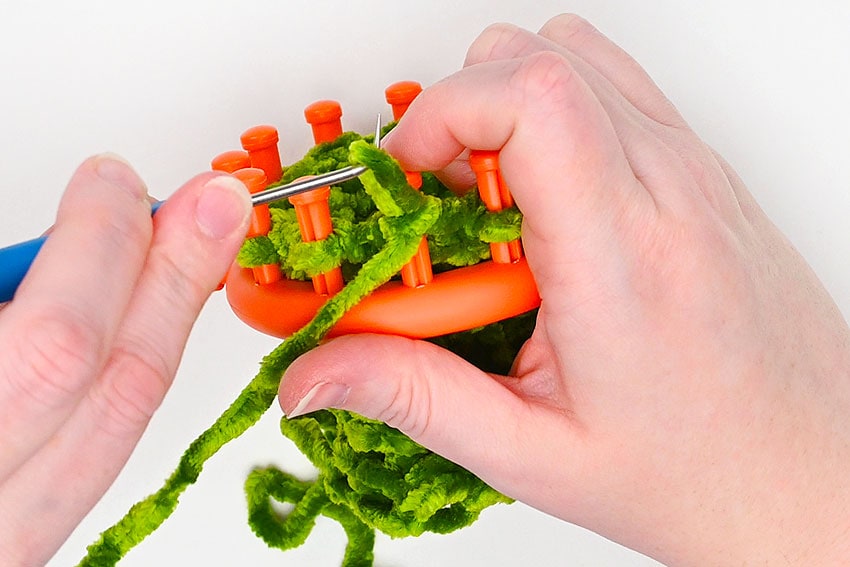
Rounds 26-29:
- UK around.
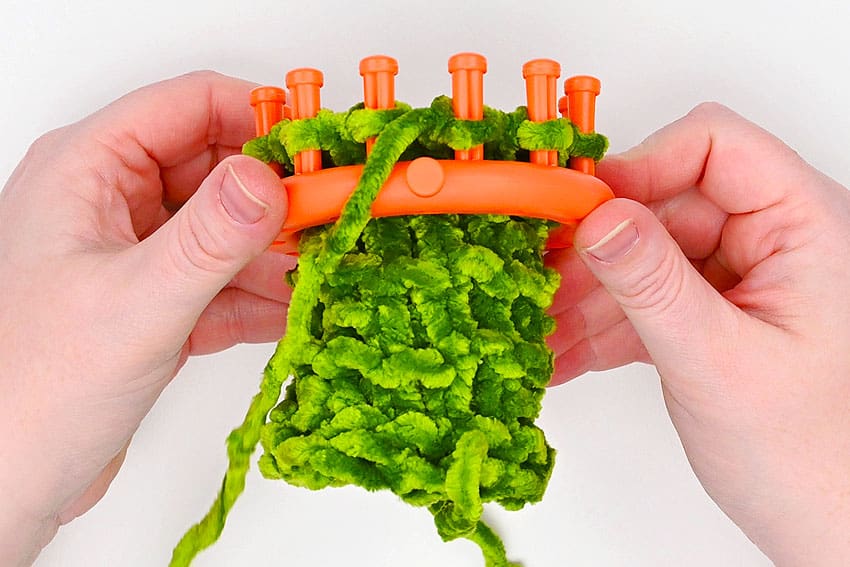
Gather bind-off:
- Wrap the wy around the loom once and cut it off from the ball.
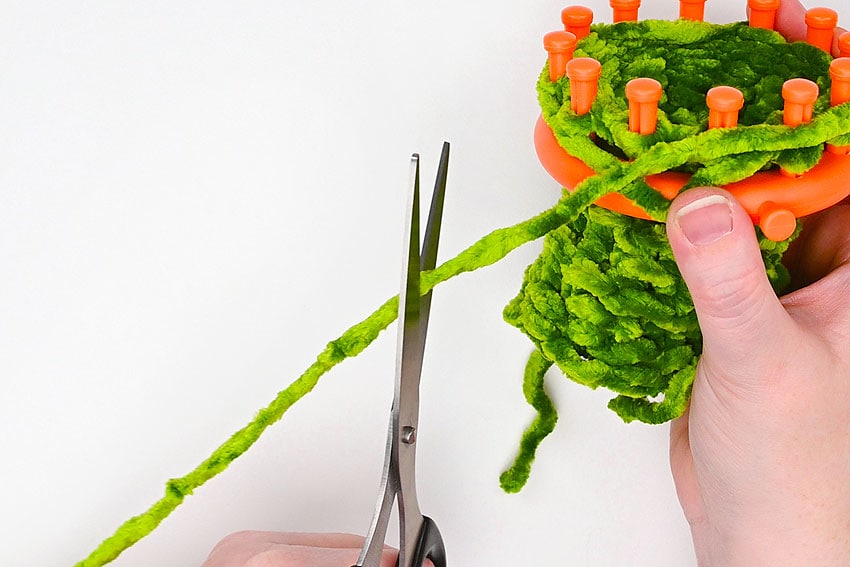
- Thread the yarn end through a yarn needle and then bring the needle up through the front of the first loop.
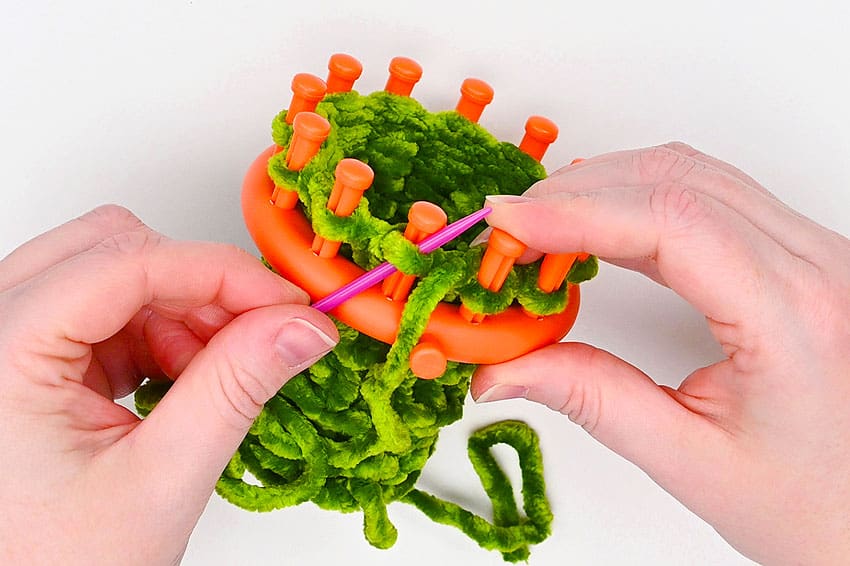
- Pull the yarn through the loop and then lift the loop off the loom.
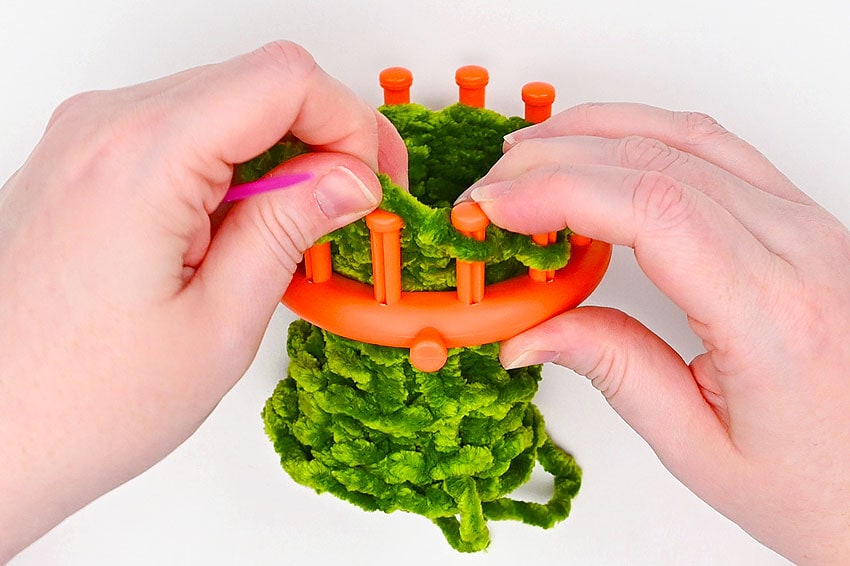
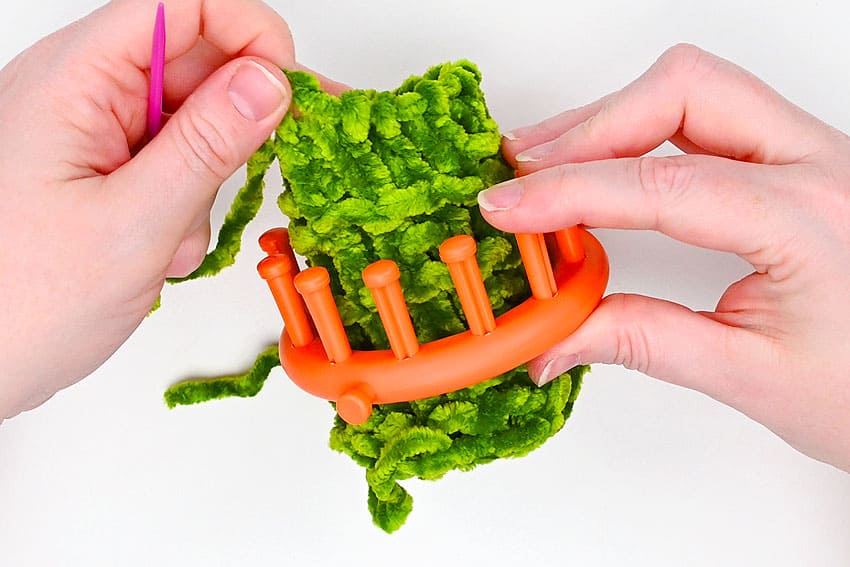
- Repeat around until the work is removed completely from the loom.
Close off and stuff the pickle:
- Pull on the yarn end (the one you just did the cast-off with) to close one end of the pickle.
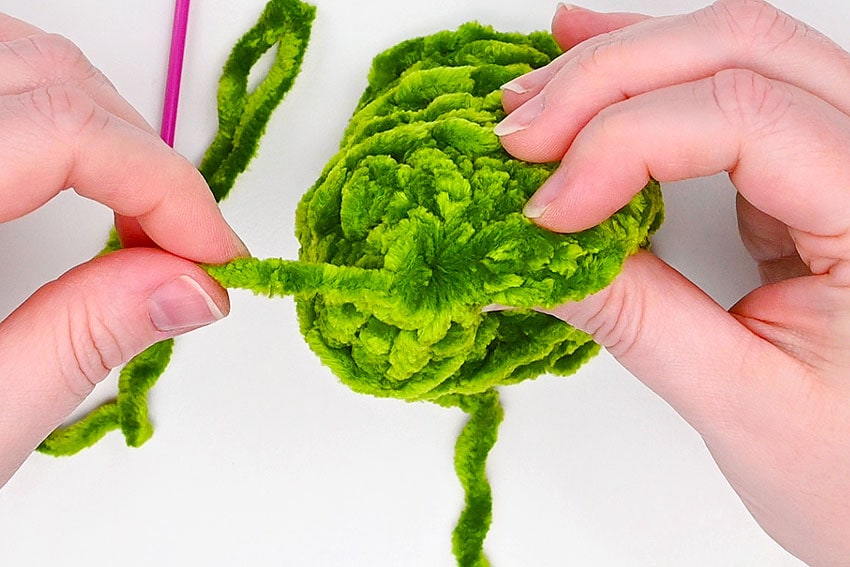
- Then weave in your end, sewing back and forth through the bottom of the pickle. End with the yarn on the inside of the pickle, and cut off the excess.
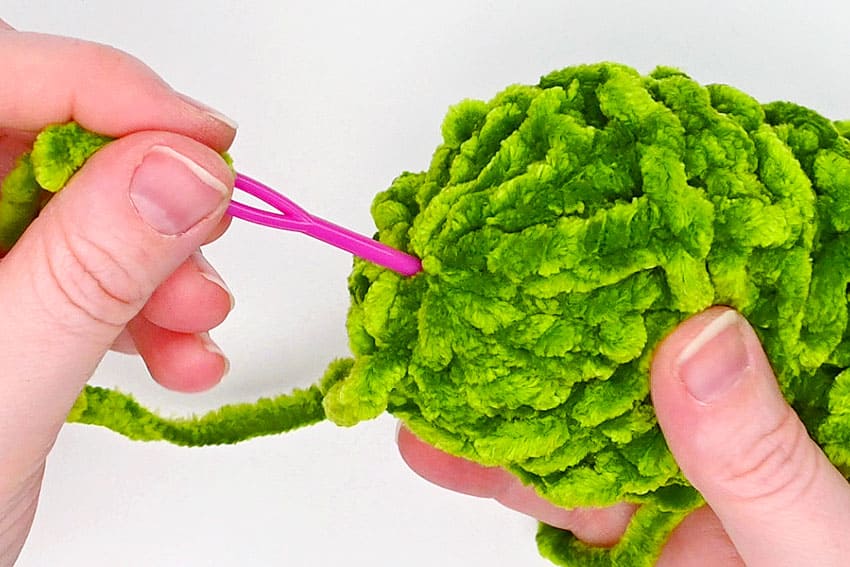
- Add a bit of stuffing to the pickle, pushing it down to the bottom.
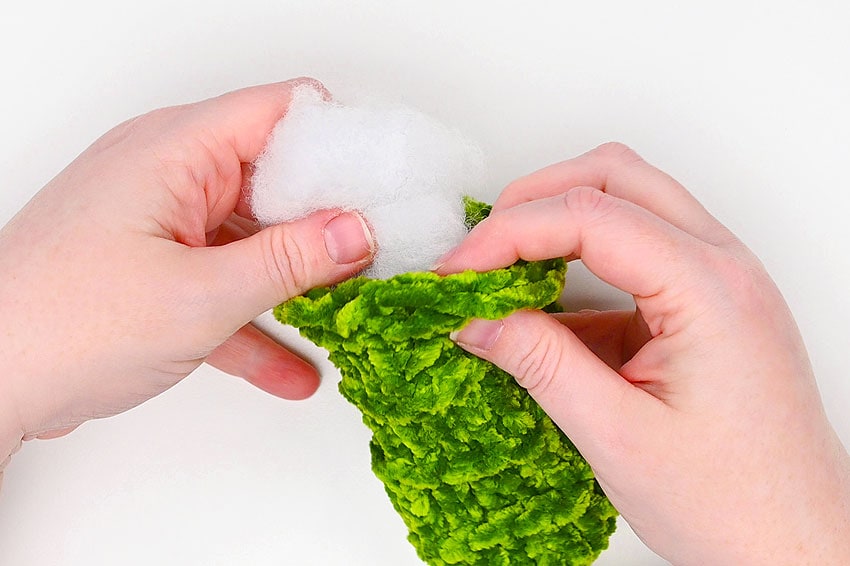
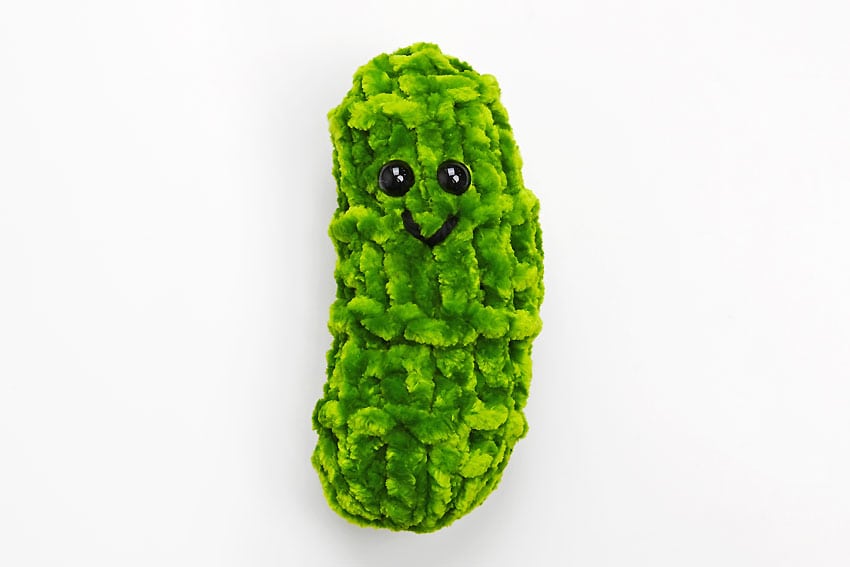
- Insert safety eyes between the last two purl rows, placing them a couple of stitches apart. Secure them with the backings inside.
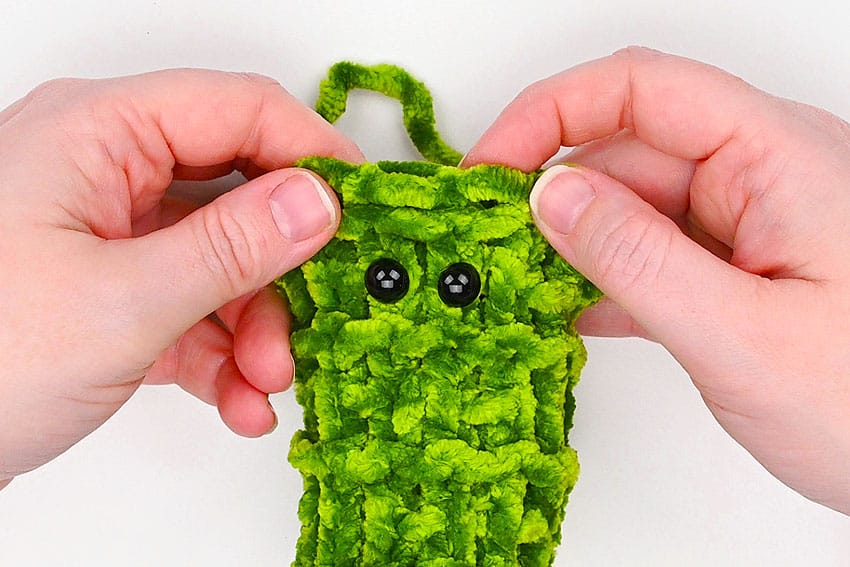
- Add black yarn on your needle and sew a little smiley face mouth. Tie the ends together inside to secure.
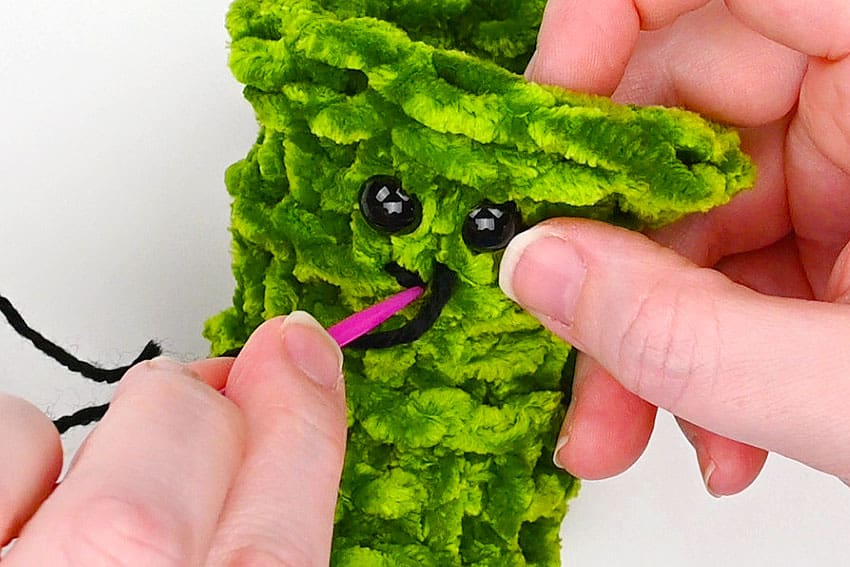
- Fill the pickle with more stuffing and then pull gently on the end to close off the pickle. The drawstring is a bit harder to close than the gathered end, but it will close with gentle persuasion. Don’t pull too hard, as chenille yarn can break off if you do this.Then weave in the end and cut it off, using your needle or hook to push the end back inside the pickle.
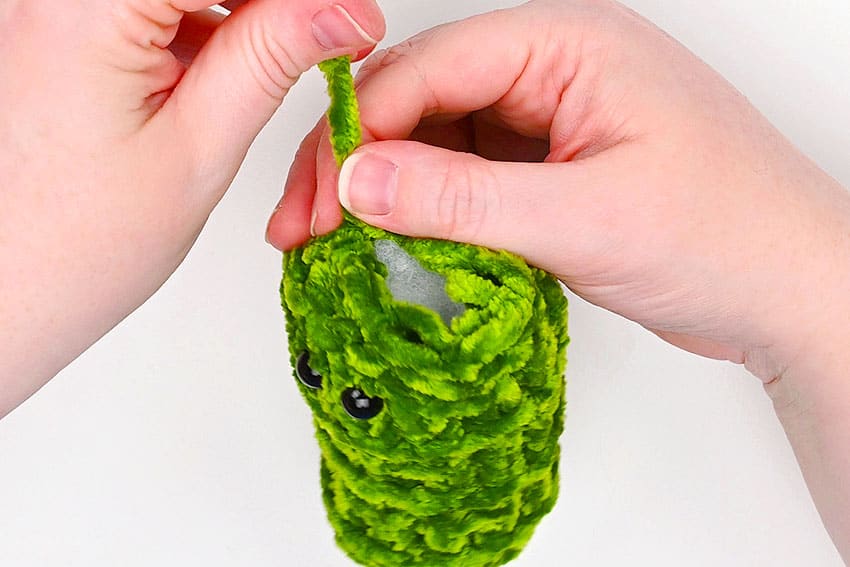
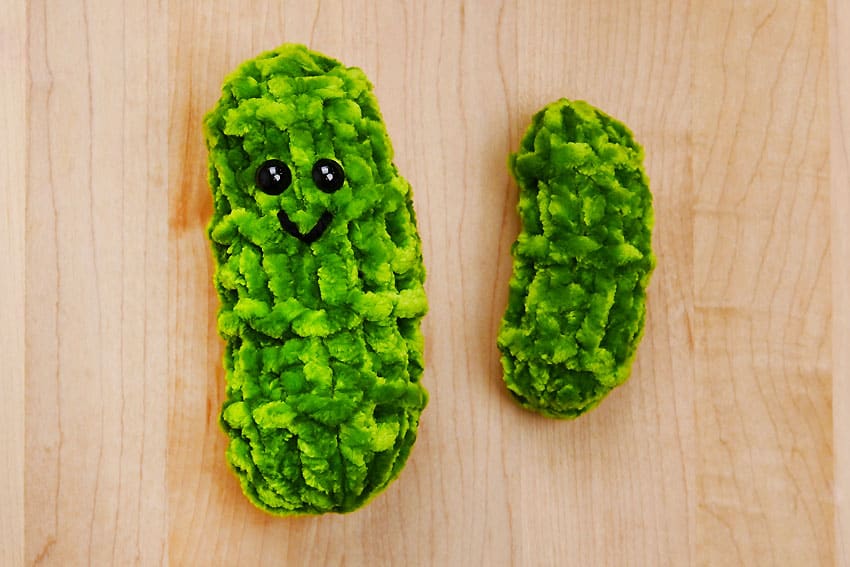
- Your loom knit pickle is complete!
>> Small Loom Knitted Pickle <<
Drawstring cast-on:
- To make a smaller loom knit pickle you can use an 8 peg knitting spool.Since they don’t have an anchor peg we find it useful to mark your starting peg with a stitch marker, small elastic, or even a piece of yarn.
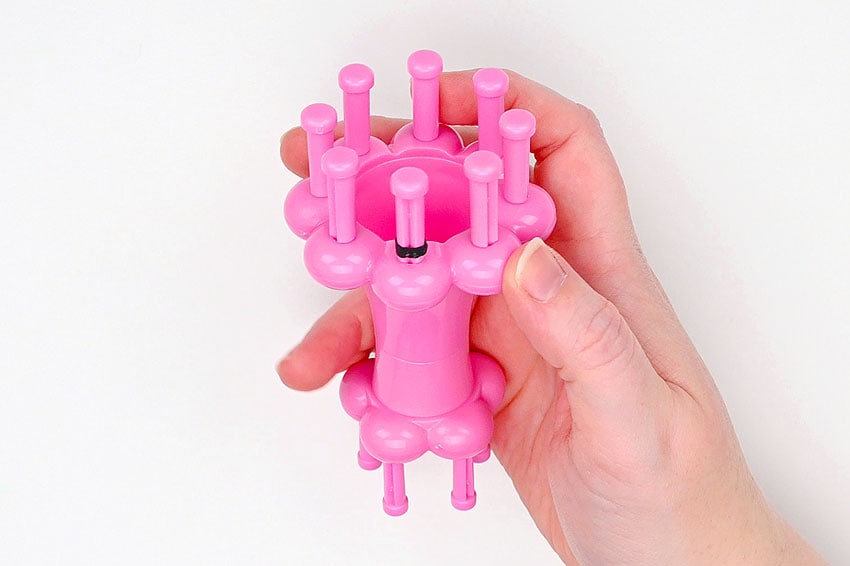
- Add the yarn to the spool with a drawstring cast-on (see instructions above).
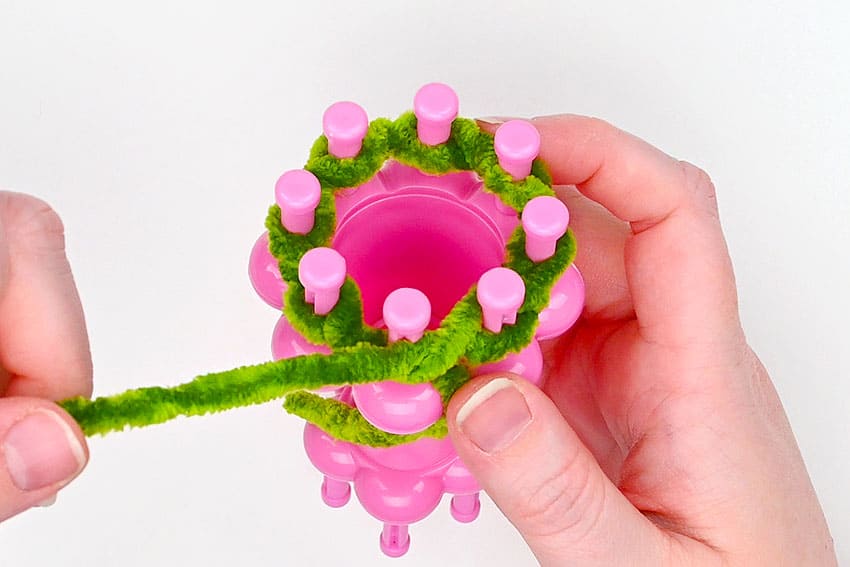
Round pattern:
- Rounds 1-3: UK around.Round 4: p around.Rounds 5-6: UK around.Round 7: UK, UK, p, UK, UK, p, UK, p.Rounds 8-9: UK around.Round 10: p around.Rounds 11-12: UK around.Round 13: UK, p, UK, UK, p, UK, p, UK.Rounds 14-15: UK around.Round 16: p around.Rounds 17-19: UK around.
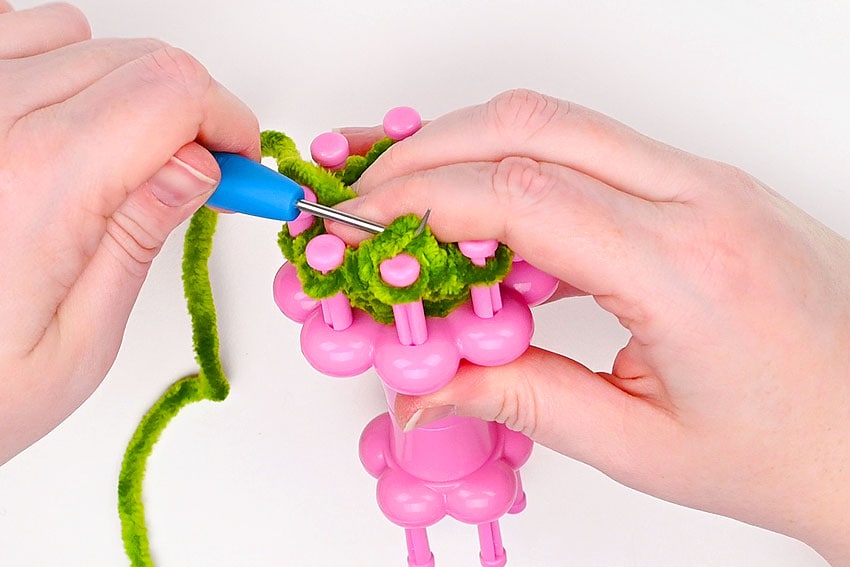
Gather bind-off:
- Remove your work from the loom using a gather bind-off (see instructions above).
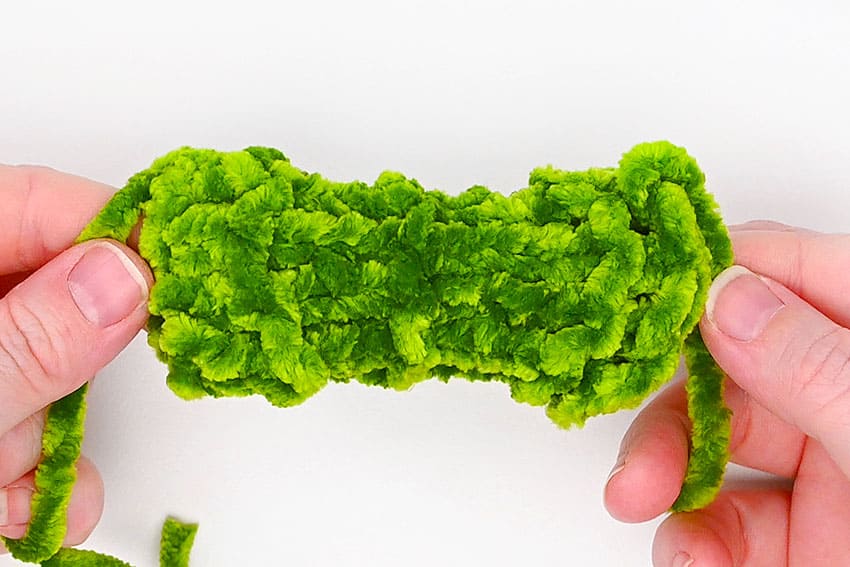
- Close off the pickle, stuff it, and weave in the ends, following the steps above.We didn’t add a face to this baby pickle, but you definitely can if you’d like!
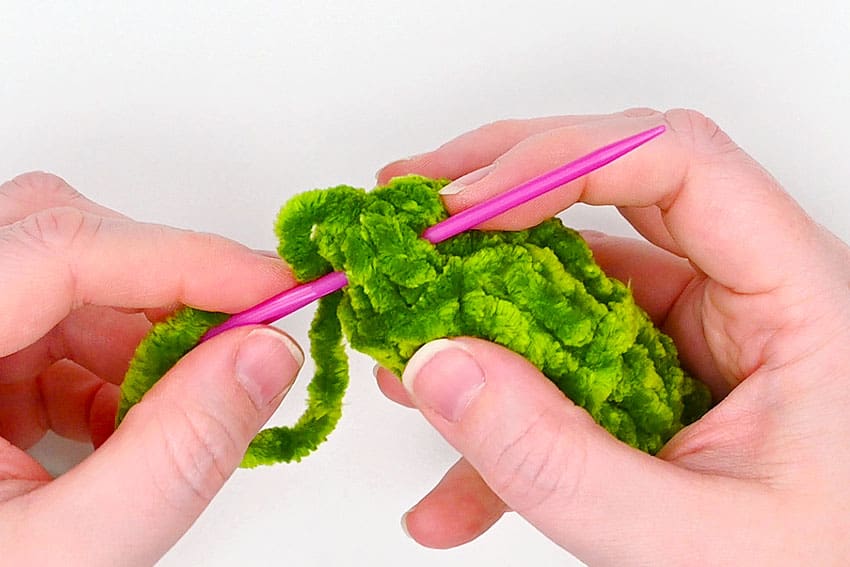
- Your baby dill knitted pickle is complete!

- We hope you have fun with this pattern, whether you make a jar full of baby dill pickles, create an emotional support pickle friend, or both!
Helpful Tips
- Keep your yarn tension even so both crochet squares come out close to the same size.
- Use the hook size listed in the tutorial so the stitches are firm enough to hold the marble securely.
- Check the marble fit before closing the toy so it can move inside without slipping out.
FAQs
What yarn works best for a crochet fidget toy?
Worsted weight yarn works well because it creates a sturdy fabric that can hold a marble while still feeling soft in your hands.
What size crochet hook do I need?
Use the hook size listed in the tutorial. For this project, a 5mm crochet hook helps create stitches that are firm but still easy to work with.
What size marble should I use?
A regular glass marble is usually a good fit. Check that the marble can move inside the toy without slipping through the stitches.
Can beginners make this crochet fidget toy?
Yes, confident beginners can make it if they are comfortable chaining, working basic crochet stitches, joining pieces, and finishing yarn ends.
Can I wash a crochet marble fidget toy?
Hand wash gently and let it air dry. Avoid rough washing because the marble and stitched closure should stay secure.
Final Thoughts
When the crochet fidget toy is finished, test the marble movement gently and check that the closing stitches feel secure. This is a small project, but it is a useful way to practice tension, joining, and simple finishing while making something fun to hold.
Affiliate disclosure: This post may contain Amazon affiliate links. As an Amazon Associate, Easy Crafts Ideas may earn from qualifying purchases at no extra cost to you.