This flower straw painting painting craft is a cheerful hands-on project for kids, classrooms, and family craft time. It uses the tutorial steps below as the practical guide while adding helpful planning notes so the project feels easier to prepare, follow, and finish. Gather the supplies first, give yourself a little workspace, and enjoy making something creative from simple materials.
Materials:
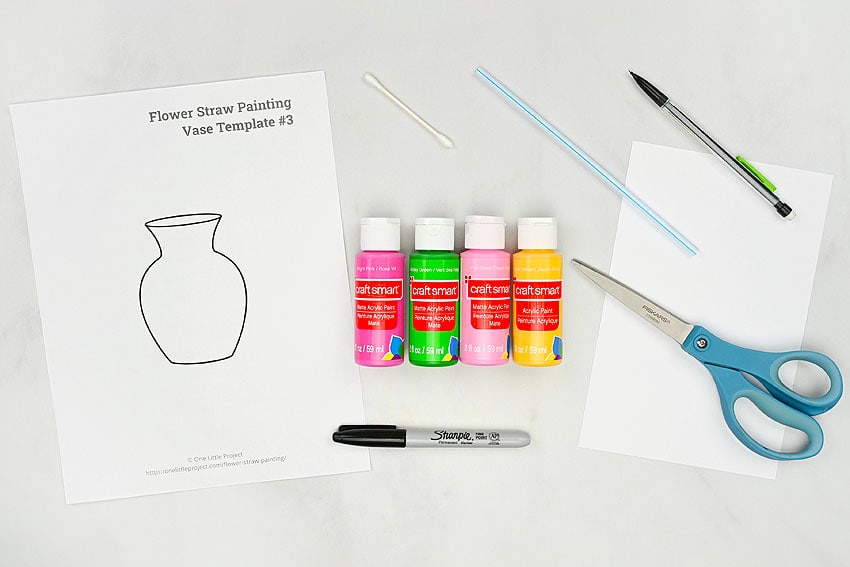
- Printable Vase Template (find more links below)
- White cardstock
- (green, 2 flower colours, yellow)
- Black Sharpie marker
Equipment:
Instructions:
Step 1: Find what you need
- Gather your supplies and materials.
Step 2: Draw a vase and paint flower stems
- Print one of our free vase templates. We have 4 vases to choose from!Find one link in the materials list above, with more links and details below the tutorial.
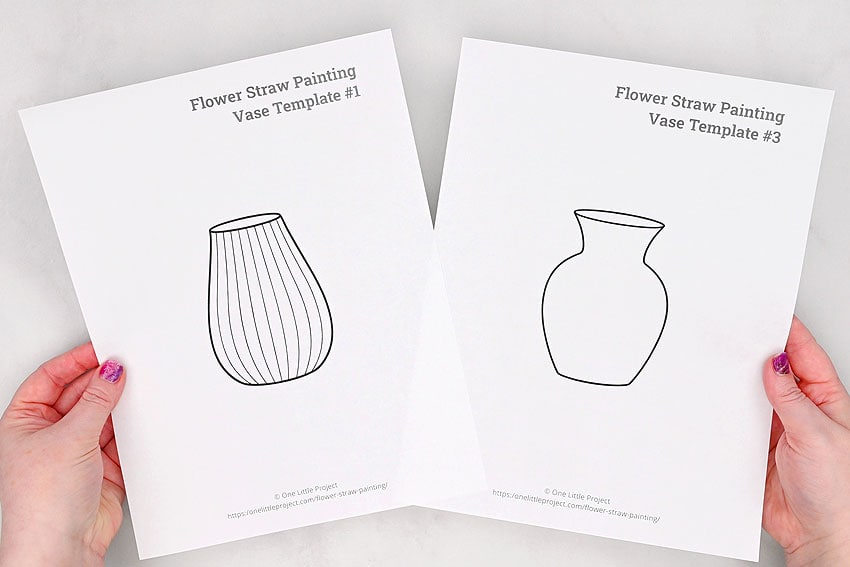
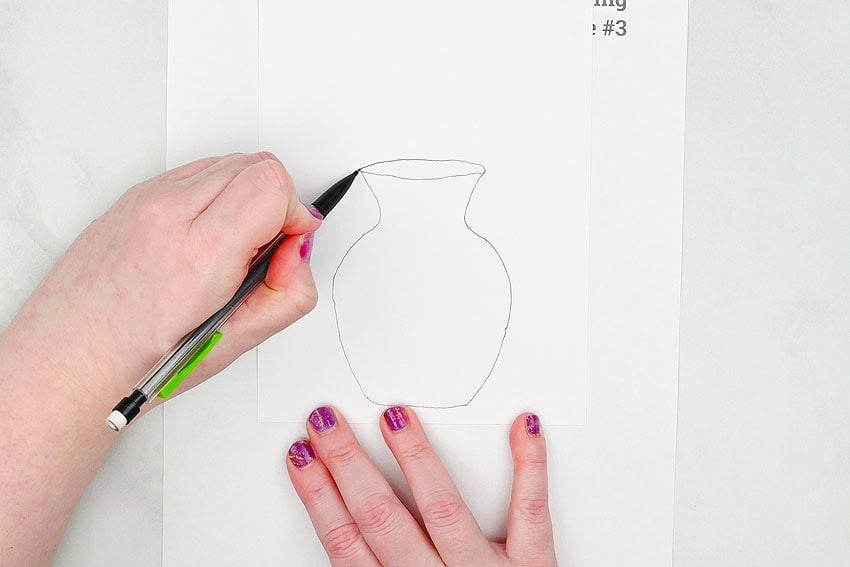
- Place a piece of cardstock on top of the template and trace the vase shape.You can use a light pad or hold the papers up to a well lit window if you can’t see the lines clearly.
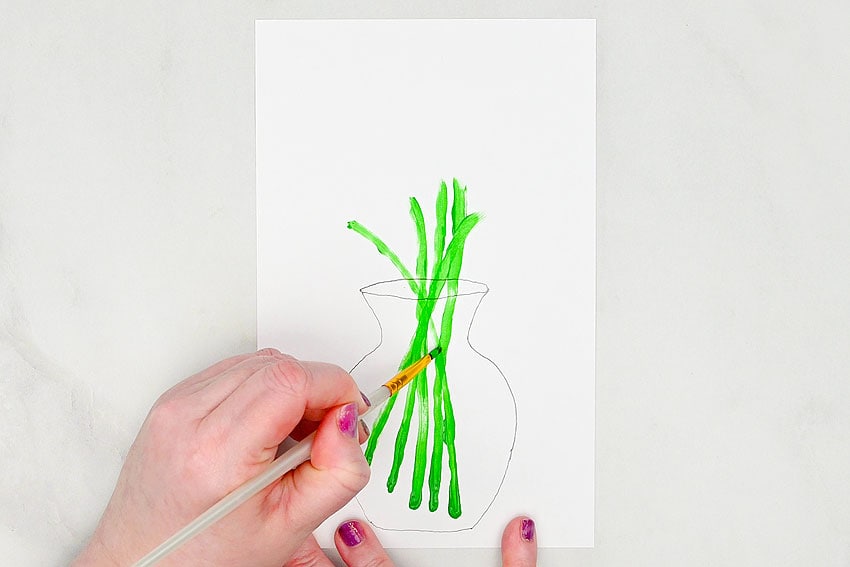
- Then use green paint and a paintbrush to paint flower stems coming out of the vase.
Step 3: Make a straw paintbrush
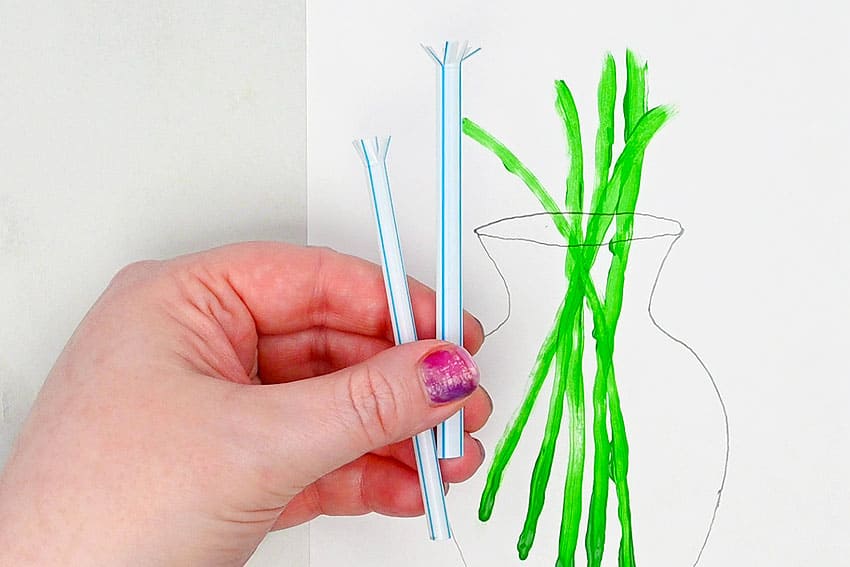
- To make the flowers we’re going to use a cut straw as a paintbrush. Begin by cutting the straw in half, so you have 2 “brushes” to work with.
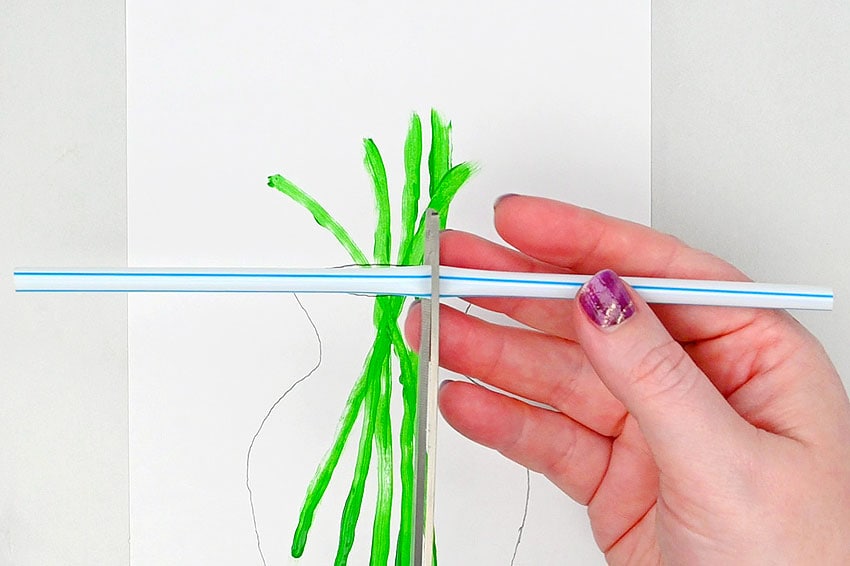
- Begin by making 4 even cuts around the end of the straw, going down about 1/4 inch. If your straw is striped, like ours, you can use the lines as a guide. Otherwise, do your best to make the cuts even.Then cut in-between the previous cuts, so you have 8 thin strips at the end of the straw.

- Use your finger to press the straw pieces outwards. Once you get the cut pieces pressed outward you can also press the straw down on your working surface.
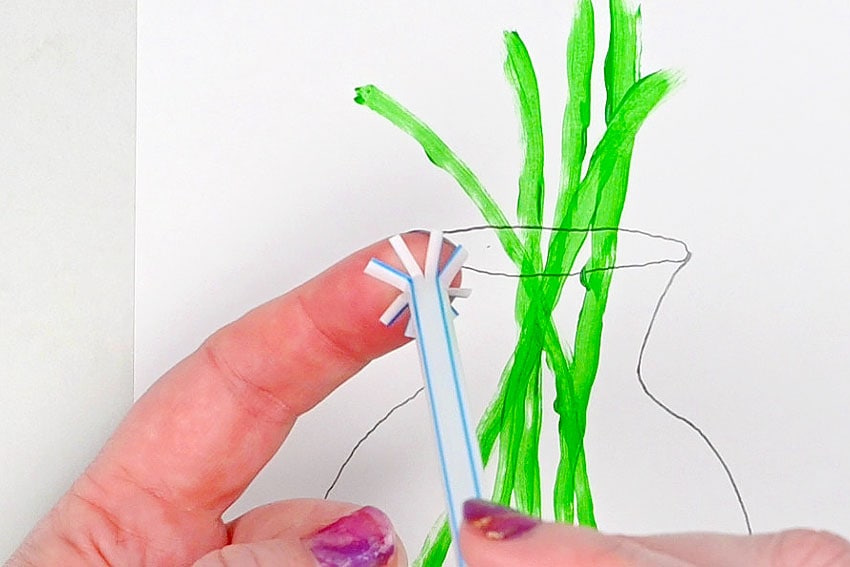
- Repeat with the 2nd half of the straw. Now you have 2 “paintbrushes”, so you can create 2 different colours of flowers.
Step 4: Paint flowers
- Dip the straw into some flower coloured paint. You want to make sure the cut parts of the straw are well covered, but try to avoid getting paint in the middle.If you get a lot of paint on your stamp, you can stamp it onto scrap paper first to test it.
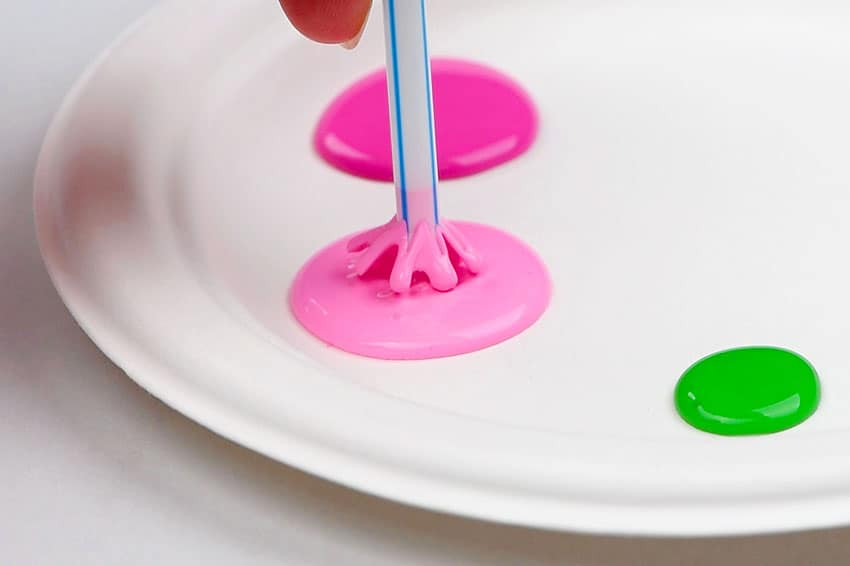
- Then, when you’re ready, stamp the brush down onto the paper.You can place it at the end of a stem, or wherever you’d like a flower to go. Wiggle the straw back and forth a bit, so that the paint transfers evenly.

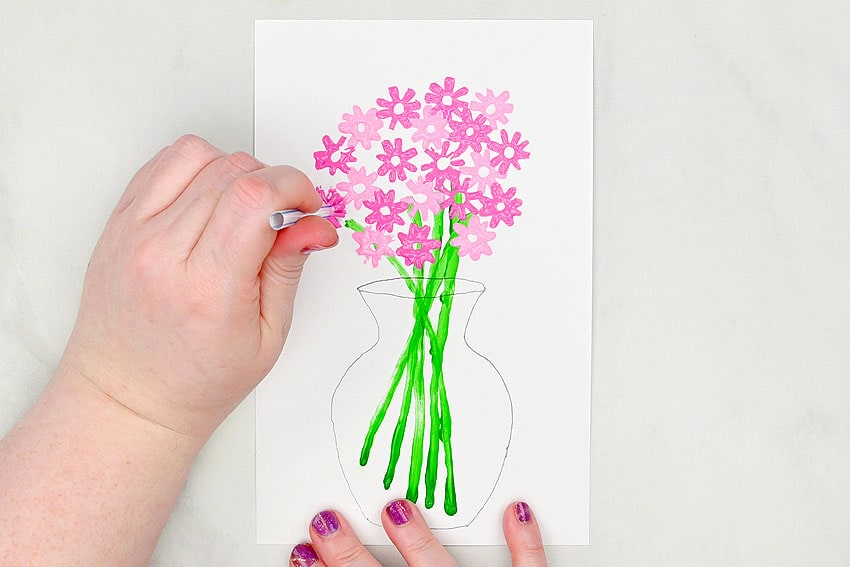
- Repeat, adding flowers of the same colour across the top of the vase, leaving space in-between them.
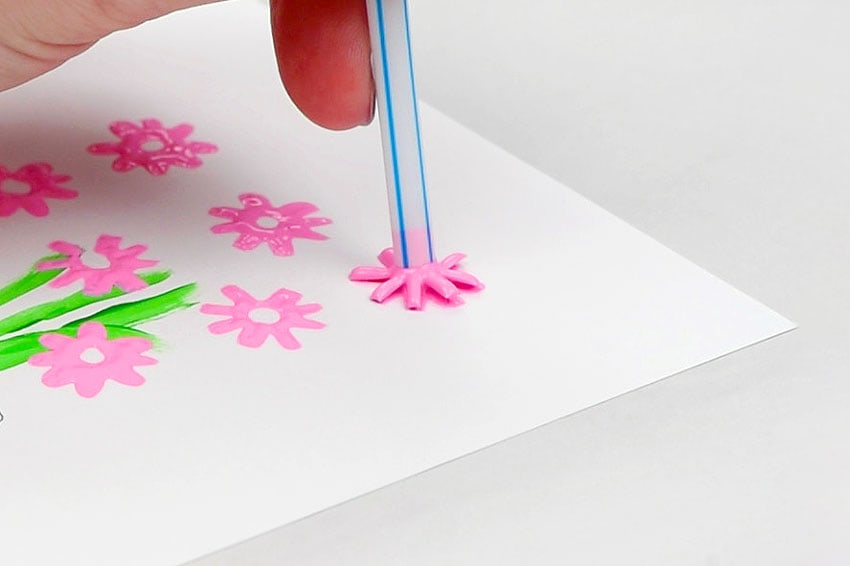
- Choose a second colour of paint (or use a different shade of the same colour) and add more flowers to fill out the bouquet.
Step 5: Add flower centers and finish the vase
- To add a center for the flower, use yellow paint and a Q-tip.
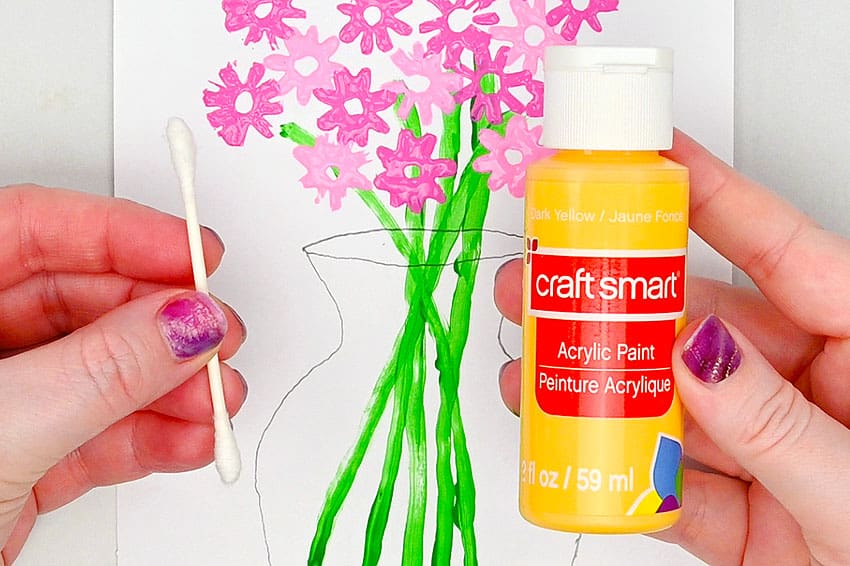
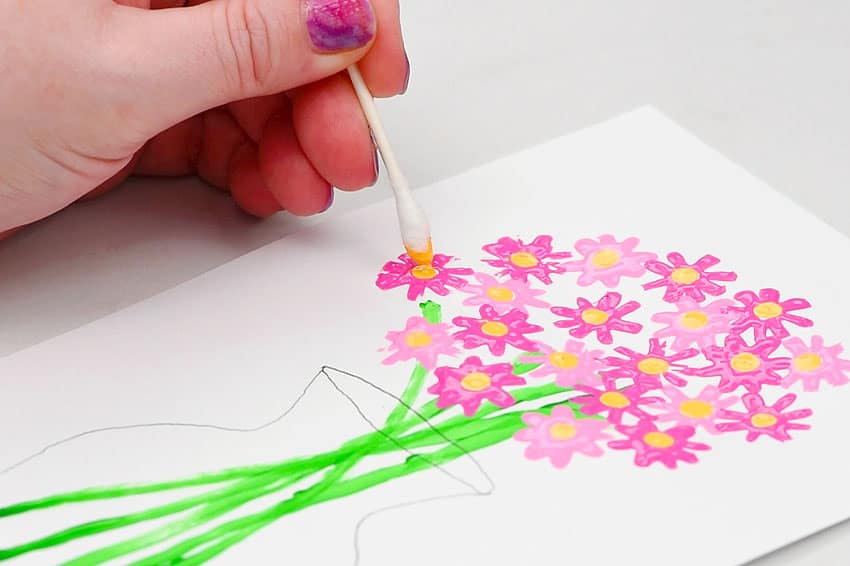
- Dip the Q-tip in the paint and then dot down into the middles of the flowers.We found it was fine to add the centers while the flower petals were still wet, but younger artists may want to wait for the paint to dry first.
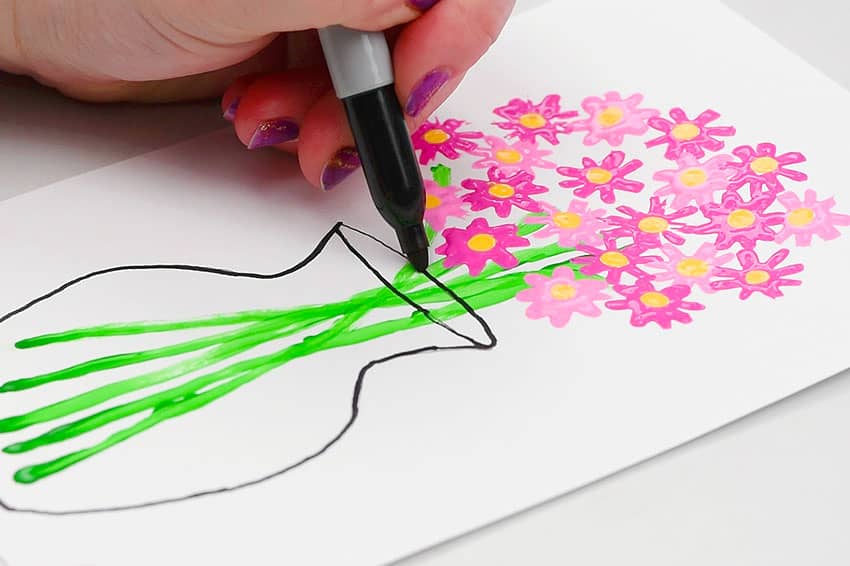
- Then use a black Sharpie to trace the vase outline. Erase any pencil lines that show through, if needed.
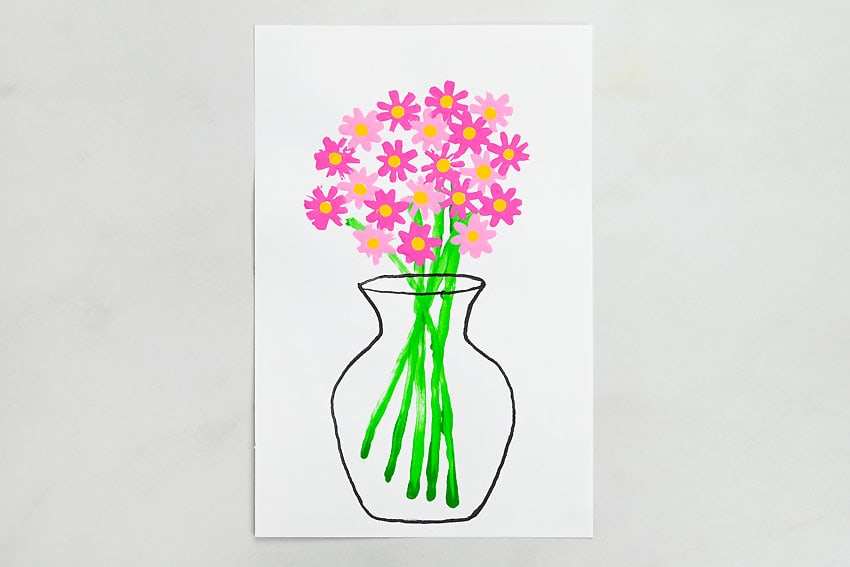
- Your flower straw painting is complete!
Helpful Tips
- Read through the full tutorial before starting.
- Prepare the listed supplies ahead of time so each step is easier to follow.
- Check the finished craft against the instructions before displaying or using it.
FAQs
Is this tutorial beginner friendly?
Yes. This flower straw painting painting craft is written with simple steps and extra tips for beginners.
Can kids make this craft independently?
Older kids may be able to work independently, while younger kids should have help with any steps that require close attention or small pieces.
How long does the craft take?
Most versions take about 30 minutes, depending on the materials and the pace of the crafter.
Can I use different colors?
Yes. Changing the colors is one of the easiest ways to personalize the finished craft.
Final Thoughts
Once the flower straw painting painting craft is finished, take a moment to check the details, compare the result with the tutorial, and display the project somewhere kids can enjoy their work.
Affiliate disclosure: This post may contain Amazon affiliate links. As an Amazon Associate, Easy Crafts Ideas may earn from qualifying purchases at no extra cost to you.