This air dry clay bowls kids craft is a cheerful hands-on project for kids, classrooms, and family craft time. It uses the tutorial steps below as the practical guide while adding helpful planning notes so the project feels easier to prepare, follow, and finish. Gather the supplies first, give yourself a little workspace, and enjoy making something creative from simple materials.
Materials:
Equipment:
Instructions:
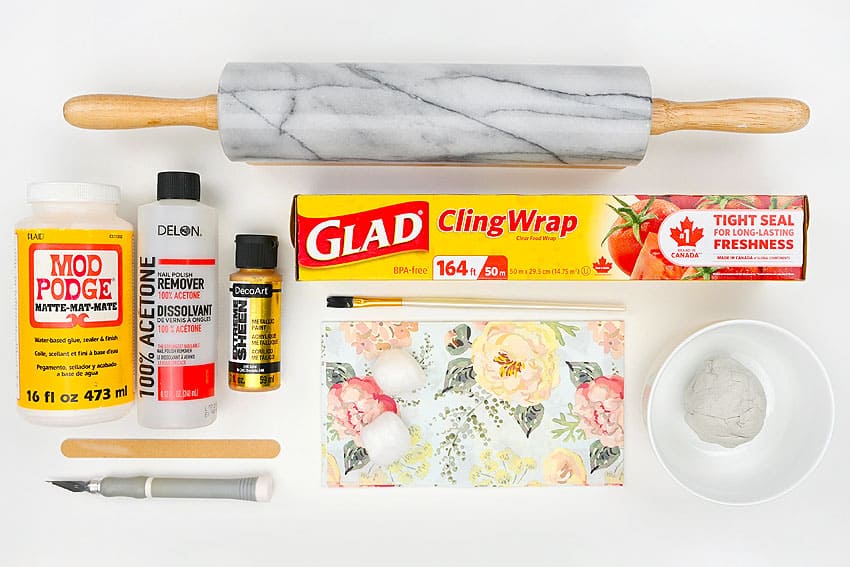
Step 1: Find what you need
- Gather your supplies and materials.
Step 2: Choose a napkin
- To decorate your bowl you’ll need a regular paper napkin.
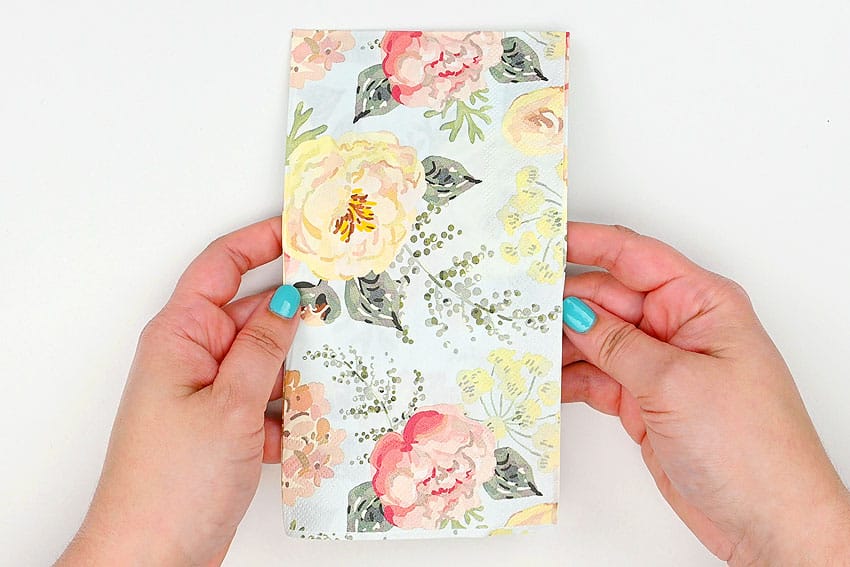
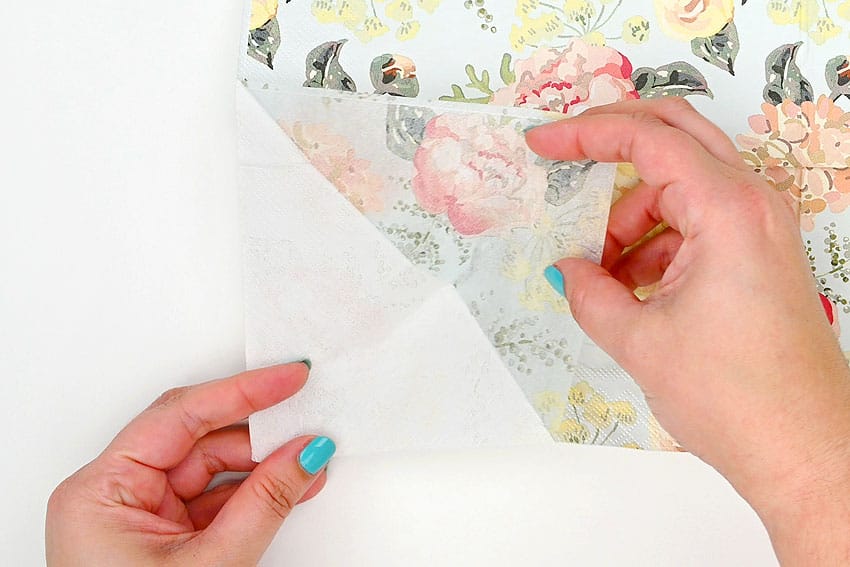
- Unfold the napkin and carefully peel off the top patterned layer. You only need this top layer.
Step 3: Roll out the clay
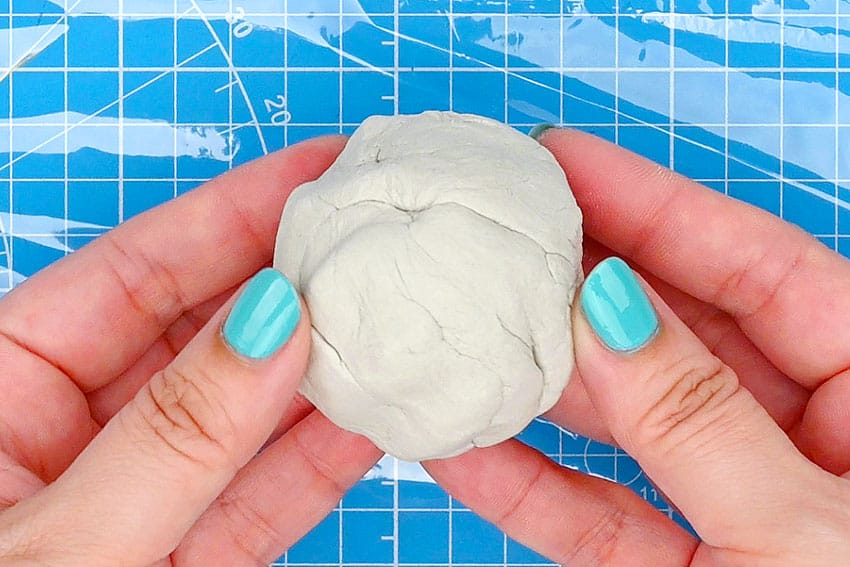
- Place a piece of plastic wrap on a cutting board. Add a ball of conditioned clay to the center of the plastic wrap and cover it with another piece.This ensures the clay won’t stick to the cutting board or your rolling pin.
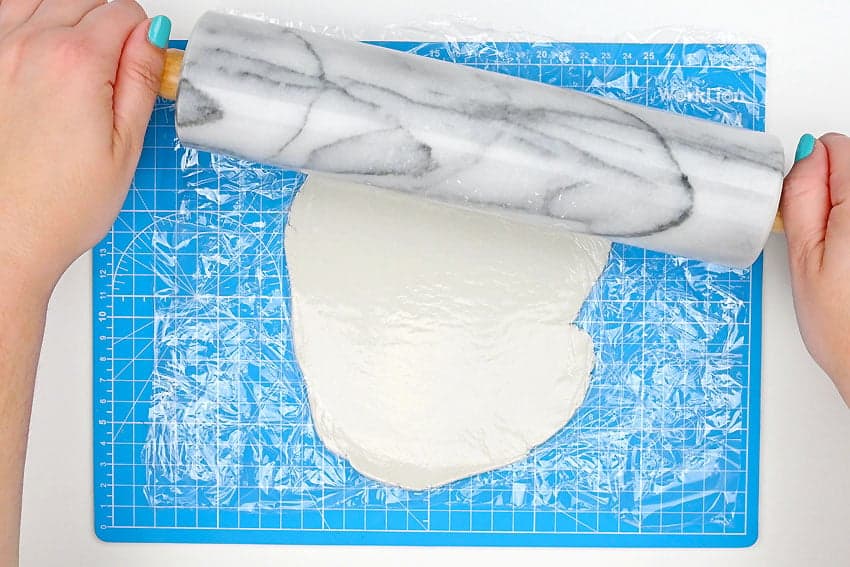
- Roll out the clay until it’s about 3/8 inch thick.
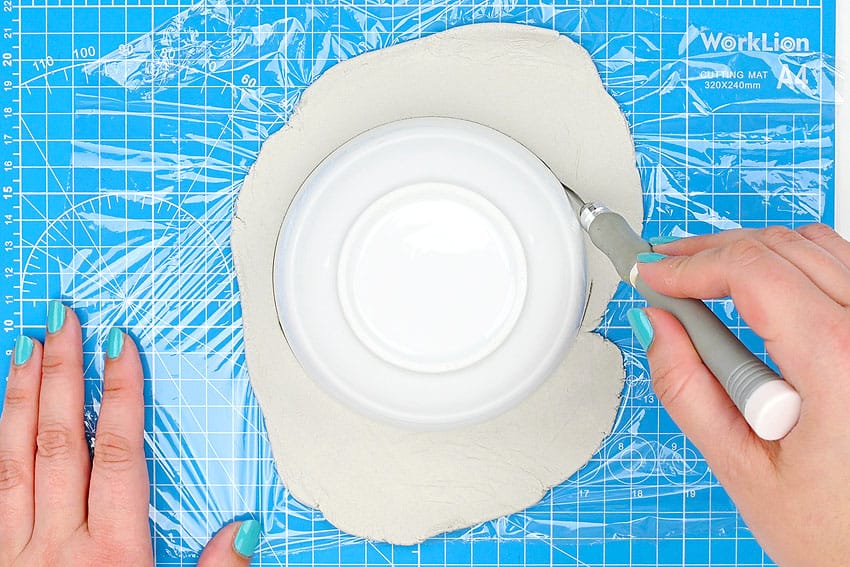
- Then place a bowl upside-down on the clay and use a knife to cut around it.We actually like to use the back of our craft knife or a dull butter knife to do this. This ensures you don’t cut through the plastic wrap and can use it again.
Step 4: Add the napkin to the clay circle
- Find a section of the napkin that you like and cut it to a smaller size — just larger than the circle. Place it onto the clay and use your fingertips to smooth it out.
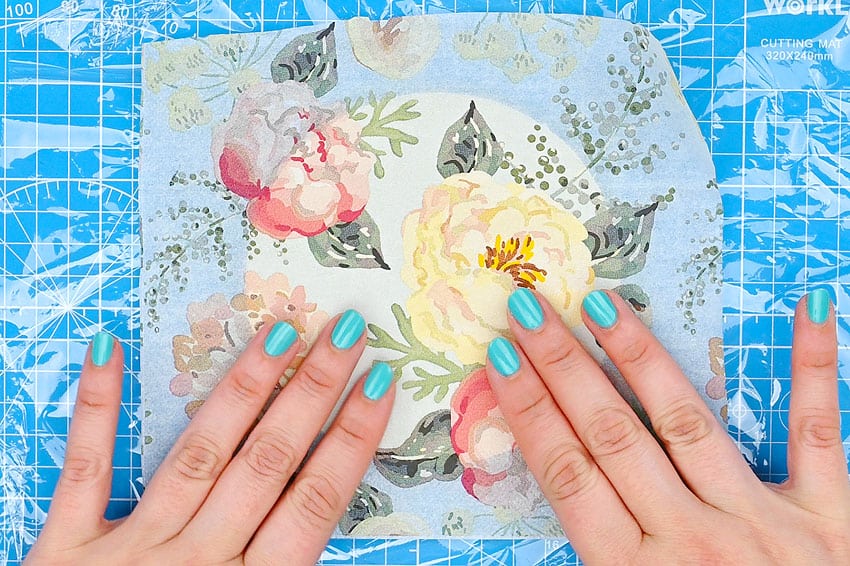
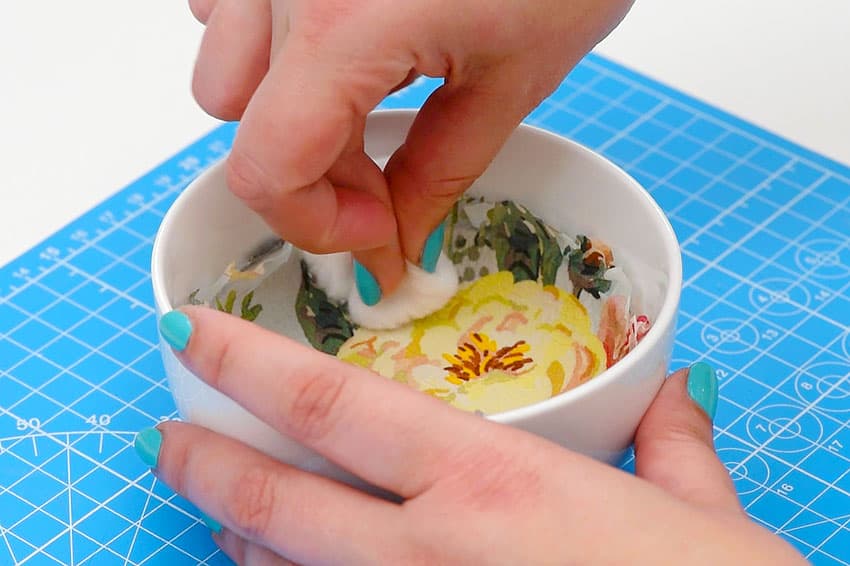
- Now dip a cotton ball into acetone nail polish remover. Use the cotton ball to smooth out the napkin even more, helping it adhere to the clay.(Acetone can be harsh on skin, but you don’t have to wear a glove unless you’re wearing nail polish and don’t want it ruined!)
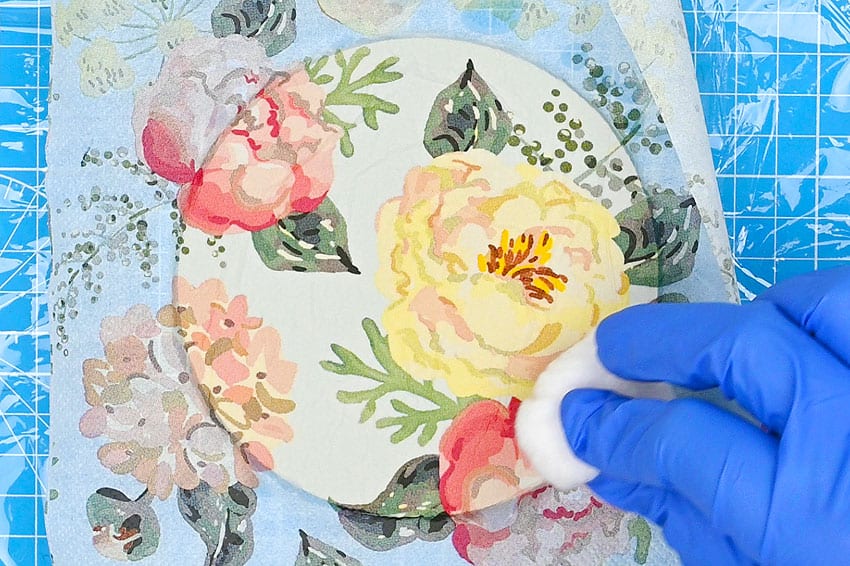
- Trim the napkin down around the edge of the clay, leaving just a bit extra around it.Then pick up the plastic wrap to help you flip over the clay piece.
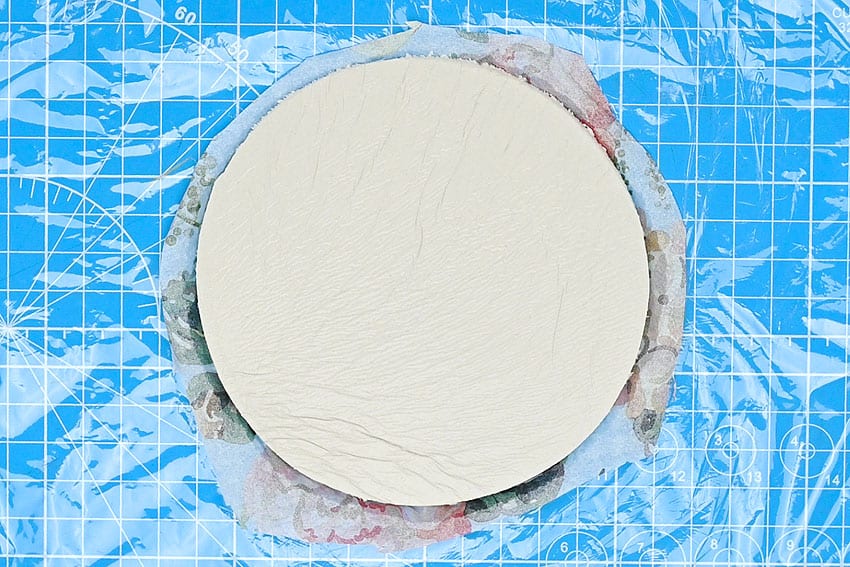
- Cut another piece of napkin and use acetone to adhere it to the back of the clay. You can leave this napkin piece larger to help you shape it into the bowl.
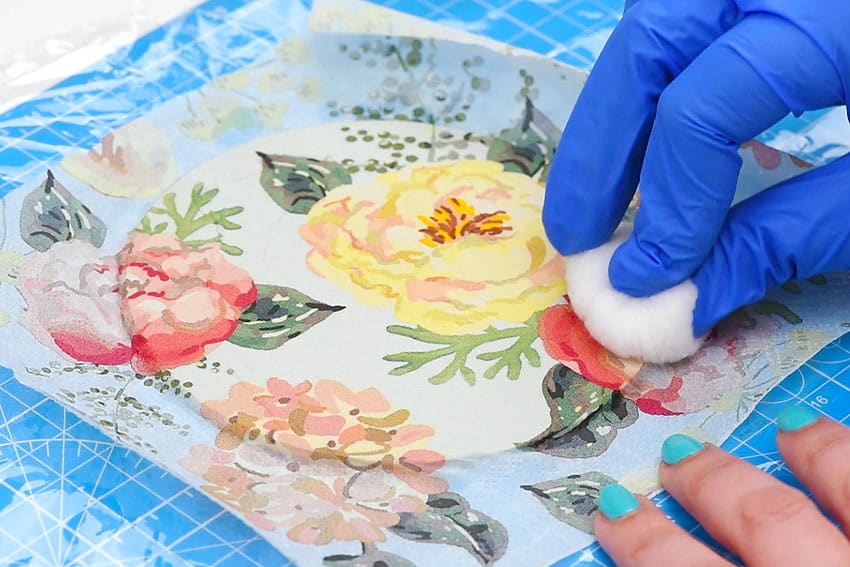
Step 5: Shape the clay bowl and allow to dry
- Pick up the clay piece and gently push it into the bowl.You can rip or cut off the excess napkin now.
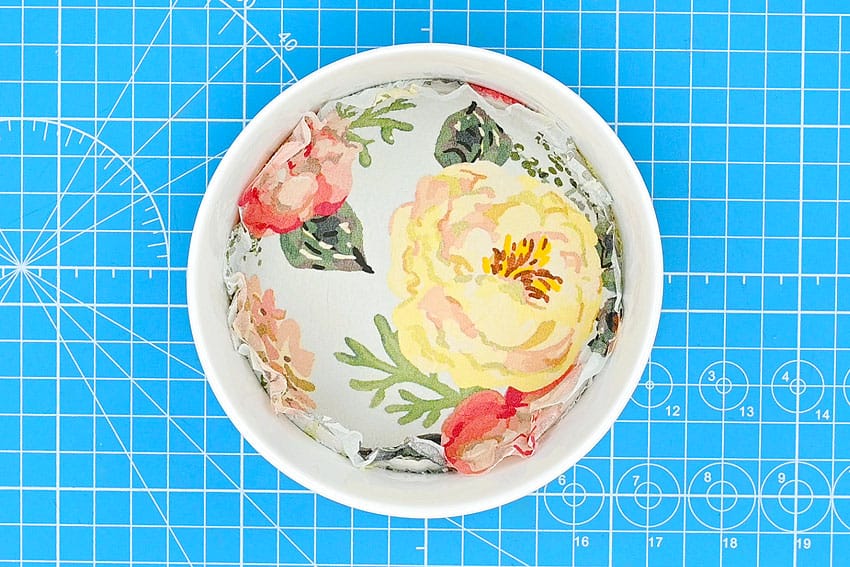
- If needed, use more acetone to smooth down any areas of the napkin that separated a bit.
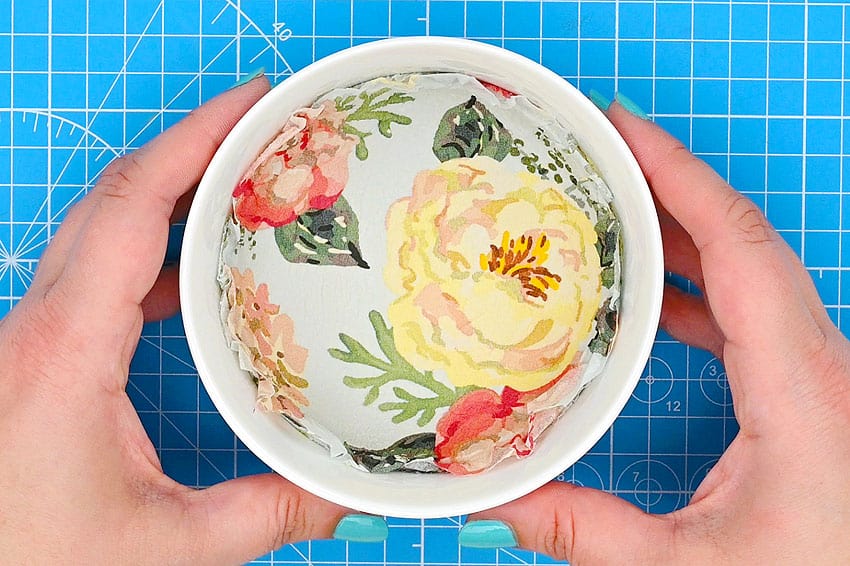
- Allow to dry overnight.
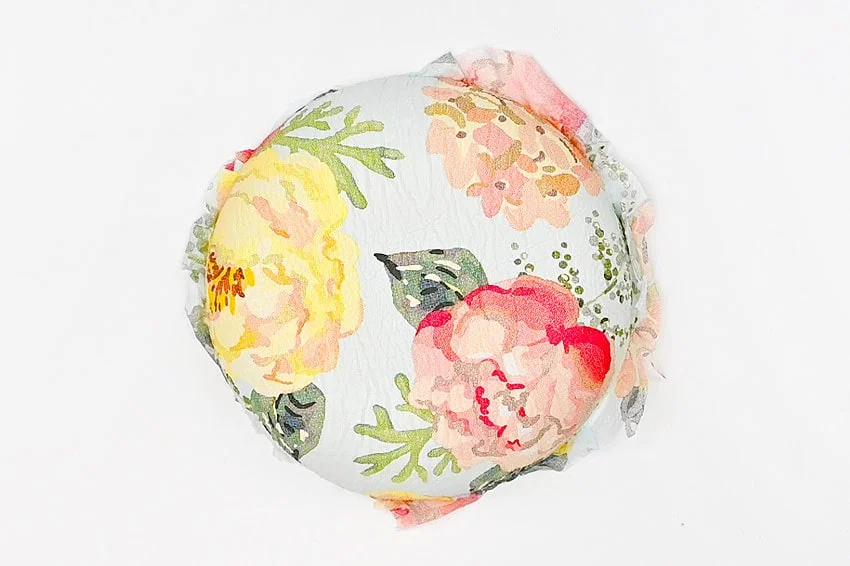
- Then remove the clay bowl from the bowl mold and set it upside-down so the bottom can dry.Let it dry overnight again.
Step 6: Add the finishing touches
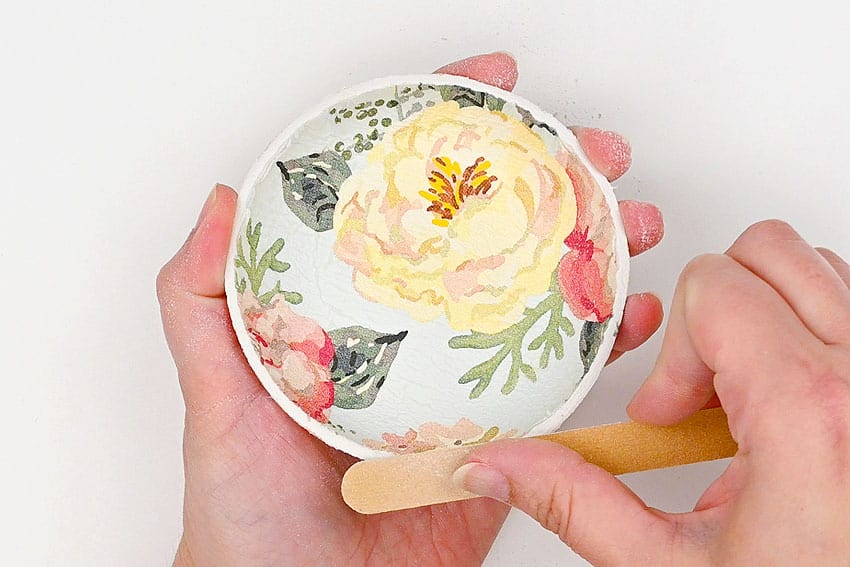
- Once the bowl is dry, use an emery board or nail file to clean up the edges, removing the excess napkin from the edge of the bowl.
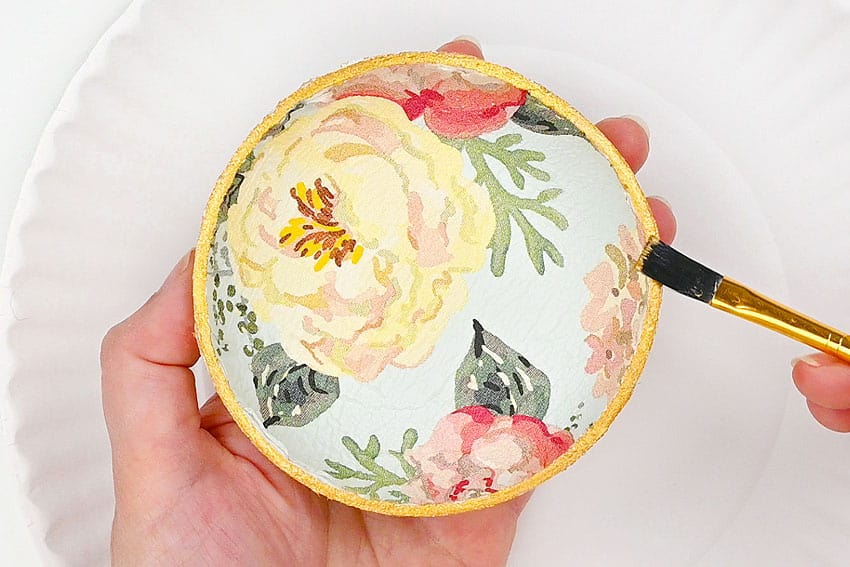
- Paint the rim of the dish with gold metallic paint. Allow to dry.
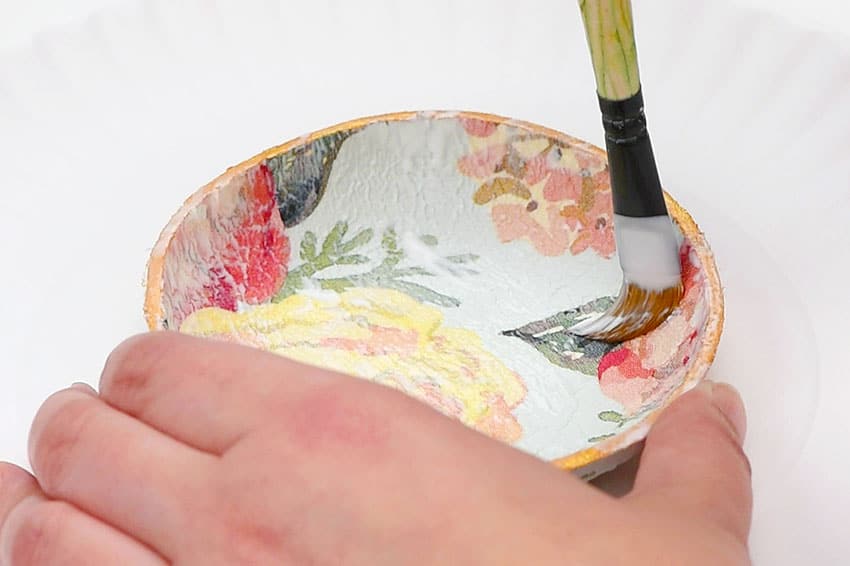
- Then brush a coat of matte Mod Podge onto the bowl. Once the inside has dried, repeat on the outside of the bowl.
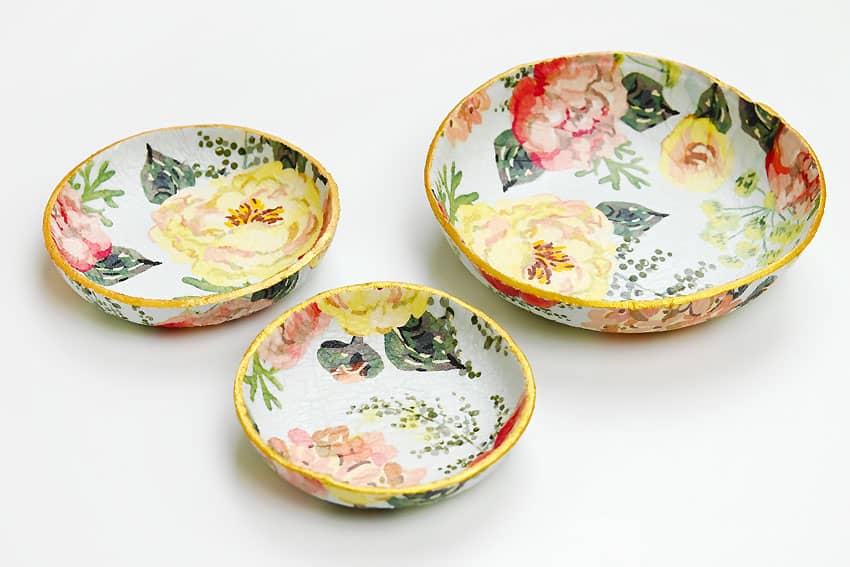
- Your patterned air dry clay bowl is complete!
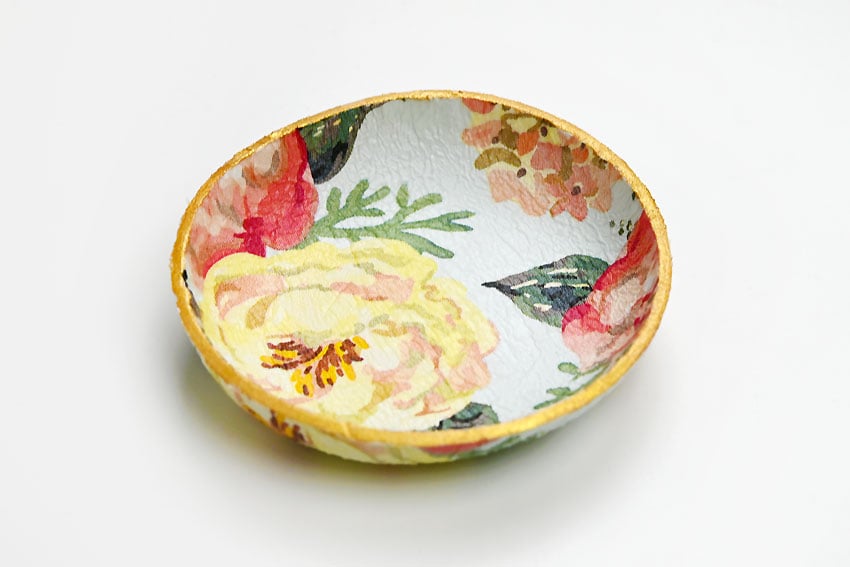
- Have fun making these patterned trinket dishes in various sizes and patterns!
Helpful Tips
- Read through the full tutorial before starting.
- Prepare the listed supplies ahead of time so each step is easier to follow.
- Check the finished craft against the instructions before displaying or using it.
FAQs
Is this tutorial beginner friendly?
Yes. This air dry clay bowls kids craft is written with simple steps and extra tips for beginners.
Can kids make this craft independently?
Older kids may be able to work independently, while younger kids should have help with any steps that require close attention or small pieces.
How long does the craft take?
Most versions take about 30 minutes, depending on the materials and the pace of the crafter.
Can I use different colors?
Yes. Changing the colors is one of the easiest ways to personalize the finished craft.
Final Thoughts
Once the air dry clay bowls kids craft is finished, take a moment to check the details, compare the result with the tutorial, and display the project somewhere kids can enjoy their work.
Affiliate disclosure: This post may contain Amazon affiliate links. As an Amazon Associate, Easy Crafts Ideas may earn from qualifying purchases at no extra cost to you.