This pom pom cat crochet yarn craft is a cheerful hands-on project for kids, classrooms, and family craft time. It uses the tutorial steps below as the practical guide while adding helpful planning notes so the project feels easier to prepare, follow, and finish. Gather the supplies first, give yourself a little workspace, and enjoy making something creative from simple materials.
Materials:
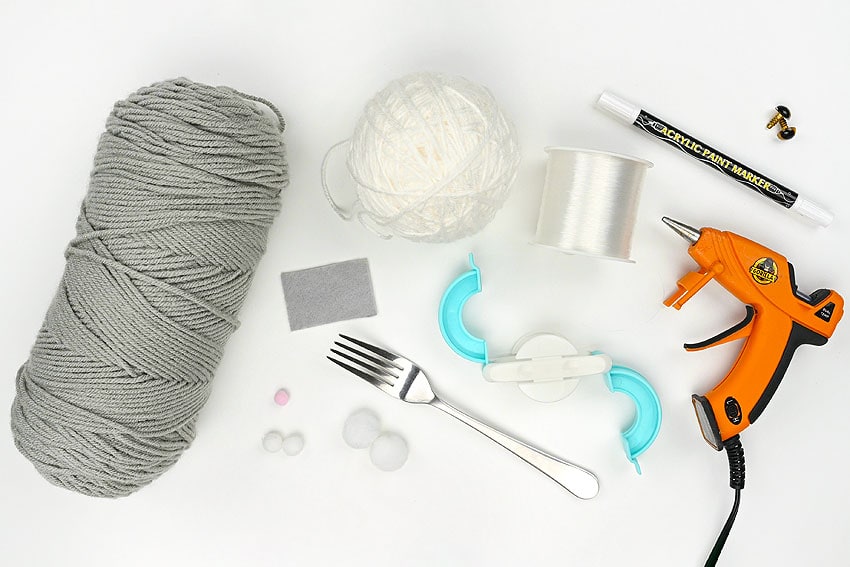
- Worsted weight yarn (white and grey, or other cat colours)
- Felt (grey, or matching cat colour)
- Cat safety eyes (12mm)
- Pom poms (small pink, 2 sizes of white)
- Fishing line
- White paint pen
Equipment:
- Pom Pom maker (2-1/2 inches)
- Fabric scissors
- Fork
- Glue gun
Instructions:
Step 1: Find what you need
- Gather your supplies and materials.
Step 2: Make the body and head pom poms
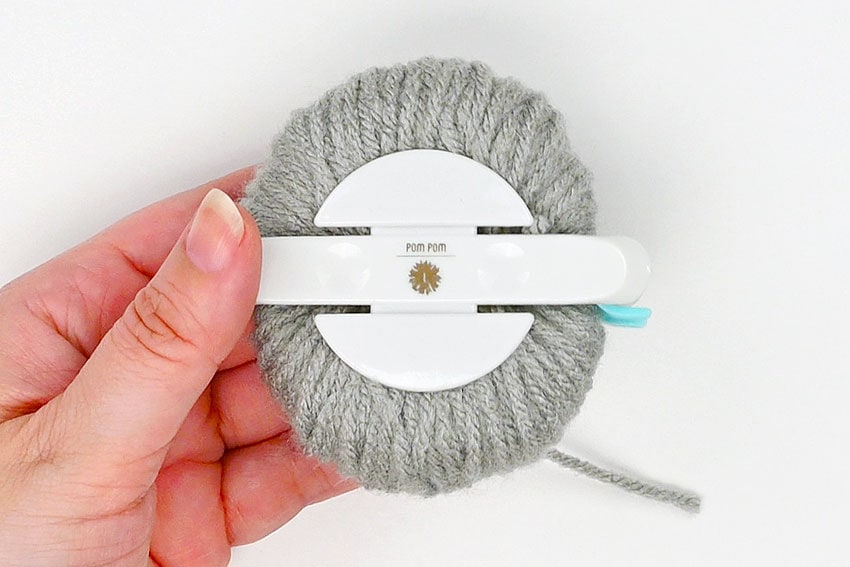
- Wrap 1/2 of one half of a 2-1/2 inch pom pom maker with white yarn.
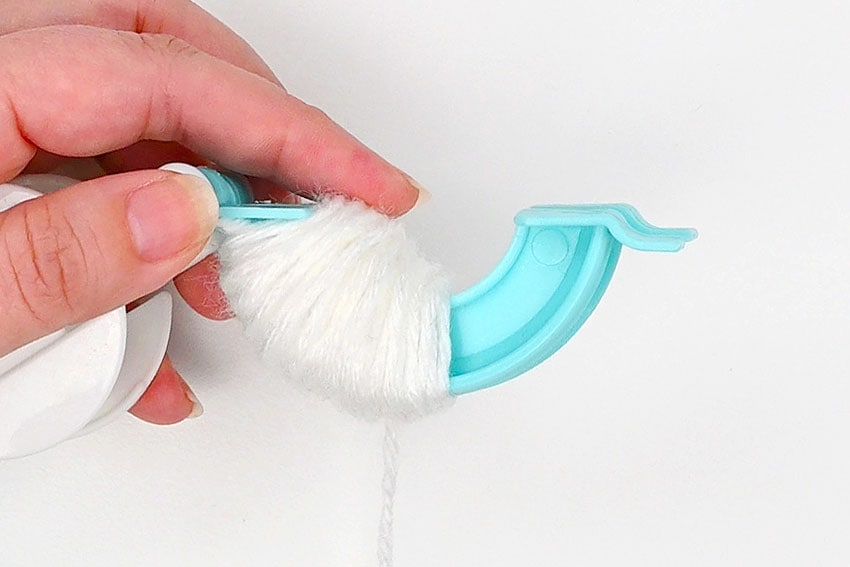
- Wrap the rest of this half with grey yarn. Cut off both yarns and tuck the ends in.
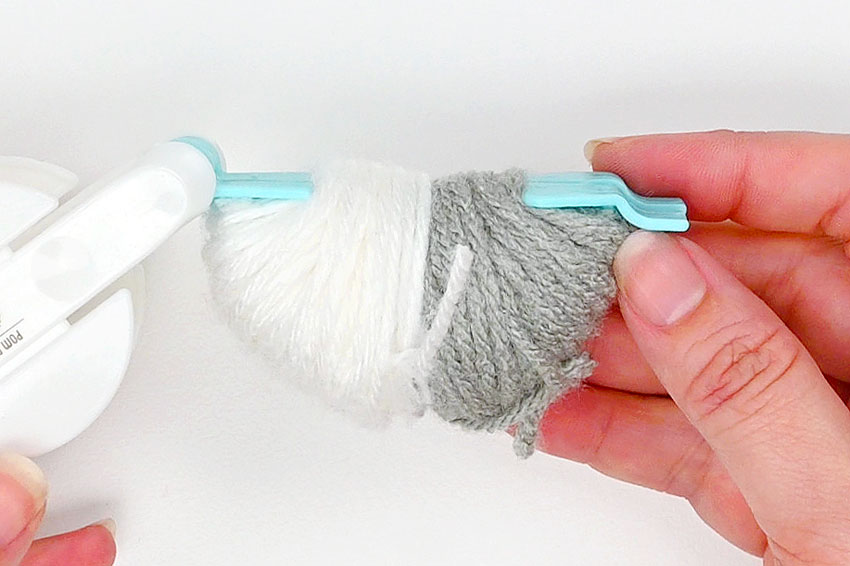
- Use grey yarn to fill the other half of the pom pom maker. Cut off the yarn and close the pom pom maker.
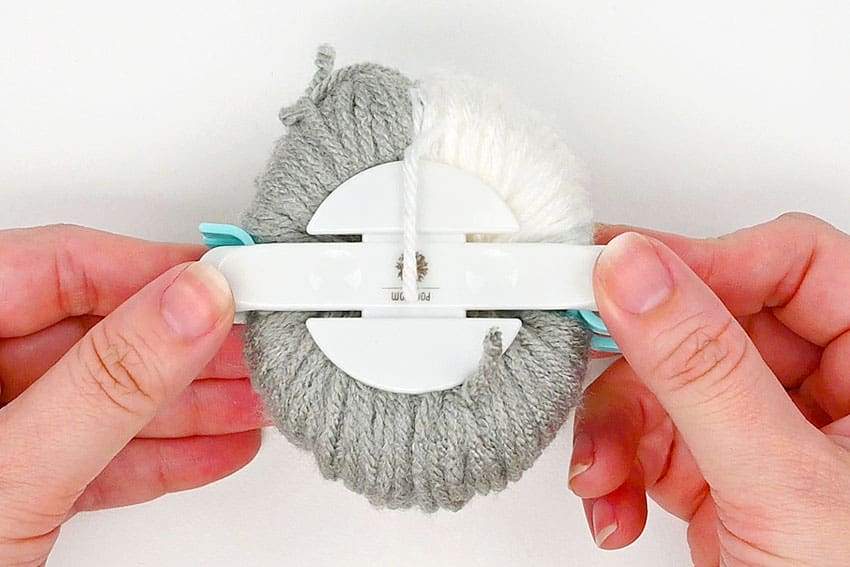
- Slide sharp scissors into the gap between the two sides of the pom pom maker and cut through the middle of the yarn.
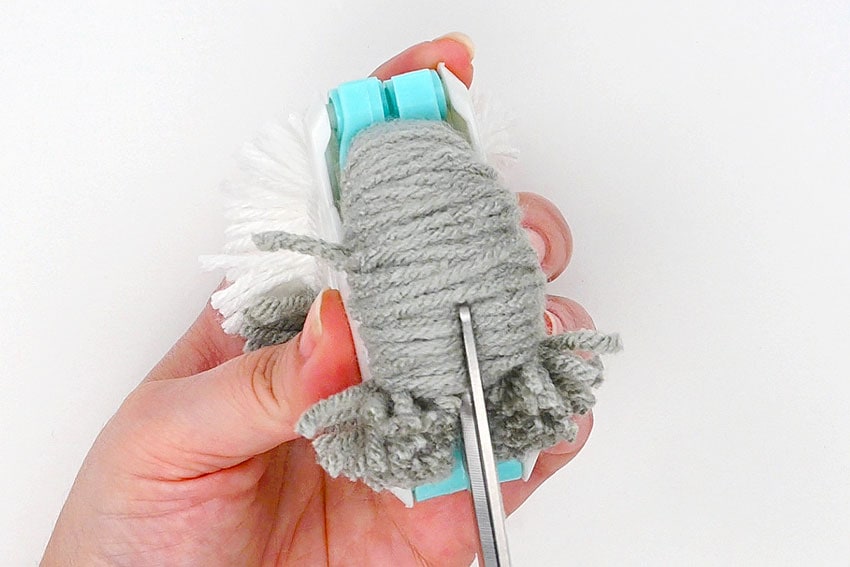
- Cut a 12 inch piece of grey yarn and insert it into the center of the pom pom maker (where you just cut). Wrap it around the maker and secure it with a double knot.
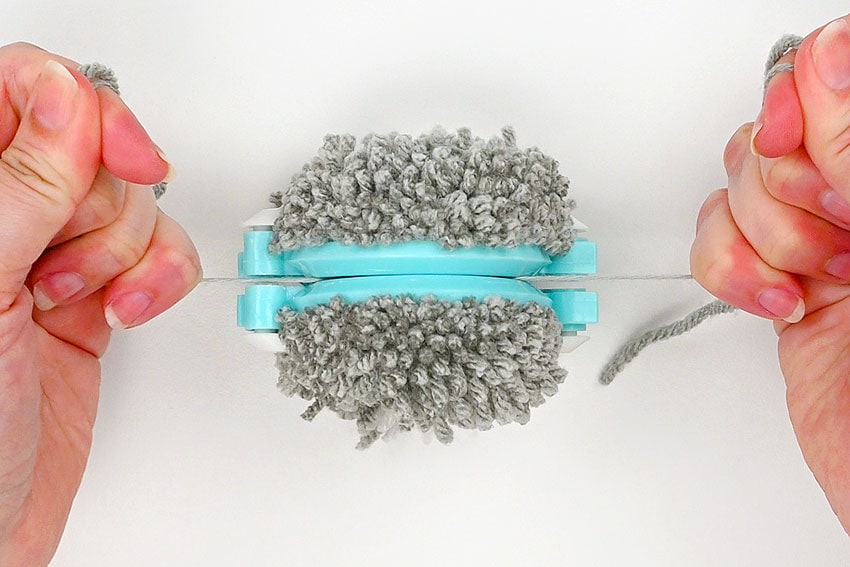
- Unlatch the maker and remove the pom pom.
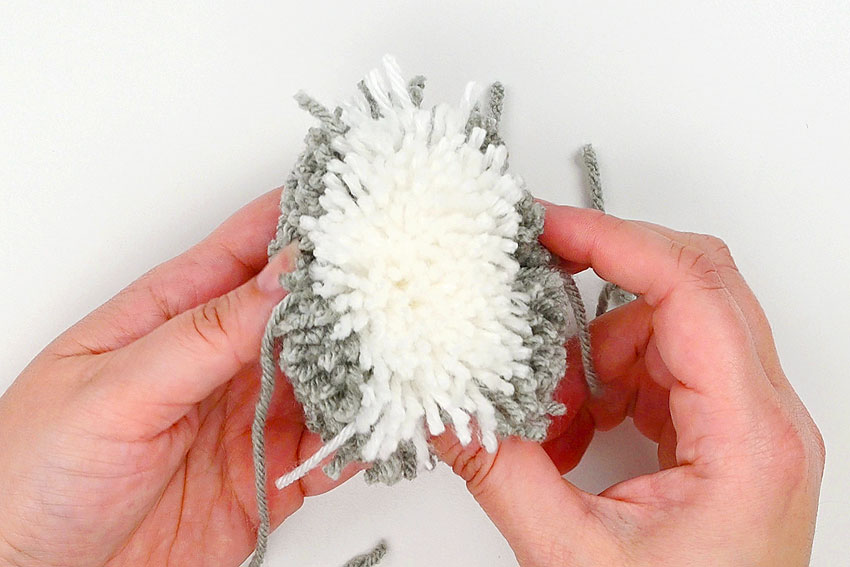
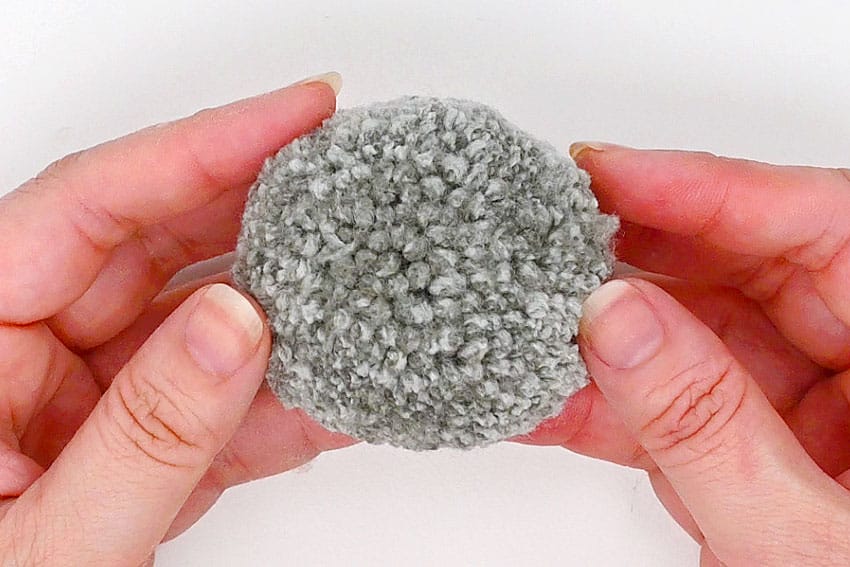
- Use sharp scissors to give the pom pom a “haircut”, trimming it down into a ball shape.
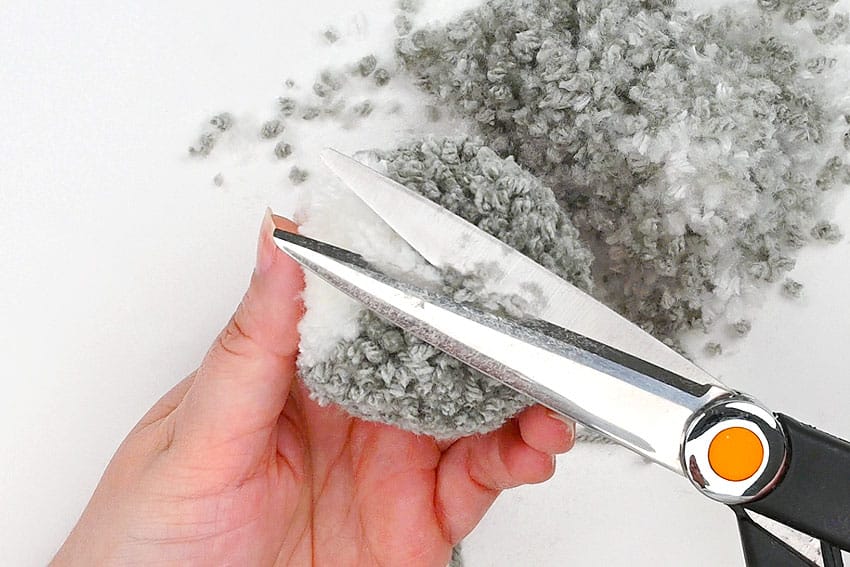
- Make a second pom pom on the same size of pom pom maker using only grey yarn on both halves.
- Trim this pom pom to an even smaller ball.
Step 3: Make the tail and ears
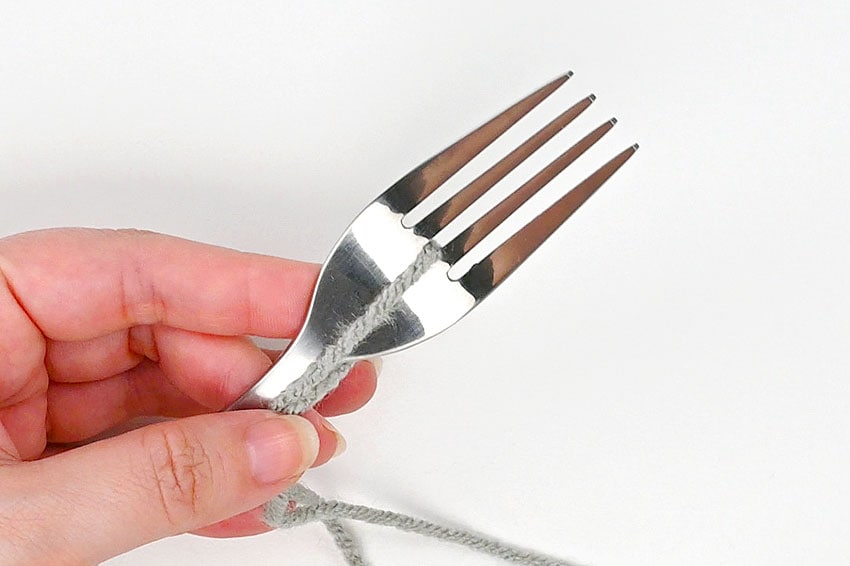
- To make the small pom poms for the cat’s tail we’re going to use a fork! Begin by cutting a 12 inch piece of grey yarn and sliding it through the center of the fork tines.
- Wrap grey yarn around the fork about 20 times and then cut it off from the ball.
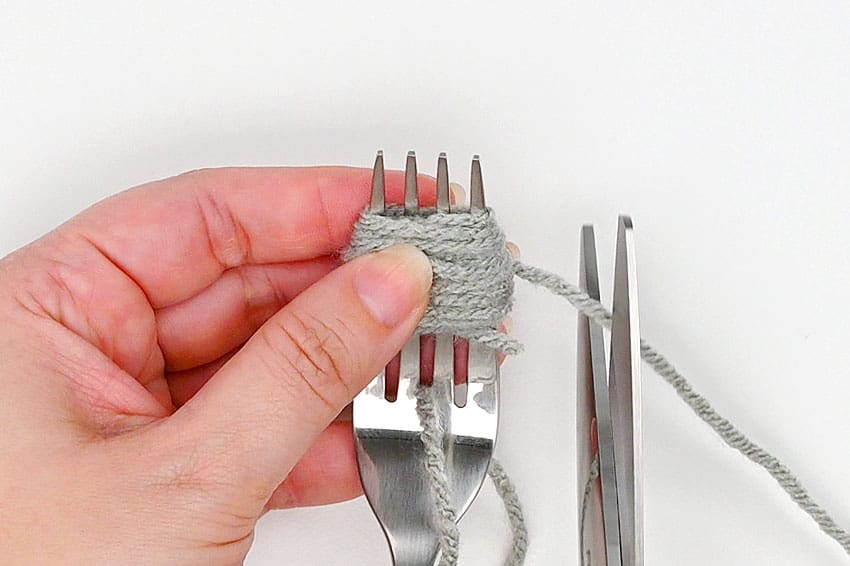
- Tie the first piece of yarn around the wrapped yarn and make a double knot. Slide the bundle off the fork.
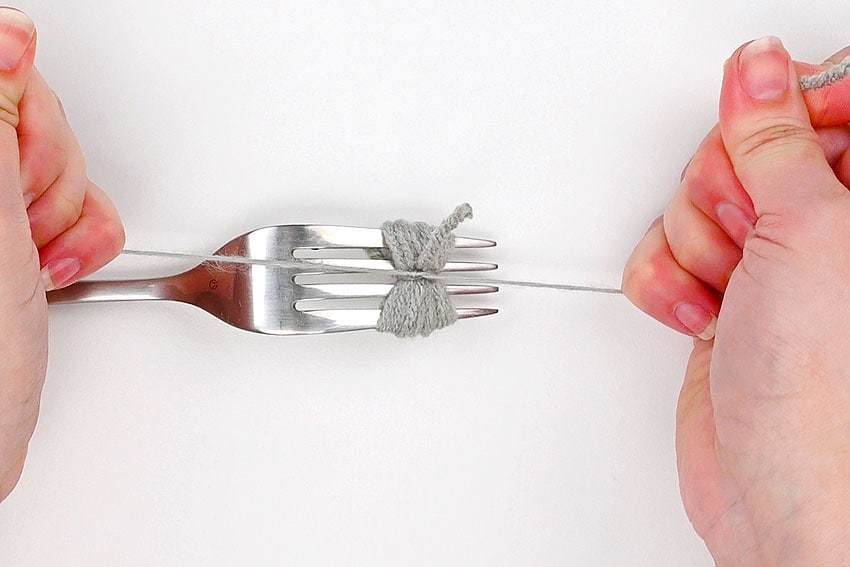
- Repeat, making 5 more small bundles.
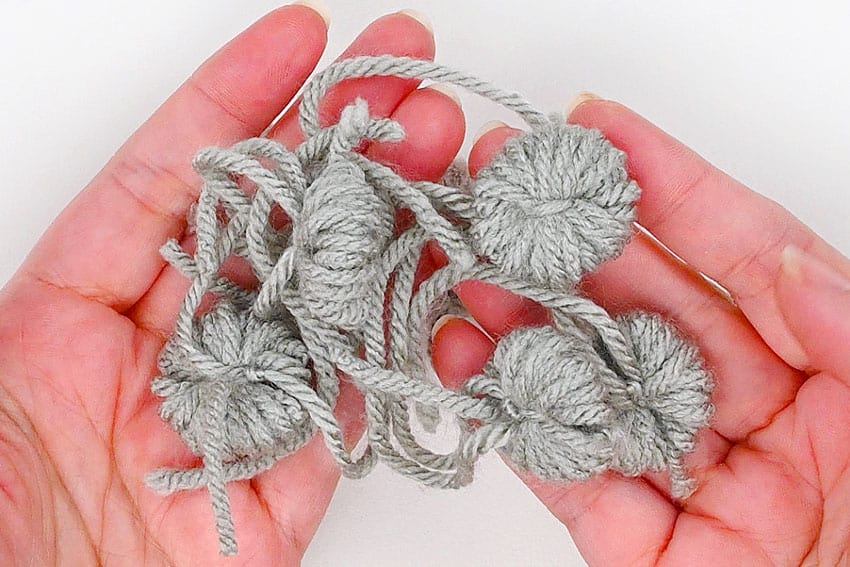
- Set one yarn bundle on top of another and use the long tails to tie them together.
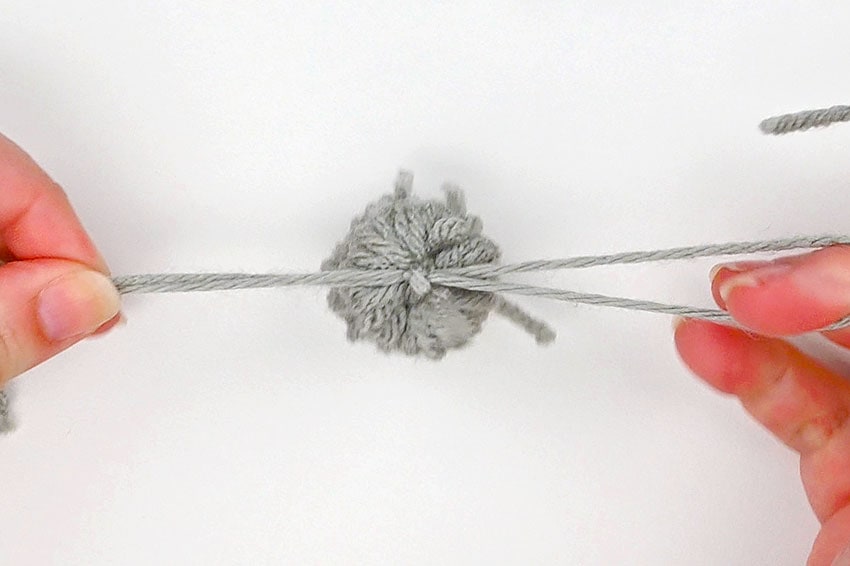
- Repeat, attaching one bundle after another until you have a stack of yarn.
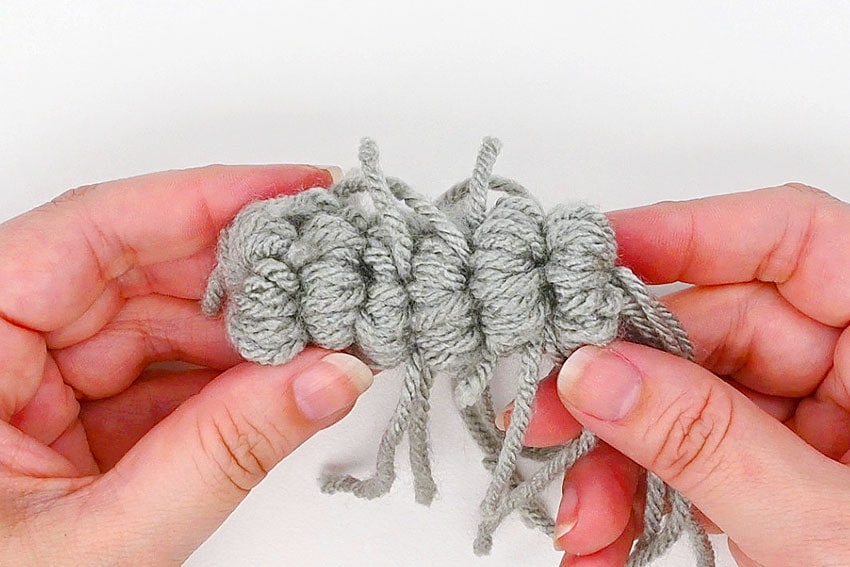
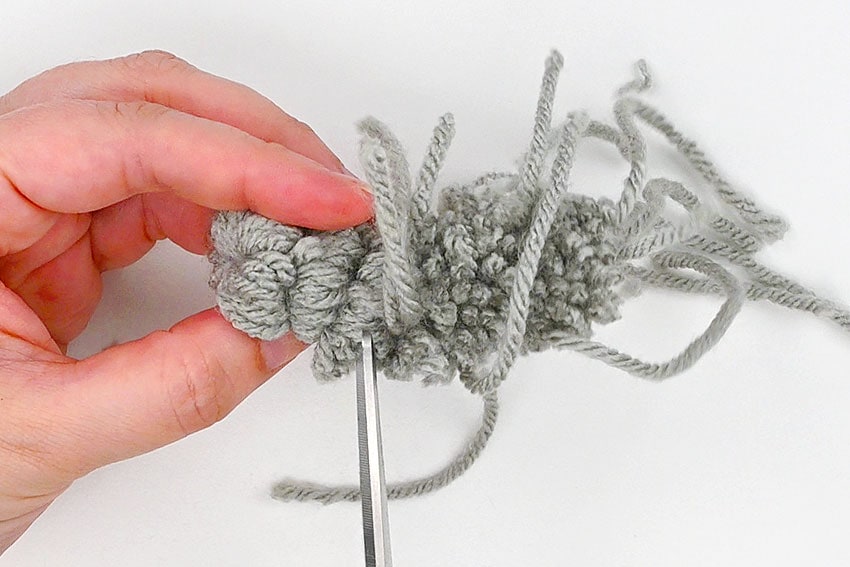
- Cut through the center of each pom pom piece.
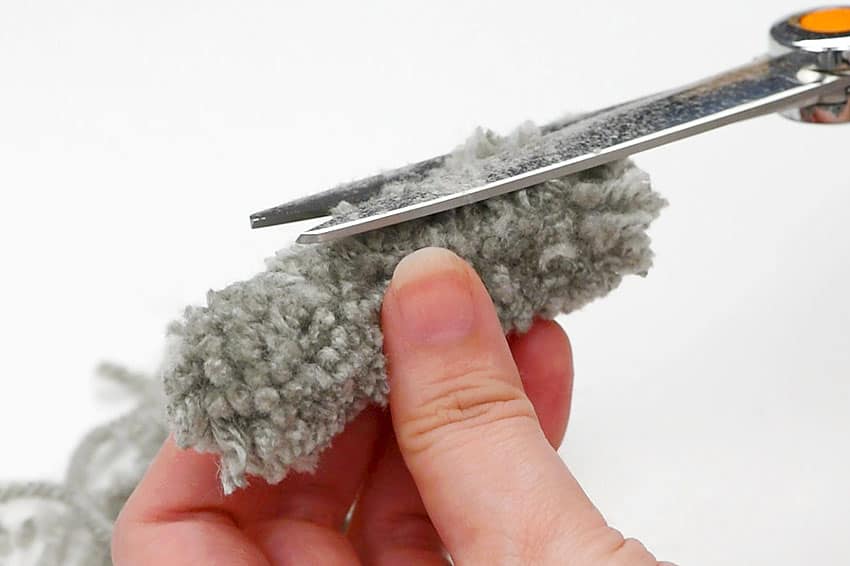
- Then trim the long pom pom down until it looks like a fluffy cat tail.
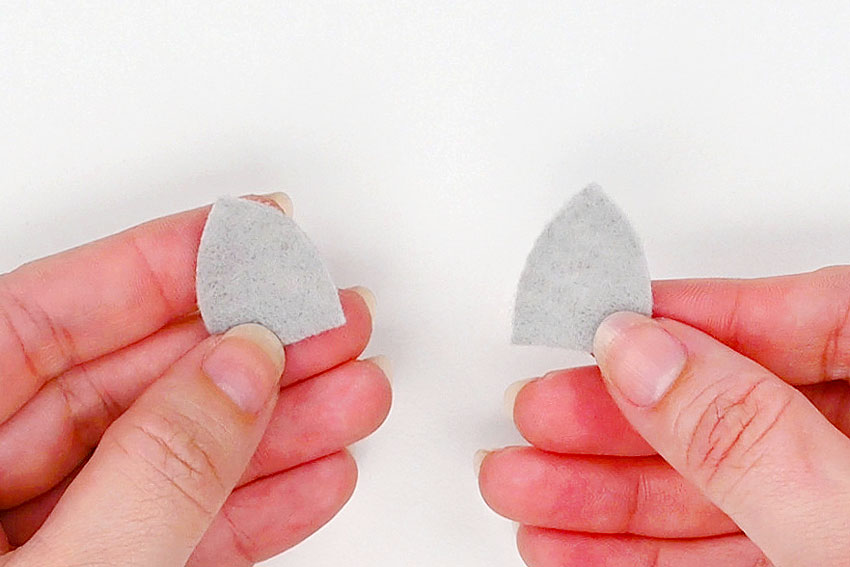
- Cut 2 cats ears from grey felt. We recommend stacking 2 pieces of felt together when you cut them so they end up the exact same size and shape.(You can draw the ear with a gel pen or tailor’s chalk first, before cutting, if you’d like.)
Step 4: Assemble the cat
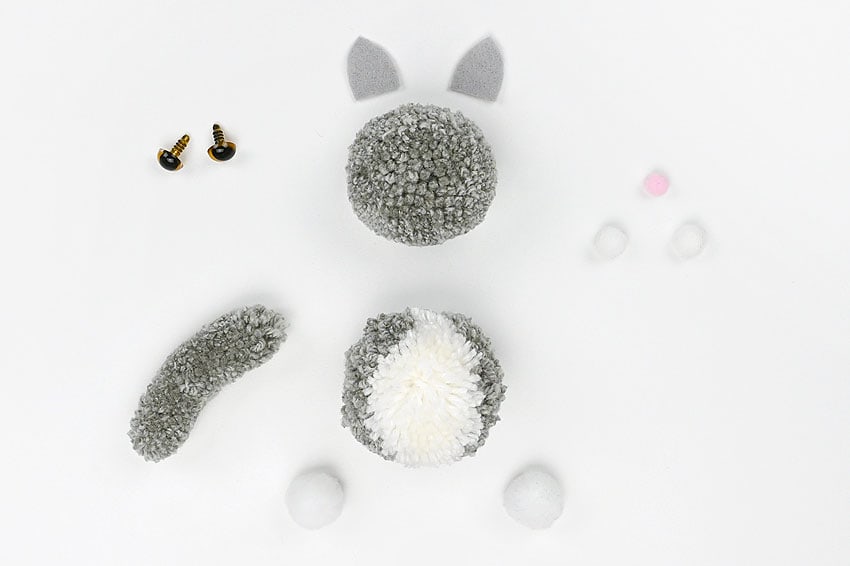
- Here are all the pieces you’ll need to make your cat. In addition to the ears, and the pom poms you’ve made, you’ll also need safety eyes and various sizes of craft pom poms.
- Add hot glue to the top of the body pom pom. Attach the grey head pom pom to it.
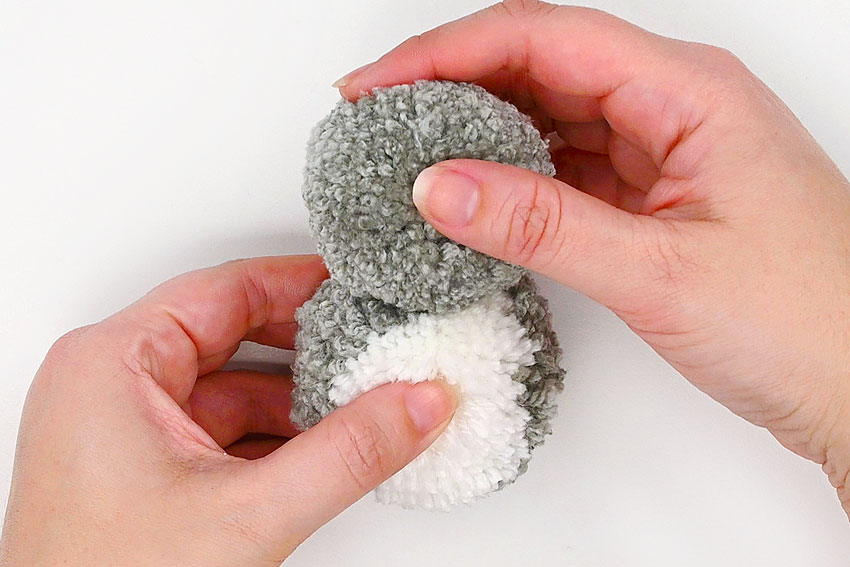
- Hold the tail so that it wraps around the back of the cat and see where you’d like to place it. Add a dot of glue where the base of the tail will sit (probably a bit off-center).
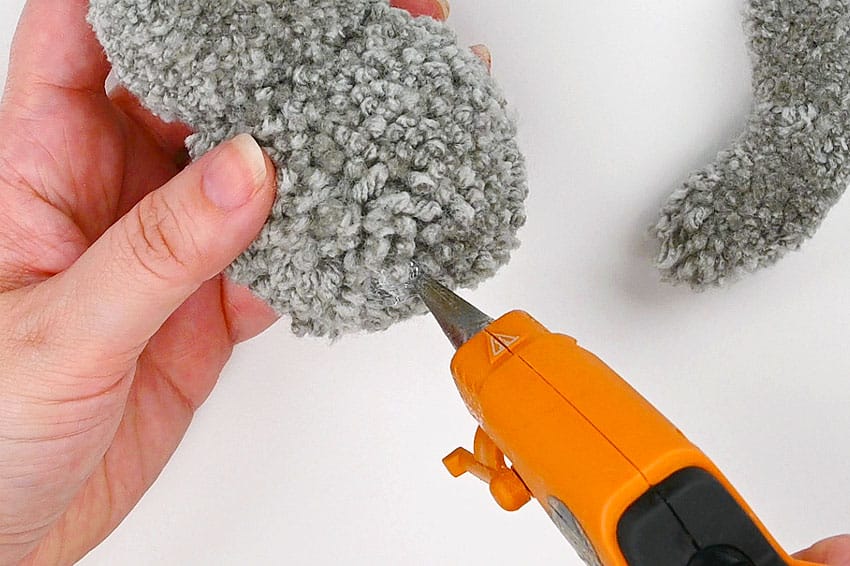
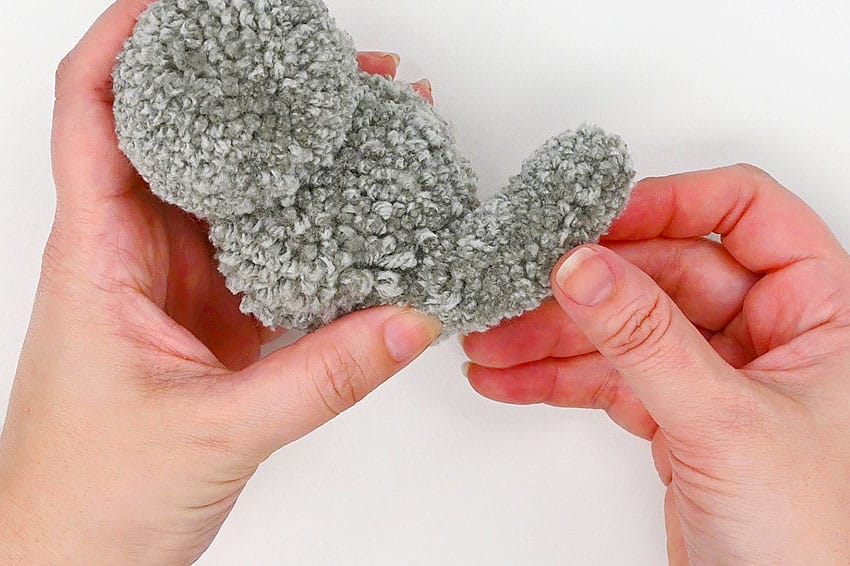
- Attach the tail in place and add more glue along it if you’d like the tail to stay curled around the body.Hold the tail until the glue dries.
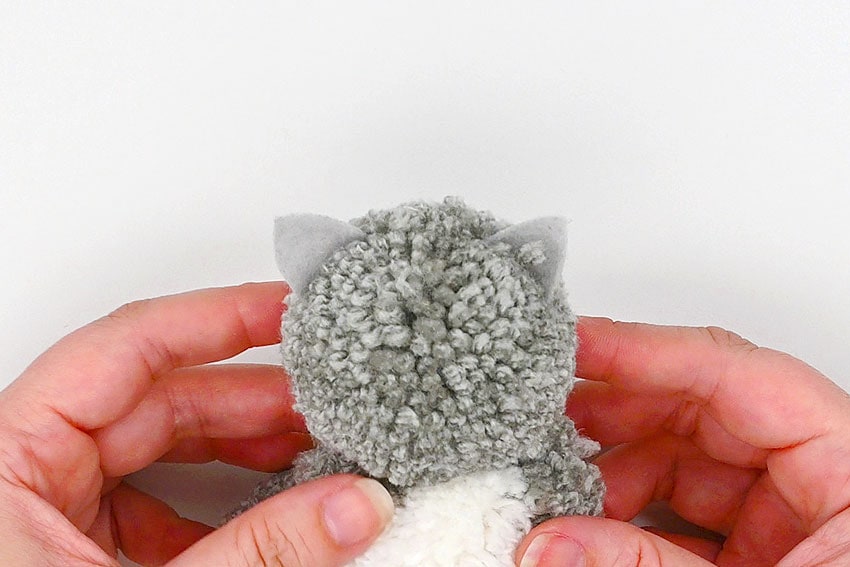
- Separate the yarn on the top of the cat’s head, making little “trenches” where the ears will go. Glue them in place.
- Then glue two 1 inch white craft pom poms to the front base of the cat for its feet. Place them while the cat is “sitting” so they’ll be properly in place.
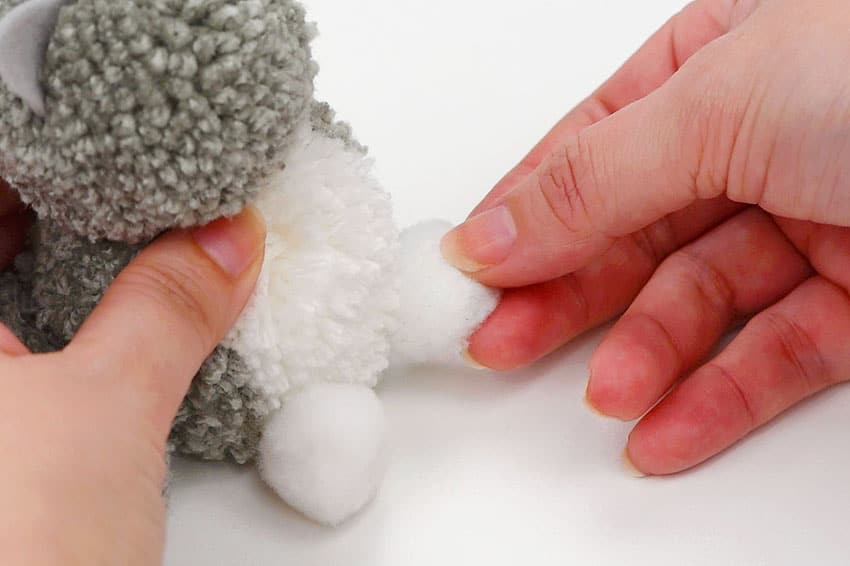
- Glue together two 1/2 inch white craft pom poms. Then attach them to the cat’s face, creating its muzzle (or cheeks).
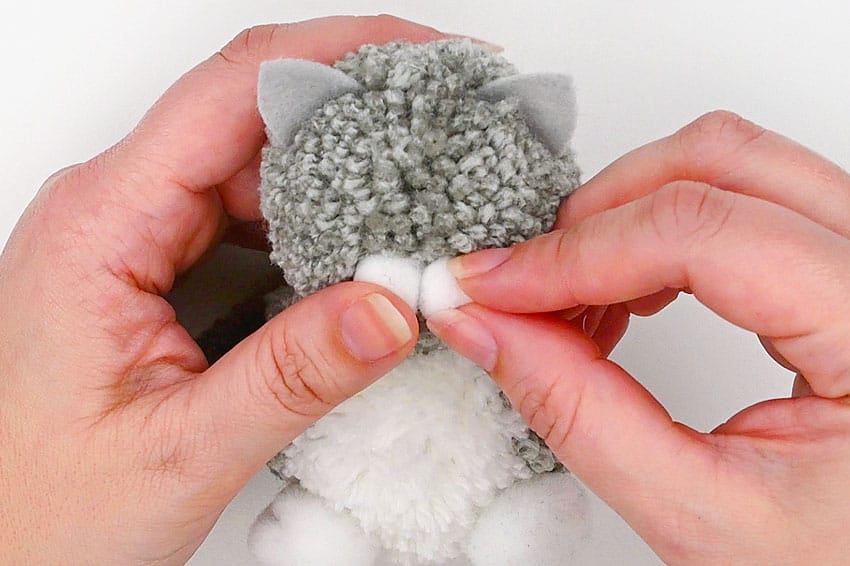
- Cut an 8mm pink pom pom into a triangle shape and glue it between the “cheeks” for the cat’s nose.
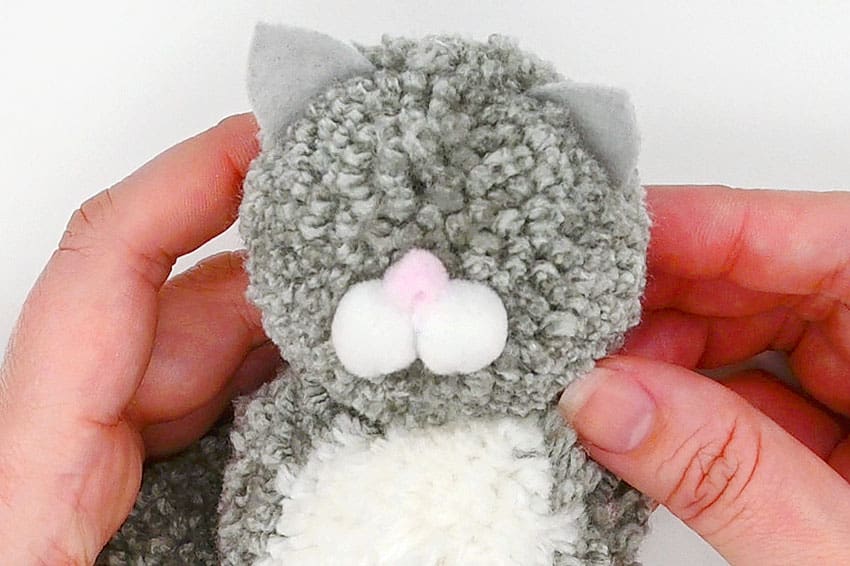
- Glue cats eye safety eyes in place.
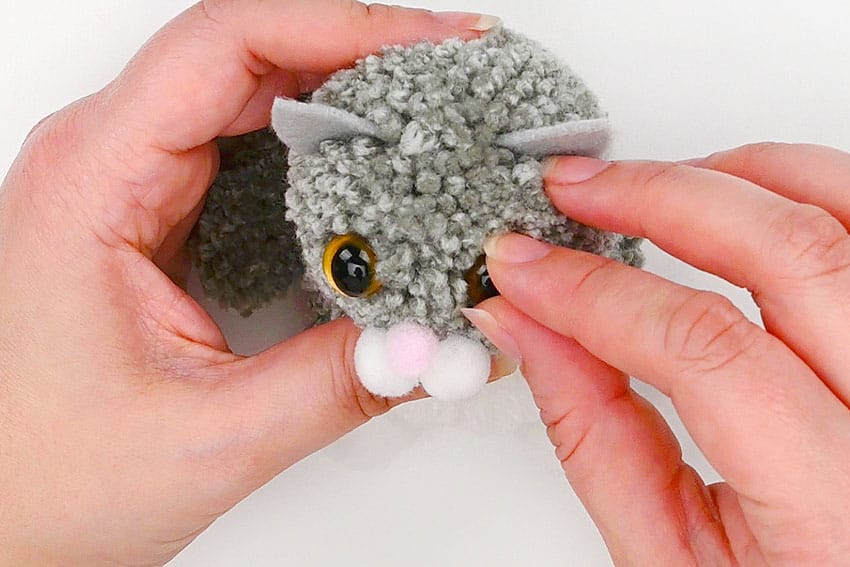
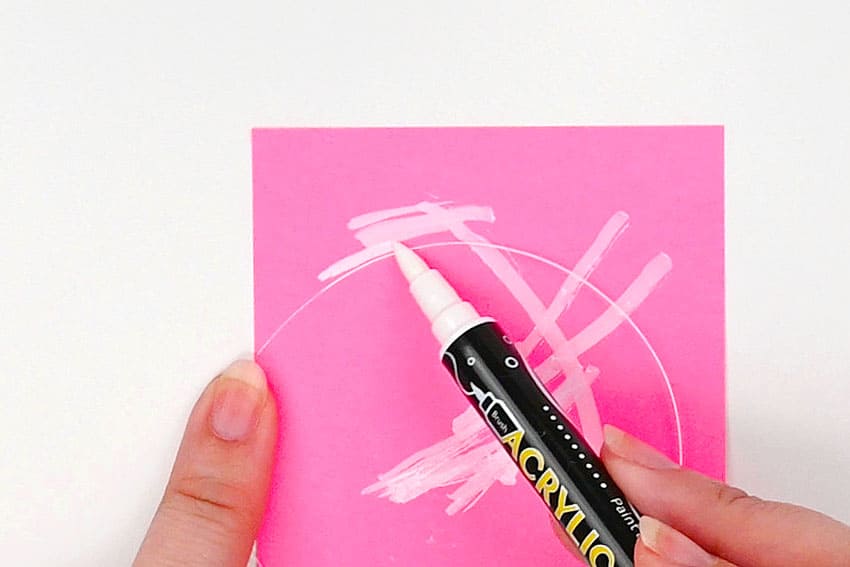
- Then cut a 2 inch piece of fishing line. Place it on a piece of paper and use a white paint marker to colour it, creating white whiskers.
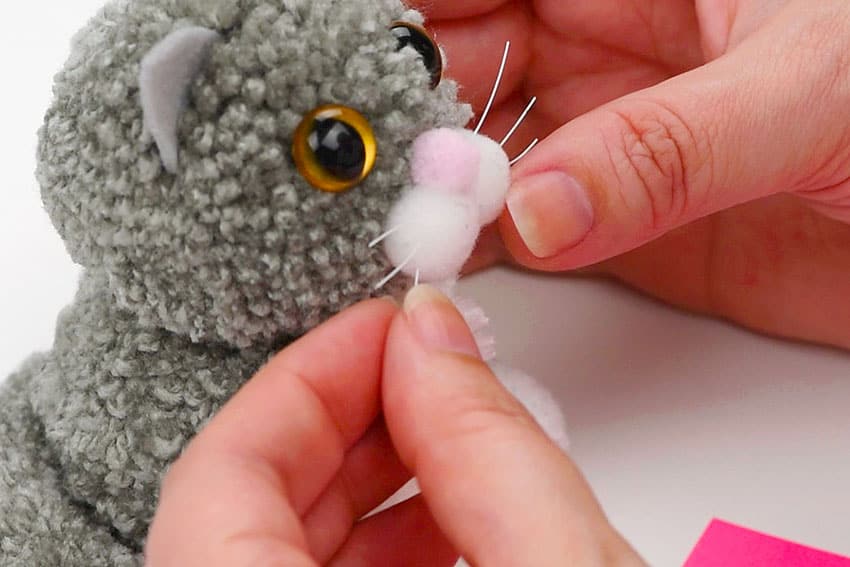
- Cut 6 smaller sections of the fishing line and poke 3 into either side of the muzzle.(You may want to add a dot of tacky glue to the end of each whisker before poking them in, so they’ll stay in place.)
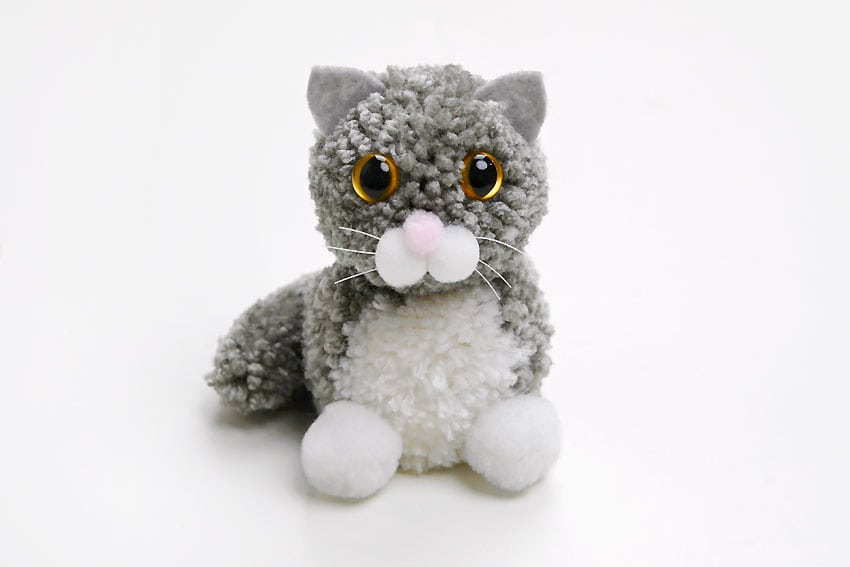
- Your pom pom cat is complete!
Helpful Tips
- Keep your yarn tension even so both crochet squares come out close to the same size.
- Use the hook size listed in the tutorial so the stitches are firm enough to hold the marble securely.
- Check the marble fit before closing the toy so it can move inside without slipping out.
FAQs
What yarn works best for a crochet fidget toy?
Worsted weight yarn works well because it creates a sturdy fabric that can hold a marble while still feeling soft in your hands.
What size crochet hook do I need?
Use the hook size listed in the tutorial. For this project, a 5mm crochet hook helps create stitches that are firm but still easy to work with.
What size marble should I use?
A regular glass marble is usually a good fit. Check that the marble can move inside the toy without slipping through the stitches.
Can beginners make this crochet fidget toy?
Yes, confident beginners can make it if they are comfortable chaining, working basic crochet stitches, joining pieces, and finishing yarn ends.
Can I wash a crochet marble fidget toy?
Hand wash gently and let it air dry. Avoid rough washing because the marble and stitched closure should stay secure.
Final Thoughts
When the crochet fidget toy is finished, test the marble movement gently and check that the closing stitches feel secure. This is a small project, but it is a useful way to practice tension, joining, and simple finishing while making something fun to hold.
Affiliate disclosure: This post may contain Amazon affiliate links. As an Amazon Associate, Easy Crafts Ideas may earn from qualifying purchases at no extra cost to you.