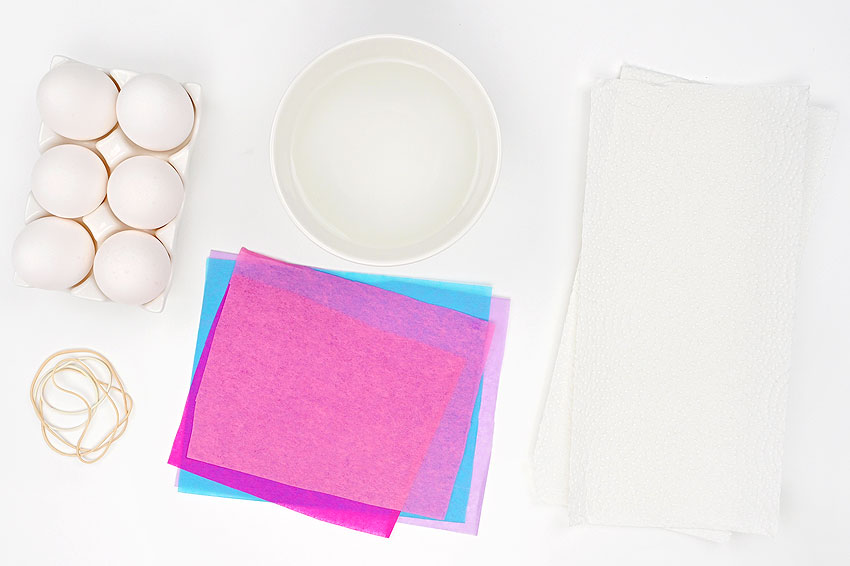
This tissue paper dyed easter eggs paper craft is a cheerful hands-on project for kids, classrooms, and family craft time. It uses the tutorial steps below as the practical guide while adding helpful planning notes so the project feels easier to prepare, follow, and finish. Gather the supplies first, give yourself a little workspace, and enjoy making something creative from simple materials.
Materials:
- Bleeding tissue paper
- White plastic Easter egg (or hardboiled egg)
- Water
Equipment:
Instructions:
Step 1: Find what you need
- Gather your supplies and materials.
Step 2: Wrap the egg in tissue paper
- To dye your eggs with tissue paper you’ll need bleeding tissue paper, in at least 2 colours or shades. Cut the tissue paper to be about 6 inches square.(Read more about bleeding tissue paper below the tutorial!)
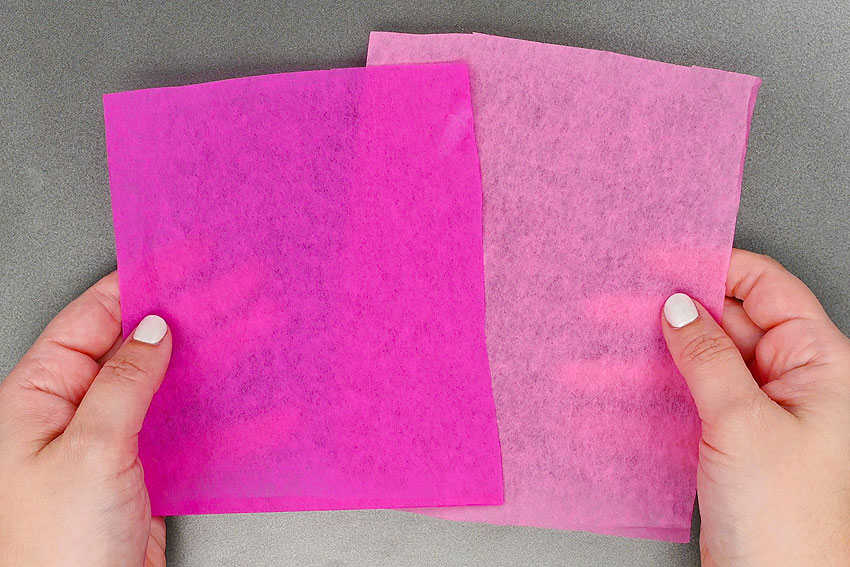
- Scrunch the tissue paper up in your hands to wrinkle it and then open it back up again.This will allow the tissue paper to wrap around the egg more easily.
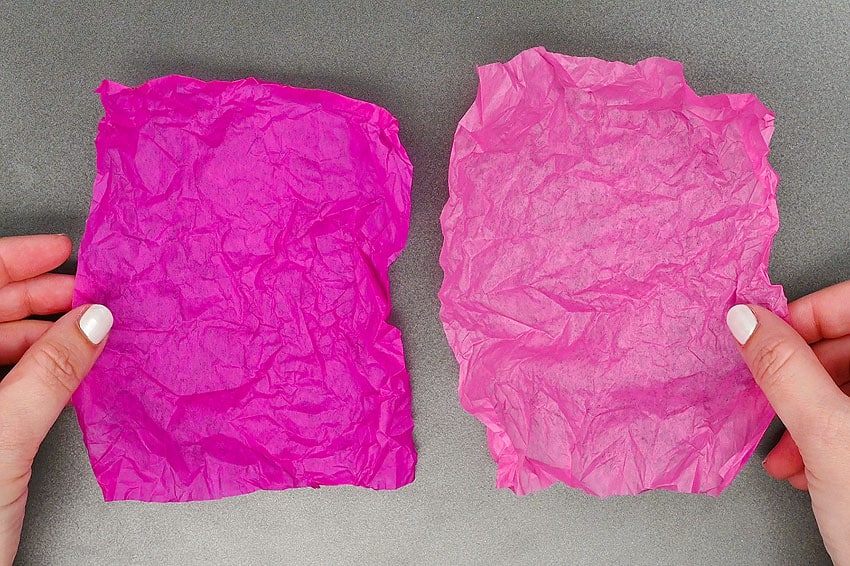
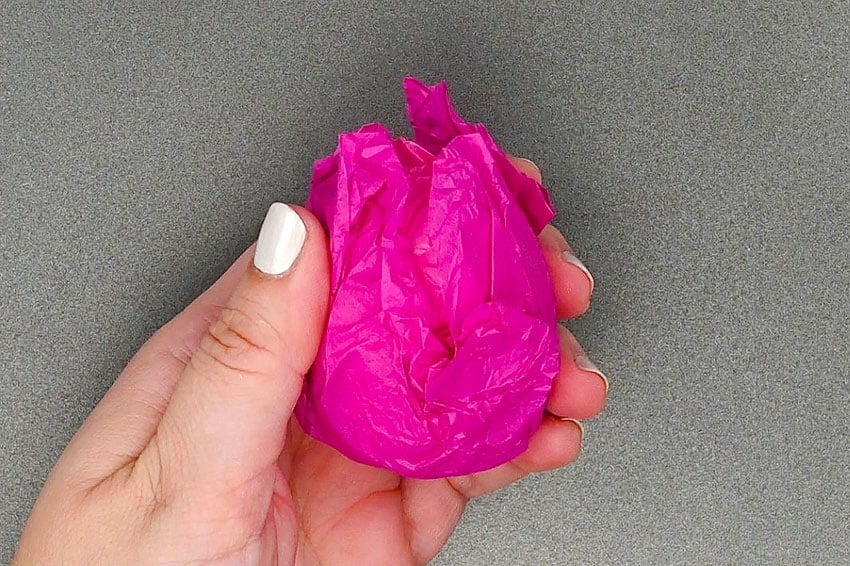
- Place the egg in one piece of tissue paper and wrap it around the egg.
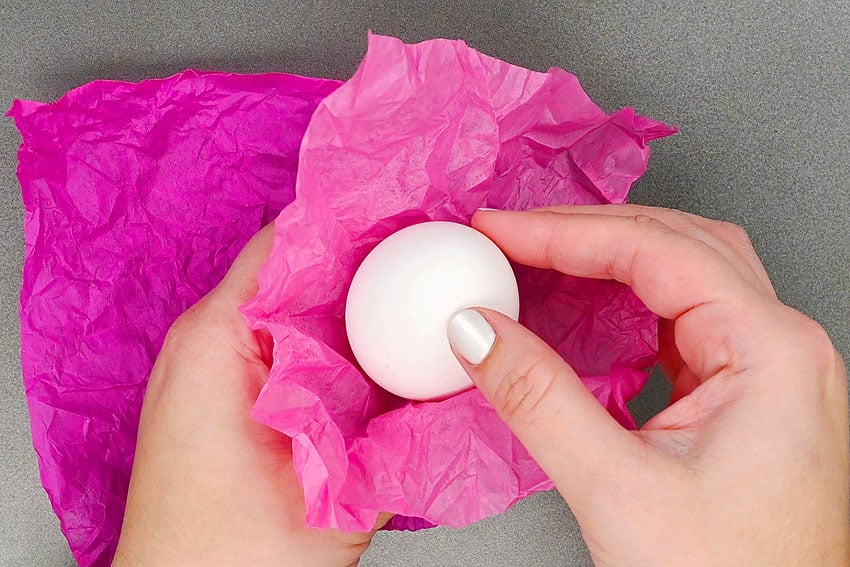
- Then add the other piece of tissue paper on top, wrapping it from the opposite direction.
Step 3: Add paper towel
- Next, place the tissue paper covered egg on a piece of paper towel.The paper towel will allow a greater amount of water to stay in contact with the tissue paper, making it easier to transfer the colour.
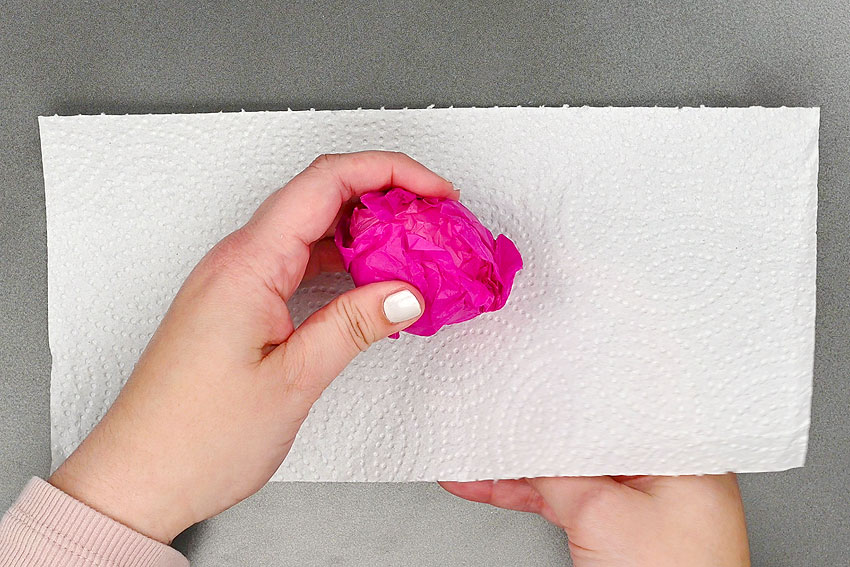
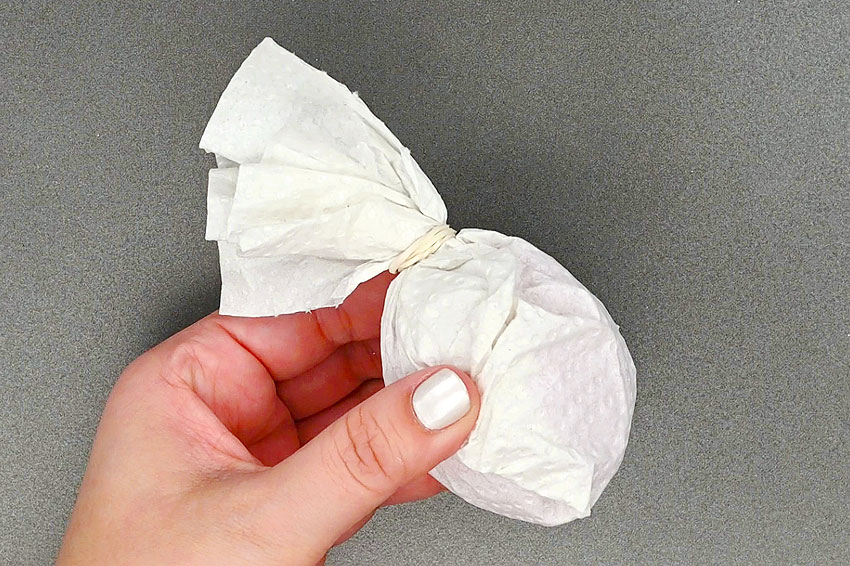
- Wrap the paper towel snugly around the egg, and secure it with a rubber band.
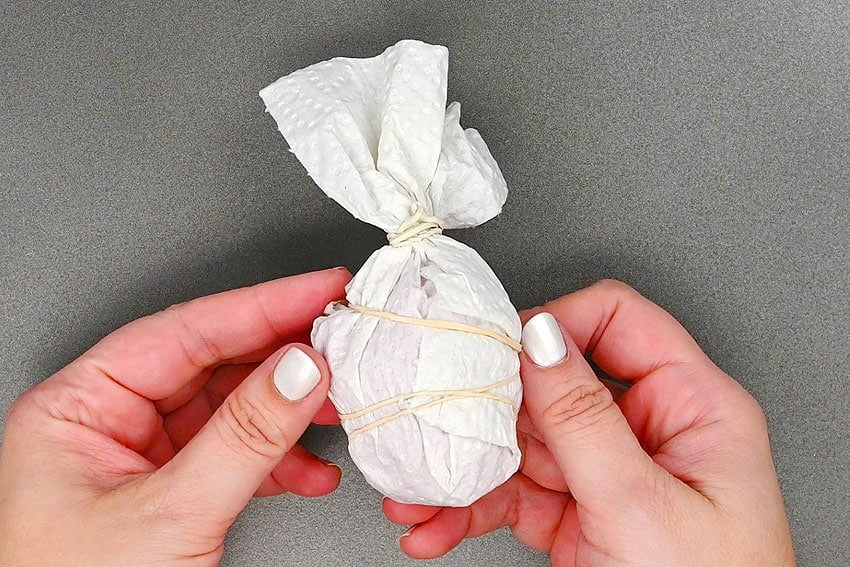
- Then add a rubber band around the actual egg itself. This will push the tissue paper right up against the egg.
Step 4: Soak the egg and allow to dry
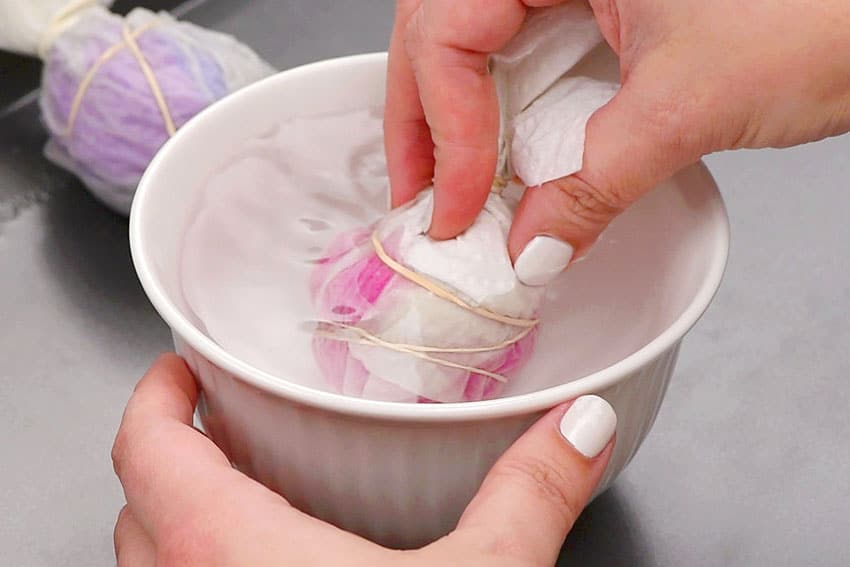
- Place the wrapped egg in water, allowing the paper towel to fully absorb water. Remove from the water and allow to dry, as is, overnight.
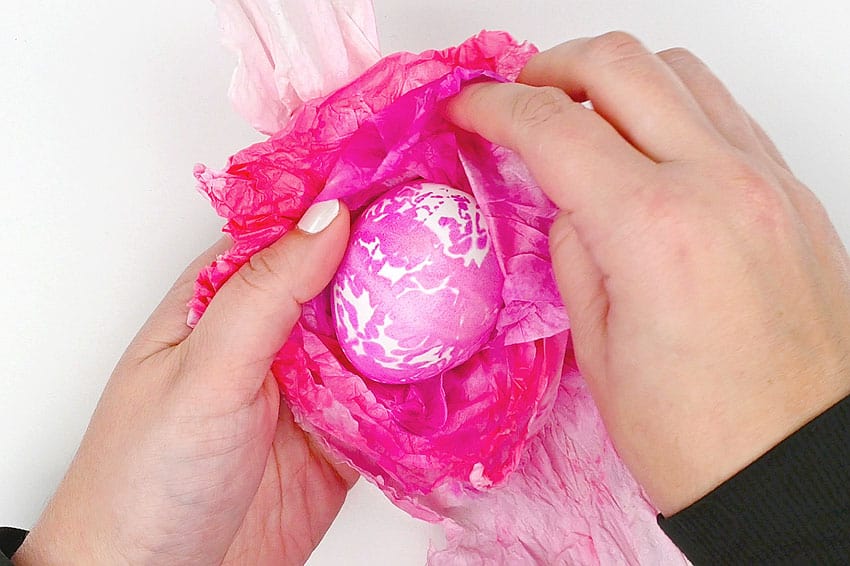
- The next day, unwrap the egg and remove it from the paper towel and tissue paper. You’ll see that the colour has transferred from the tissue paper to the egg!
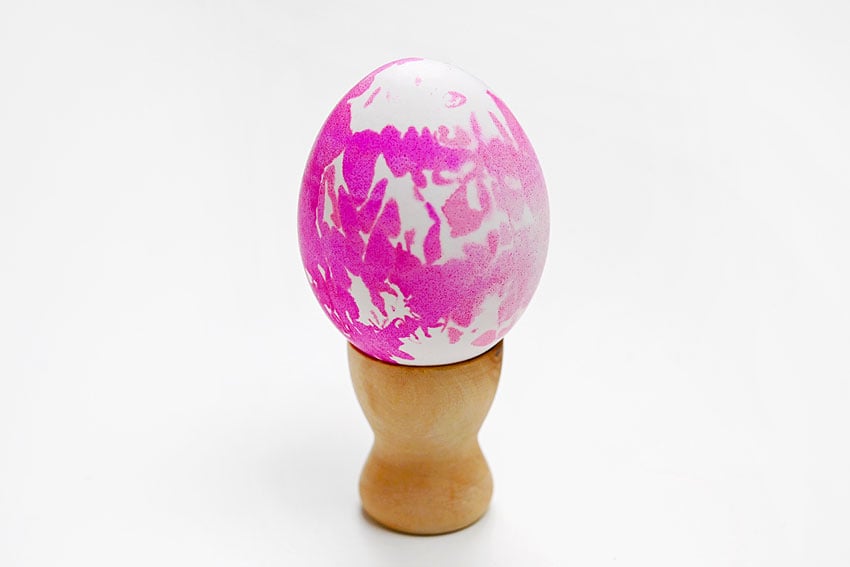
- Your tissue paper dyed Easter egg is complete!
Helpful Tips
- Read through the full tutorial before starting.
- Prepare the listed supplies ahead of time so each step is easier to follow.
- Check the finished craft against the instructions before displaying or using it.
FAQs
Is this tutorial beginner friendly?
Yes. This tissue paper dyed easter eggs paper craft is written with simple steps and extra tips for beginners.
Can kids make this craft independently?
Older kids may be able to work independently, while younger kids should have help with any steps that require close attention or small pieces.
How long does the craft take?
Most versions take about 30 minutes, depending on the materials and the pace of the crafter.
Can I use different colors?
Yes. Changing the colors is one of the easiest ways to personalize the finished craft.
Final Thoughts
Once the tissue paper dyed easter eggs paper craft is finished, take a moment to check the details, compare the result with the tutorial, and display the project somewhere kids can enjoy their work.
Affiliate disclosure: This post may contain Amazon affiliate links. As an Amazon Associate, Easy Crafts Ideas may earn from qualifying purchases at no extra cost to you.