

This rainbow popsicles using dixie cups kids craft is a cheerful hands-on project for kids, classrooms, and family craft time. It uses the tutorial steps below as the practical guide while adding helpful planning notes so the project feels easier to prepare, follow, and finish. Gather the supplies first, give yourself a little workspace, and enjoy making something creative from simple materials.
How to Make Easy Rainbow Popsicles
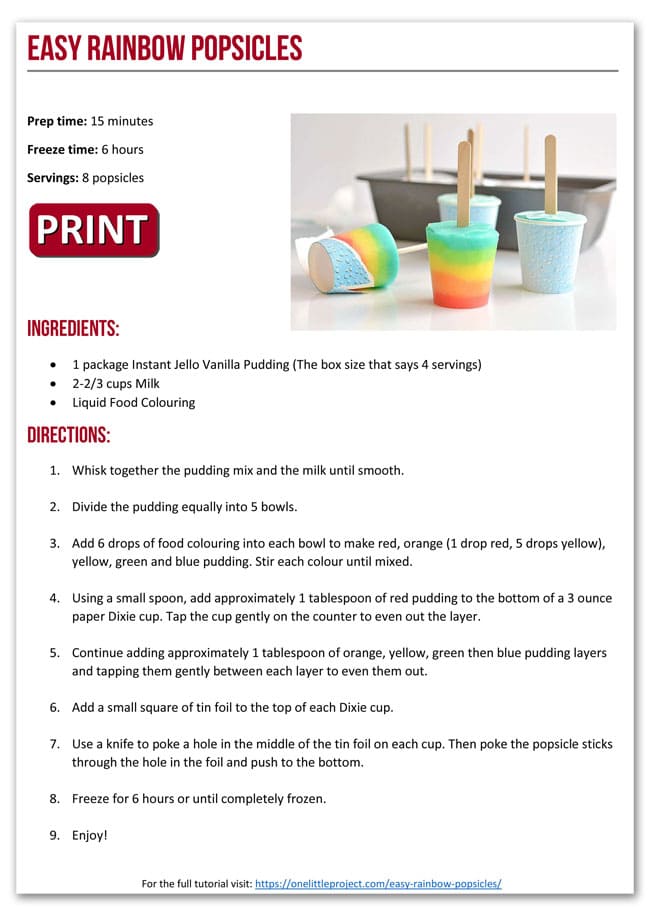
The full printable recipe is at the end of this post, but here’s what you’ll need:
- Instant Jello Pudding
- Milk
- Food Colouring
- Dixie Cups (3 ounce size)
- Popsicle Sticks
I used vanilla instant pudding as the base for these popsicles. And I found the Dixie cups at the dollar store.
You’ll want to use a little more milk than the recipe on the box recommends. My package of 4 serving instant pudding said to add 2 cups of milk, but I added just under 2-2/3 cups of milk. The pudding needs to be runnier than normal pudding, but thick enough that the layers don’t mix together when you layer them. Whisk the milk with the pudding mix until it’s smooth.
How to Make the Layers
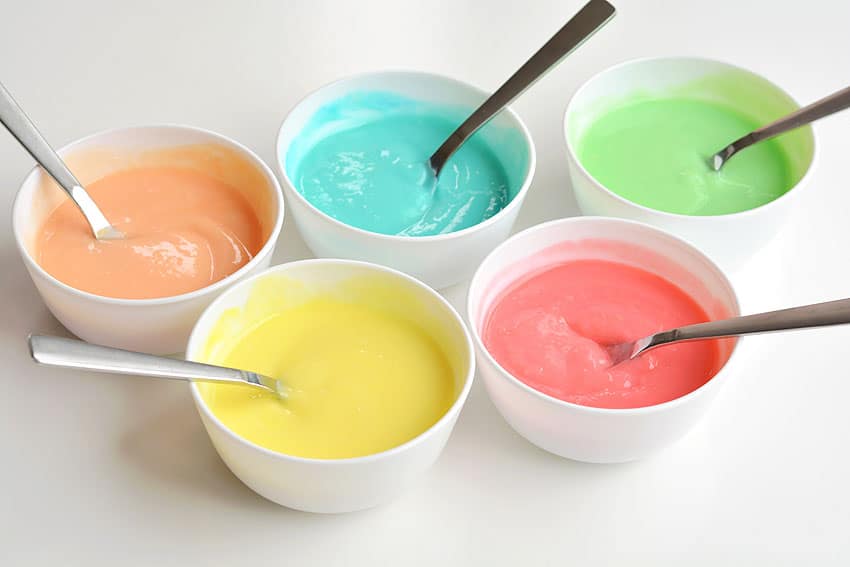
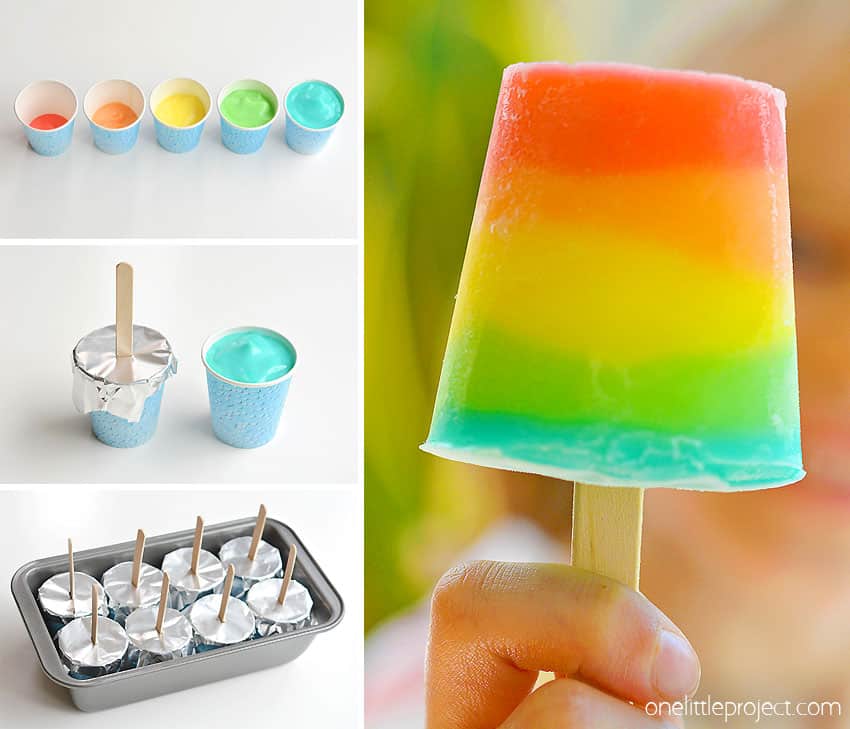
Divide the pudding evenly into 5 bowls. I just guessed rather than measuring it out precisely, and it ended up being pretty close. It helps if you have 5 identical small bowls.
Then you can add the food colouring to each bowl and stir it together. I used 6 drops of food colouring for each colour:
Red Layer – 6 drops red food colouring
Orange Layer – 1 drop red and 5 drops yellow food colouring
Yellow Layer – 6 drops yellow food colouring
Green Layer – 6 drops green food colouring
Blue Layer – 6 drops blue food colouring
Purple Layer – If you have purple food colouring you can definitely make a 6th layer. But I find when you mix purple using red and blue it comes out crazy dark, so I skipped purple.
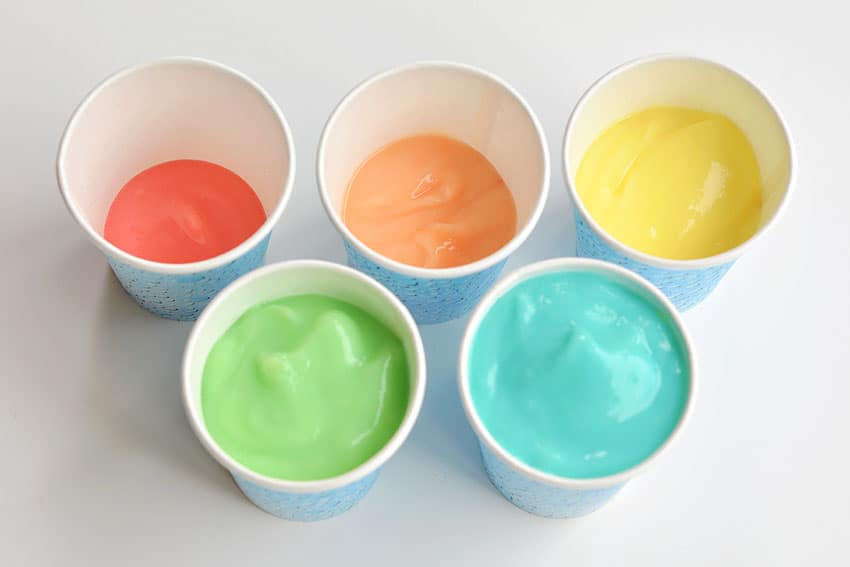
Next you can add the layers to your Dixie cups. I used 3 ounce Dixie cups and the teaspoons from my regular cutlery set. Whatever spoon you use, just make sure it’s smaller than the Dixie cup so you can get it into the cup without touching the sides.
After you add each layer, you can tap the cup down gently on the counter to even out the pudding before you add the next layer. There’s no need to freeze the layers, the pudding should be thick enough on it’s own.
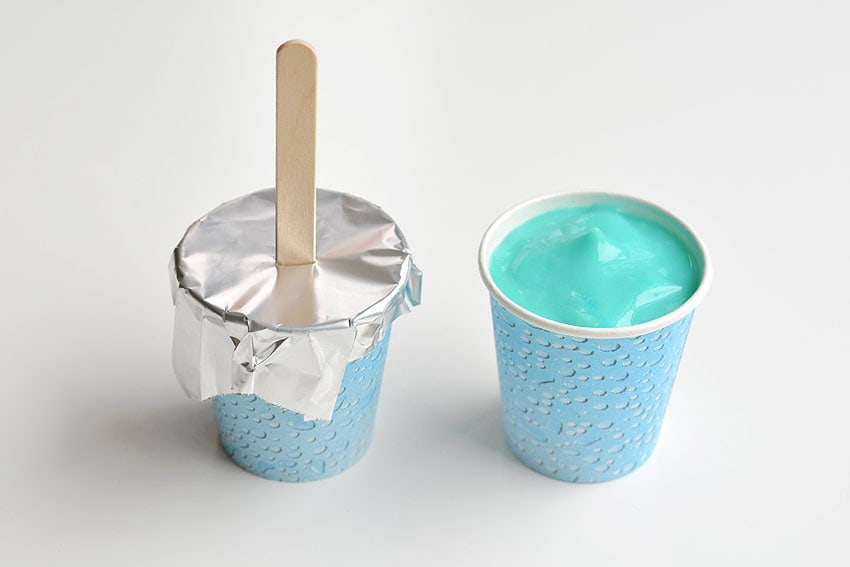
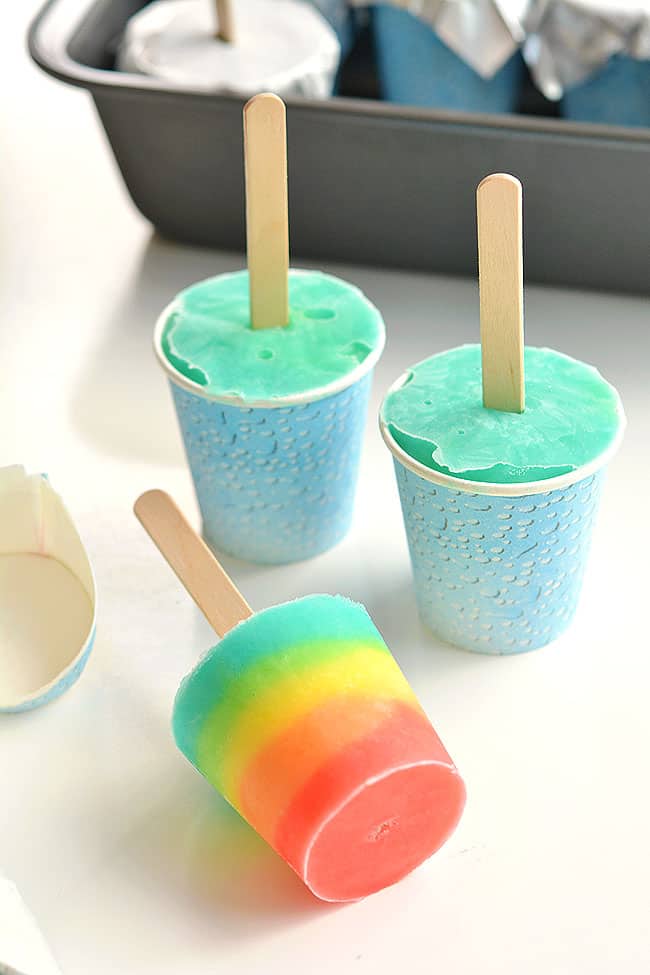
When you’re done your layers, add a small square of tin foil to cover the top of the Dixie cup.
Use a knife to cut a small hole in the middle of the foil for the popsicle stick. Then you can push the popsicle stick through the hole and into the pudding. We pushed our popsicle sticks all the way to the bottom.
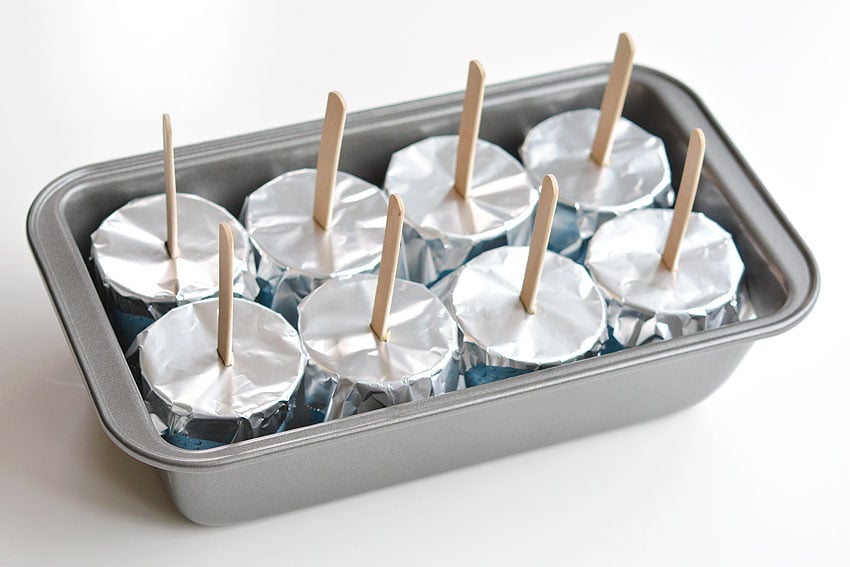
This next photo makes me so happy! I put my Dixie cups into my dollar store loaf pan and the 8 of them fit PERFECTLY. It’s such a glorious feeling when that happens!! lol
Then I put the loaf pan full of popsicles into the freezer. We got busy and left them in the freezer for 24 hours, so I’m not sure exactly how long it takes for them to freeze? They’d probably be ready in 4 to 6 hours?
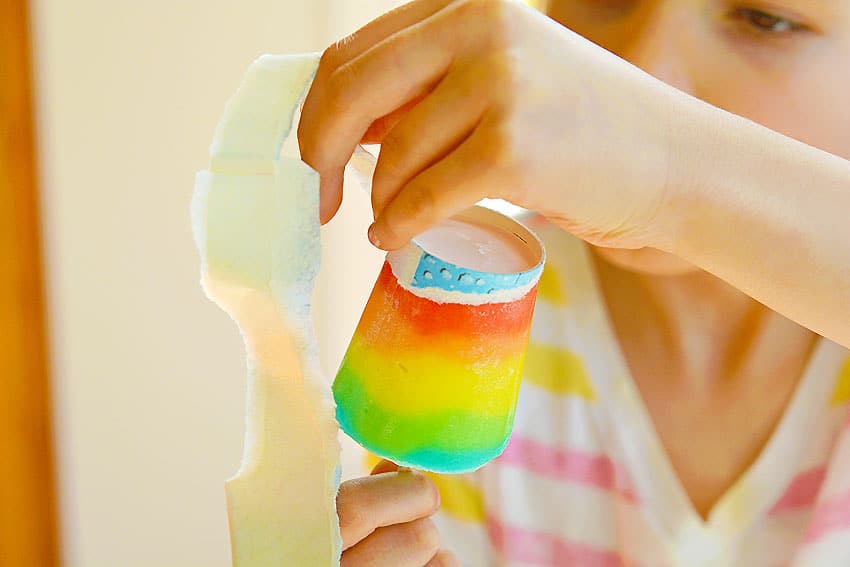
I think my kids’ favourite part about these was peeling back the Dixie cups after they were frozen. You just make a small tear or cut at the top, then you can peel away the cup from the popsicle.
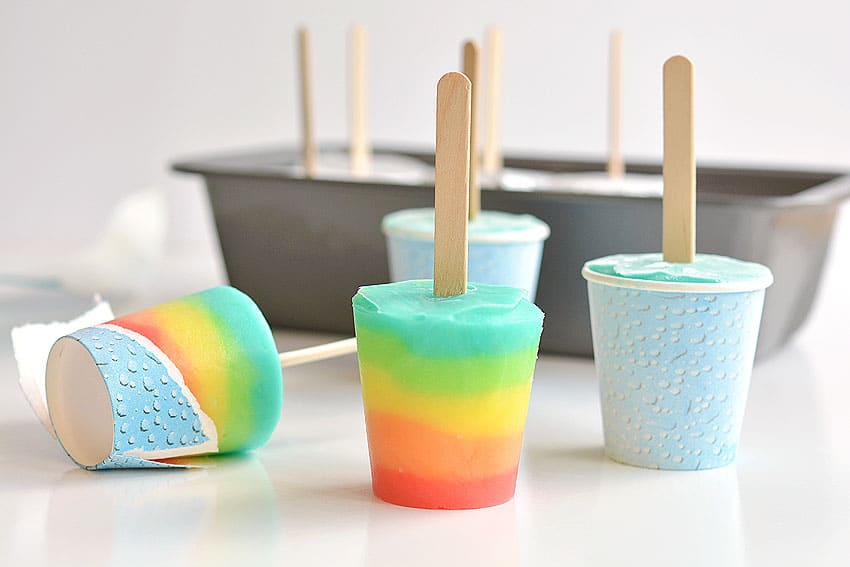
I’m sure you could also run them under warm water and just pull them out, but the kids really LOVED peeling away the cups.
You know the emoji that has hearts in it’s eyes? That’s how I feel when I look at these rainbow popsicles. They turned out SO WELL!
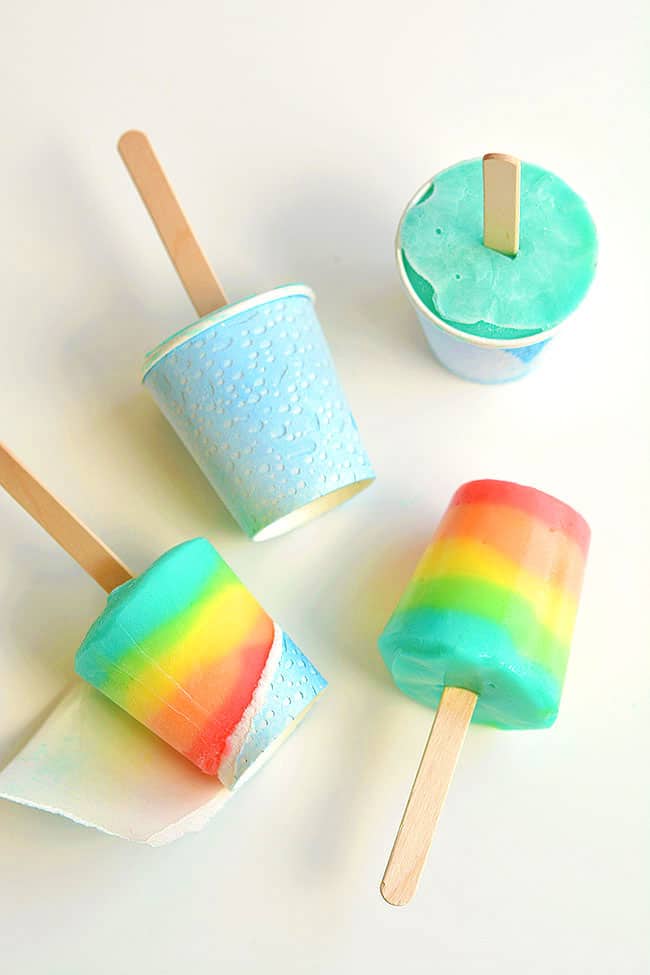
The layers worked out perfectly and there weren’t very many air bubbles. They were easy to make and they look so awesome!
These easy rainbow popsicles are so fun and they’re really simple to make! There’s no need to wait for each layer to freeze which makes them quick and easy. And even better, since they’re made with pudding, these popsicles barely drip when they melt! This is such a great summer recipe and a super fun treat for the kids.
Helpful Tips
- Read through the full tutorial before starting.
- Prepare the listed supplies ahead of time so each step is easier to follow.
- Check the finished craft against the instructions before displaying or using it.
FAQs
Is this tutorial beginner friendly?
Yes. This rainbow popsicles using dixie cups kids craft is written with simple steps and extra tips for beginners.
Can kids make this craft independently?
Older kids may be able to work independently, while younger kids should have help with any steps that require close attention or small pieces.
How long does the craft take?
Most versions take about 30 minutes, depending on the materials and the pace of the crafter.
Can I use different colors?
Yes. Changing the colors is one of the easiest ways to personalize the finished craft.
Final Thoughts
Once the rainbow popsicles using dixie cups kids craft is finished, take a moment to check the details, compare the result with the tutorial, and display the project somewhere kids can enjoy their work.
Affiliate disclosure: This post may contain Amazon affiliate links. As an Amazon Associate, Easy Crafts Ideas may earn from qualifying purchases at no extra cost to you.


