

This butter slime kids craft is a cheerful hands-on project for kids, classrooms, and family craft time. It uses the tutorial steps below as the practical guide while adding helpful planning notes so the project feels easier to prepare, follow, and finish. Gather the supplies first, give yourself a little workspace, and enjoy making something creative from simple materials.
Materials:
- 7.6 ounce White glue
- 1.5 Tablespoon Lotion
- 1/2 teaspoon Baking soda
- 2 Tablespoons Water
- ~1 Tablespoon (optional)
- 2 teaspoons Contact lens solution
- 4 ounces Model Magic clay (any colour)
Equipment:
Instructions:
Step 1: Find what you need
- Gather your ingredients.
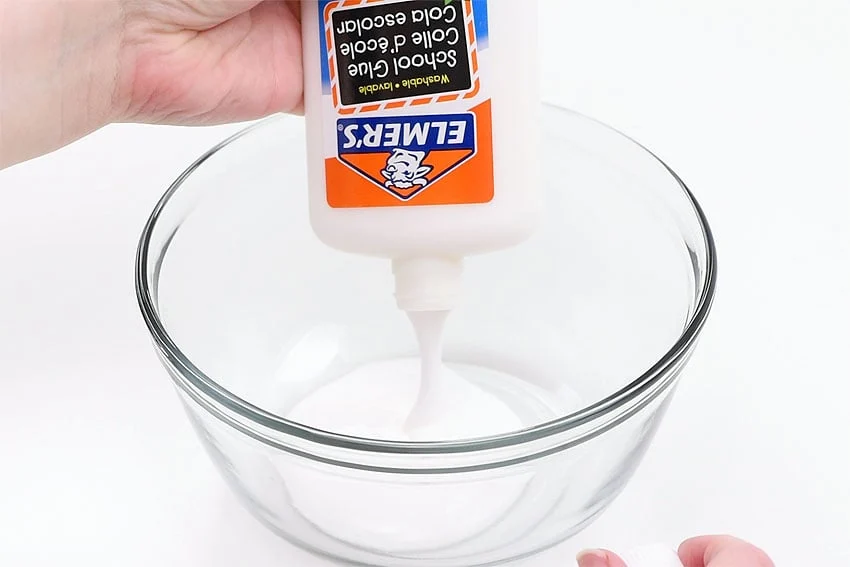
Step 2: Mix the ingredients
- Add an entire 7.6 ounce bottle of white glue to a bowl. (An 8 ounce bottle will also work).
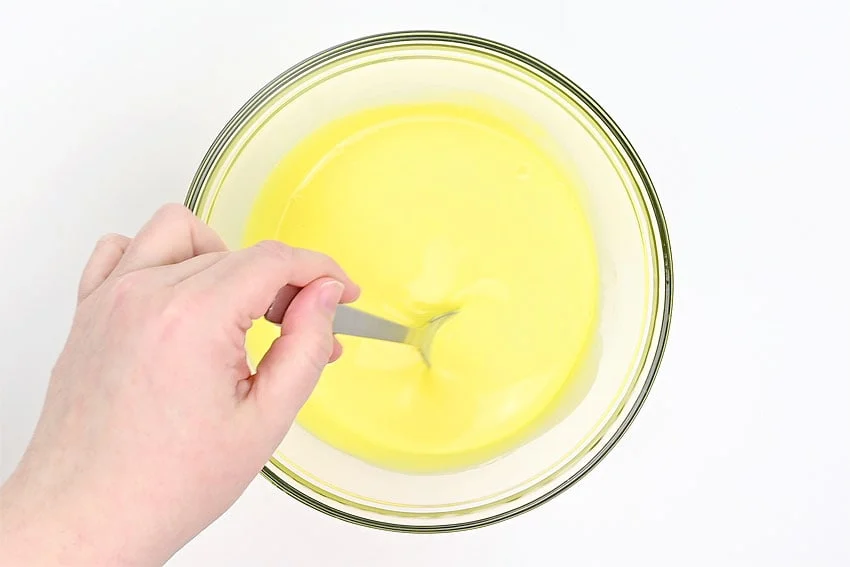
- Add 1.5 Tablespoons of lotion, 1/2 teaspoon baking soda, and 2 Tablespoons of water to the glue.
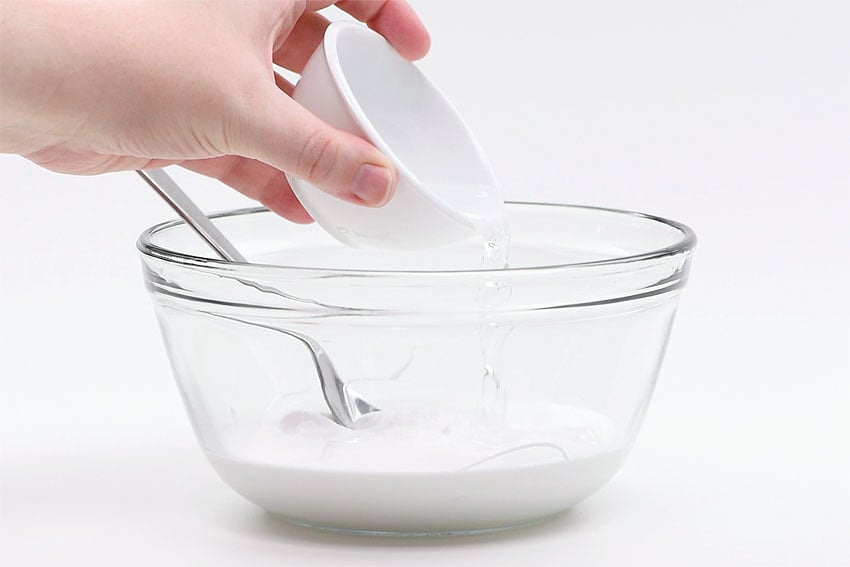
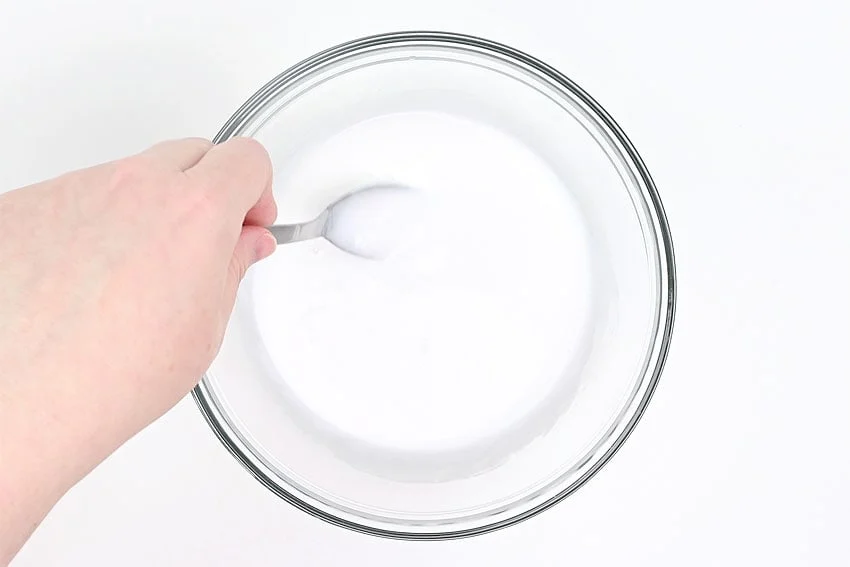
- Stir the mixture well until it’s fully combined.
Step 3: Add colour (optional)
- Add about 1 Tablespoon of acrylic paint to your slime mixture to add colour.If you’re using coloured Model Magic clay you can skip this step.
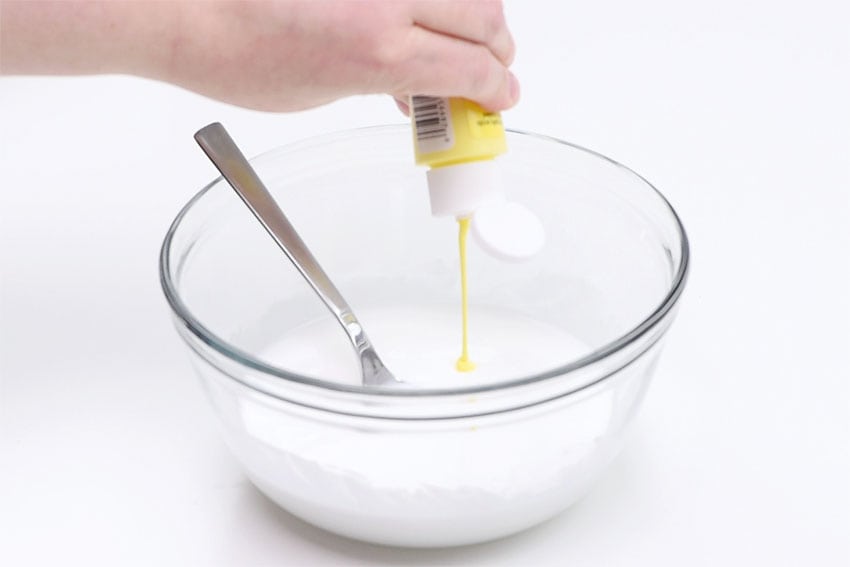
- Stir until the colour is consistent. Add more paint until you’re happy with the colour.Keep in mind that once you add the clay the colour will lighten up quite a bit.
Step 4: Add the slime activator
- Pour in 2 teaspoons of contact lens solution.
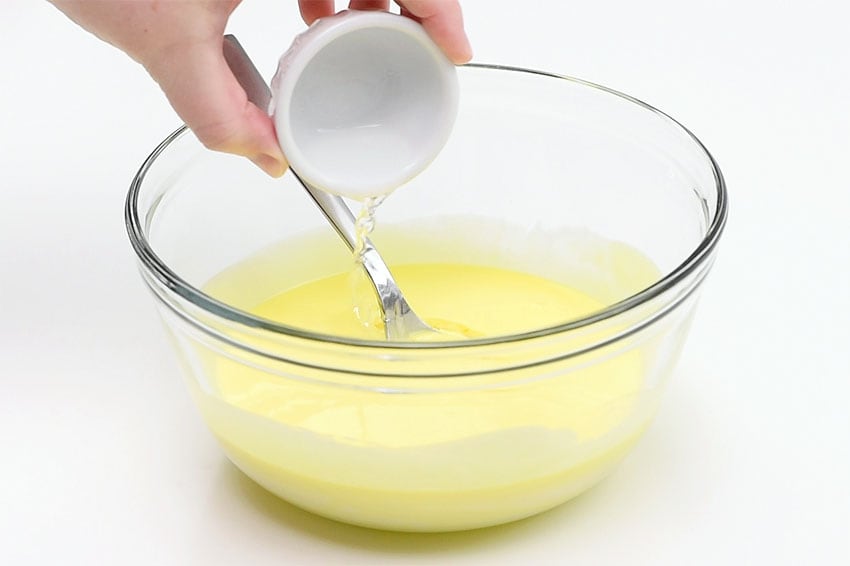
- Stir until well combined and the mixture starts to become slime-like (it will still be very sticky and liquidy at this point – don’t add more activator unless it hasn’t thickened at all).

Step 5: Mix in the clay
- Unwrap a 4 ounce package of Model Magic clay.
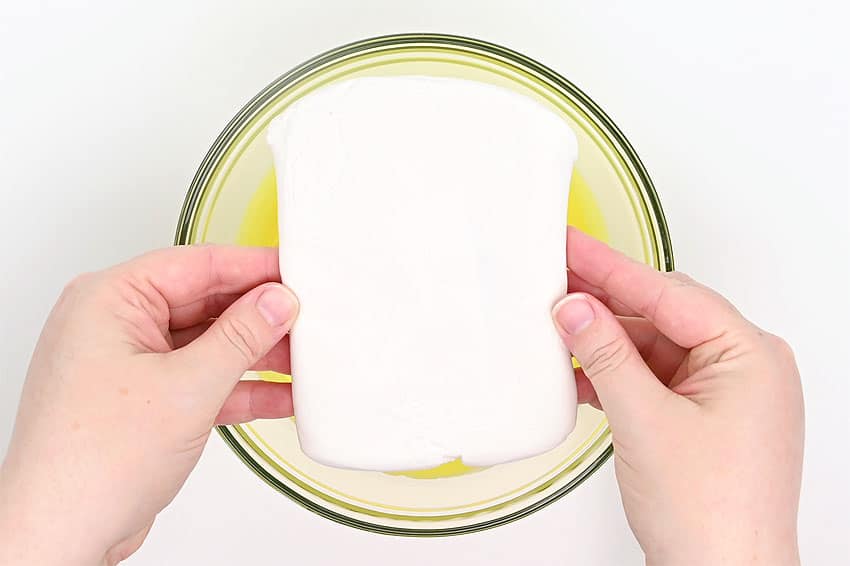
- Press the clay into the slime.
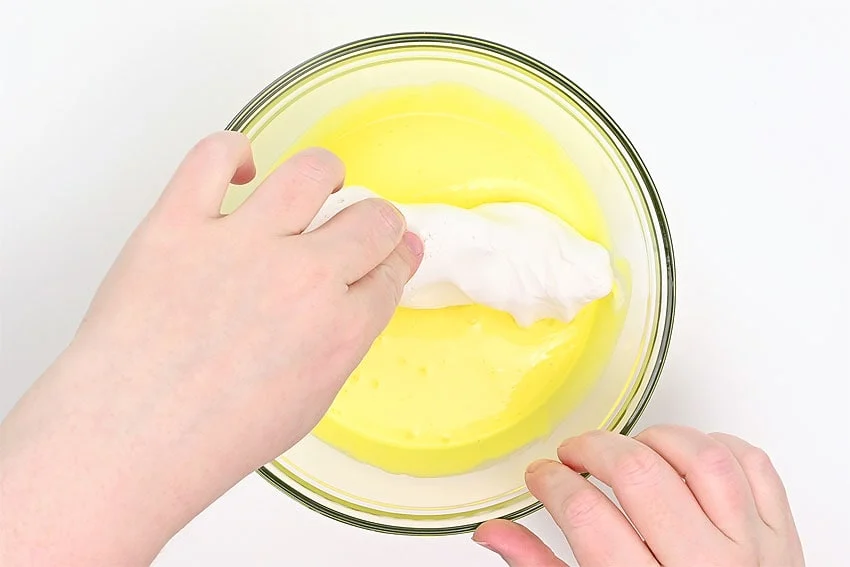
- Start working the clay into the slime. It will be messy and take a lot of kneading.To work the slime into the clay, you have two options:First, cover the clay in slime and then hold it above the bowl as you work it in. Then return the clay mixture to the bowl to cover it in more slime and repeat.Second, you can dump the whole mixture out of the bowl and knead it together on a countertop, table, or baking sheet.
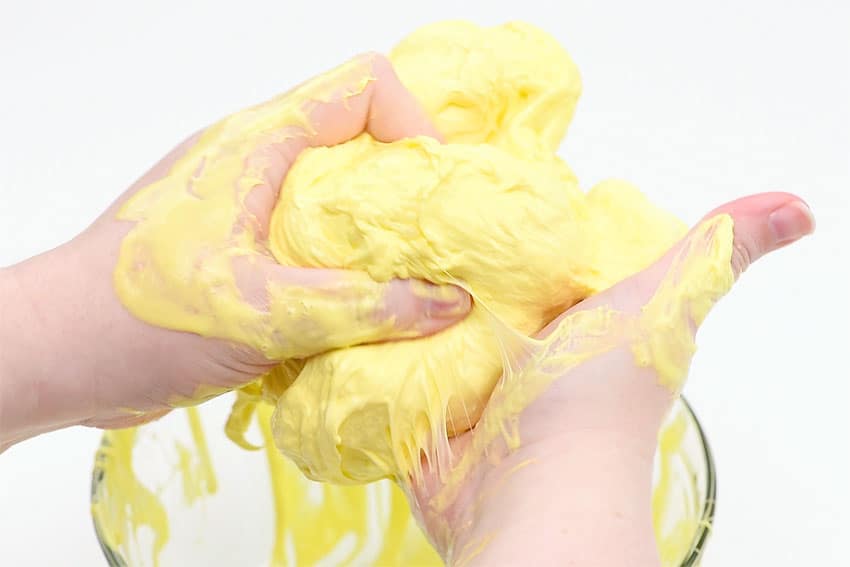
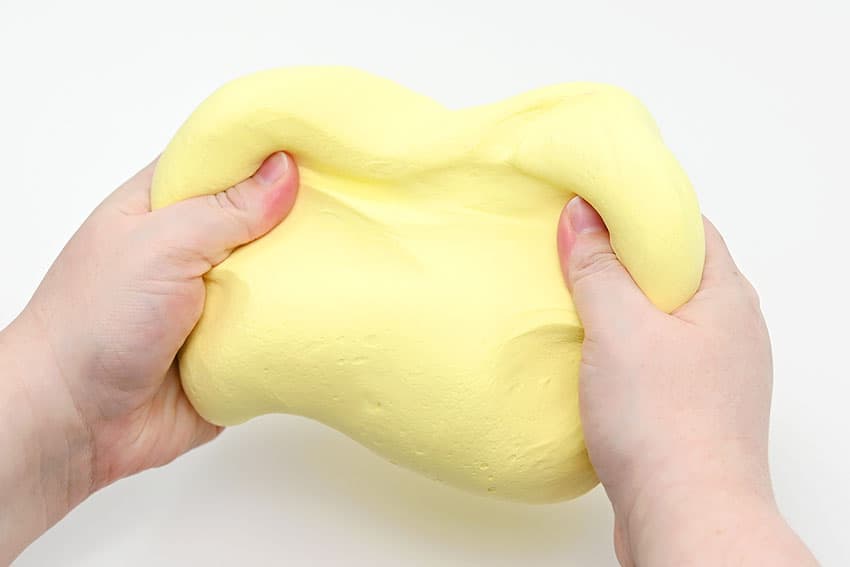
- Eventually you will fully combine the sticky liquid and the clay to create a beautiful soft, buttery slime.

- Your butter slime is complete!
Helpful Tips
- Read through the full tutorial before starting.
- Prepare the listed supplies ahead of time so each step is easier to follow.
- Check the finished craft against the instructions before displaying or using it.
FAQs
Is this tutorial beginner friendly?
Yes. This butter slime kids craft is written with simple steps and extra tips for beginners.
Can kids make this craft independently?
Older kids may be able to work independently, while younger kids should have help with any steps that require close attention or small pieces.
How long does the craft take?
Most versions take about 30 minutes, depending on the materials and the pace of the crafter.
Can I use different colors?
Yes. Changing the colors is one of the easiest ways to personalize the finished craft.
Final Thoughts
Once the butter slime kids craft is finished, take a moment to check the details, compare the result with the tutorial, and display the project somewhere kids can enjoy their work.
Affiliate disclosure: This post may contain Amazon affiliate links. As an Amazon Associate, Easy Crafts Ideas may earn from qualifying purchases at no extra cost to you.


