

This snow slime kids craft is a cheerful hands-on project for kids, classrooms, and family craft time. It uses the tutorial steps below as the practical guide while adding helpful planning notes so the project feels easier to prepare, follow, and finish. Gather the supplies first, give yourself a little workspace, and enjoy making something creative from simple materials.
Materials:
- White glue
- Water
- Baking soda
- Instant snow
- Fake snow (iridescent; or glitter)
- Contact lens solution
Equipment:
Instructions:
Step 1: Find what you need
- Gather your supplies and materials.
Step 2: Mix the main ingredients
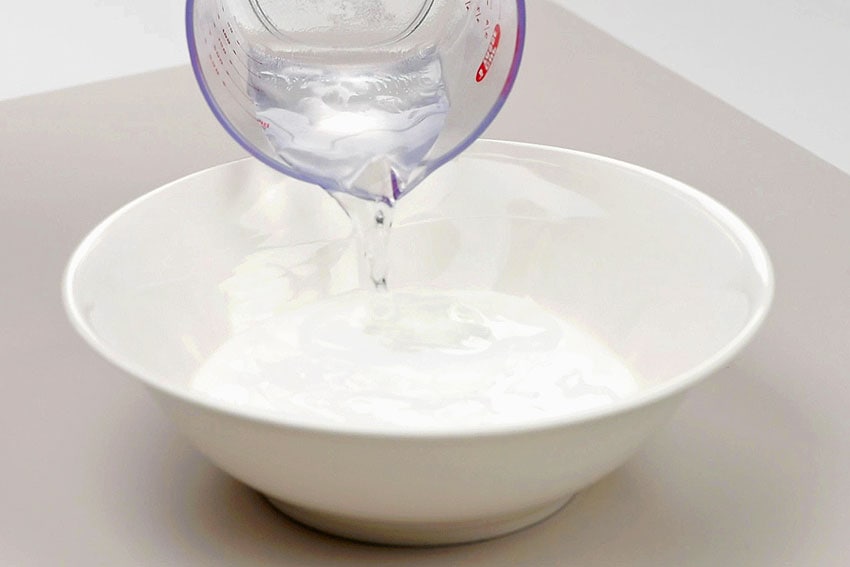
- Pour 1/2 cup of white glue into a bowl.

- Then add 1/3 cup of water.
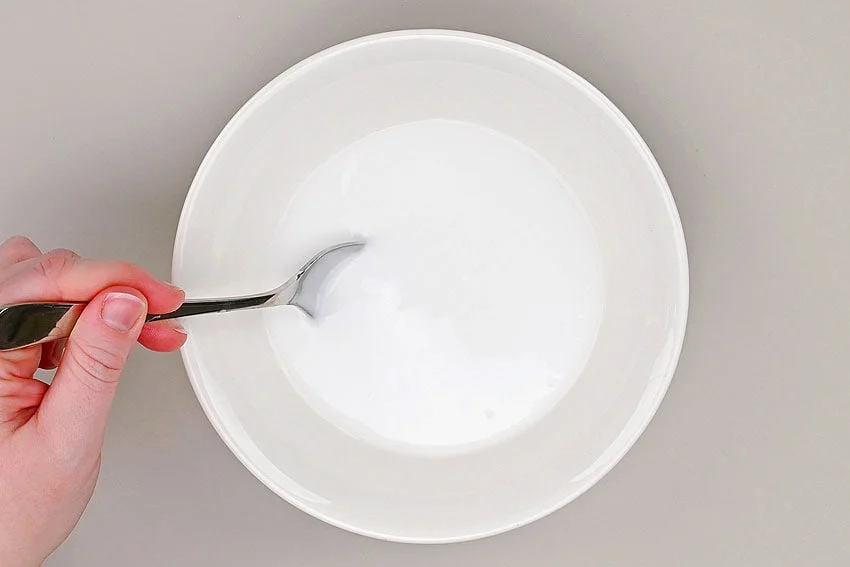
- Carefully stir or whisk together until combined.
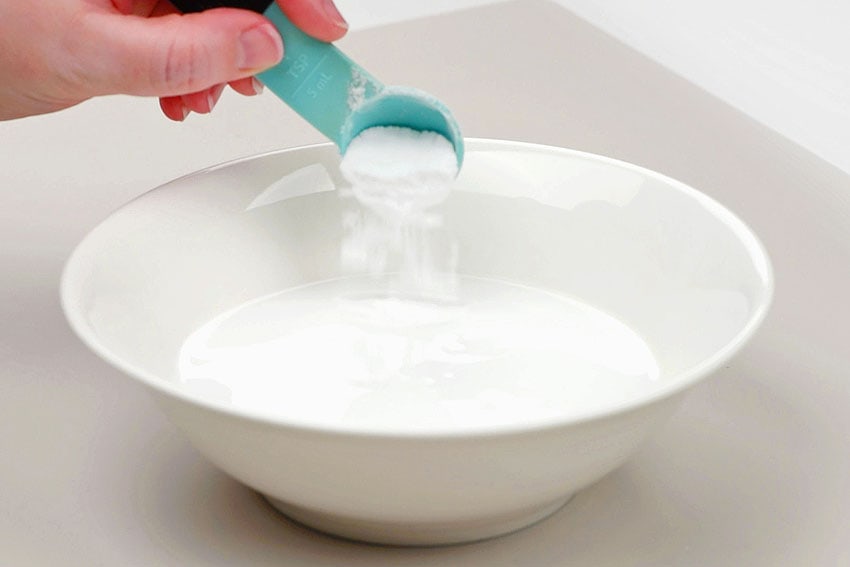
- Add 1 teaspoon of baking soda. Stir and remove any lumps.
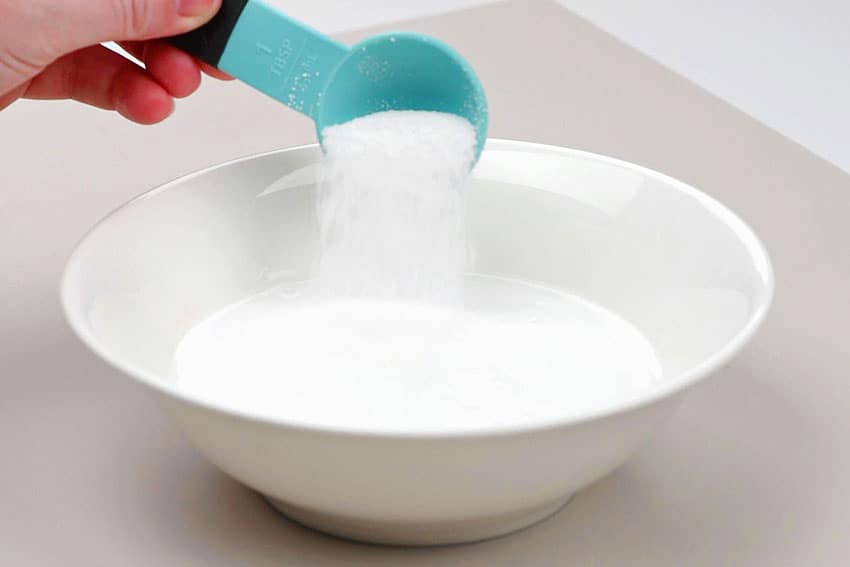
- Then add 1 Tablespoon of instant snow. Stir to combine. The snow will start to absorb the moisture and make the mixture thick and lumpy — that’s okay!
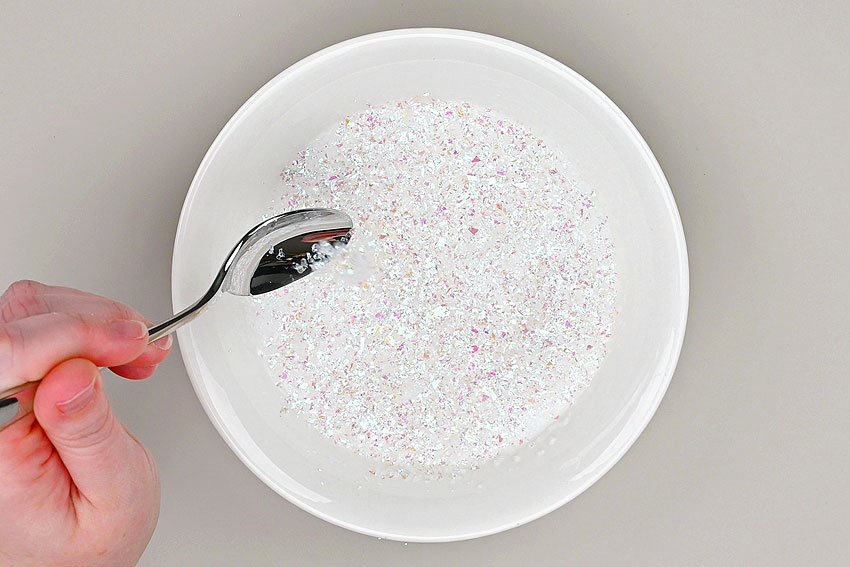
- Optional: Add some iridescent fake snow (or glitter) to make your snow slime a bit sparkly. Add enough to cover the top of the mixture.
Step 3: Activate the slime
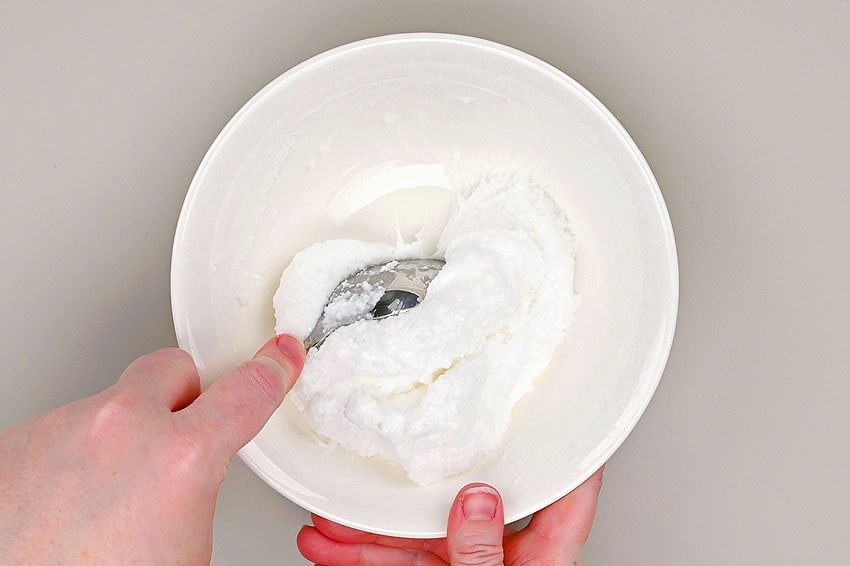
- Add 1 Tablespoon of contact lens solution into the bowl.

- Stir until you can’t stir any more. The mixture will start out sticky, but as it thickens you’ll see it come away from the sides of the bowl.
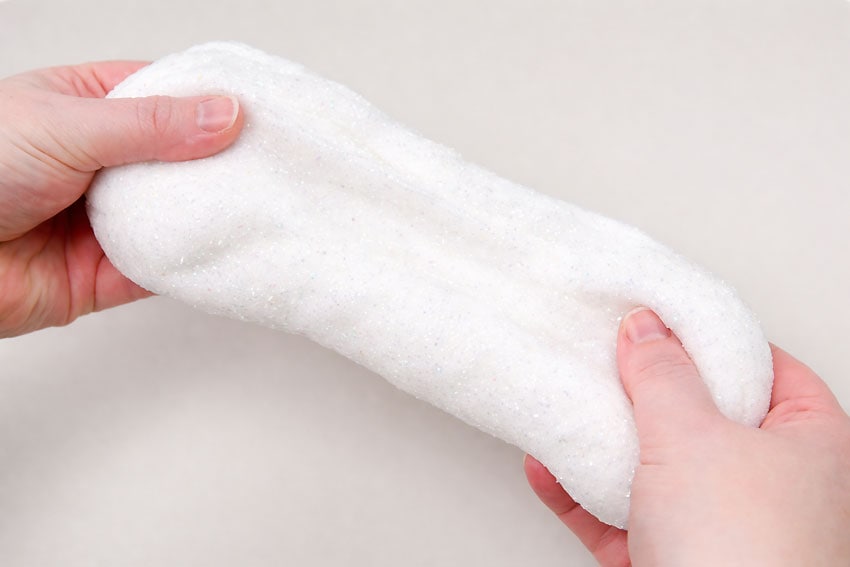
- Pick up the slime and knead it with your hands, squishing it and pulling it apart. It will still be sticky, but not enough that it will stick too badly.
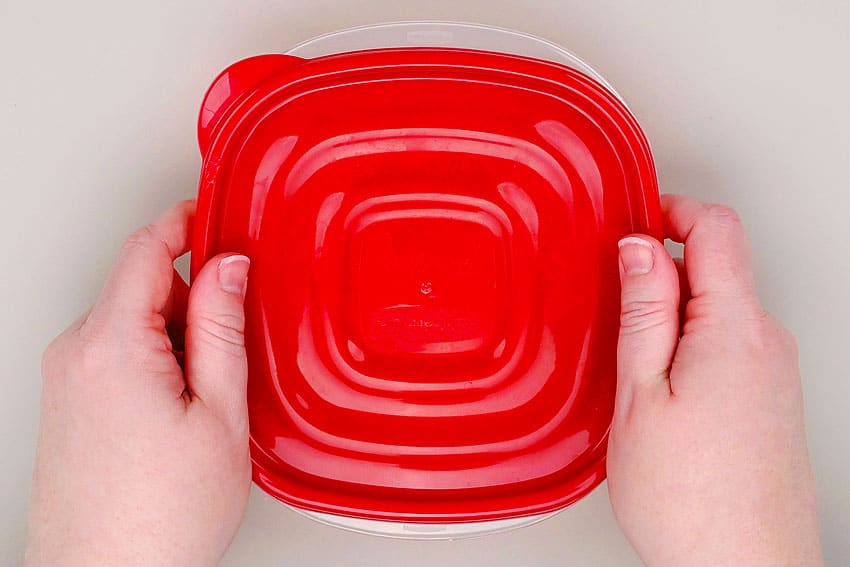
Step 4: Wait overnight
- Set the slime in an airtight container and wait overnight. This allows time for the instant snow to absorb and grow more.
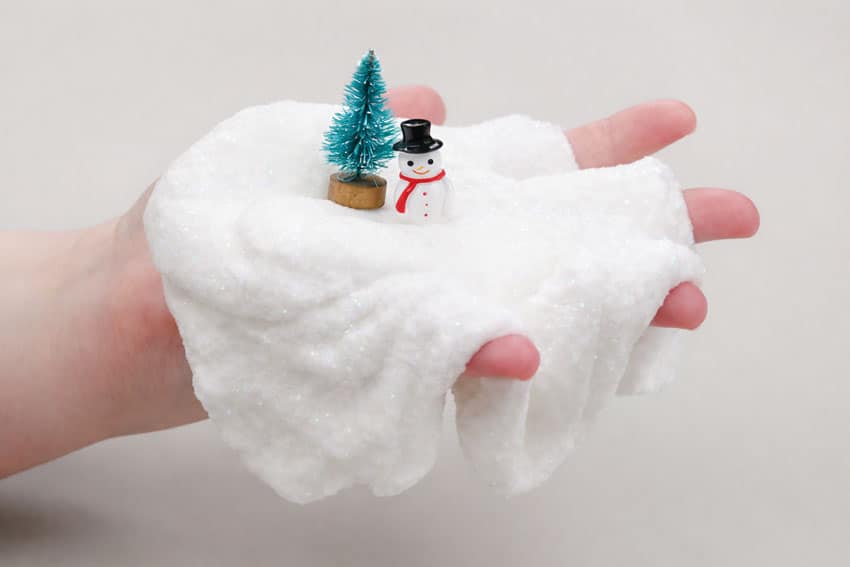
- Your snow slime is complete! It might be a bit sticky when you first pick it up, but after kneading it for a minute it’ll be puffy and thick, but still stretchy.Have fun playing with little snowmen and tree decorations.
Helpful Tips
- Read through the full tutorial before starting.
- Prepare the listed supplies ahead of time so each step is easier to follow.
- Check the finished craft against the instructions before displaying or using it.
FAQs
Is this tutorial beginner friendly?
Yes. This snow slime kids craft is written with simple steps and extra tips for beginners.
Can kids make this craft independently?
Older kids may be able to work independently, while younger kids should have help with any steps that require close attention or small pieces.
How long does the craft take?
Most versions take about 30 minutes, depending on the materials and the pace of the crafter.
Can I use different colors?
Yes. Changing the colors is one of the easiest ways to personalize the finished craft.
Final Thoughts
Once the snow slime kids craft is finished, take a moment to check the details, compare the result with the tutorial, and display the project somewhere kids can enjoy their work.
Affiliate disclosure: This post may contain Amazon affiliate links. As an Amazon Associate, Easy Crafts Ideas may earn from qualifying purchases at no extra cost to you.


 – 2026 Guide")
")
