

This paper poinsettia tea light paper craft is a cheerful hands-on project for kids, classrooms, and family craft time. It uses the tutorial steps below as the practical guide while adding helpful planning notes so the project feels easier to prepare, follow, and finish. Gather the supplies first, give yourself a little workspace, and enjoy making something creative from simple materials.
Materials:
- FREE Printable Paper Poinsettia Template
- Red cardstock
- Green cardstock
- Alcohol markers (red and green; or Sharpies)
- Battery operated tealight candle
Equipment:
Instructions:
Step 1: Find what you need
- Gather your supplies and materials.
Step 2: Cut out and prepare the template pieces
- Print our paper poinsettia tea light template and cut out the pieces.
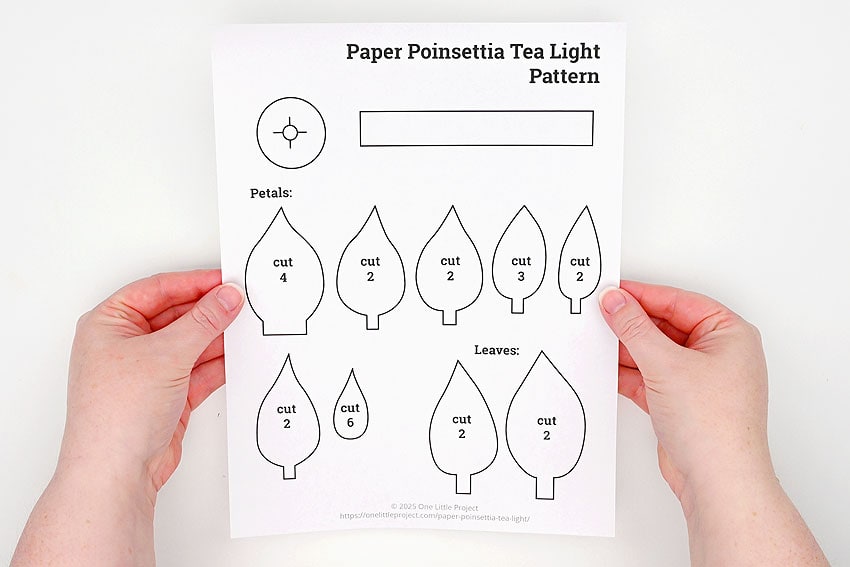
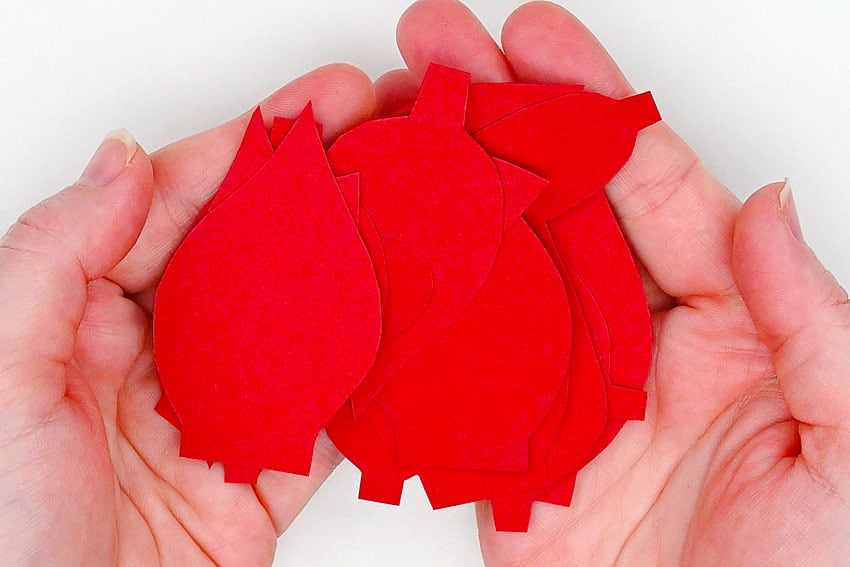
- Trace the petal templates onto red cardstock and cut them out. Follow the pattern’s instructions for how many of each to cut.
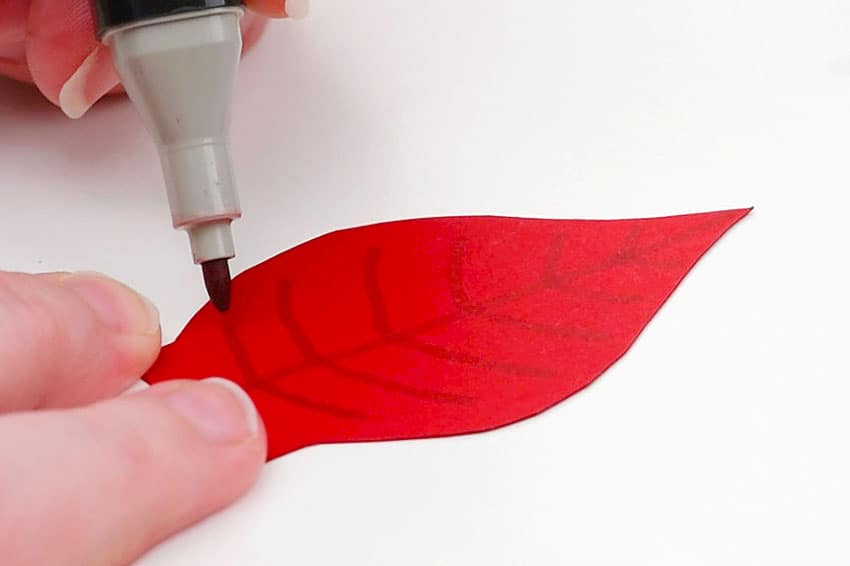
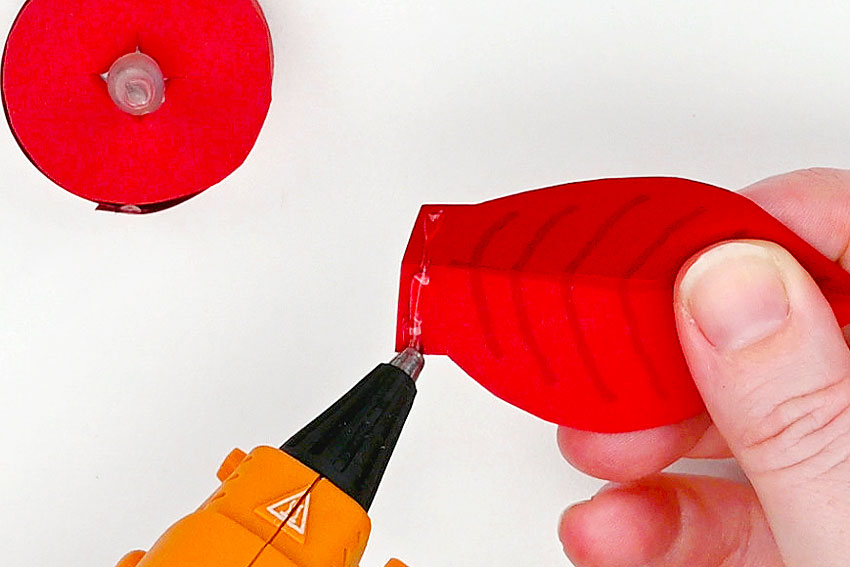
- Use a red marker to add veins to a petal. Repeat for the rest of the petals.
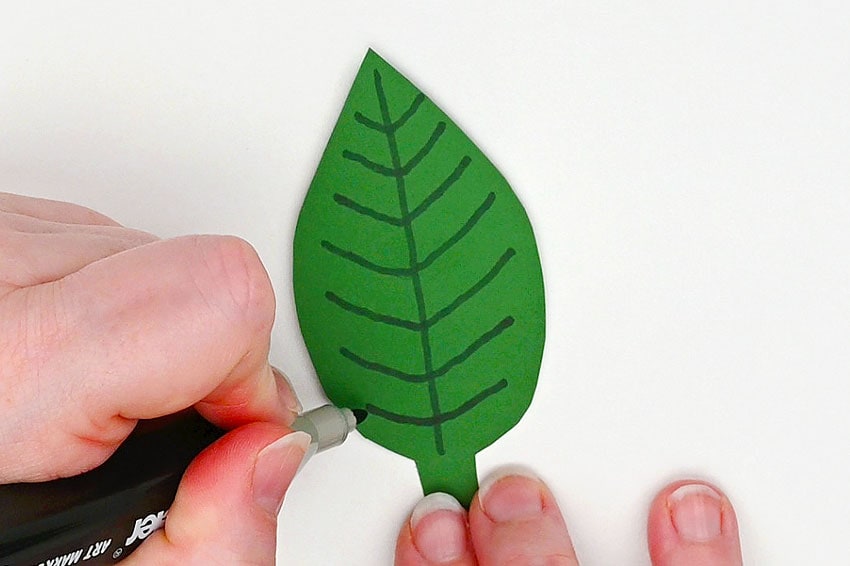
- Trace 4 leaves onto green cardstock and cut them out.

- Add the same vein details to the leaves, using green marker.
- Set a ruler on top of a petal, lining it up with the point and the center vein.
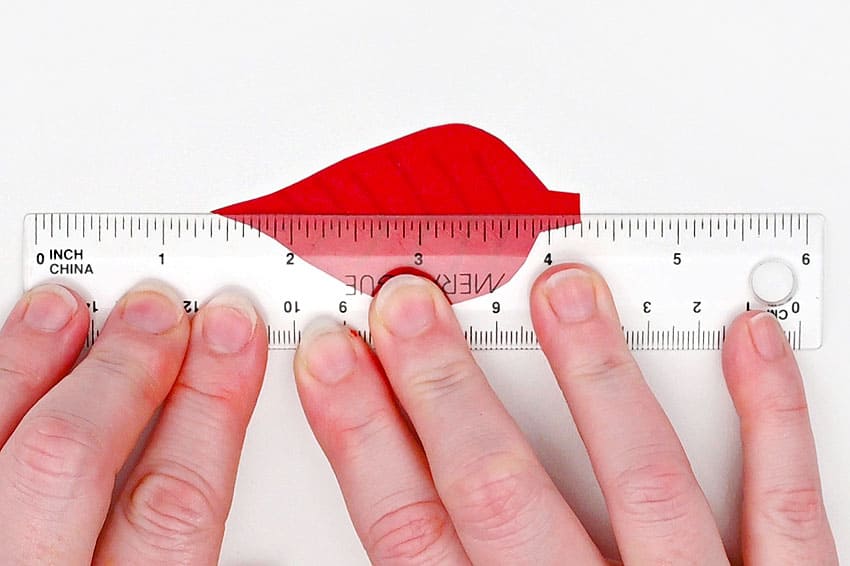
- Fold the petal along the ruler, creating a bend in the center.
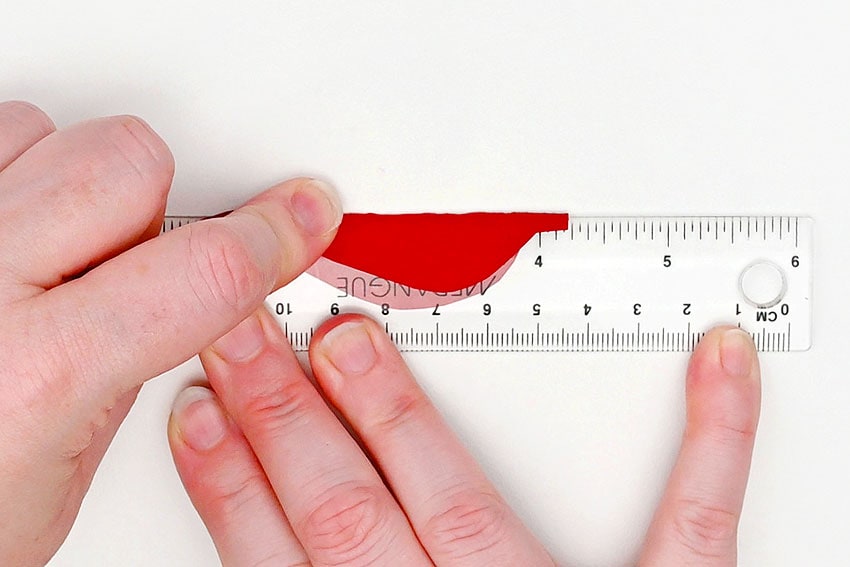
- Repeat with the rest of the petals and leaves.

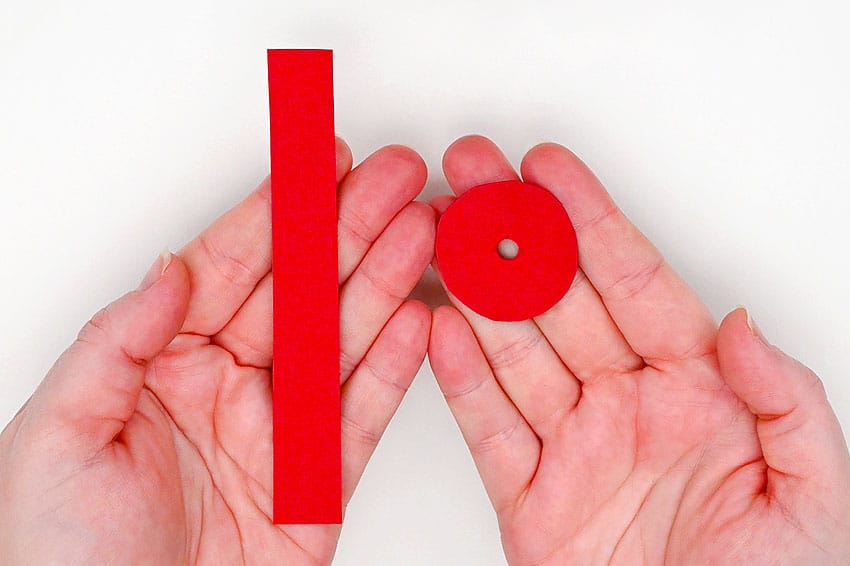
- Then use the template to cut out the band and circle for the tea light. Make sure you cut 4 slits around the center of the circle.
Step 3: Add the first details to the tea light
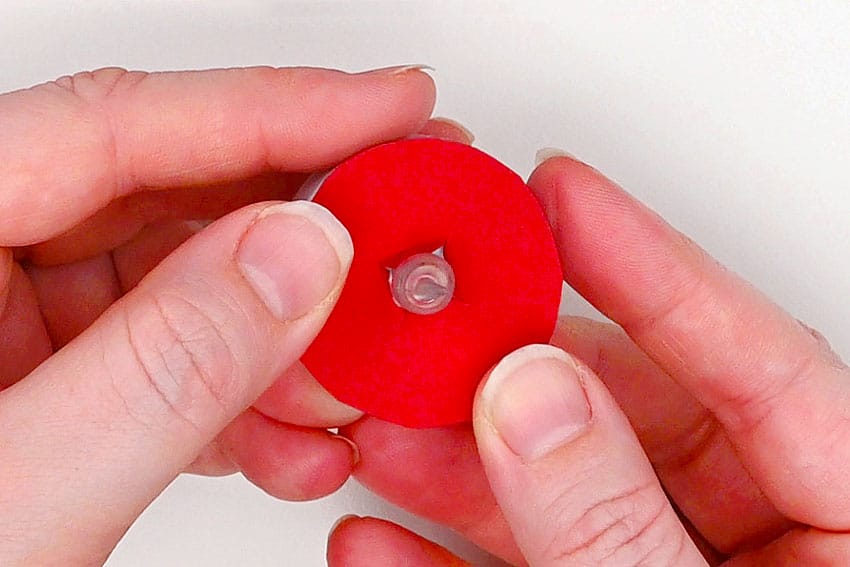
- Add glue tape to the top of an LED tea light candle.(This is optional, if you don’t have glue tape, but it does help keep the paper in place.)
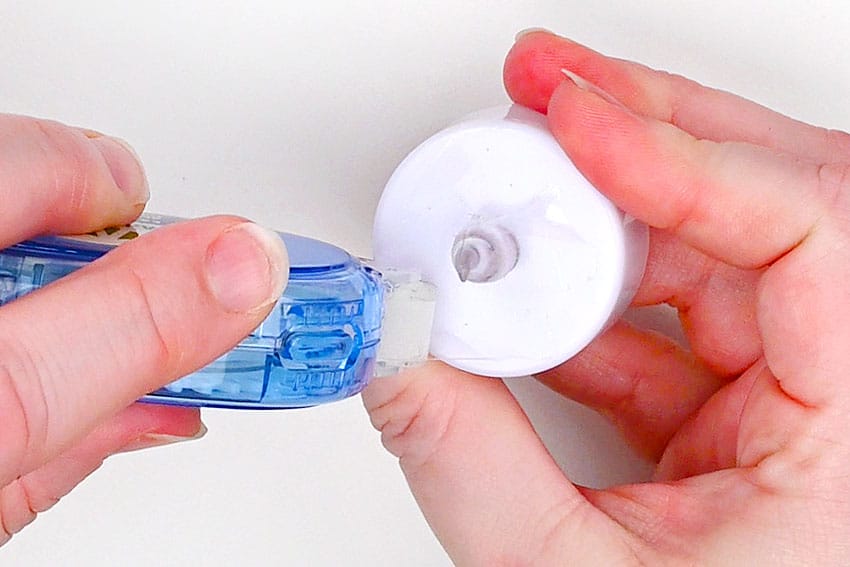
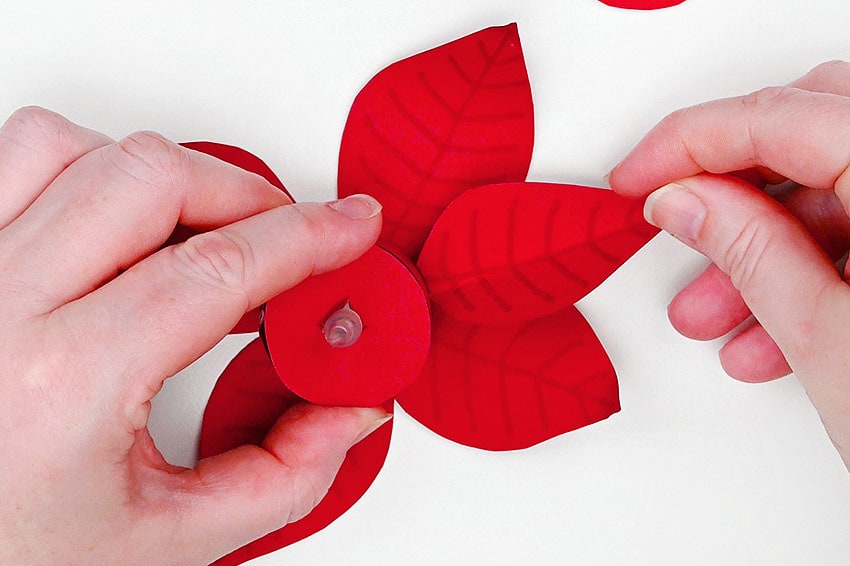
- Press the cardstock circle down over the “flame” to cover the top of the tea light.
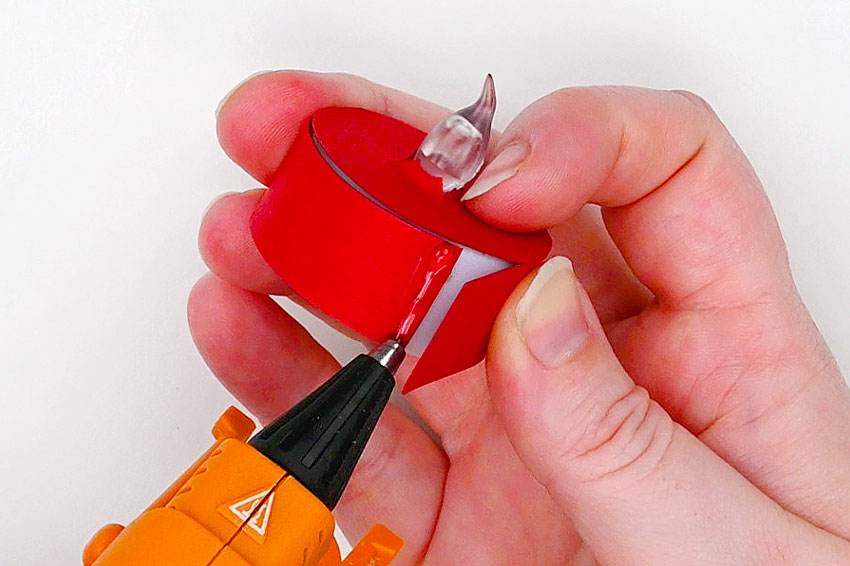
- Use hot glue to attach the rectangle around the side of the tea light.(You can also use a bit of glue tape to stick the middle part down, but hot glue is recommended to keep the ends secure.)
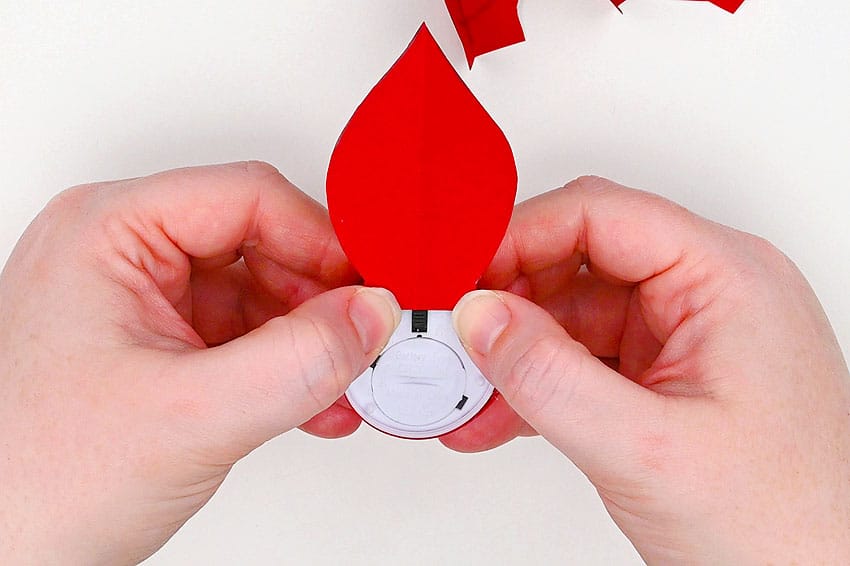
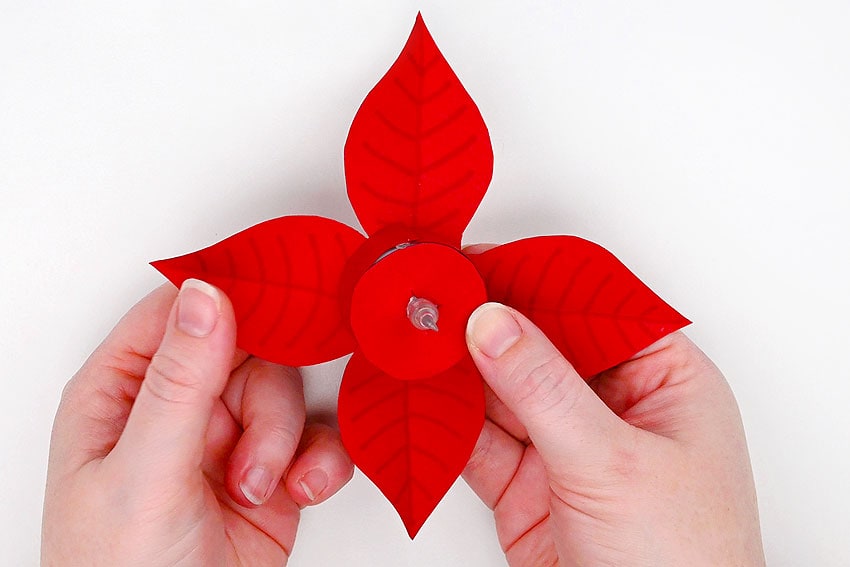
- Add hot glue to one of the largest petals (the ones with the flat bottom).
- Attach this first petal to the bottom of the candle, on the edge so it doesn’t cover the switch.
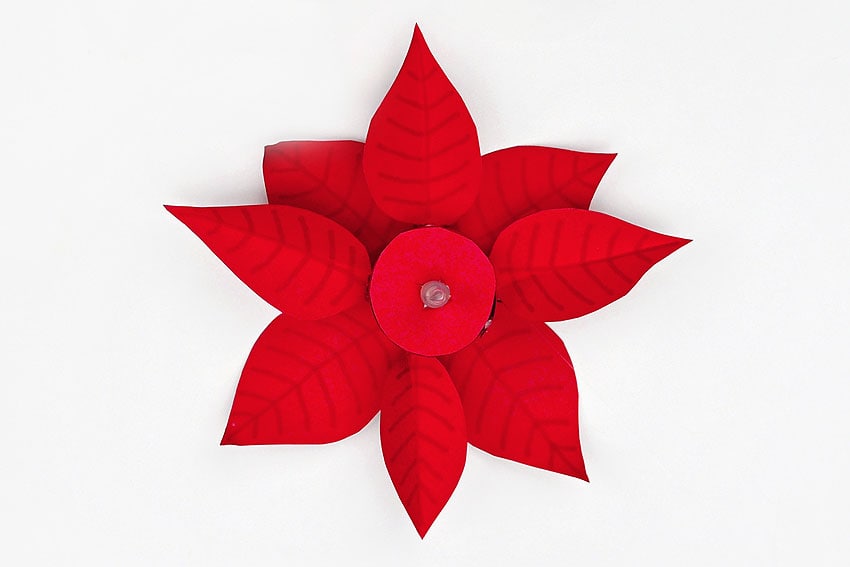
- Add the 3 other large petals around the bottom of the tea light.
- Then roll/bend the petals so they point up a bit.
Step 4: Glue on petals and leaves
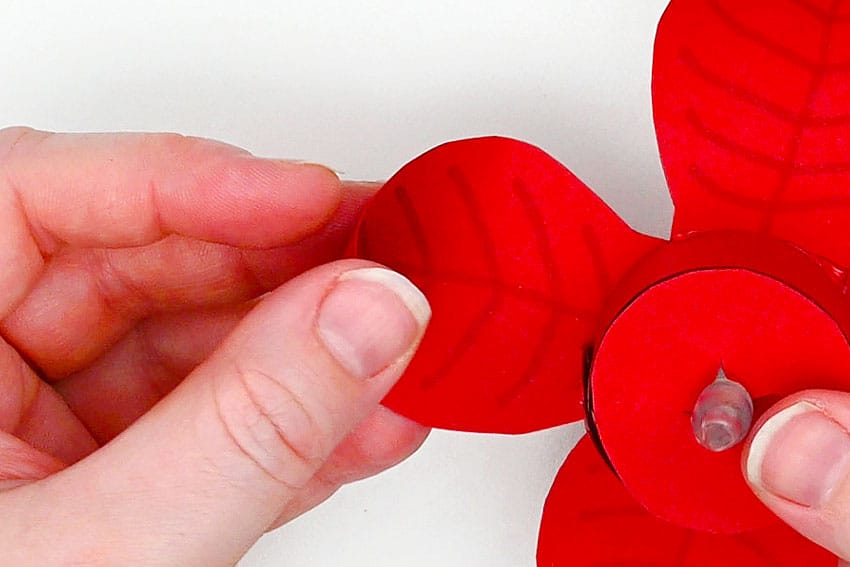
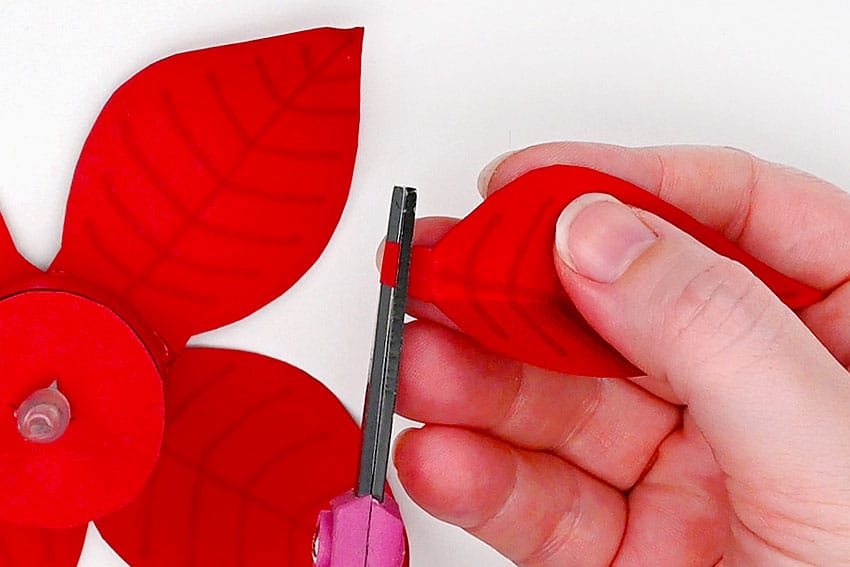
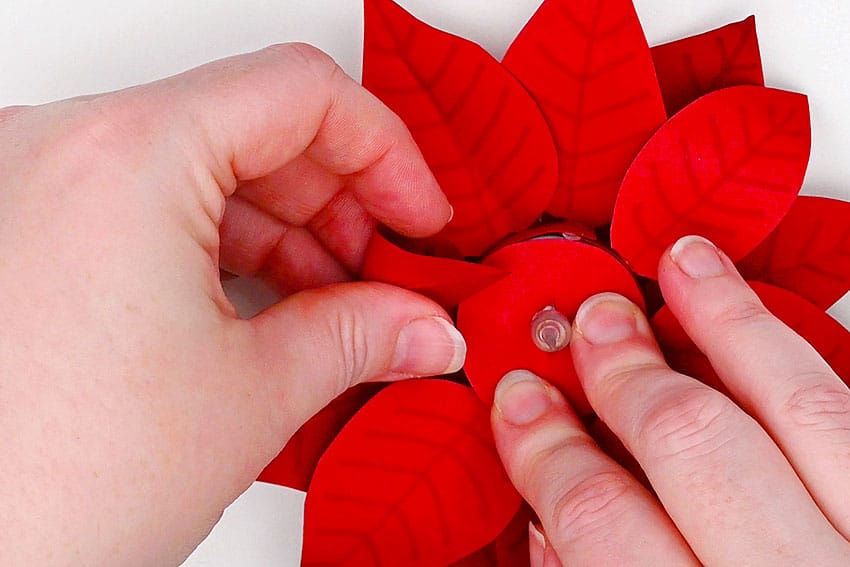
- Now pick up one of the medium sized petals. For these next petals, you may want to cut the ‘stem’ part a bit shorter, so they don’t sit too high above the first row of petals.
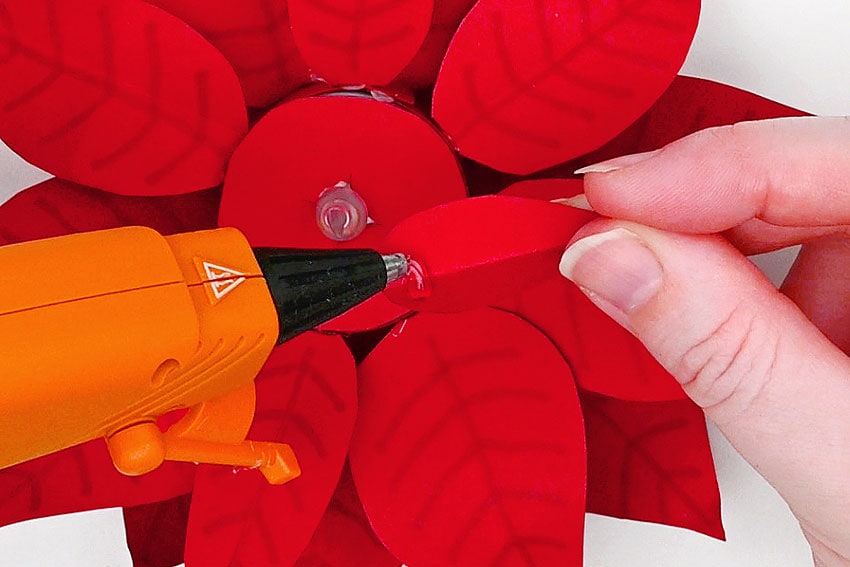
- Bend the end of the petal down and add a dot of hot glue to the stem.
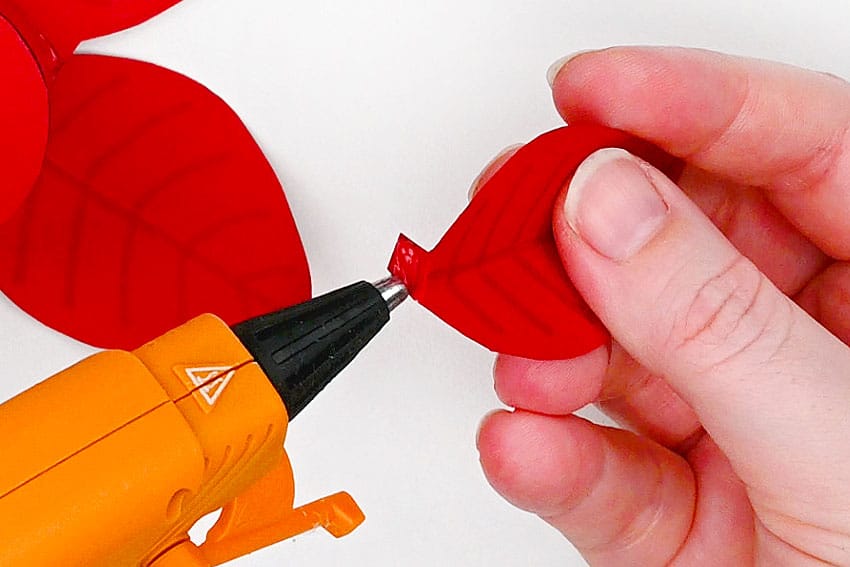
- Set the petal in place so it sits between 2 of the first petals. Press the little ‘stem’ against the side of the candle.
- Add 3 more medium petals between the last ones.
- Glue more petals between these ones. Then curl the petals up or down to make them more life-like.
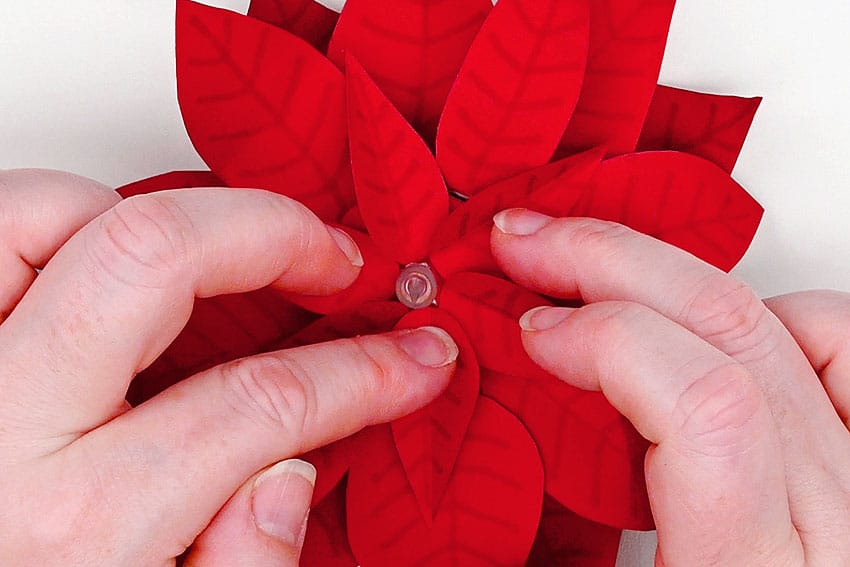
- Add the thinnest petals with ‘stems’ at the end. You can place them wherever you see the biggest gaps.Then add glue to the back of one of the small petals (the ones without stems).
- Set the petal in place on top of the candle, so the rounded part is right up against the “flame”. Repeat, layering the rest of the petals so they fit evenly around the flower.
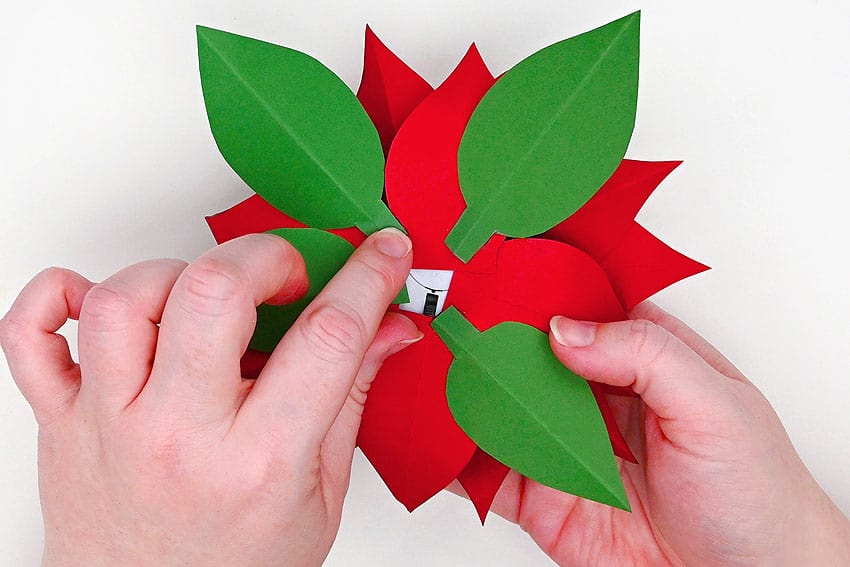
- Finally, glue the leaves to the bottom of the candle, placing them where there are the biggest gaps.Decide from the top where you’d like the leaf to go, but check on the bottom before gluing so that you don’t accidentally glue it to the candle switch.
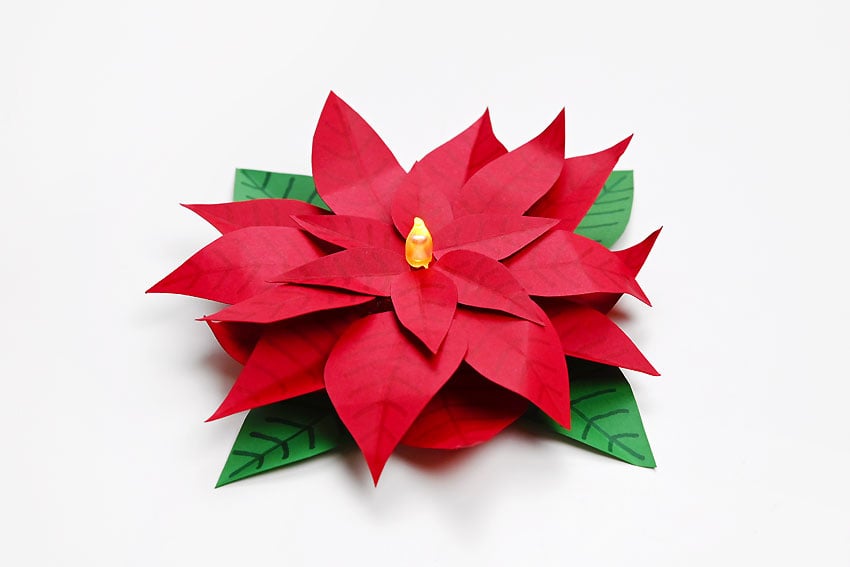
- Your paper poinsettia tea light is complete!
Helpful Tips
- Read through the full tutorial before starting.
- Prepare the listed supplies ahead of time so each step is easier to follow.
- Check the finished craft against the instructions before displaying or using it.
FAQs
Is this tutorial beginner friendly?
Yes. This paper poinsettia tea light paper craft is written with simple steps and extra tips for beginners.
Can kids make this craft independently?
Older kids may be able to work independently, while younger kids should have help with any steps that require close attention or small pieces.
How long does the craft take?
Most versions take about 30 minutes, depending on the materials and the pace of the crafter.
Can I use different colors?
Yes. Changing the colors is one of the easiest ways to personalize the finished craft.
Final Thoughts
Once the paper poinsettia tea light paper craft is finished, take a moment to check the details, compare the result with the tutorial, and display the project somewhere kids can enjoy their work.
Affiliate disclosure: This post may contain Amazon affiliate links. As an Amazon Associate, Easy Crafts Ideas may earn from qualifying purchases at no extra cost to you.


")


")
