Introduction
Welcome to the Learn to Sew series! In this lesson, we will be focusing on an essential skill for any aspiring seamstress – sewing a straight line or a straight stitch. Sewing straight lines is the foundation of many sewing projects, so mastering this technique is crucial. Whether you’re a beginner or looking to refine your skills, this guide will walk you through the steps to sew a perfect straight line every time.
Gather Your Supplies
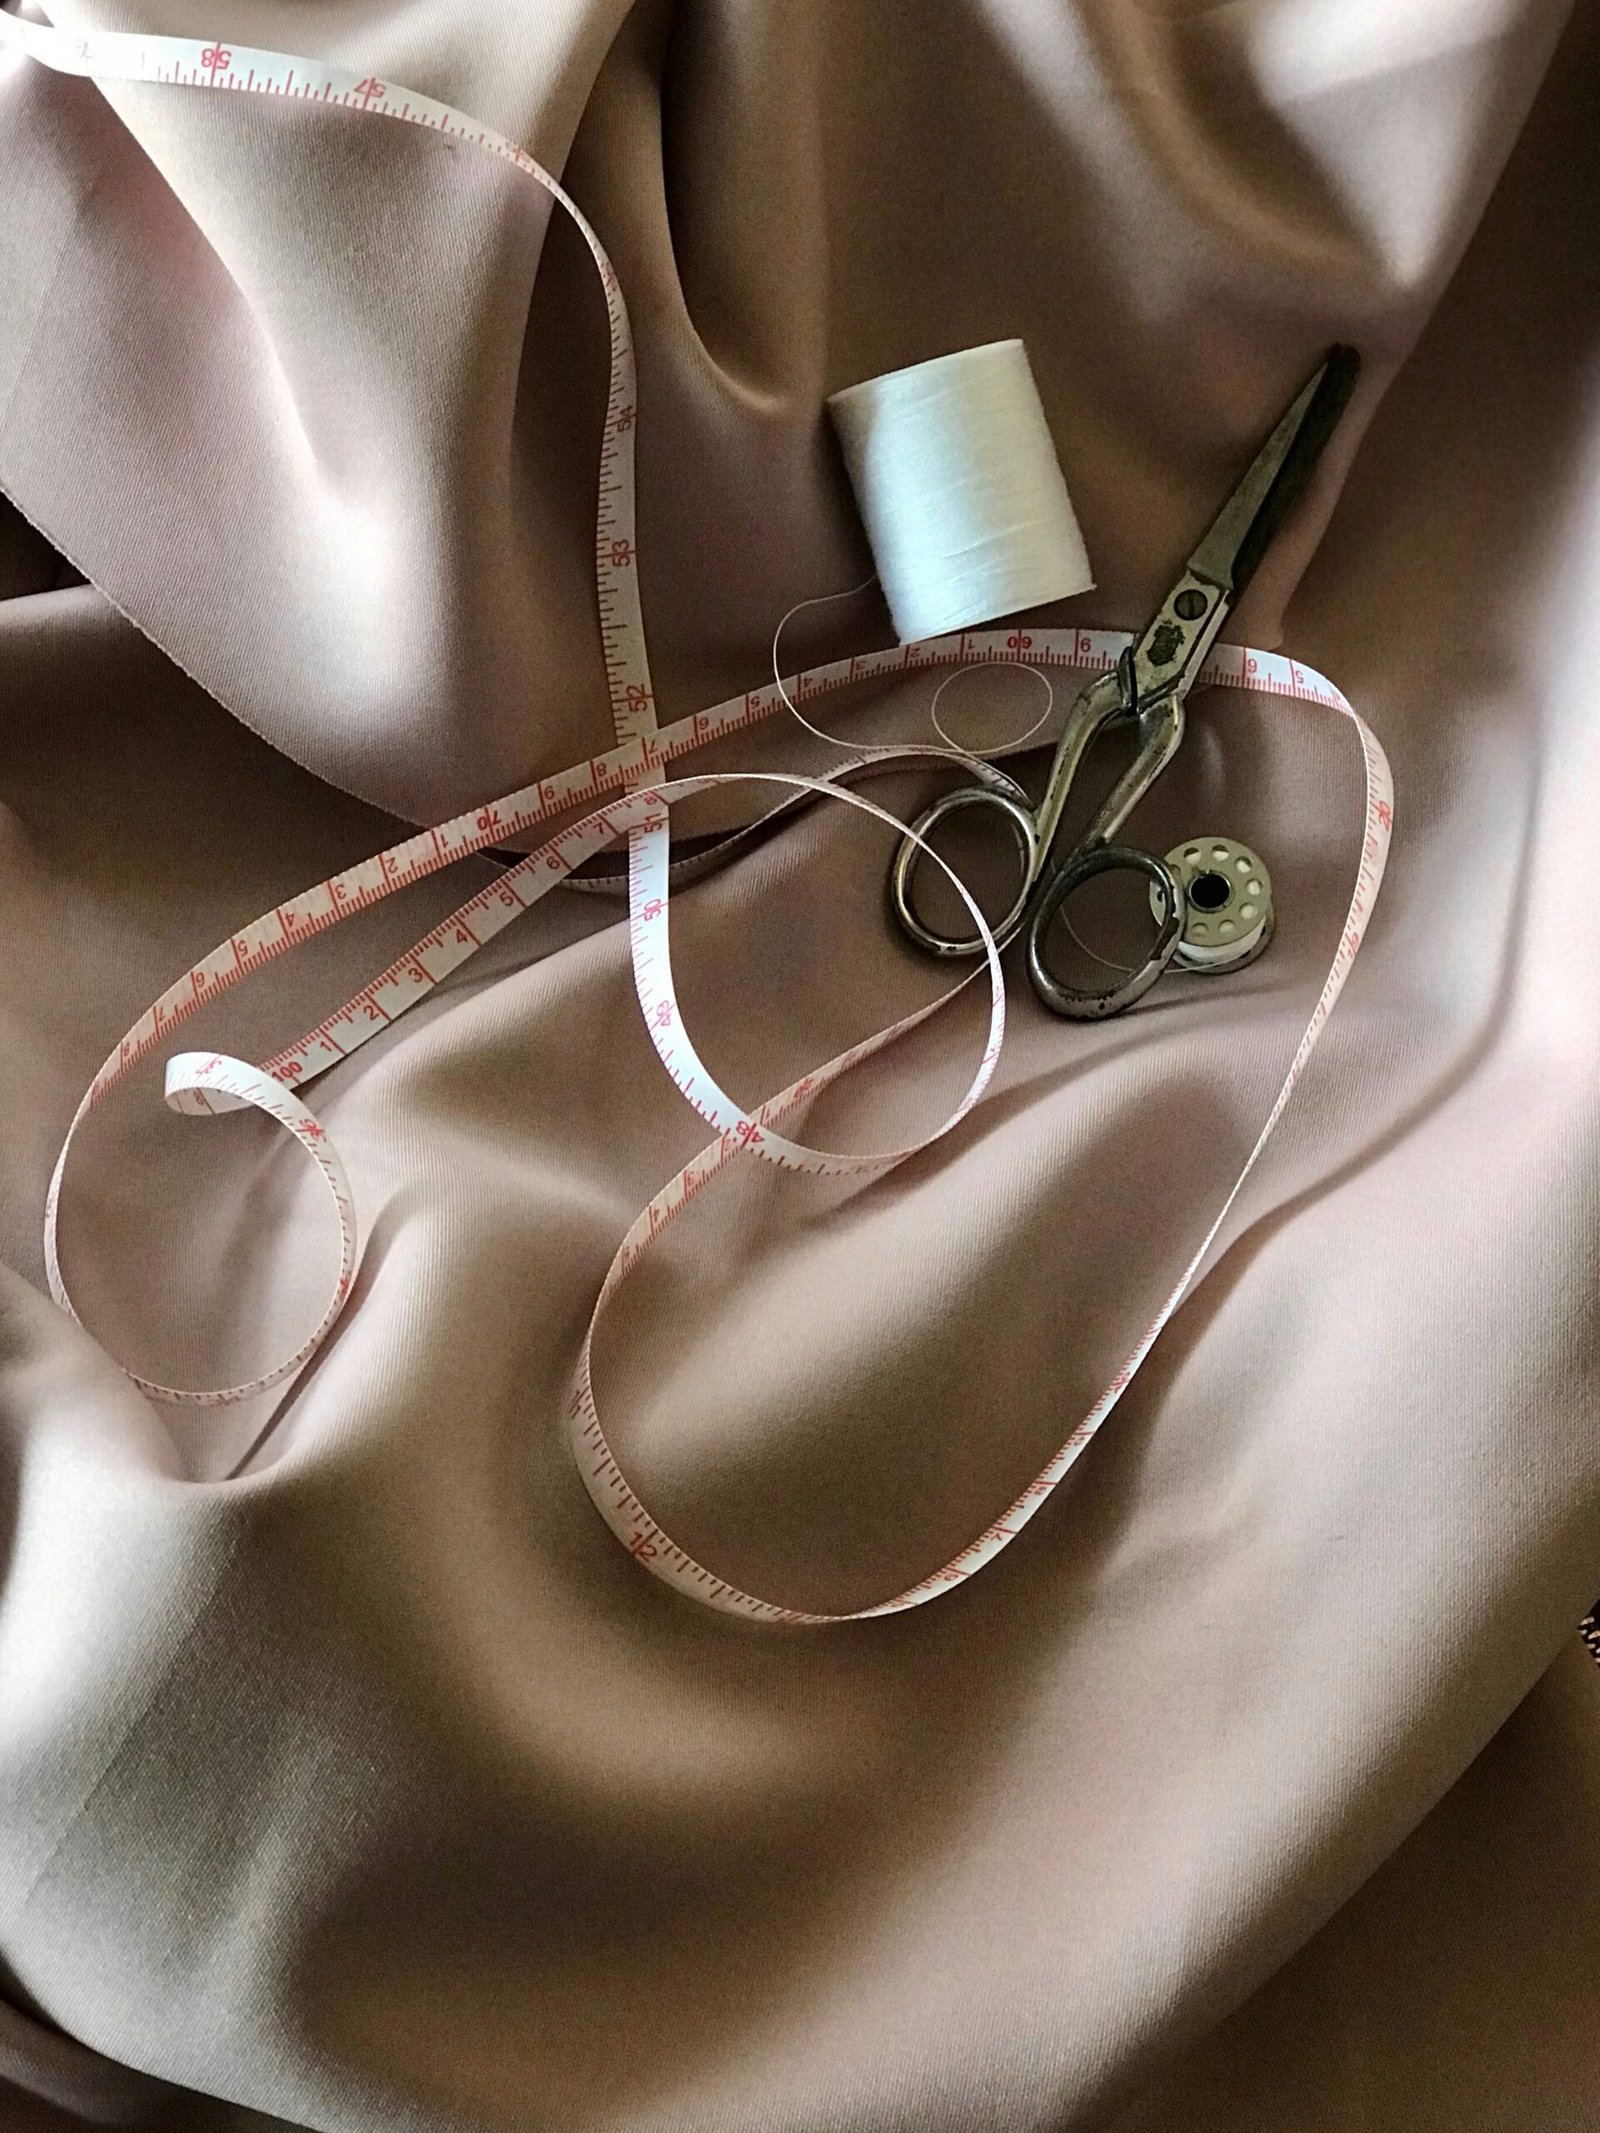
Before we dive into the sewing process, let’s make sure we have all the necessary supplies:
- Sewing machine
- Sewing thread
- Fabric
- Scissors
- Sewing machine needle
- Ruler or measuring tape
- Straight pins
Once you have gathered these supplies, we can move on to the next steps.
Preparing Your Fabric
Before you start sewing, it’s important to prepare your fabric properly. Here’s what you need to do:
- Wash and iron your fabric to remove any wrinkles or creases.
- Measure and mark the desired length of your straight line on the fabric using a ruler or measuring tape.
- Secure the fabric in place with straight pins to prevent it from shifting while sewing.
Once your fabric is prepped, you’re ready to start sewing!
Sewing a Straight Line
Now let’s get into the nitty-gritty of sewing a straight line:
- Thread your sewing machine with the desired thread color.
- Place the fabric under the presser foot of your sewing machine, aligning the edge of the fabric with the edge of the presser foot.
- Lower the presser foot to secure the fabric in place.
- Select the straight stitch option on your sewing machine.
- Start sewing by gently pressing the foot pedal or using the start button on your machine.
- Guide the fabric through the machine, keeping it aligned with the edge of the presser foot.
- As you sew, maintain a steady pace and apply gentle pressure to the fabric.
- Continue sewing until you reach the end of your marked line.
- Once you reach the end, lift the presser foot and remove the fabric from the machine.
- Trim any loose threads and admire your perfectly sewn straight line!
Remember to practice sewing straight lines on scrap fabric before working on your actual project. This will help you gain confidence and improve your technique.
Troubleshooting Tips
If you encounter any issues while sewing a straight line, here are some troubleshooting tips:
- If the fabric is veering off course, check that it is properly aligned with the edge of the presser foot.
- If the stitches are uneven or loose, adjust the tension settings on your sewing machine.
- If the fabric is puckering or gathering, try using a lighter fabric or adjusting the pressure of the presser foot.
- If you make a mistake, don’t worry! Seam rippers are handy tools for undoing stitches.
With practice and patience, you’ll soon be sewing straight lines with ease.
Conclusion
Congratulations on learning how to sew a straight line! This fundamental skill will serve as a building block for your future sewing projects. Remember to take your time, practice regularly, and don’t be afraid to make mistakes. Sewing is a journey, and every stitch you make brings you closer to becoming a skilled seamstress. Happy sewing!


