How to Make Beautiful Paper Flowers: A Step-by-Step Tutorial
Are you looking for a creative and inexpensive way to add some beauty to your home? Making paper flowers is a fun and rewarding craft that can brighten up any space. Whether you want to create a stunning centerpiece for a special occasion or simply want to enjoy the beauty of flowers that never wilt, this step-by-step tutorial will guide you through the process of making beautiful paper flowers.
Materials You Will Need
- Colored craft paper
- Scissors
- Glue
- Floral wire
- Green floral tape
- Pencil
- Ruler
Step 1: Choose Your Flower Design
The first step in making paper flowers is to choose the design you want to create. You can find inspiration from real flowers, or you can let your imagination run wild and create your own unique designs. Once you have decided on a design, gather the necessary materials.
Step 2: Cut the Petals
Using colored craft paper, trace and cut out the petals for your flower. The number and size of petals will depend on the design you have chosen. You can experiment with different shapes and sizes to create a more realistic or whimsical look. Remember to cut a small slit at the base of each petal to make it easier to attach them later.
Step 3: Shape the Petals
Now it’s time to give your petals some dimension. Use a pencil or your fingers to gently curl the edges of each petal. This will create a more natural and lifelike appearance. Be careful not to tear the paper as you shape the petals.
Step 4: Assemble the Flower
Start assembling your flower by taking one petal and applying a small amount of glue to the slit at the base. Overlap the slit and press the petal together to secure it. Repeat this step with the remaining petals, gradually adding them one by one to create a layered effect. Make sure to alternate the position of the petals to create a natural-looking flower.
Step 5: Attach the Stem
To give your paper flower a stem, take a piece of floral wire and bend it in half. Apply glue to one end of the wire and insert it into the base of the flower. Hold it in place until the glue dries. Once the glue is dry, wrap the base of the flower and the wire with green floral tape to secure the stem and give it a finished look.
Step 6: Add the Finishing Touches
Now that your paper flower is complete, you can add some finishing touches to make it even more beautiful. You can use a pencil or your fingers to gently shape the petals and give them a more organic look. You can also add details like a center or stamens using colored craft paper or other materials. Let your creativity shine!
Step 7: Display and Enjoy
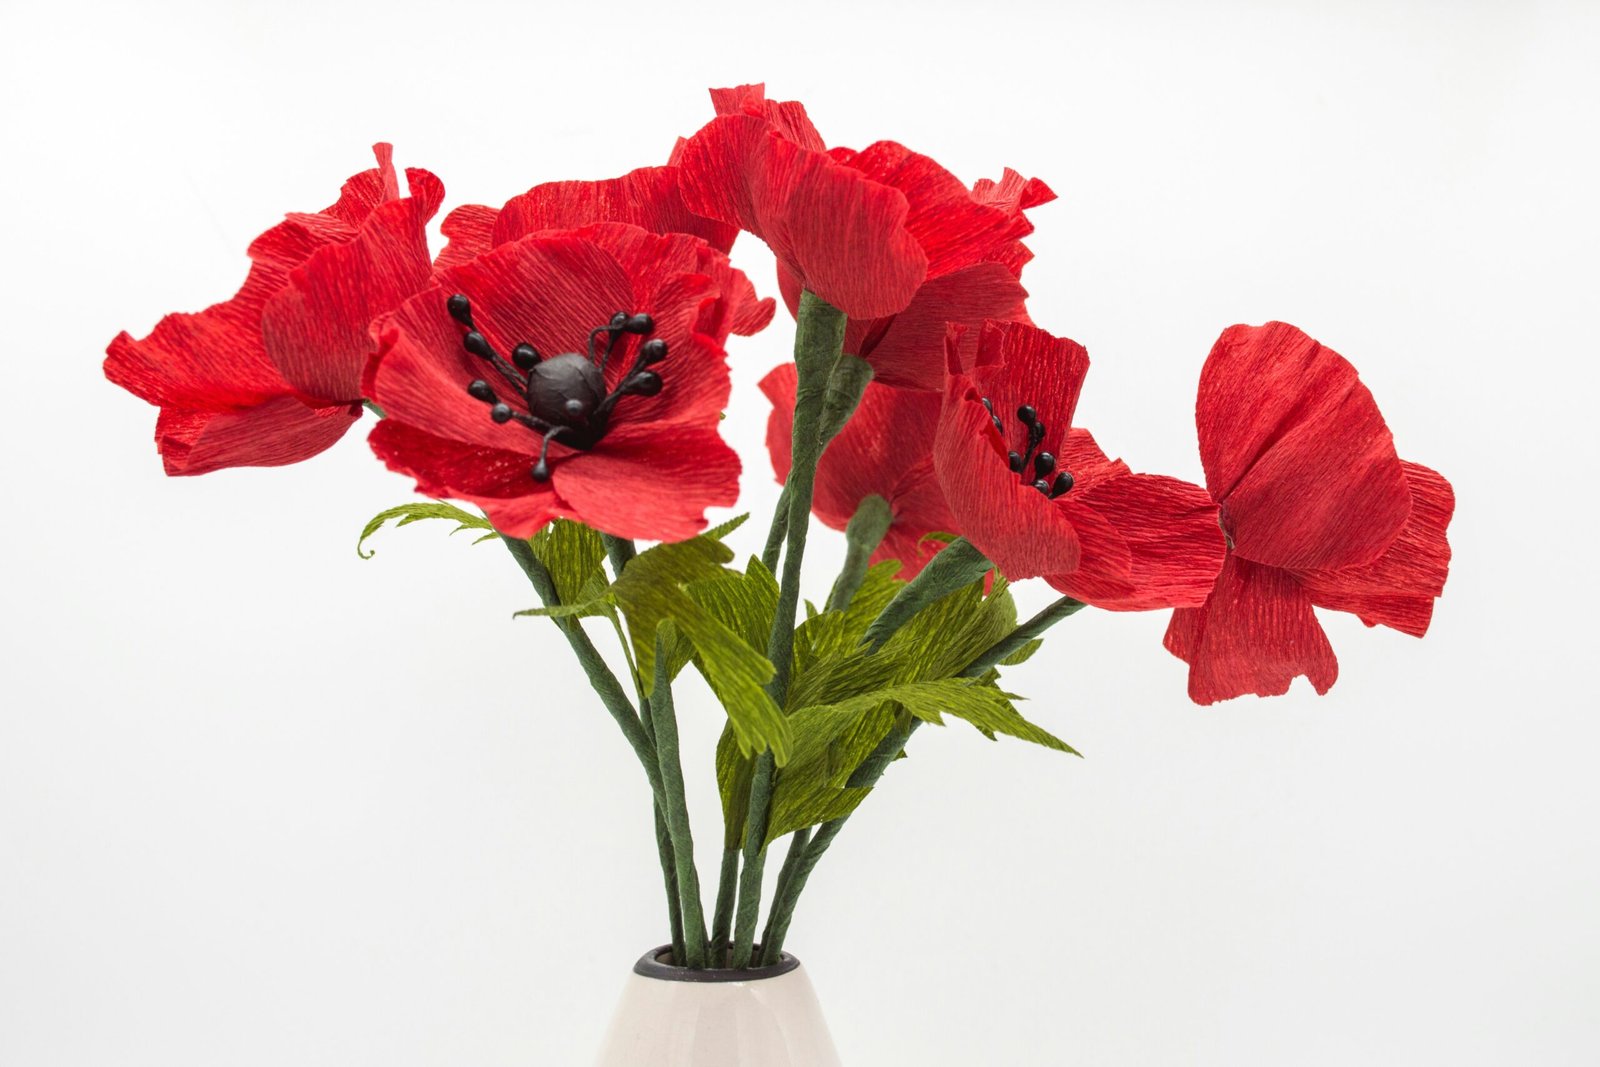
Once you have finished making your paper flowers, it’s time to display them and enjoy their beauty. You can arrange them in a vase, create a bouquet, or use them to decorate various items like gift boxes, wreaths, or picture frames. The possibilities are endless!
Now that you know how to make beautiful paper flowers, you can let your creativity bloom. Experiment with different designs, colors, and sizes to create a stunning collection of paper flowers. Whether you use them as decorations or give them as gifts, these handmade creations are sure to bring joy and beauty to any occasion.


