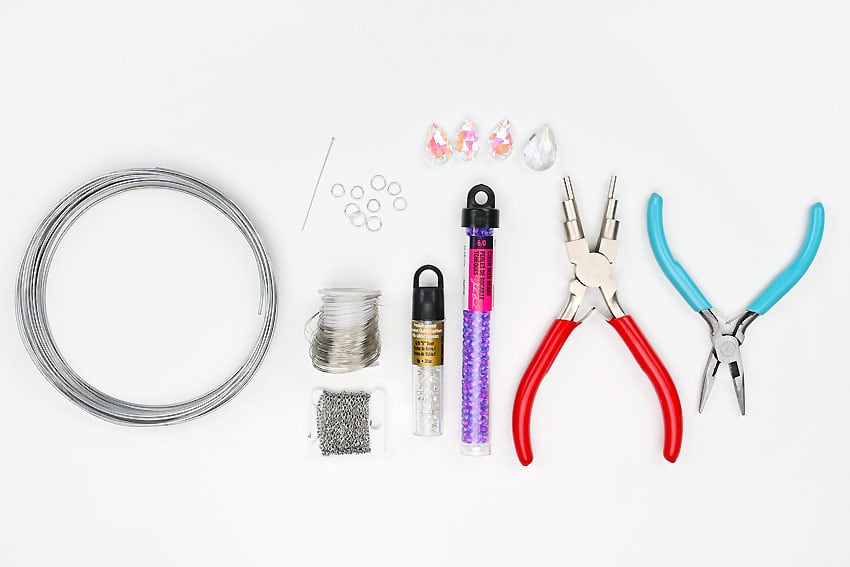
This wire wrapped suncatcher kids craft is a cheerful hands-on project for kids, classrooms, and family craft time. It uses the tutorial steps below as the practical guide while adding helpful planning notes so the project feels easier to prepare, follow, and finish. Gather the supplies first, give yourself a little workspace, and enjoy making something creative from simple materials.
Materials:
- 10 gauge Wire
- 28 gauge Wire
- Glass seed beads (6/0)
- Teardrop crystal beads (3 x 20mm, and 1 x 25mm)
- Jump rings (8mm, 10mm)
- 2mm Jewelry chain
- Flat head eye pin(s) (40mm)
Equipment:
- Wire cutters
- Bail making pliers (or round nose pliers)
- Needle nose pliers
Instructions:
Step 1: Find what you need
- Gather your supplies and materials.
Step 2: Make the main frames
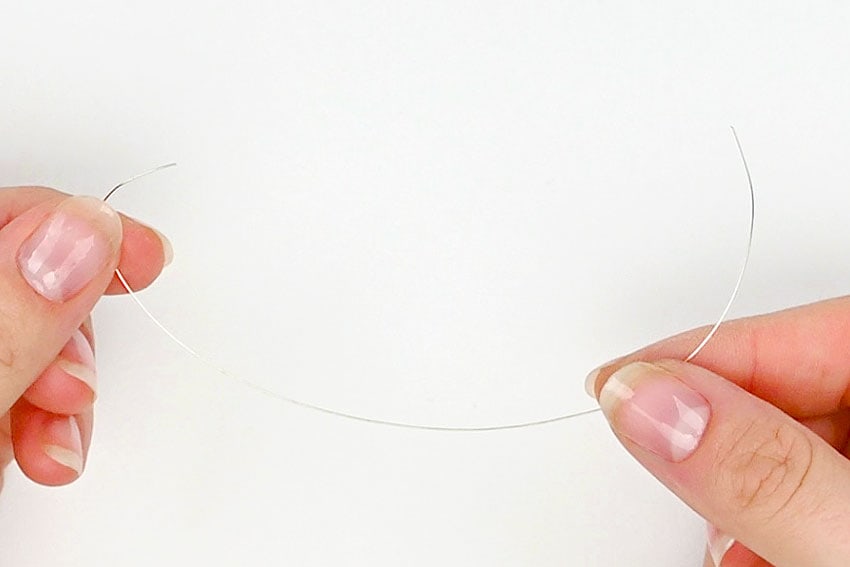
- Cut a piece of 10 gauge wire to be about 12 inches — or about 1-1/2 times longer than you want your circle to be around.
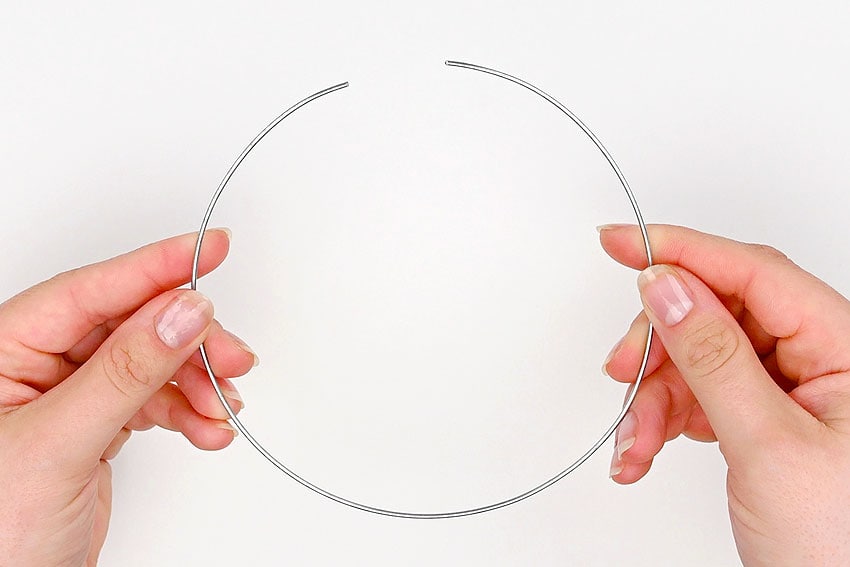
- Wrap the wire around something round, like a glue bottle, glass, or jar. Whatever object you choose will give you the size of your circle.Trim off the excess wire so that there’s about 1-1/2 inches of overlap between the 2 ends.
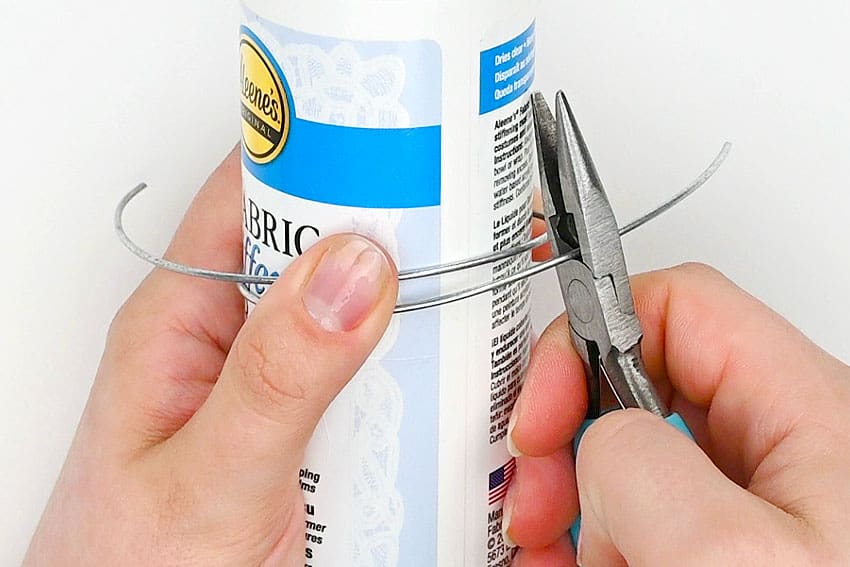
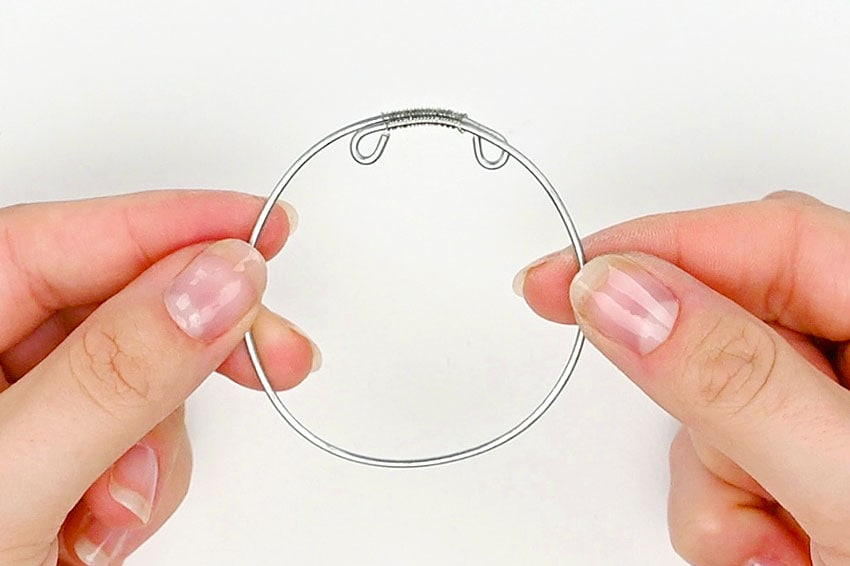
- Use bail making pliers (or round nose pliers) to curl in the ends, creating small loops on the inside of the circle.
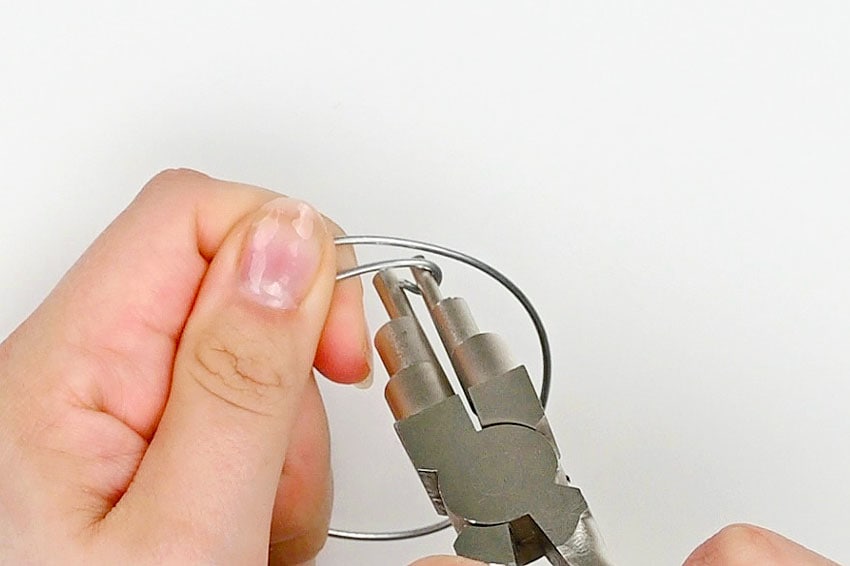
- Cut a 6 inch piece of 28 gauge wire.
- Wrap this wire tightly around the overlapped wire on the circle, between the 2 looped ends.This will secure the circle shape.
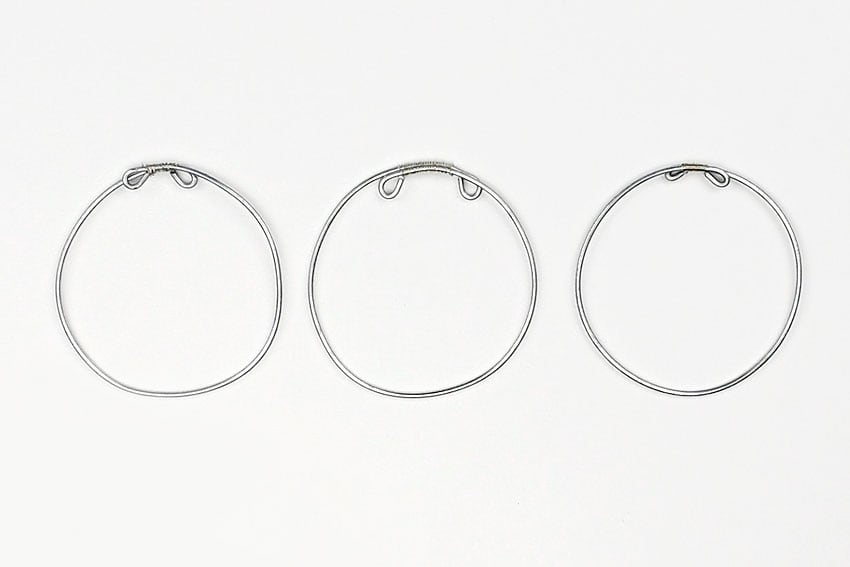
- Repeat all of step 2 to make another 2 identical circles (for a total of 3).
Step 3: Add seed beads to the circles
- Cut a long piece of 28 gauge wire — at least 3 feet long.
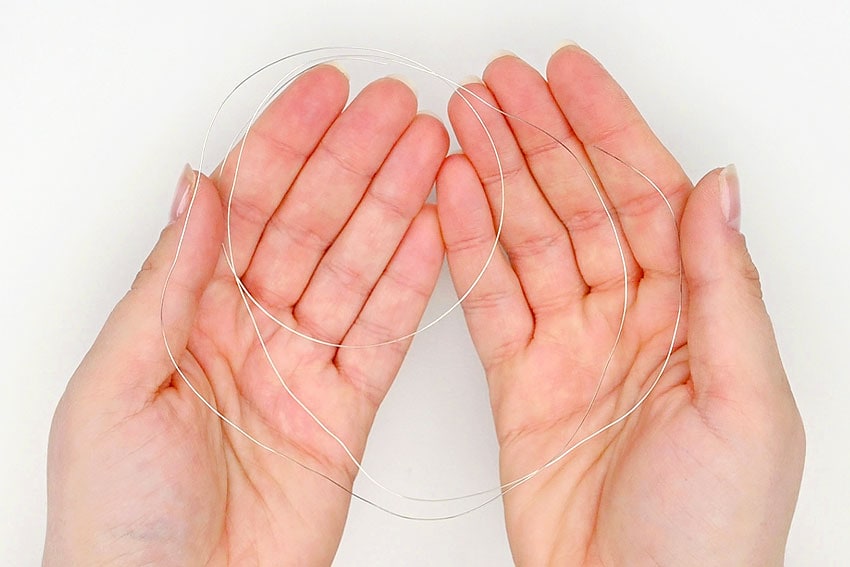
- Attach it to the circle by wrapping it around the thicker wire and through one of the loops a few times.Then continue wrapping it down the circle another few times.
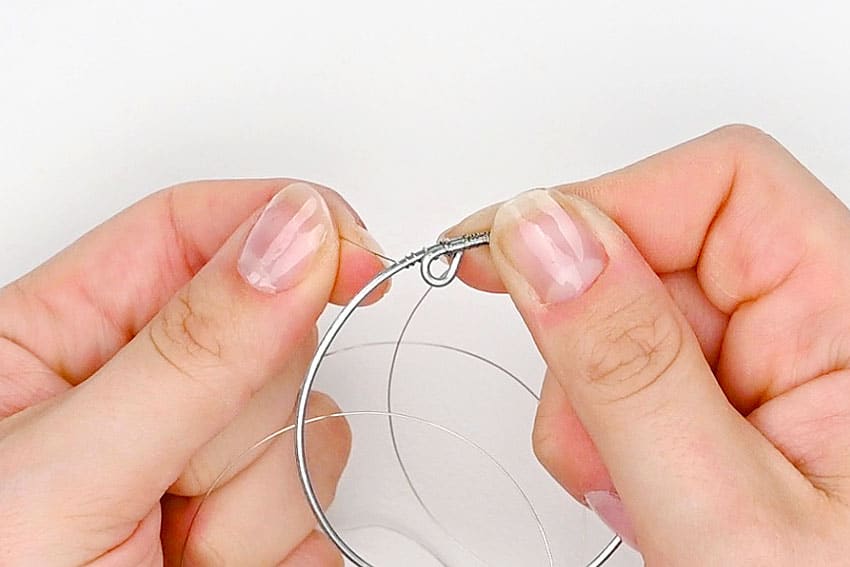
- Thread a few seed beads onto the thin wire.Hold one bead in place where you’d like it to sit, and wrap the wire around.
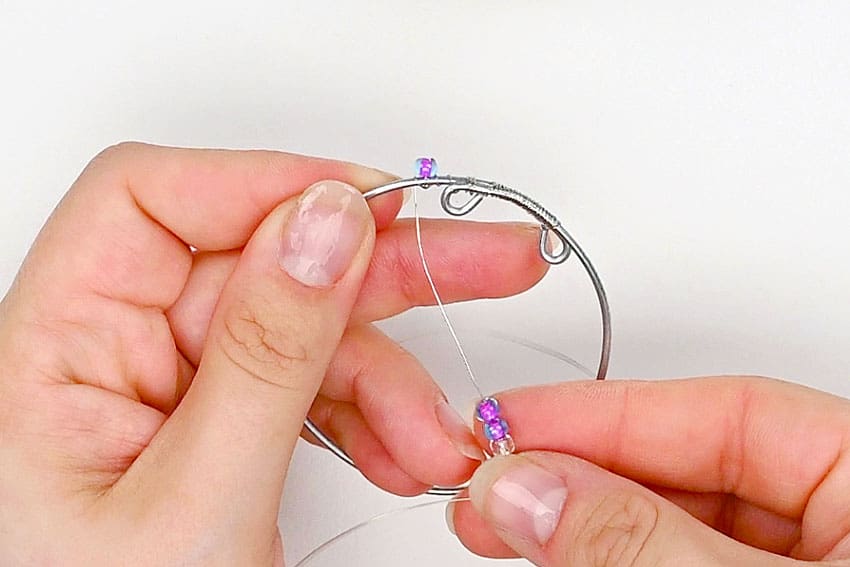
- Wrap the wire around another few times, and set the second bead in place.
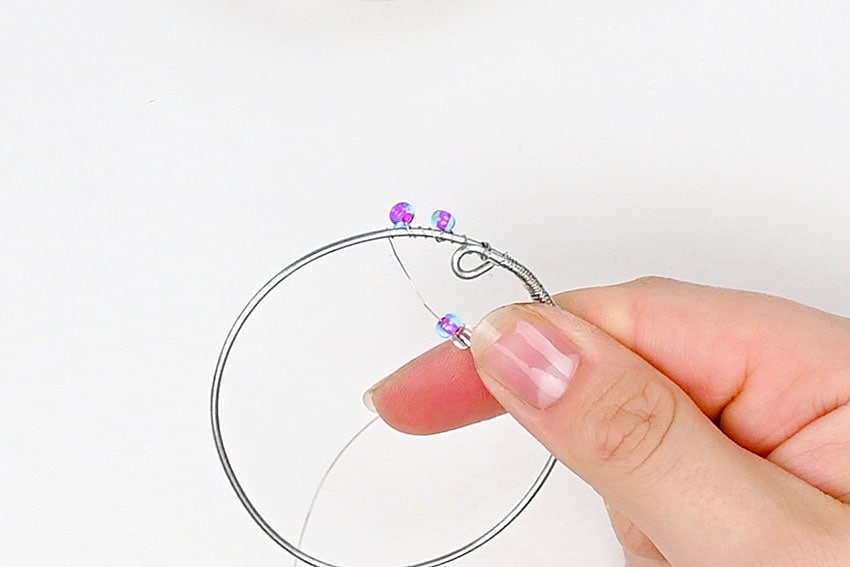
- Repeat, wrapping and adding beads all the way around the circle.
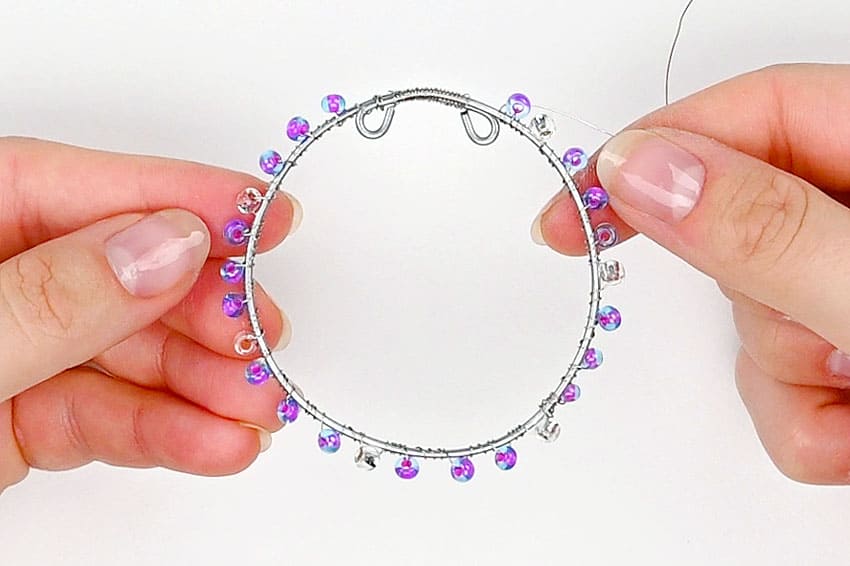
- Secure the end of the wire in the same way you attached it. Then trim off the excess wire and use needle nose pliers to push down the end.
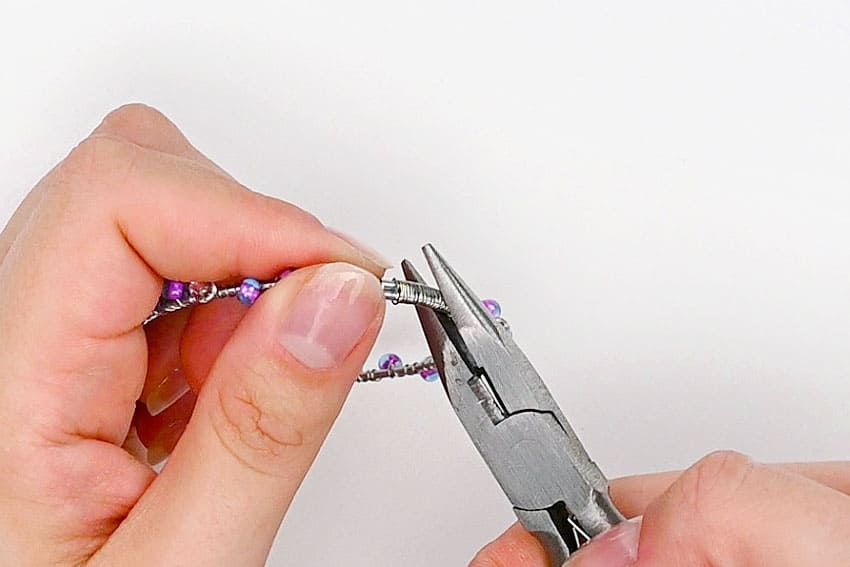
- Repeat step 3, adding seed beads to the other 2 circles.
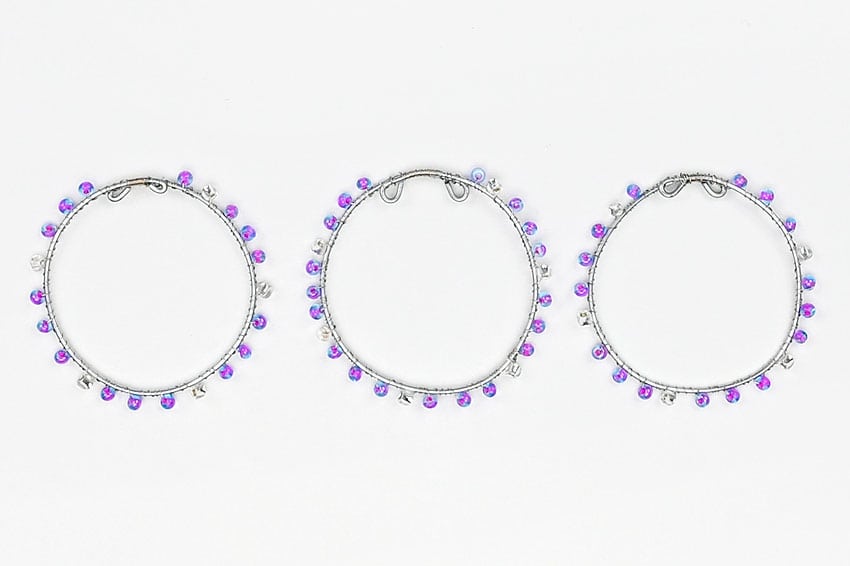
Step 4: Add the smaller teardrop crystals
- Open a 10mm jump ring and attach it to one of the 20mm crystal teardrop beads.Don’t close the jump ring yet.
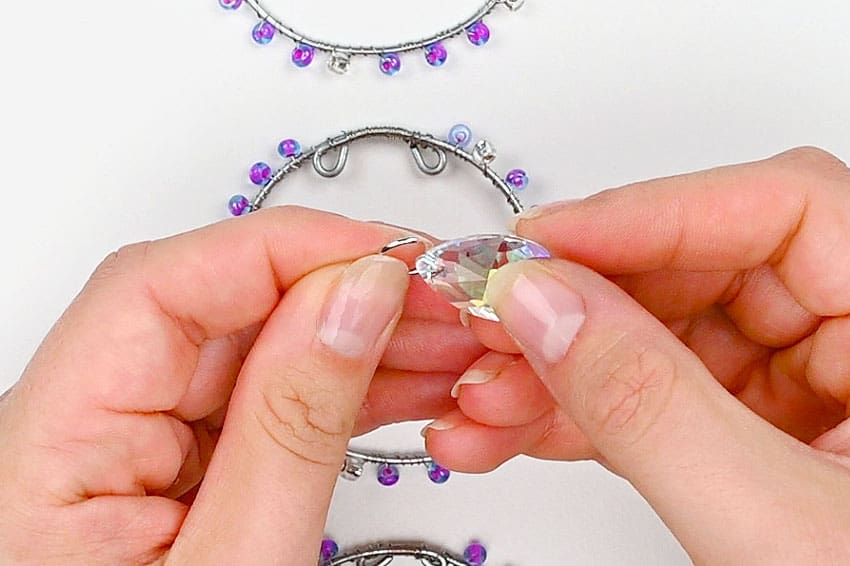
- Then attach the jump ring to one of the circles, placing it at the top between the 2 loops.Close off the jump ring. (Note: The easiest way to close jump rings neatly is to hold the jump ring with 1 set of pliers and use another pair to push the ring closed.)
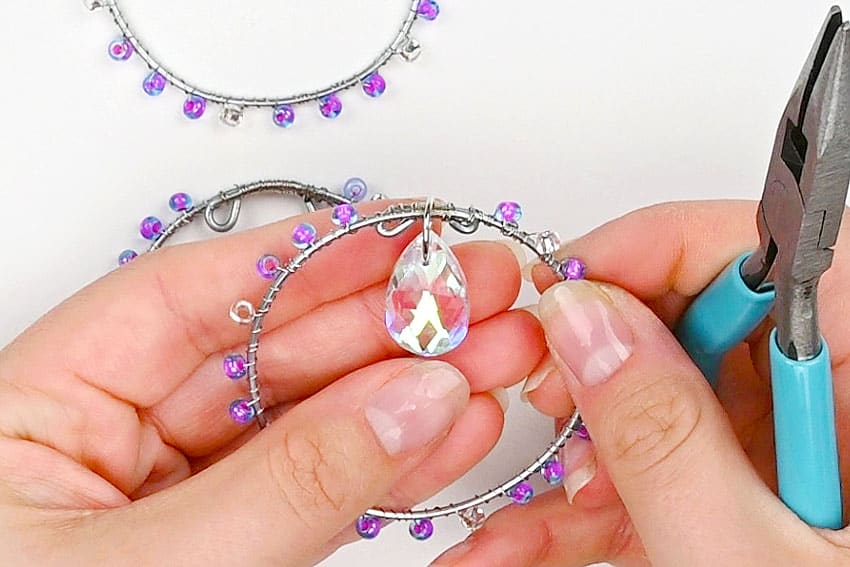
- Repeat, adding teardrop beads to the other 2 circles.
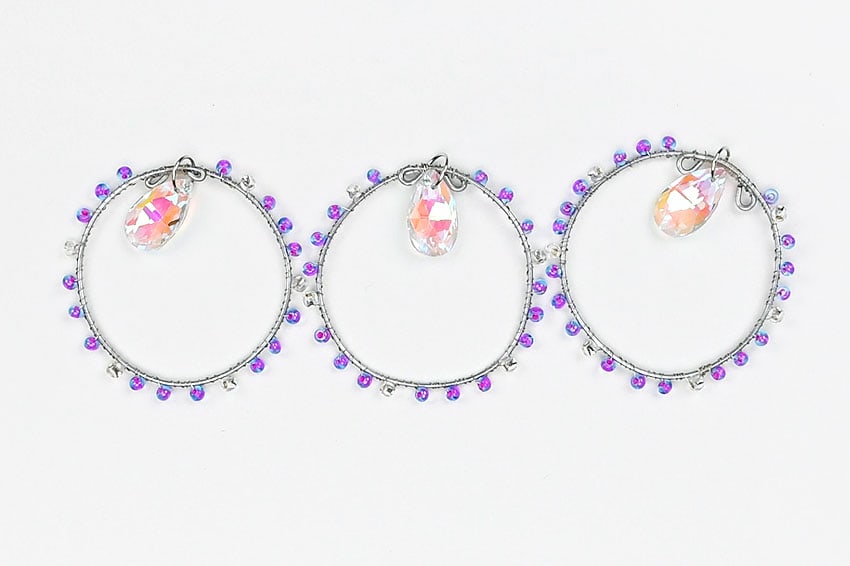
Step 5: Connect the 3 circles
- Cut 4 pieces of jewelry chain, each of them 1 inch long.Make sure the chains are exactly the same length (you can even count the loops to be sure).
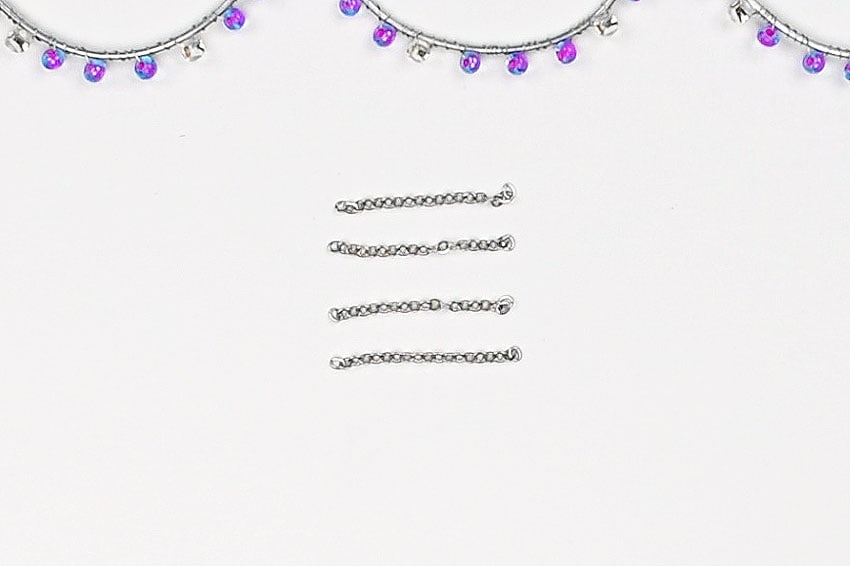
- Attach an 8mm jump ring to one end of a chain and connect the jump ring to one of the loops at the top of a circle (it doesn’t matter which one).
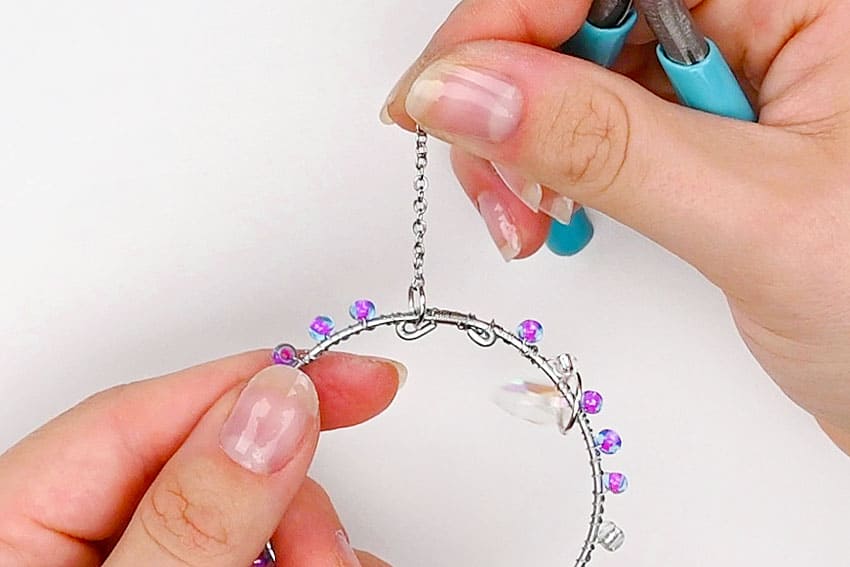
- Repeat, adding another jump ring and chain to the other top loop of the same circle.
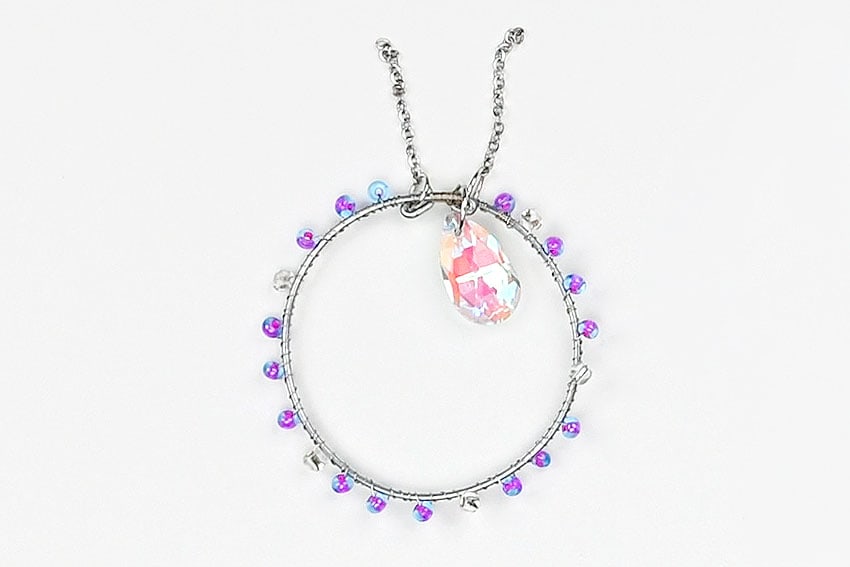
- Add the other 2 chains to a second circle.(The third circle will get a hanger at the top later.)
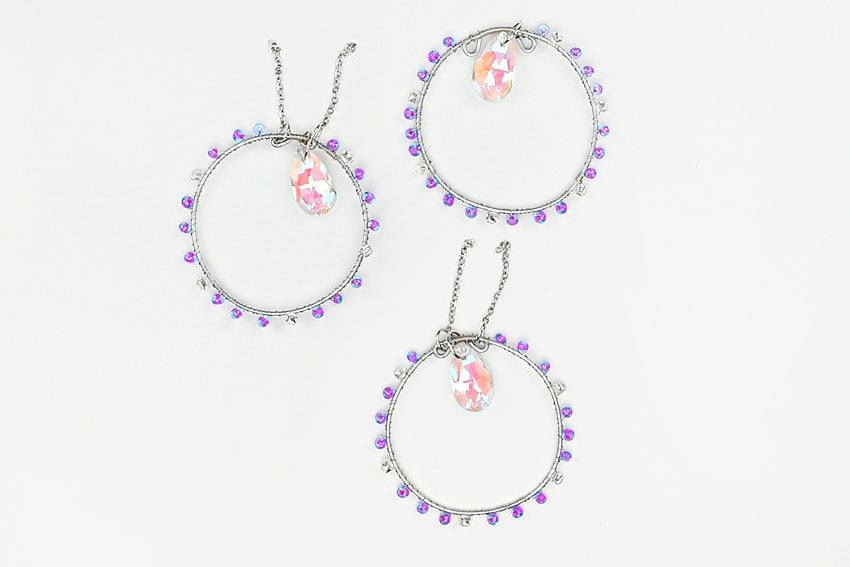
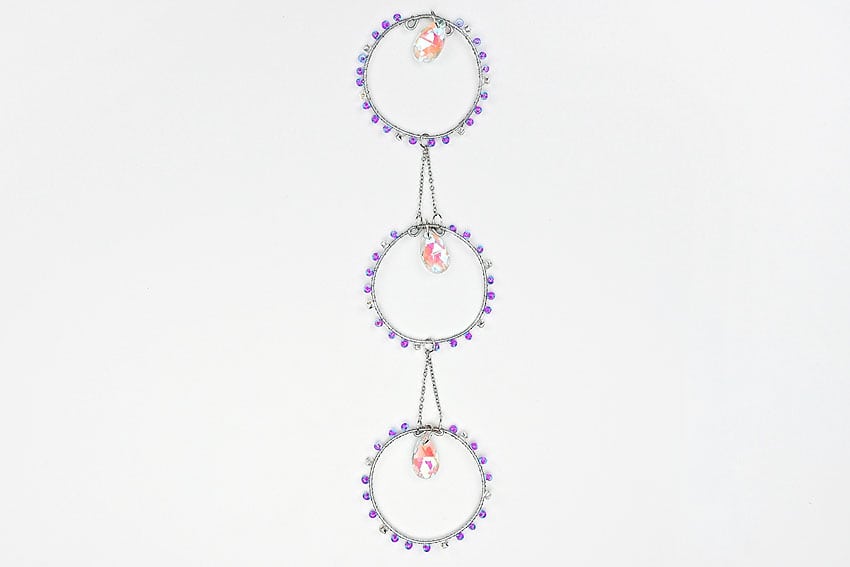
- Grab one of the circles with the chains. Open an 8mm jump ring and loop both chains through it.Then loop that same jump ring through the bottom of the circle without any chains. Close the jump ring.

- Add the last circle to the bottom of the second one in the same way.
Step 6: Add the last crystal and a hanger
- Add a flat head eye pin through the largest teardrop bead.(Note: You only need an eye pin if the holes in your bead are vertical. Otherwise you can use a jump ring like you did with the others.)
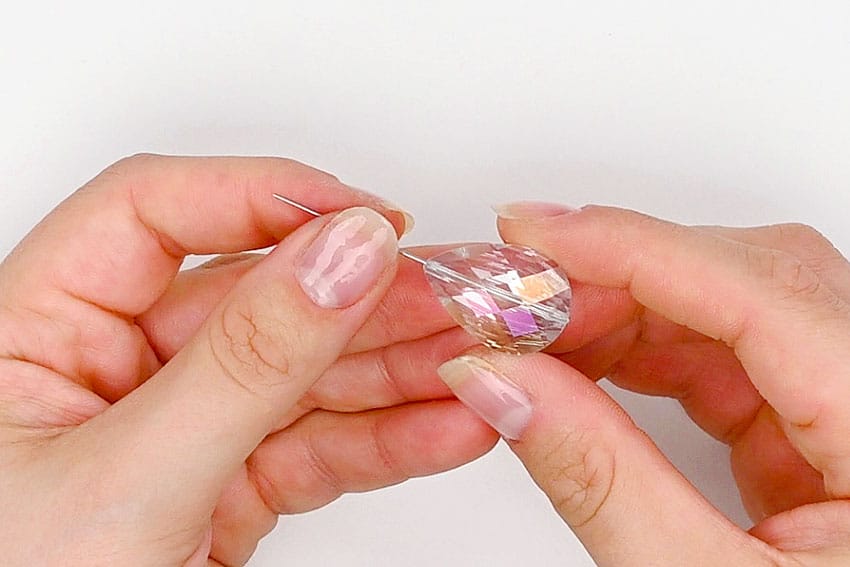
- Use wire cutters to trim down the pin as needed, leaving at least 1/2 inch above the bead.Use the bail maker or round nose pliers to create a loop at the top of the crystal.
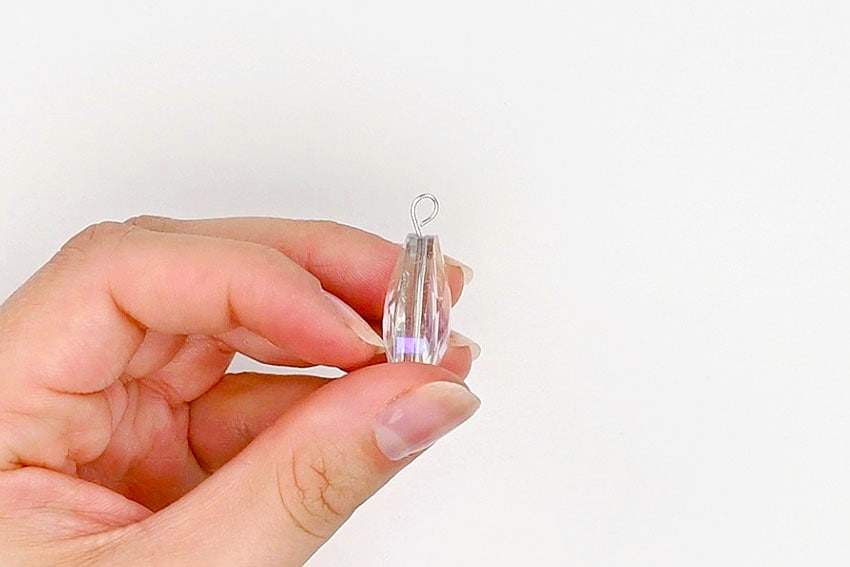
- Cut a 1-1/2 inch piece of chain. Attach an 8mm jump ring to the chain and then connect it to the crystal.Add another jump ring to the opposite end of the chain, attaching it to the bottom center of the bottom circle.

- Finally, cut another 2 pieces of chain to be 2-1/2 inches long. Connect the 2 chains using a 10mm jump ring.Then attach 8mm jump rings to each loose end of the chain. Attach these jump rings to the loops on the top of the top circle.This will be the hanger for the suncatcher.
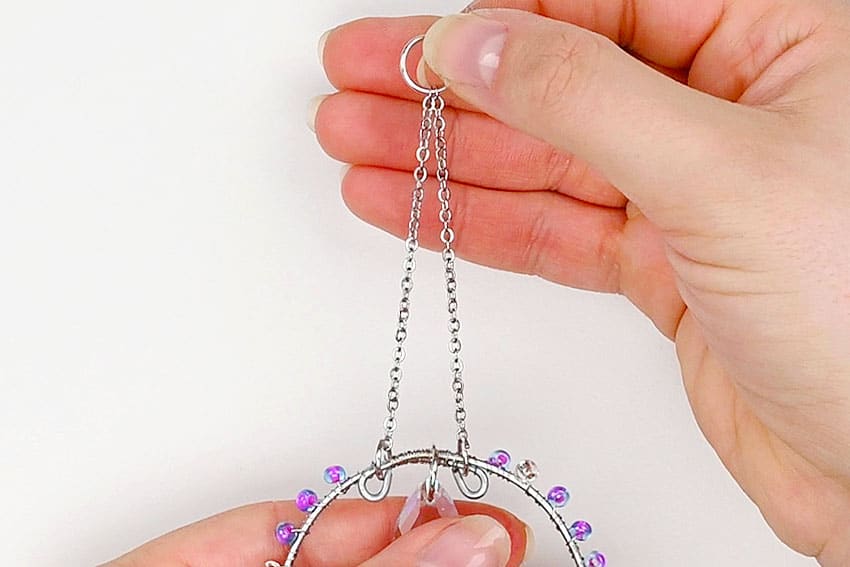
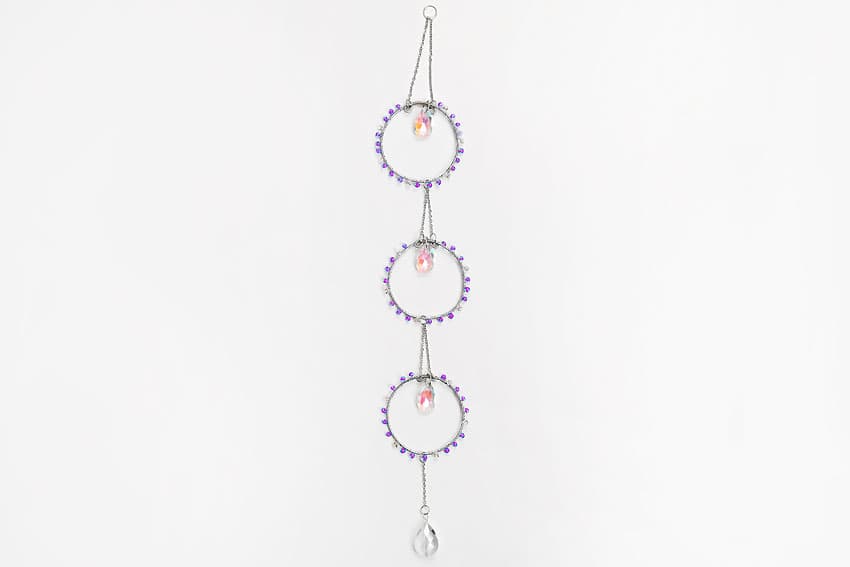
- Your wire wrapped suncatcher is complete!
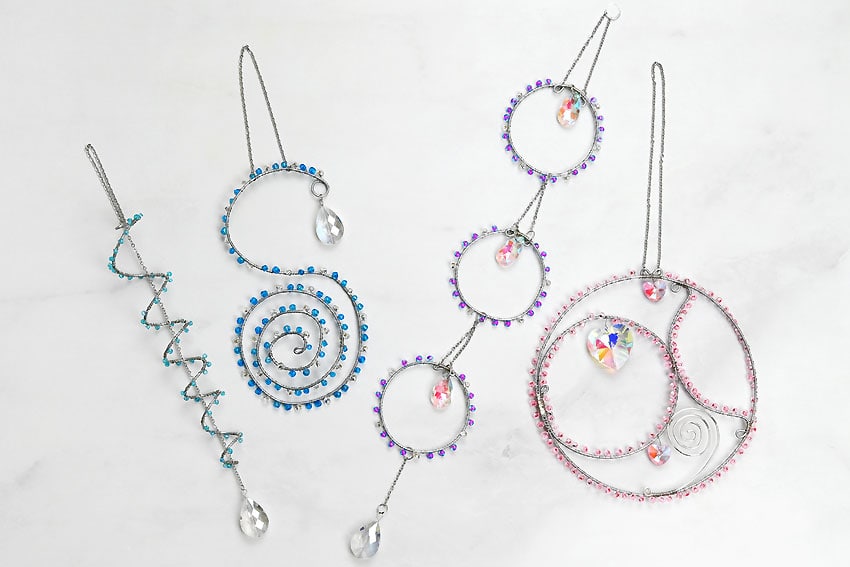
- Now use these same basic techniques to make your own wire and bead suncatchers in all different styles and colours!
Helpful Tips
- Read through the full tutorial before starting.
- Prepare the listed supplies ahead of time so each step is easier to follow.
- Check the finished craft against the instructions before displaying or using it.
FAQs
Is this tutorial beginner friendly?
Yes. This wire wrapped suncatcher kids craft is written with simple steps and extra tips for beginners.
Can kids make this craft independently?
Older kids may be able to work independently, while younger kids should have help with any steps that require close attention or small pieces.
How long does the craft take?
Most versions take about 30 minutes, depending on the materials and the pace of the crafter.
Can I use different colors?
Yes. Changing the colors is one of the easiest ways to personalize the finished craft.
Final Thoughts
Once the wire wrapped suncatcher kids craft is finished, take a moment to check the details, compare the result with the tutorial, and display the project somewhere kids can enjoy their work.
Affiliate disclosure: This post may contain Amazon affiliate links. As an Amazon Associate, Easy Crafts Ideas may earn from qualifying purchases at no extra cost to you.