This coffee filter ghosts kids craft is a cheerful hands-on project for kids, classrooms, and family craft time. It uses the tutorial steps below as the practical guide while adding helpful planning notes so the project feels easier to prepare, follow, and finish. Gather the supplies first, give yourself a little workspace, and enjoy making something creative from simple materials.
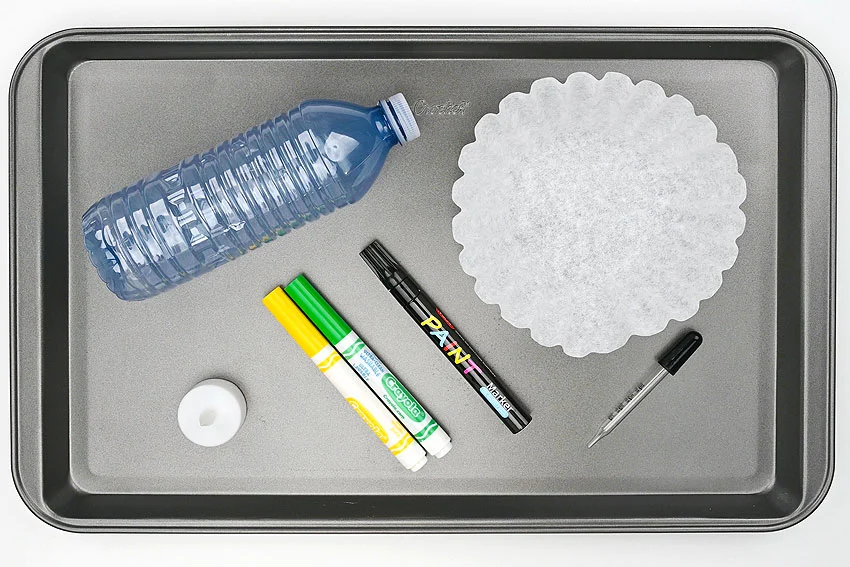
Materials:
Equipment:
- Baking sheet
- Plastic water bottle
- Eye dropper
Instructions:
Step 1: Find what you need
- Gather your supplies and materials.
Step 2: Colour the filter and draw the ghost face
- Flatten a coffee filter onto a baking sheet or other protected surface.
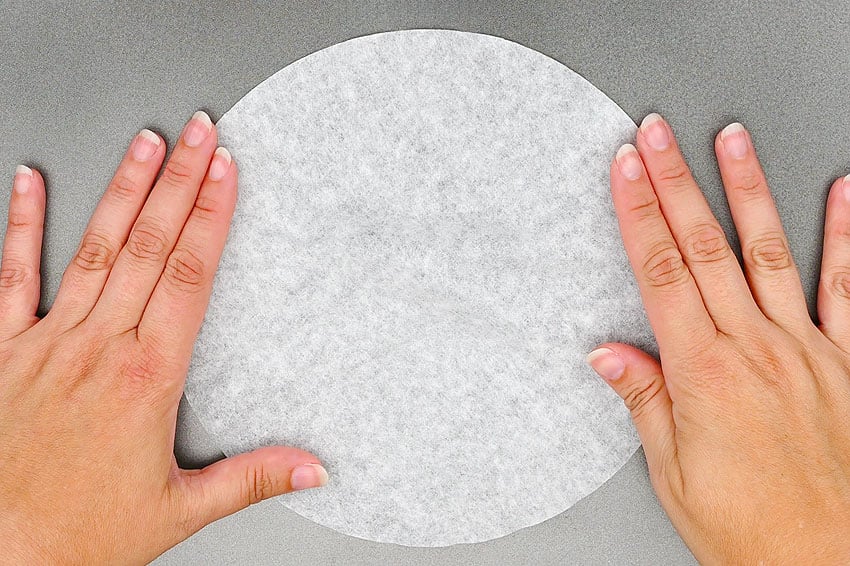
- Draw on the coffee filter with washable marker.
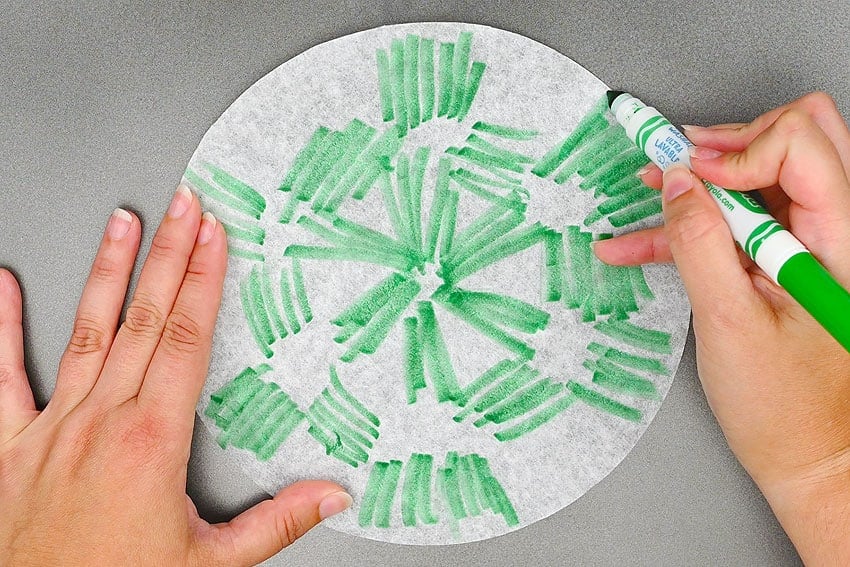
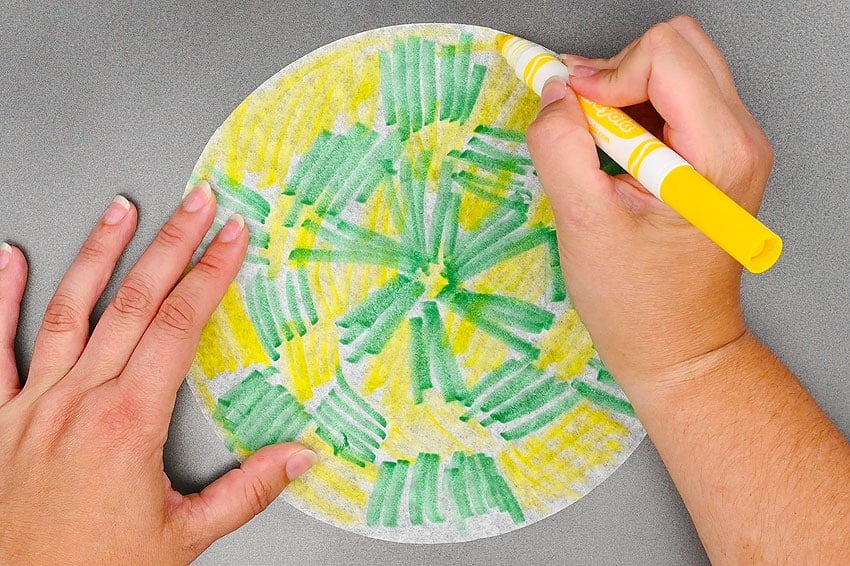
- Now fill in the rest of the coffee filter with another colour of washable marker, one that will blend well with the first colour.
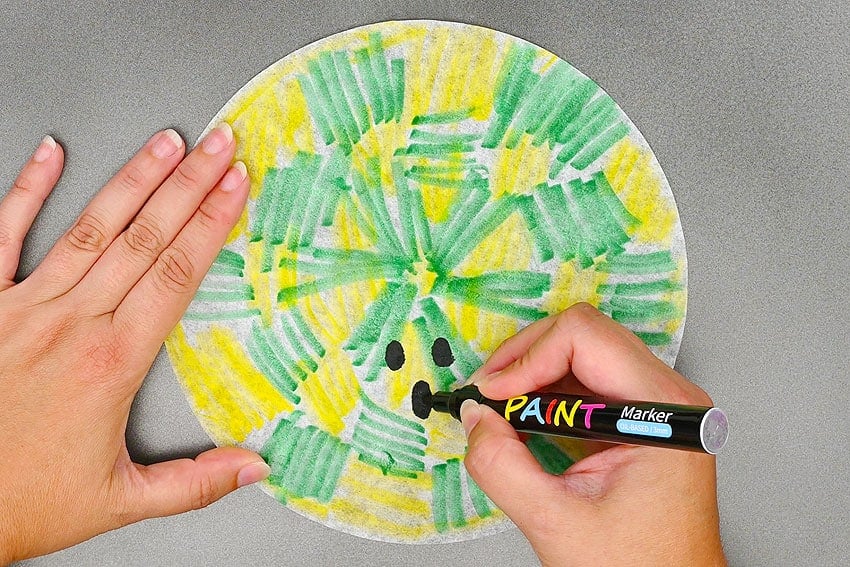
- Use a paint marker to draw the face of the ghost in the middle of the coffee filter, just below the center.
Step 3: Shape the ghost
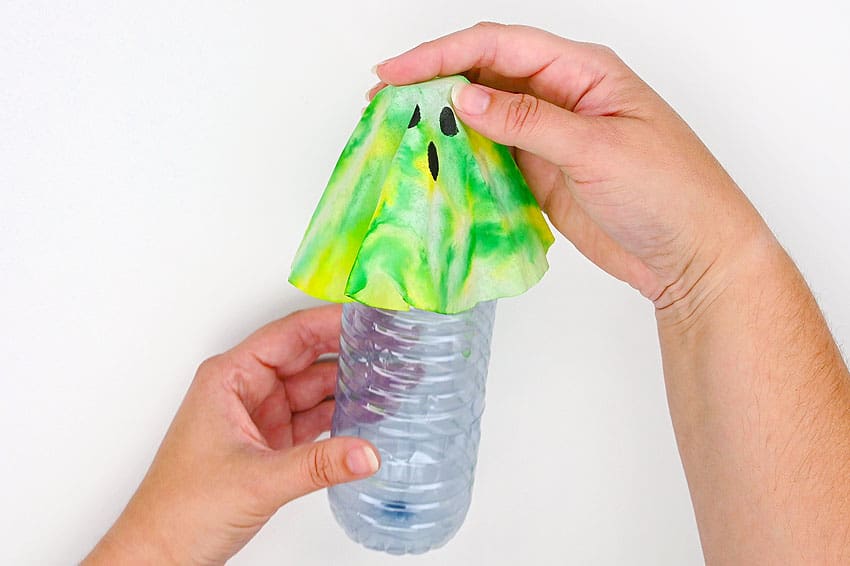
- Now you’ll need a water bottle, or something of a similar shape, to form the ghost on.
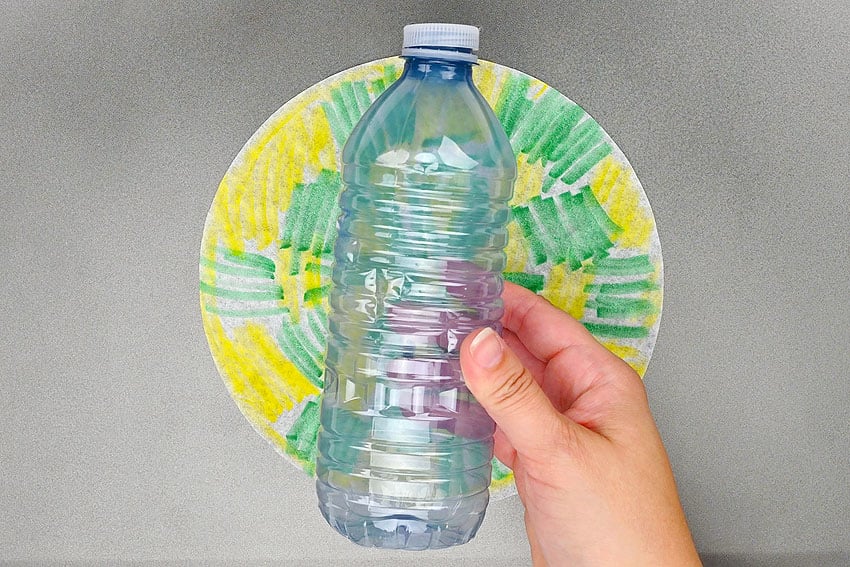
- Place the coffee filter on top of the water bottle and try to shape it around the bottle as much as you can.
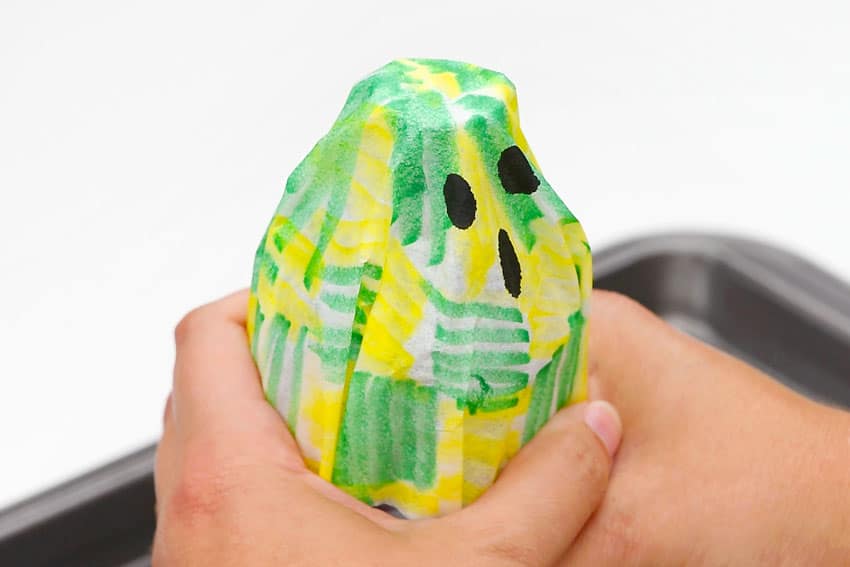
- Use an eyedropper to drop water onto the coffee filter.
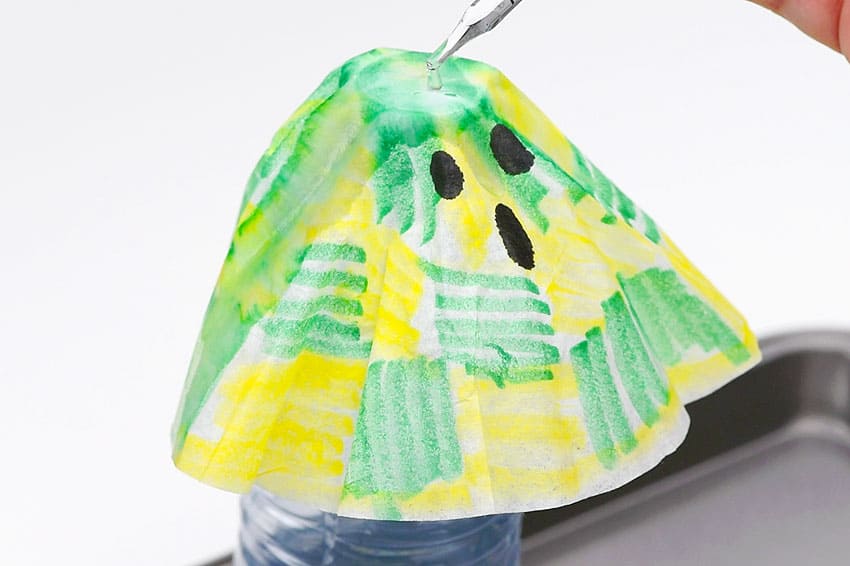
- Continue adding water until all parts of the coffee filter are wet. You’ll see the washable marker start to blend.
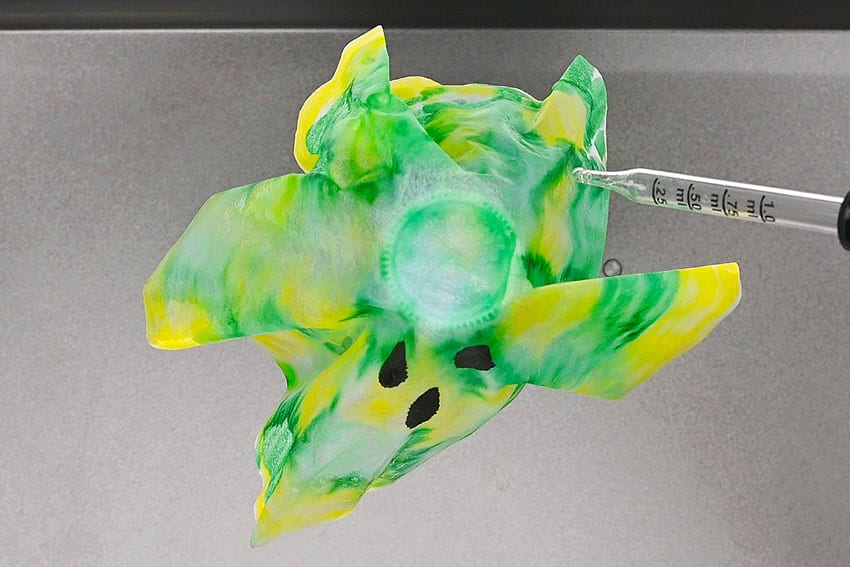
- Allow the ghost to dry completely on the water bottle.This will take at least a few hours. The exact time needed will depend on how saturated the coffee filter is.
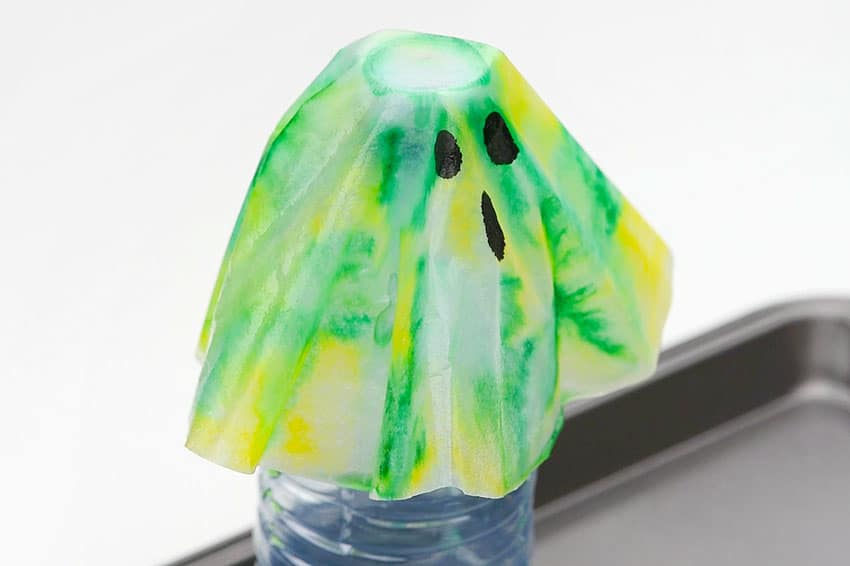
Step 4: Light up your coffee filter ghost
- Remove the ghost from the water bottle.
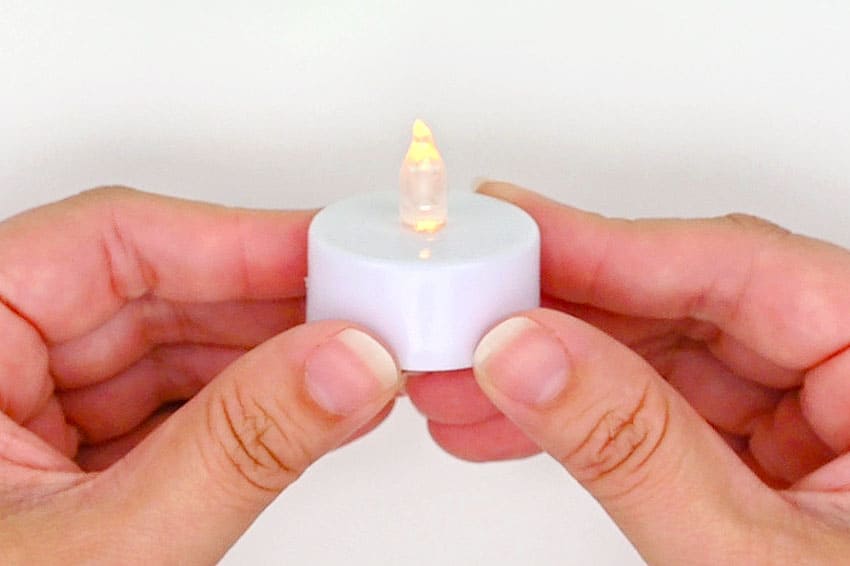
- You’ll need a battery operated tealight or other safe source of light to illuminate your ghost.
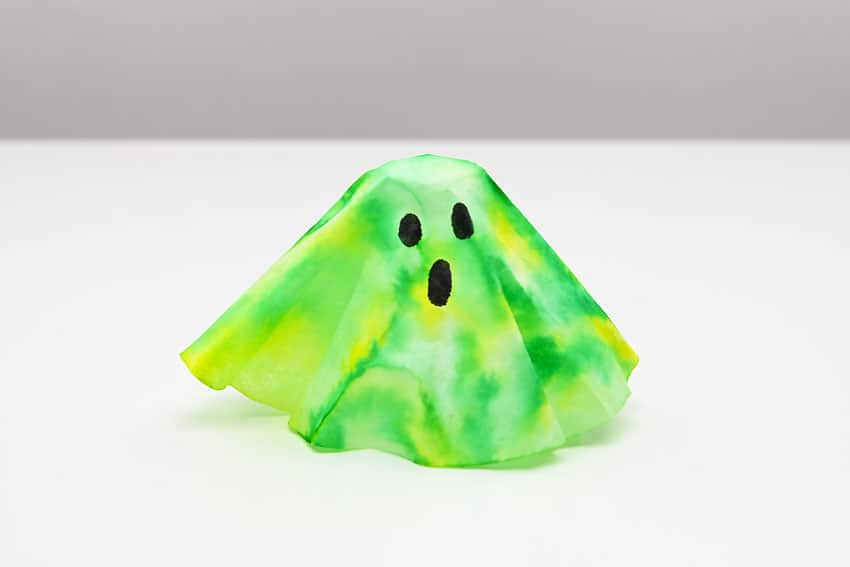
- Place the ghost on top of the flameless candle. Your coffee filter ghost is complete!
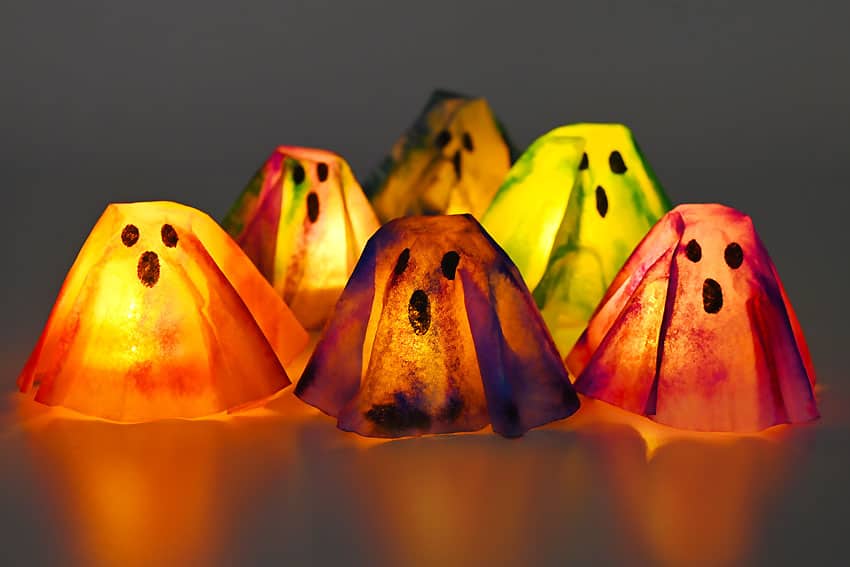
- You can make a whole gang of ghosts in all kinds of fun colour combinations. Now turn off the lights and enjoy the spooky flickering light!
Helpful Tips
- Read through the full tutorial before starting.
- Prepare the listed supplies ahead of time so each step is easier to follow.
- Check the finished craft against the instructions before displaying or using it.
FAQs
Is this tutorial beginner friendly?
Yes. This coffee filter ghosts kids craft is written with simple steps and extra tips for beginners.
Can kids make this craft independently?
Older kids may be able to work independently, while younger kids should have help with any steps that require close attention or small pieces.
How long does the craft take?
Most versions take about 30 minutes, depending on the materials and the pace of the crafter.
Can I use different colors?
Yes. Changing the colors is one of the easiest ways to personalize the finished craft.
Final Thoughts
Once the coffee filter ghosts kids craft is finished, take a moment to check the details, compare the result with the tutorial, and display the project somewhere kids can enjoy their work.
Affiliate disclosure: This post may contain Amazon affiliate links. As an Amazon Associate, Easy Crafts Ideas may earn from qualifying purchases at no extra cost to you.