This punch needle heart coasters crochet yarn craft is a cheerful hands-on project for kids, classrooms, and family craft time. It uses the tutorial steps below as the practical guide while adding helpful planning notes so the project feels easier to prepare, follow, and finish. Gather the supplies first, give yourself a little workspace, and enjoy making something creative from simple materials.
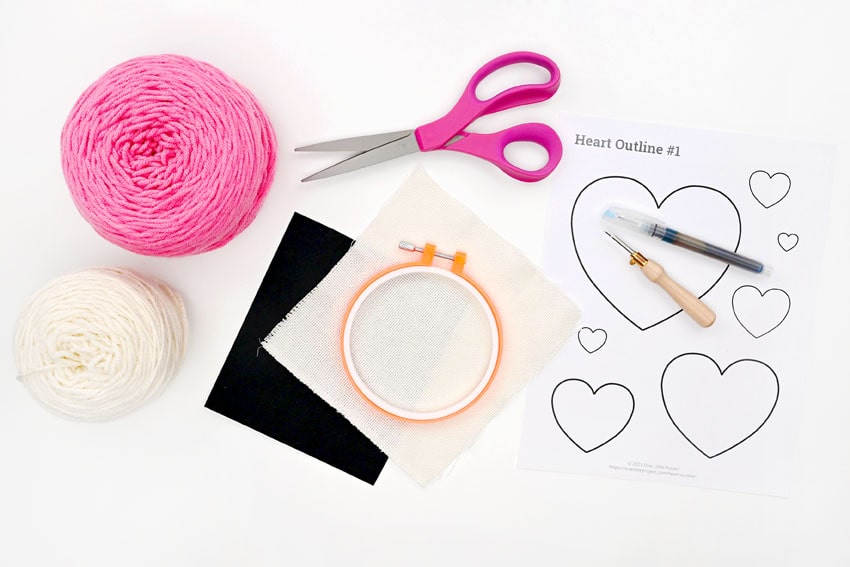
Materials:
- FREE Printable Heart Template
- Monk’s cloth
- Washable fabric marker
- Yarn (2 colours)
- Sewing thread (same colour as cloth)
- Self-adhesive felt
Equipment:
- Scissors
- Embroidery hoop (no-slip, 5 inch)
- Punch needle
- Punch needle threader
- Sewing needle
Instructions:
Step 1: Find what you need
- Gather your supplies and materials.
Step 2: Prepare the fabric
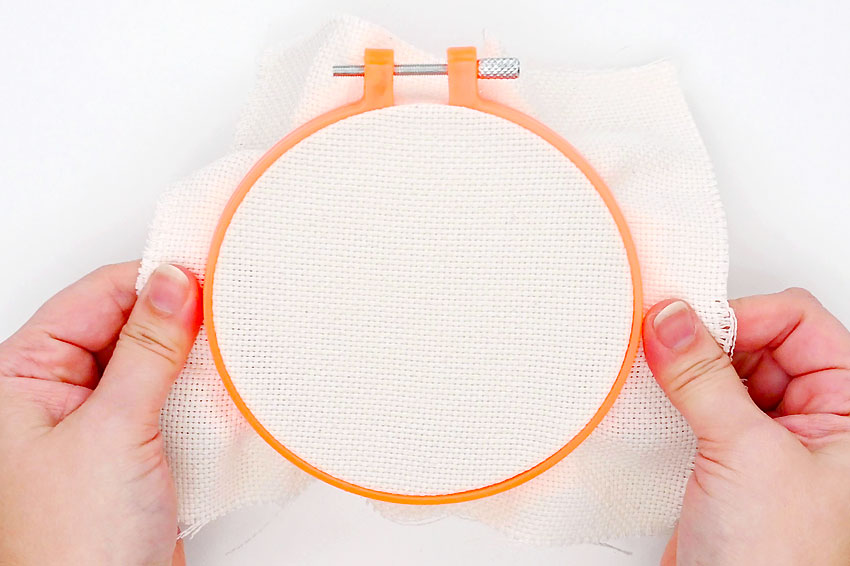
- Cut a piece of monk’s cloth that’s about 1 to 2 inches bigger than the embroidery hoop. Attach it to the hoop and make sure the cloth is very tight in the frame.
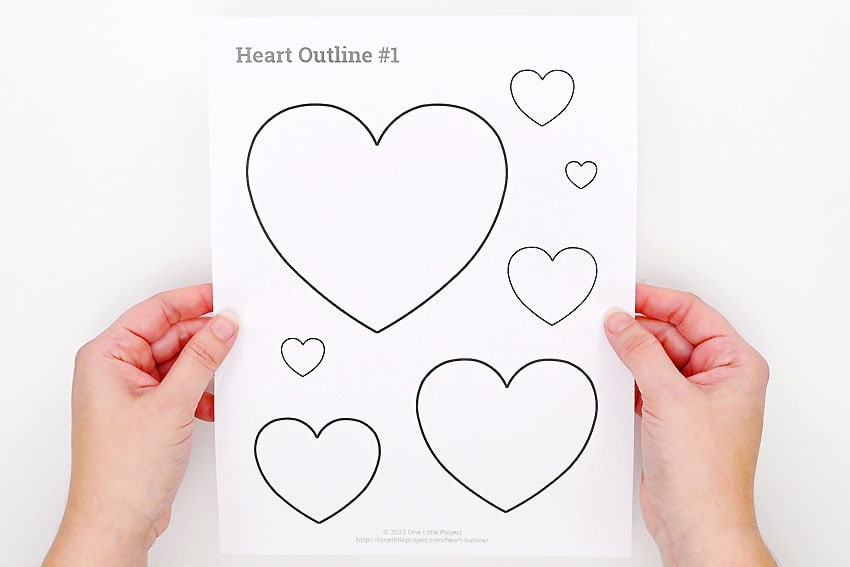
- Print one of our free heart templates (find the link in the materials list above) and cut out the heart shape of your choice.
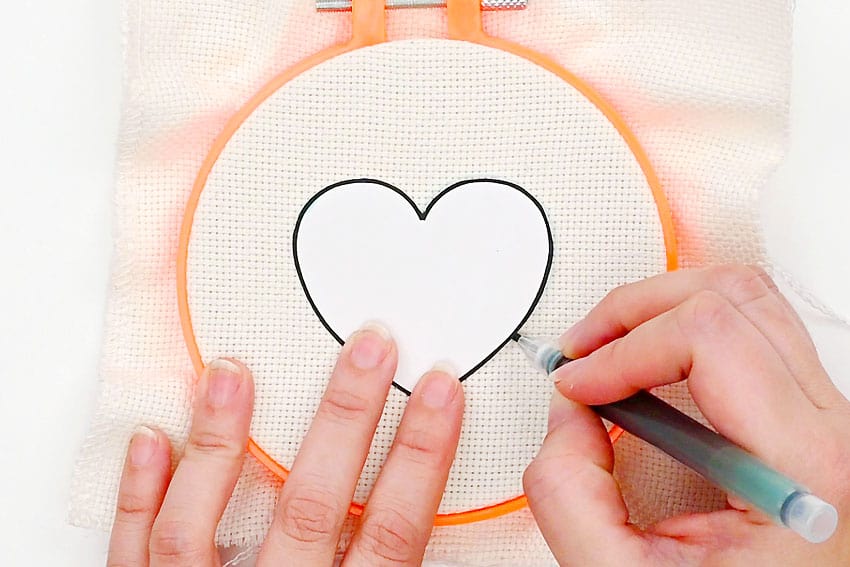
- Place the heart template in the center of the hoop and trace around with a washable fabric marker or a pencil.
Step 3: Thread the punch needle
- Insert the wire needle threader into the punch needle so the loop or fold is at the bottom.
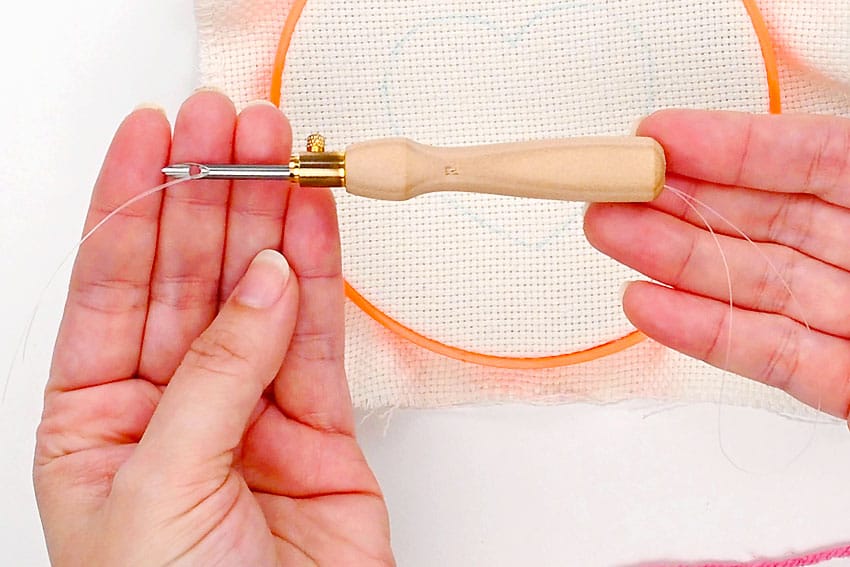
- Place the yarn through the loop at the bottom. This yarn will be the colour of the heart.
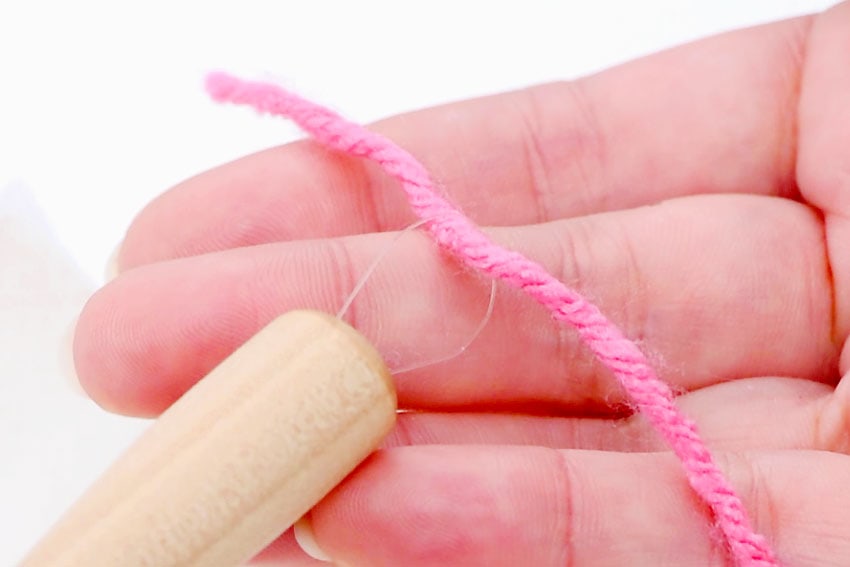
- Pull the needle threader up through the punch needle until the yarn appears.
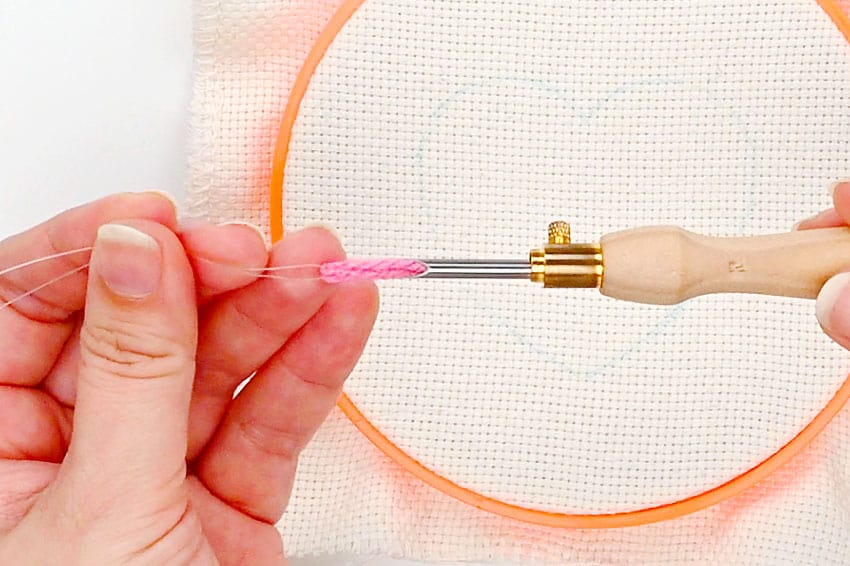
- Use your fingers or the needle threader to push the end of the yarn through the hole in the top of the punch needle. It should go from the inside to the outside, coming out the flat side. Pull the yarn until there’s about 1 to 2 inches showing.
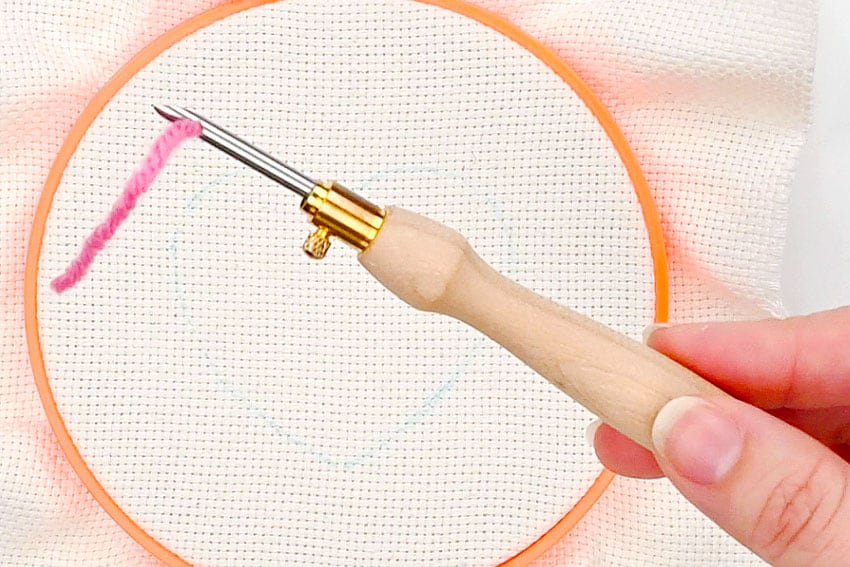
Step 4: Make the heart
- On the outline of the heart, push (or “punch”) the needle down through the fabric.
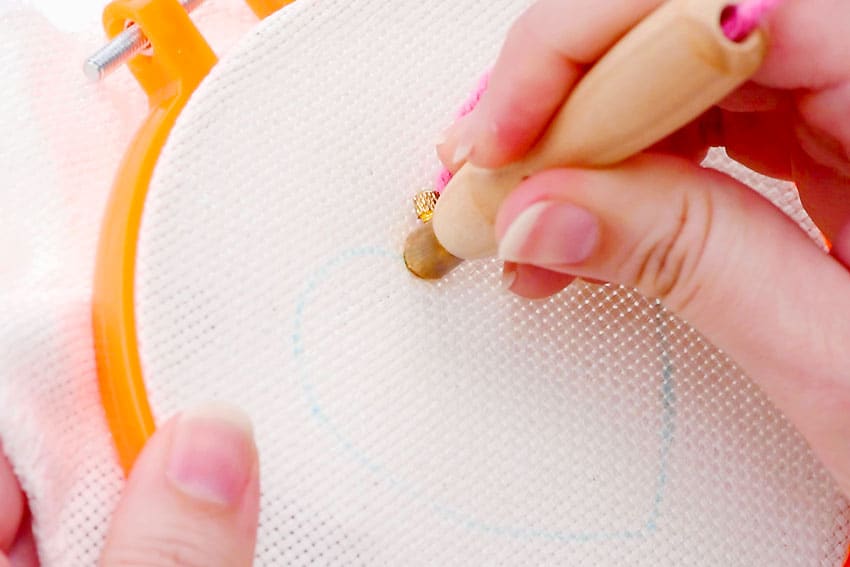
- Bring the needle back up and re-insert it next to your previous punch.
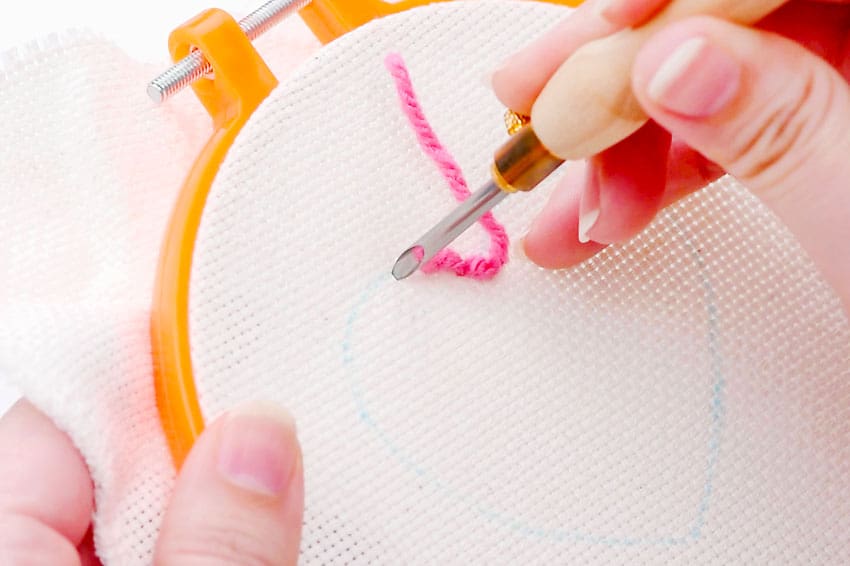
- Repeat until you’ve gone around the whole outside of the heart.

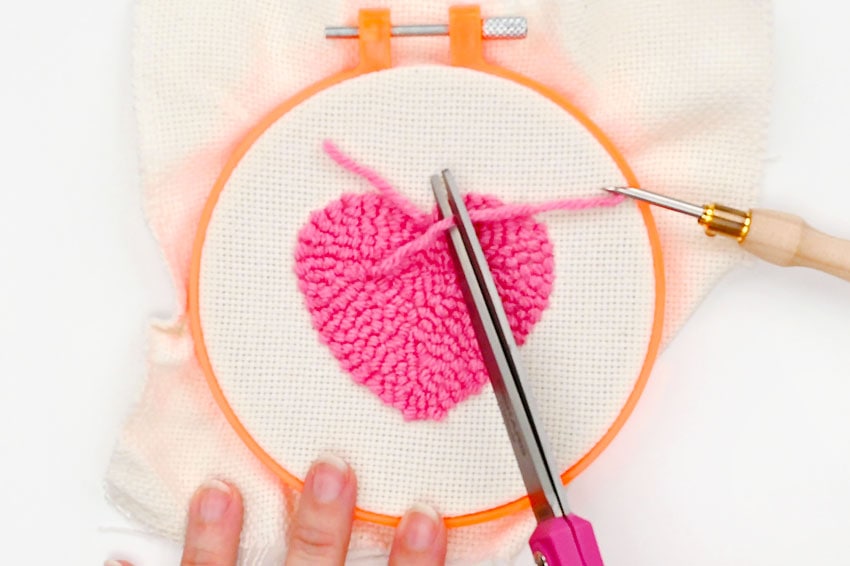
- Continue, filling in the inside of the heart. Work your way toward the center as you go around the heart shape. The current back of the fabric will be the top side of the coaster, so check it periodically to make sure your punches are nice and even and close together.

- Once the whole heart is filled in, pull the punch needle down the yarn and cut the yarn, leaving a couple of inches extra.
Step 5: Add the outside of the coaster
- Thread the punch needle with a complimentary colour (we chose white). Punch around the heart and work outward towards the embroidery hoop, filling it in. Cut off the yarn with a couple inches extra.
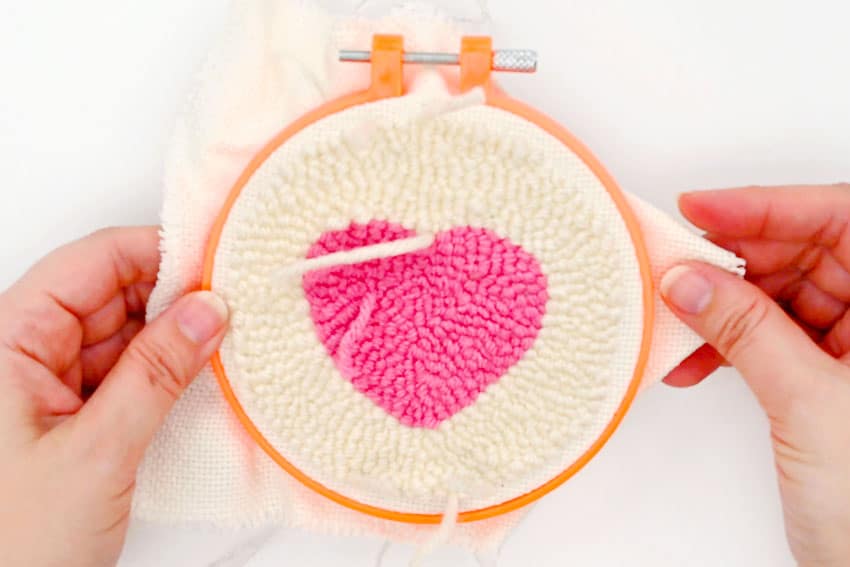
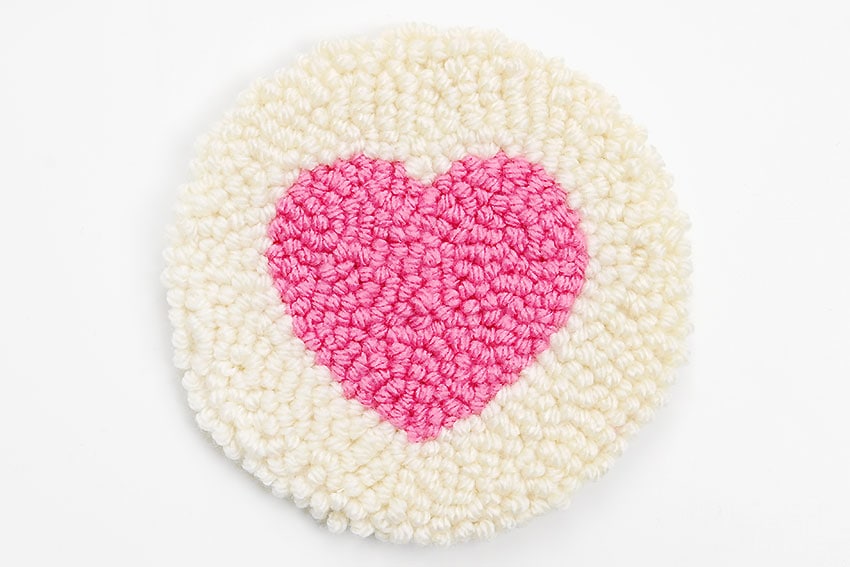
- This is what the punch needle should look like on the top side (currently, the back).
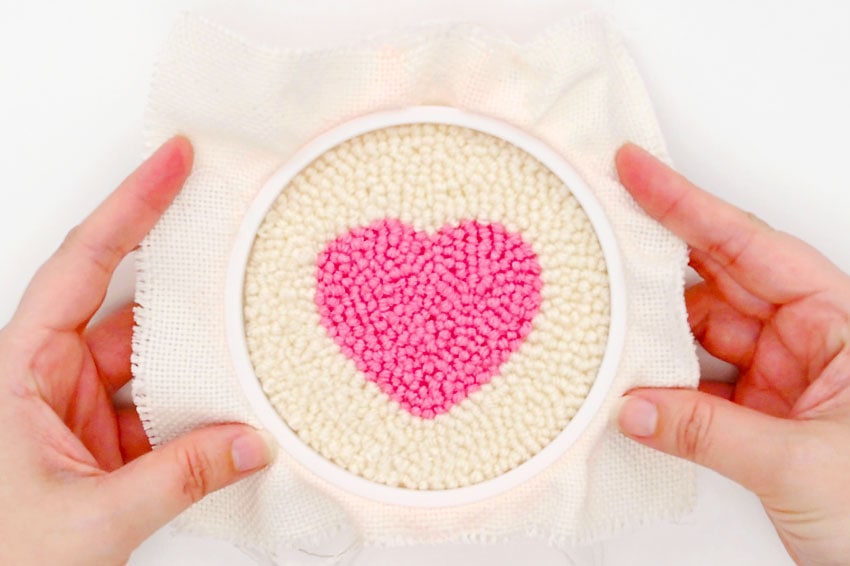
Step 6: Finish off and add a backing to the coaster
- Remove the fabric from the hoop and cut around the work, leaving 1 to 2 inches extra around the yarn-punched area.

- Make cuts from the outside of the fabric in toward the center, but don’t get too close to the yarn. This will make it easier to fold the fabric in.
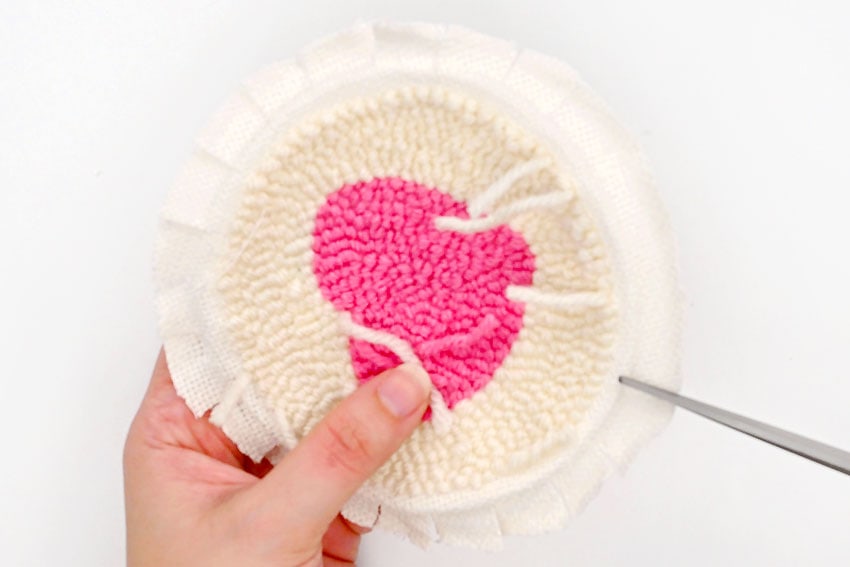
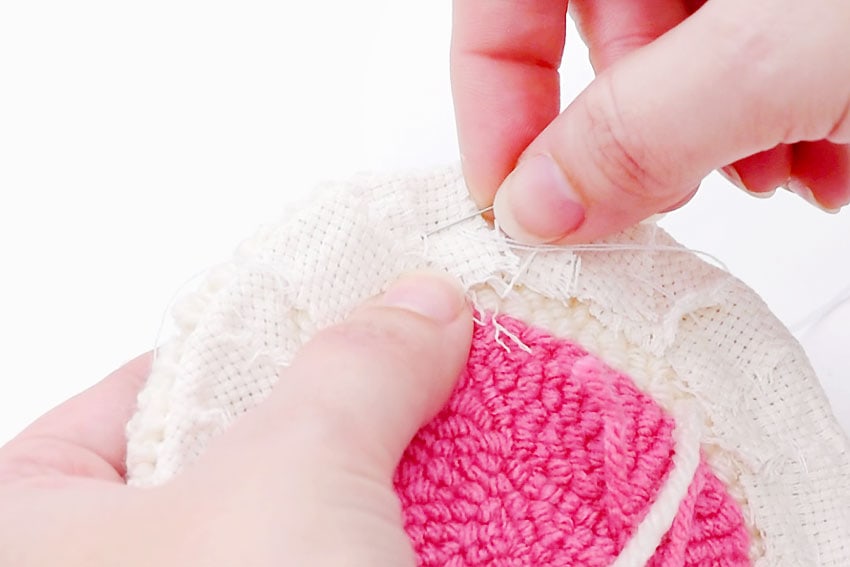
- Thread a sewing needle with thread or embroidery floss to match the cloth (white, for us). Fold the fabric in towards the center and gather it together with a simple running stitch. Finish by tying the two thread ends together in a double knot.
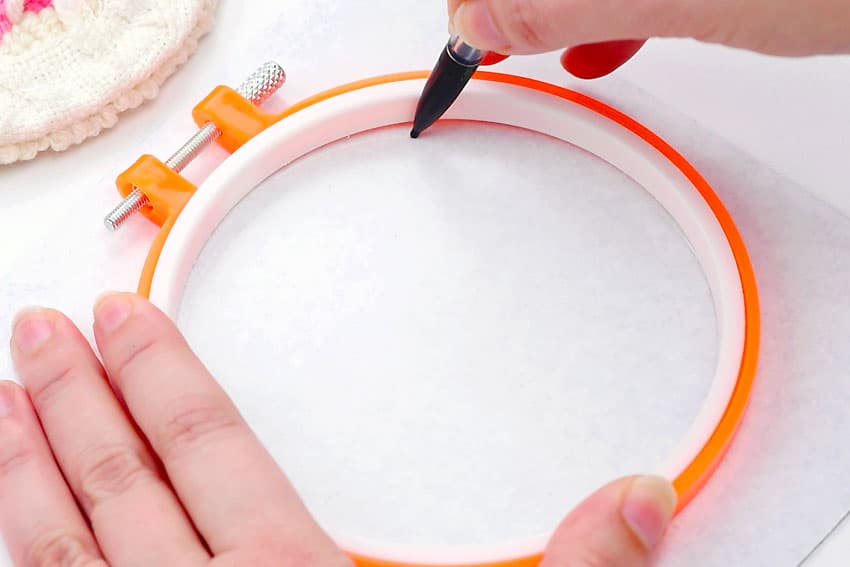
- Trace the inside of the embroidery hoop onto the back of some adhesive felt.You can also use a cork backing for a really non-slip coaster.
- Cut the felt circle and remove the backing. Place the felt on the back of the coaster, covering the folded fabric.
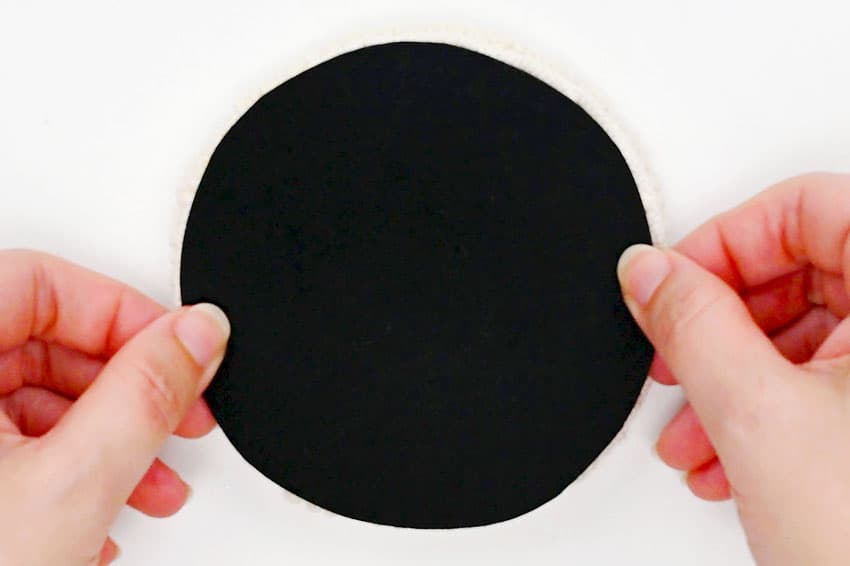
- Your punch needle heart coaster is complete!
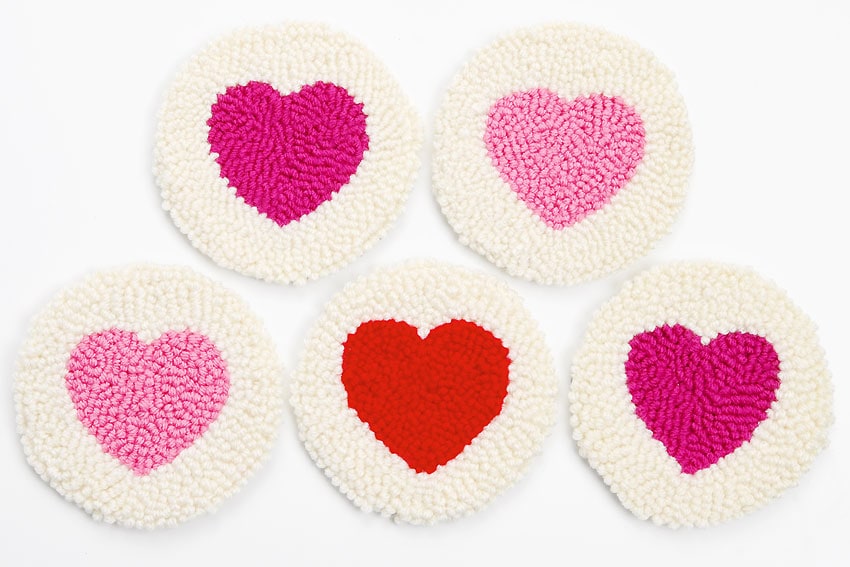
- Make more coasters in the same (or complementary!) colours to create a whole set of these adorable coasters!
Helpful Tips
- Keep your yarn tension even so both crochet squares come out close to the same size.
- Use the hook size listed in the tutorial so the stitches are firm enough to hold the marble securely.
- Check the marble fit before closing the toy so it can move inside without slipping out.
FAQs
What yarn works best for a crochet fidget toy?
Worsted weight yarn works well because it creates a sturdy fabric that can hold a marble while still feeling soft in your hands.
What size crochet hook do I need?
Use the hook size listed in the tutorial. For this project, a 5mm crochet hook helps create stitches that are firm but still easy to work with.
What size marble should I use?
A regular glass marble is usually a good fit. Check that the marble can move inside the toy without slipping through the stitches.
Can beginners make this crochet fidget toy?
Yes, confident beginners can make it if they are comfortable chaining, working basic crochet stitches, joining pieces, and finishing yarn ends.
Can I wash a crochet marble fidget toy?
Hand wash gently and let it air dry. Avoid rough washing because the marble and stitched closure should stay secure.
Final Thoughts
When the crochet fidget toy is finished, test the marble movement gently and check that the closing stitches feel secure. This is a small project, but it is a useful way to practice tension, joining, and simple finishing while making something fun to hold.
Affiliate disclosure: This post may contain Amazon affiliate links. As an Amazon Associate, Easy Crafts Ideas may earn from qualifying purchases at no extra cost to you.