

Materials:
- Rattail cord
- Split ring keyring
- Pony beads (green and brown)
Equipment:
Instructions:
Step 1: Find what you need
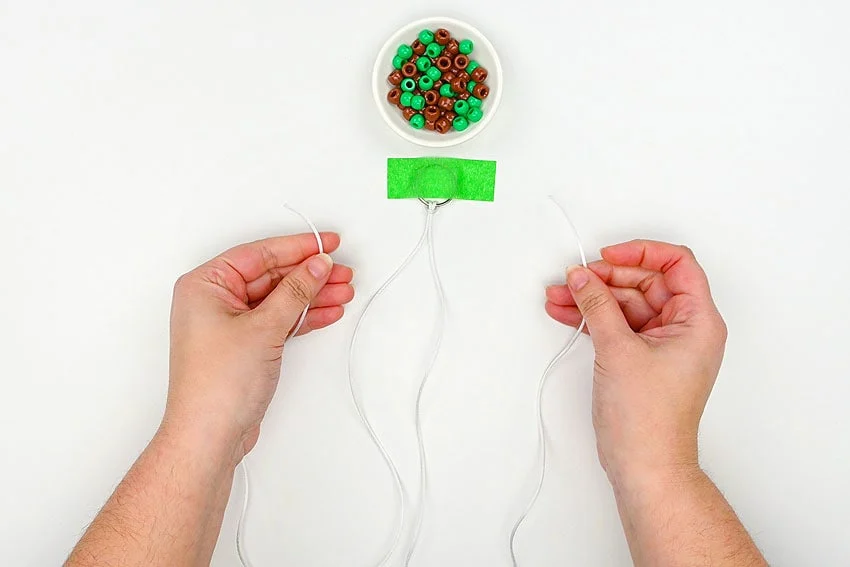
- Gather your supplies and materials.
Step 2: Arrange the cord
- Cut a piece of rattail cord to be 4 feet (48 inches) long.
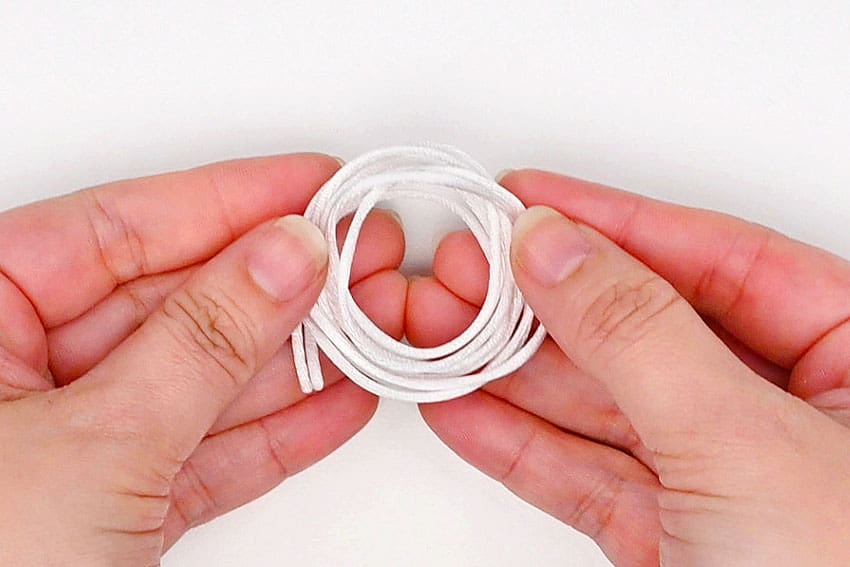
- Fold the cord in half.
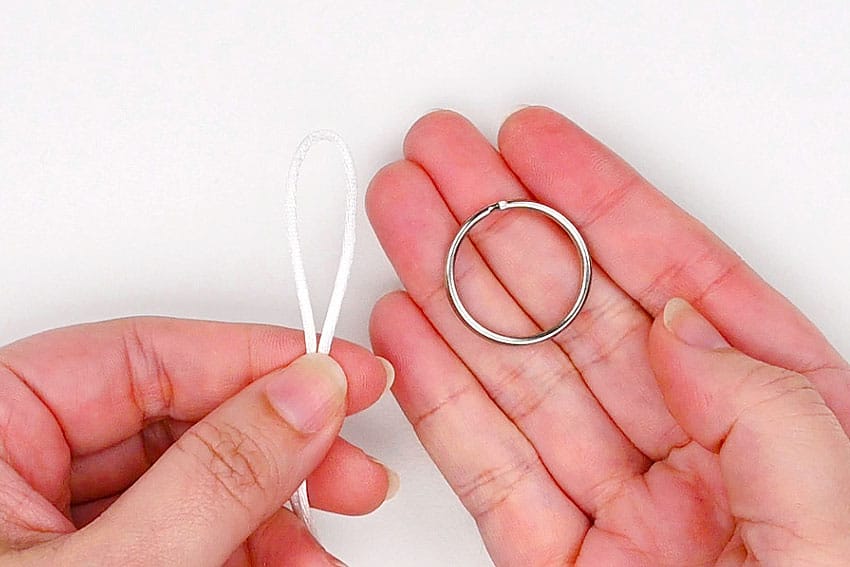
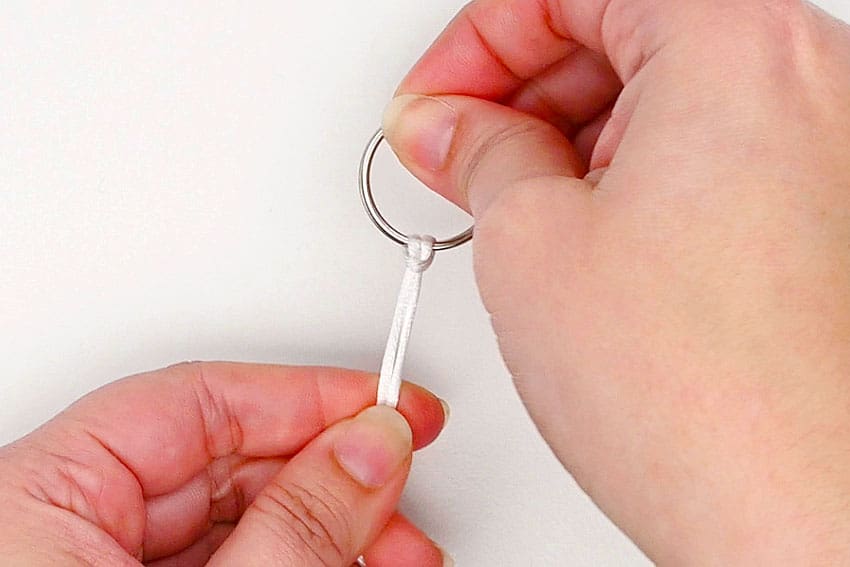
- Attach the cord to a split ring keyring using a lark’s head knot.To do this, slide the loop through the keyring and then bring it around and over the keyring. Pull the cord ends to tighten the knot.
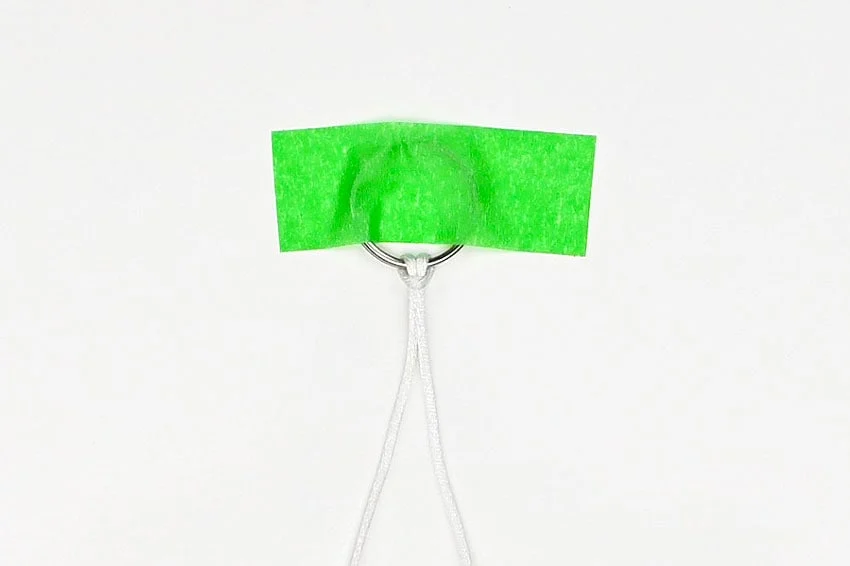
- Then secure the keyring to your working surface with a piece of painter’s tape. This allows you to add the beads more easily.
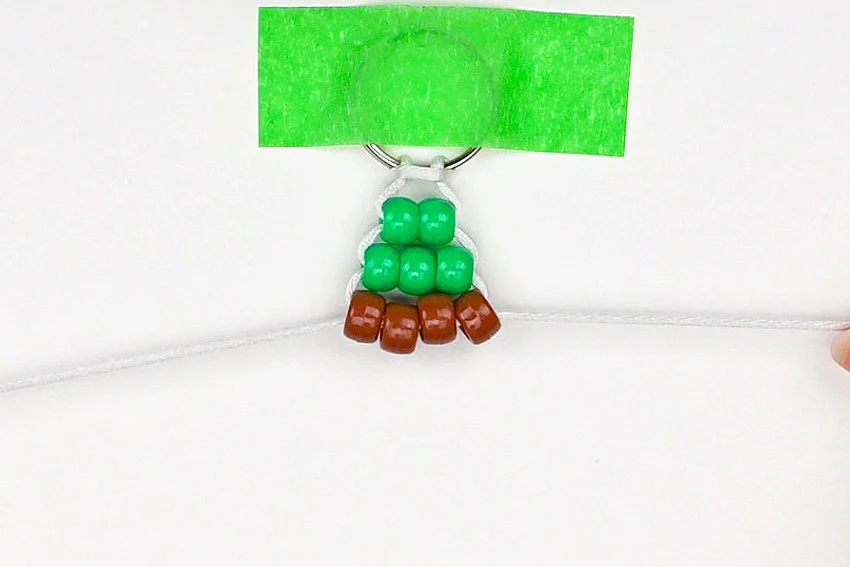
Step 3: Add the first beads
- To make the pony bead turtle you’ll be working with the ends of the cords, first attaching bead(s) to one strand, and then the other.
- For Row 1, add 2 green beads to the left cord.(You can also do the right cord if it’s more comfortable to you. The pattern works either way.)
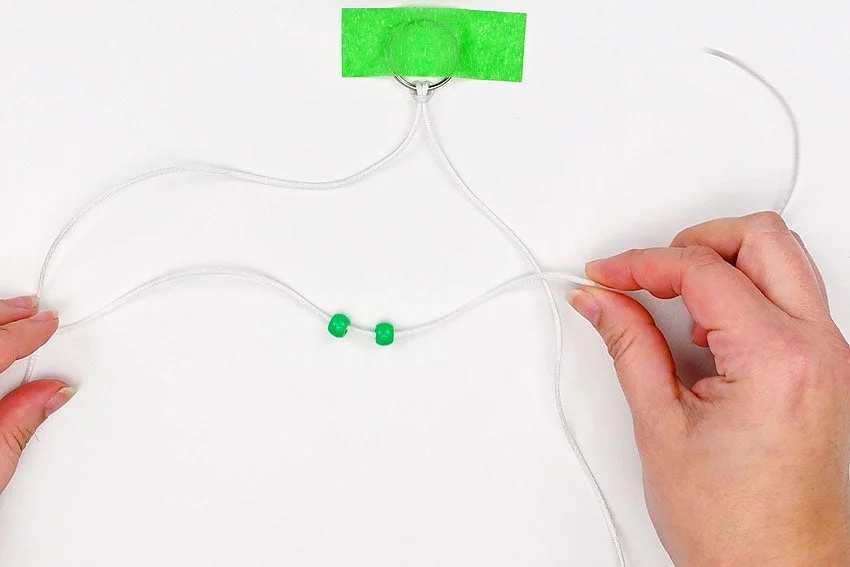
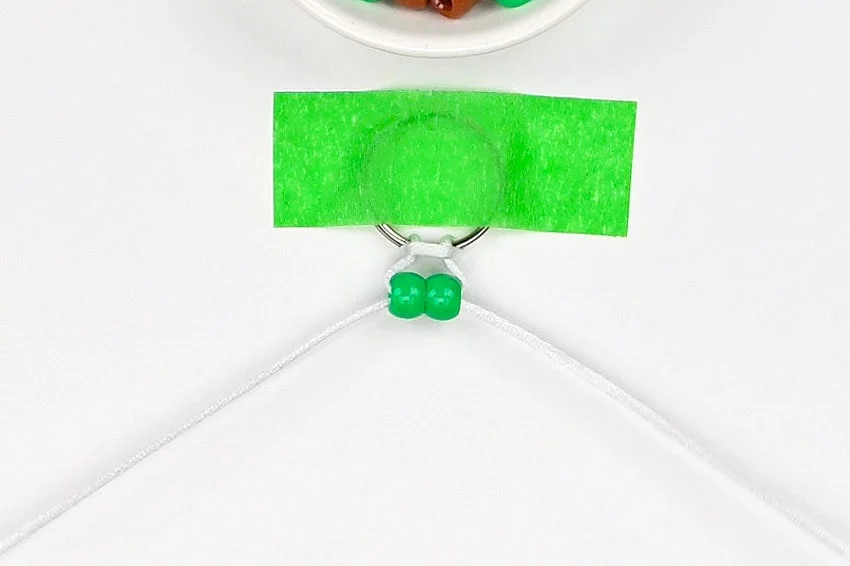
- Take the end of the right cord and push it through the right side of the beads, so they’re attached to both cord ends.

- Pull the cord ends so that the top of the turtle head ends up centered against the knot.
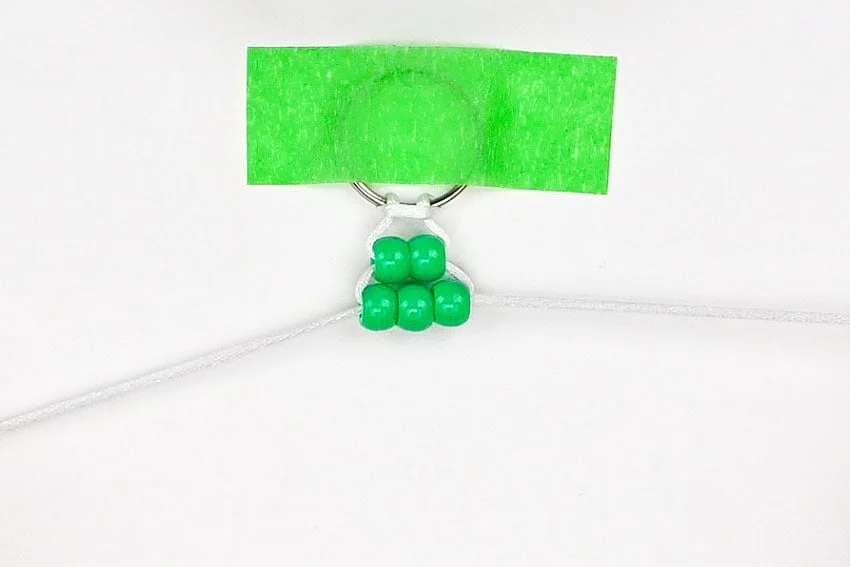
- For Row 2, add 3 green beads in the same way.
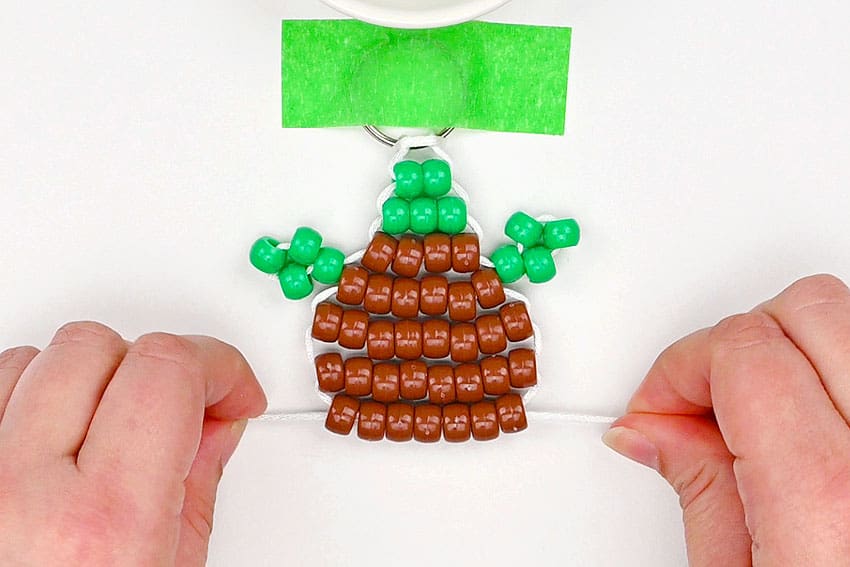
Step 4: Start the turtle shell and make the arms
- Row 3 begins the turtle shell. Add 4 brown beads to both cords.
- Next we’re going to make the arms of the turtle. Add 4 green beads to the left cord and push them next to Row 3.
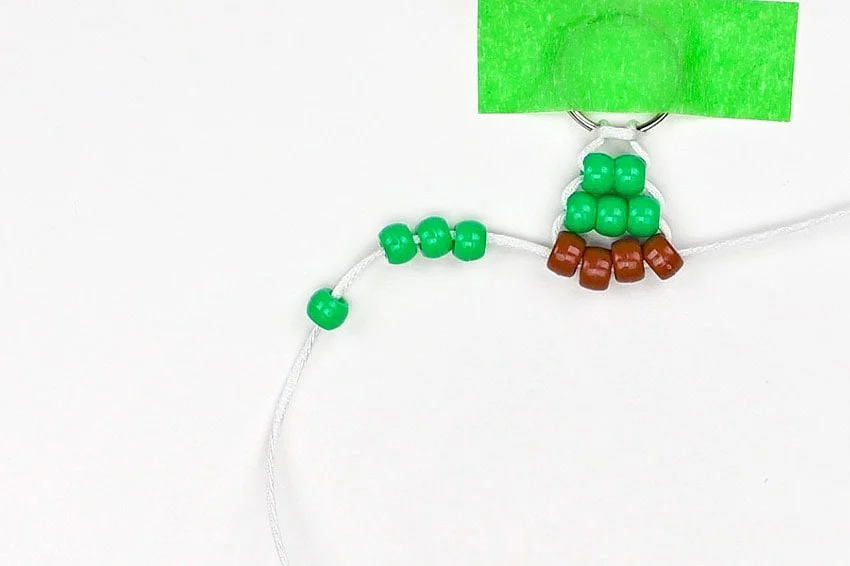
- Loop the left cord back through the first green bead (the one closest to Row 3).
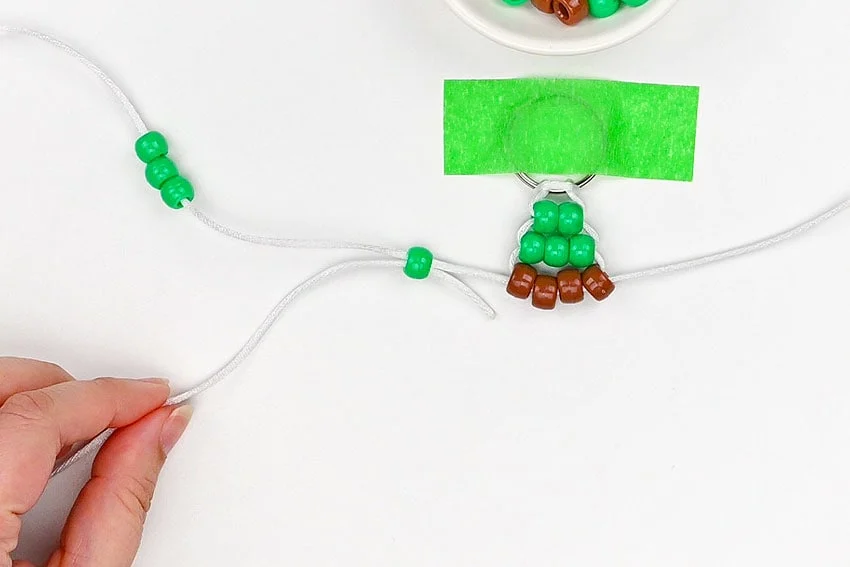
- Pull the cord tight and arrange the beads so the arm is right next to the shell.
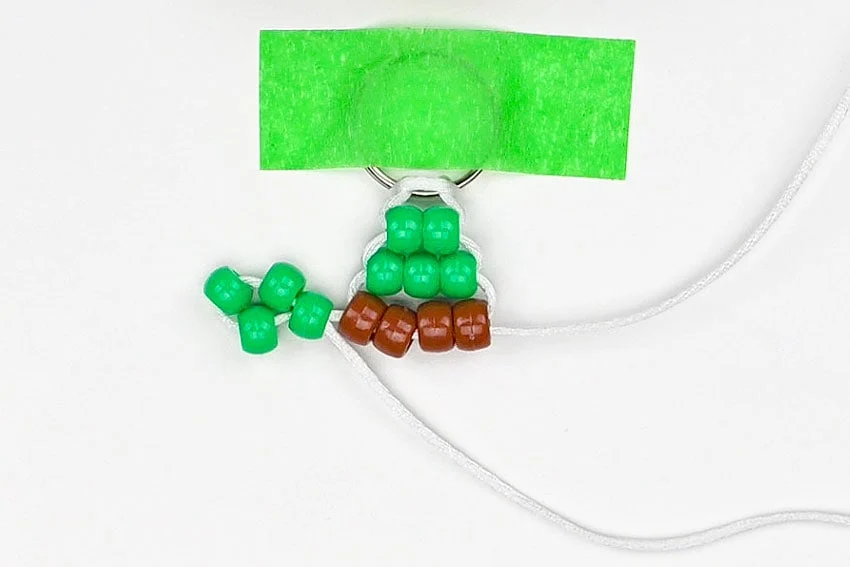
- Repeat on the right cord to make the other arm.

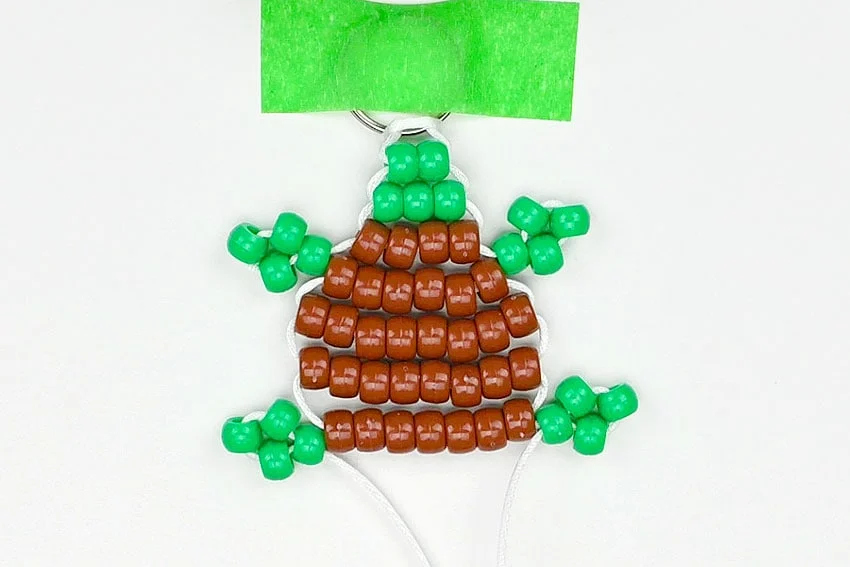
Step 5: Continue making the shell
- Attach the following beads to both cords:Row 4: 6 brownRow 5: 8 brownRow 6: 8 brownRow 5: 7 brown
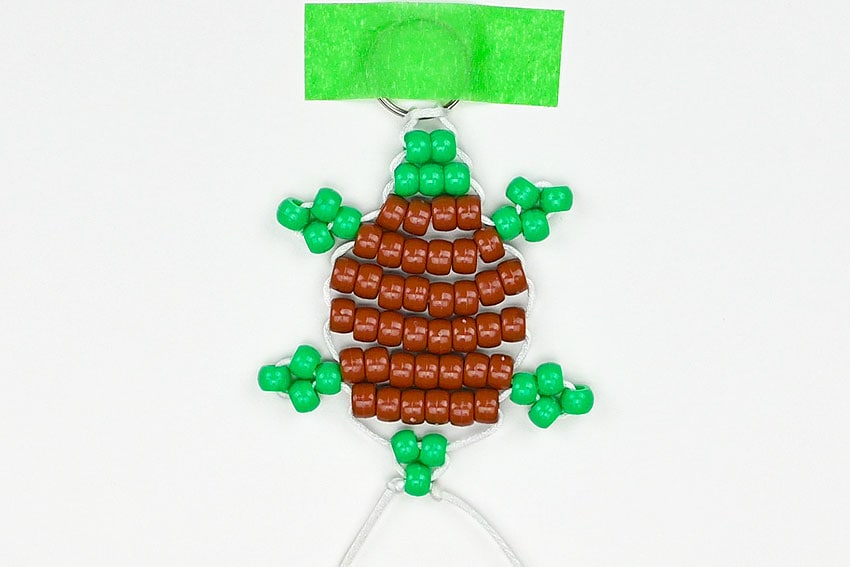
Step 6: Add the back legs and tail
- Use the same process as the arms to add 2 legs using 4 green beads each.
- Finish the turtle shell by adding 6 brown beads for Row 6. Then make the turtles tail with 2 green beads (Row 7) and 1 green bead (Row 8).

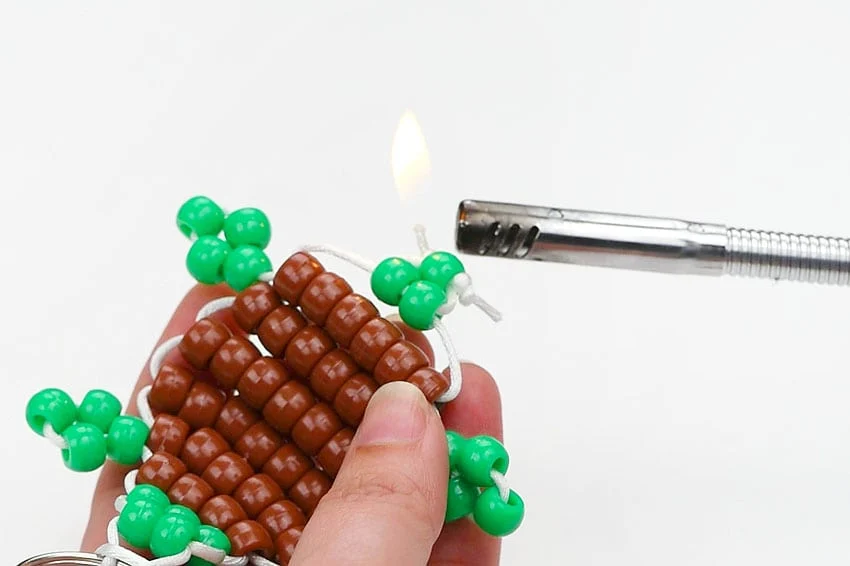
Step 7: Finish off the keychain
- Tie knots on both cords, placing them as close to the beads as possible. Make a double knot, if necessary.
- Cut the cord ends close to the knots, leaving about 1/4 inch extra.
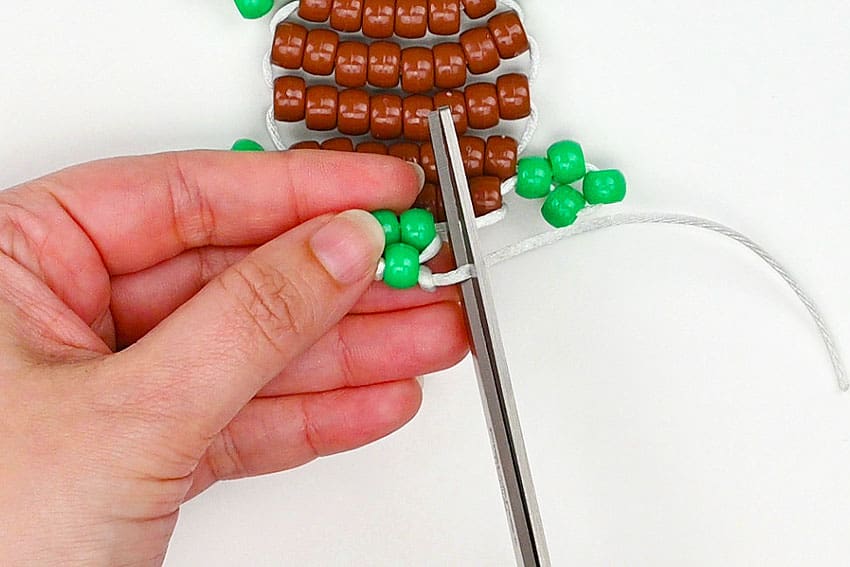
- Hold a BBQ lighter next to the cord end and light it. This will melt the end of the cord, keeping it from unraveling. Repeat on the other cord end.
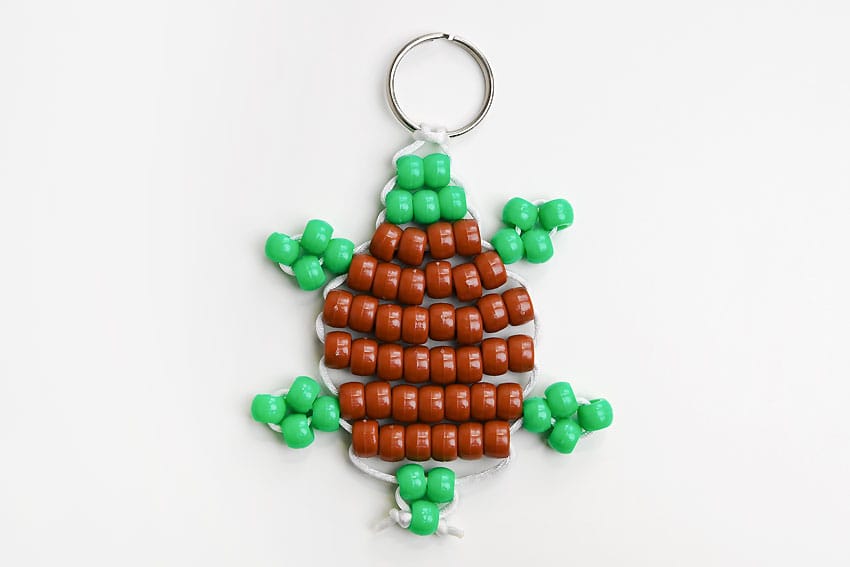
- Your pony bead turtle is complete!
Helpful Tips
- Read through the full tutorial before starting.
- Prepare the listed supplies ahead of time so each step is easier to follow.
- Check the finished craft against the instructions before displaying or using it.
FAQs
Is this tutorial beginner friendly?
Yes. This pony bead turtle kids craft is written with simple steps and extra tips for beginners.
Can kids make this craft independently?
Older kids may be able to work independently, while younger kids should have help with any steps that require close attention or small pieces.
How long does the craft take?
Most versions take about 30 minutes, depending on the materials and the pace of the crafter.
Can I use different colors?
Yes. Changing the colors is one of the easiest ways to personalize the finished craft.
Final Thoughts
Once the pony bead turtle kids craft is finished, take a moment to check the details, compare the result with the tutorial, and display the project somewhere kids can enjoy their work.


")

