

Beaded Pipe Cleaner Indian Corn
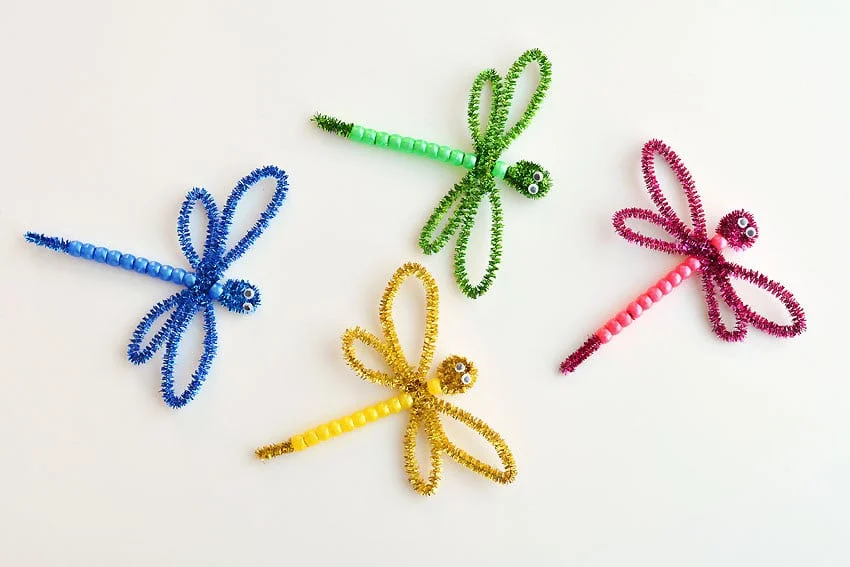
Beaded Pipe Cleaner Dragonflies
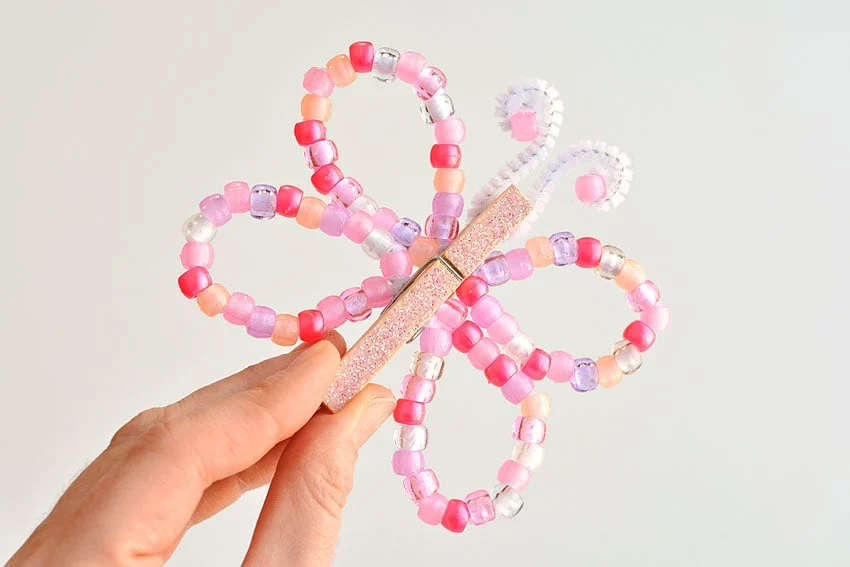
Beaded Pipe Cleaner Butterflies
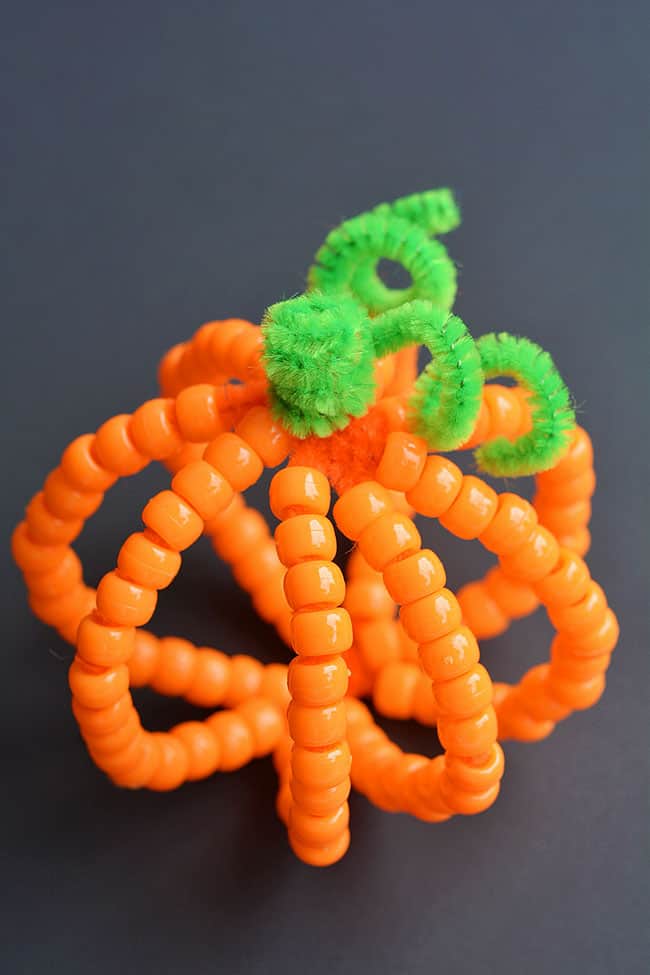
How to make Beaded Pipe Cleaner Pumpkins:
Here’s a list of what you’ll need. The affiliate links below will take you to products on Amazon that are similar to the supplies we used to make this craft:
- 4 Orange Pipe Cleaners (12 inch length)
- 1 Green Pipe Cleaner (12 inch length)
- Orange Pony Beads (approximately 130 beads)
Grab four orange and one green 12 inch pipe cleaner, along with a whole lot of orange pony beads. I ordered my orange beads from Amazon, but I’ve also seen bags of them at the craft store.
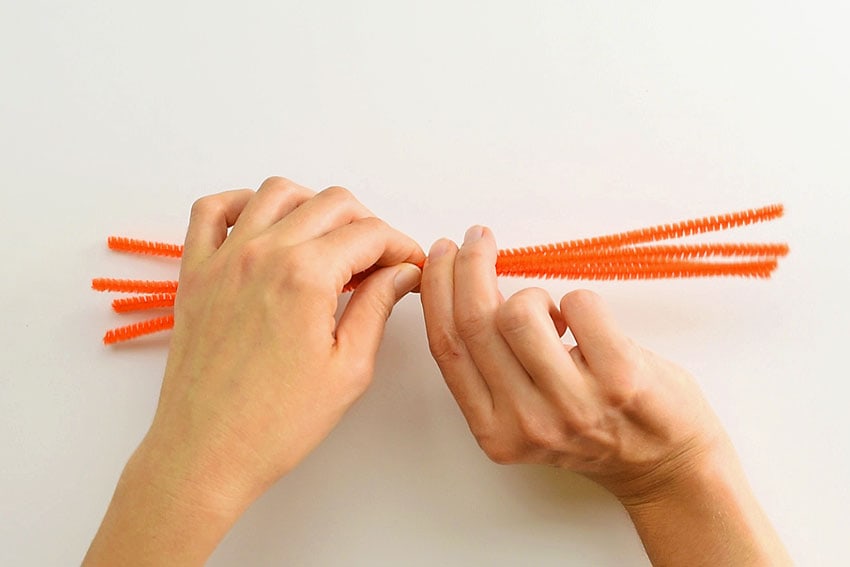
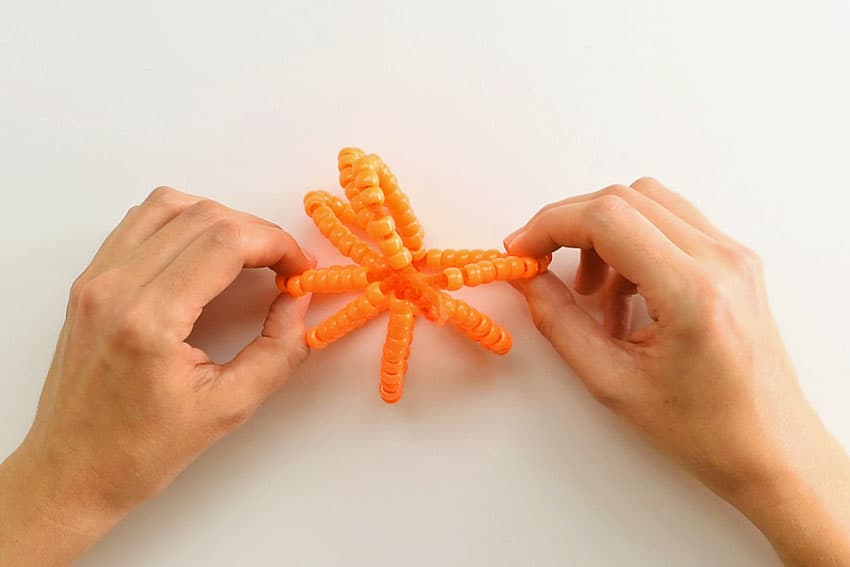
Line up your pipe cleaners so they are even on each end and twist them together a few times in the middle.
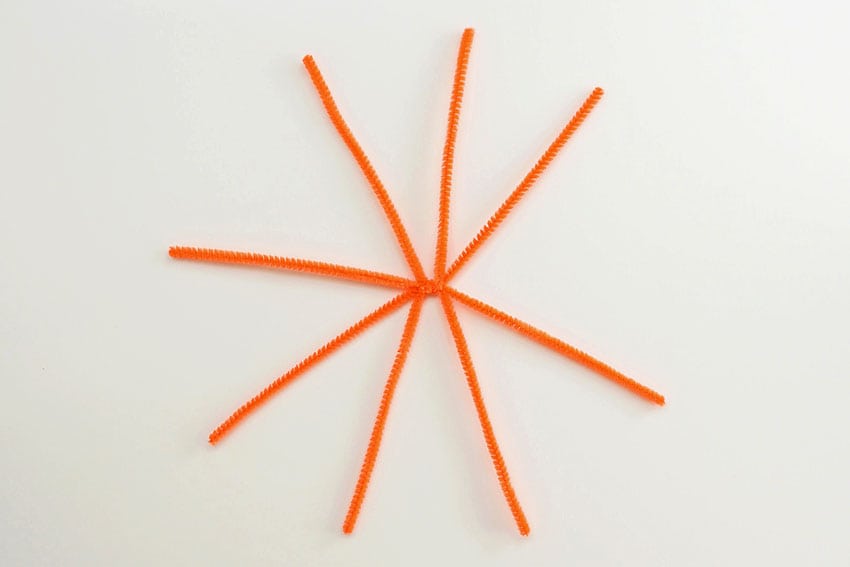
Next, spread out each pipe cleaner so they are evenly spaced.
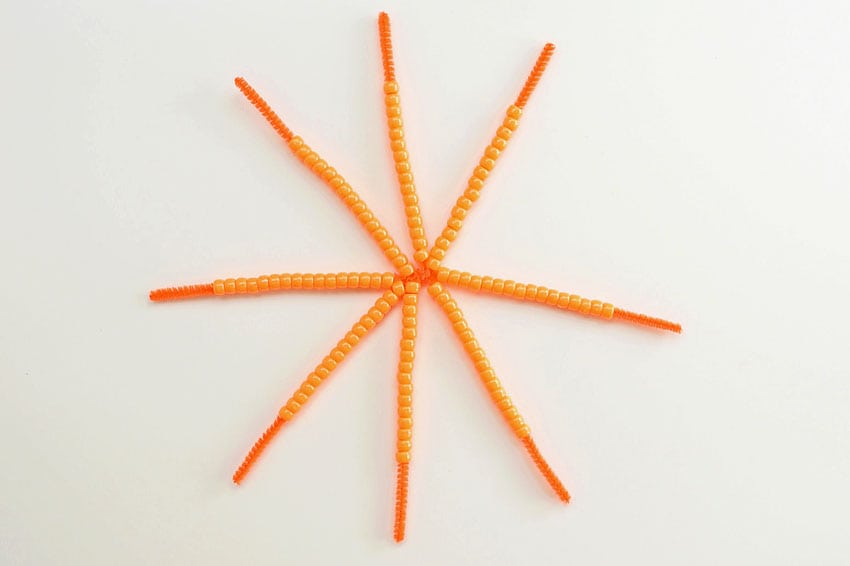
Start threading the beads onto each pipe cleaner, until all 8 are covered. I ended up using about 16 beads per row. Be sure to leave a little over an inch of pipe cleaner on each end so you can twist them together in the next step.
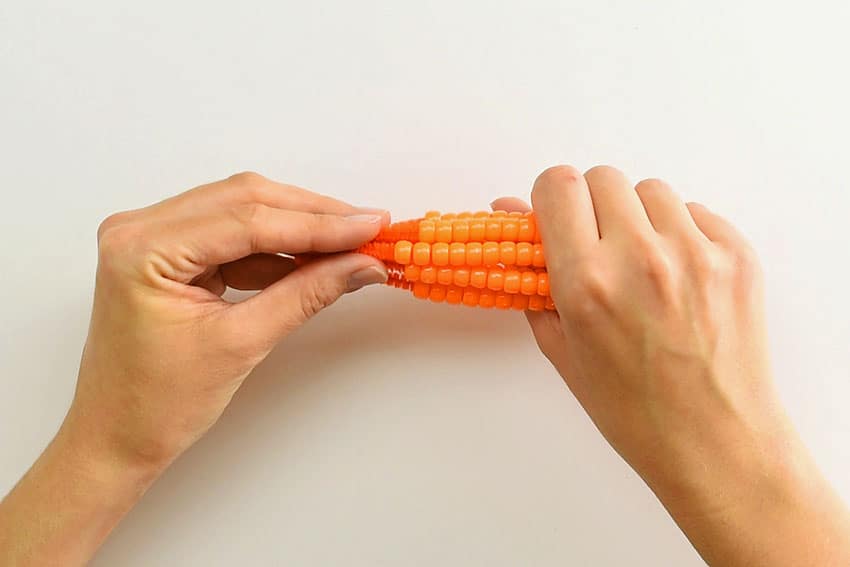
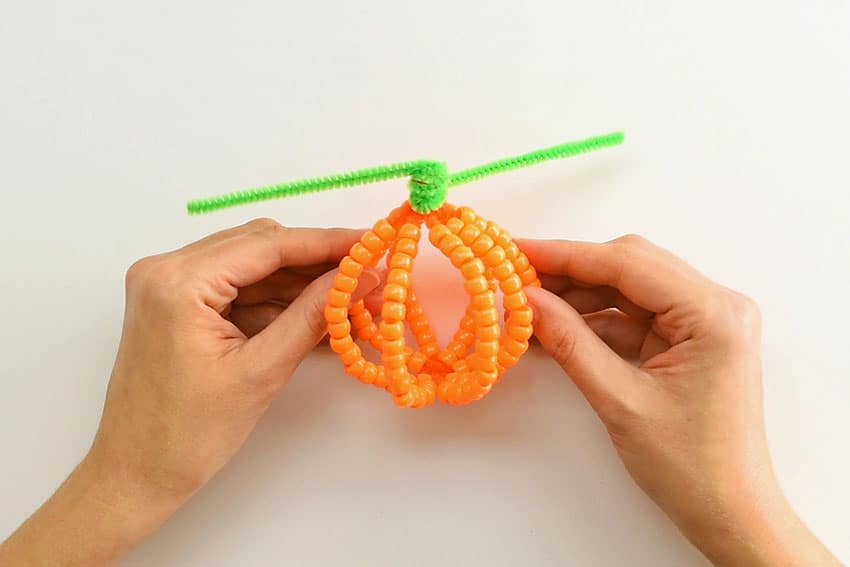
Once you’ve covered your pipe cleaners in beads it’s time to start shaping your pumpkin! Carefully bend each end upward and gather the points together. Give the ends a couple of twists to secure the beads and hold your pumpkin together!
The twisted pipe cleaner at the top is going to be your pumpkin’s stem. If it looks too long, just bend it in half and twist to make the stem shorter.
Now you can start shaping your pumpkin. Gently pull each beaded pipe cleaner piece outwards from the middle, bending them as you go so you end up with a sphere shape. Try to keep them as equally spaced as you can, just like the lines on a pumpkin.
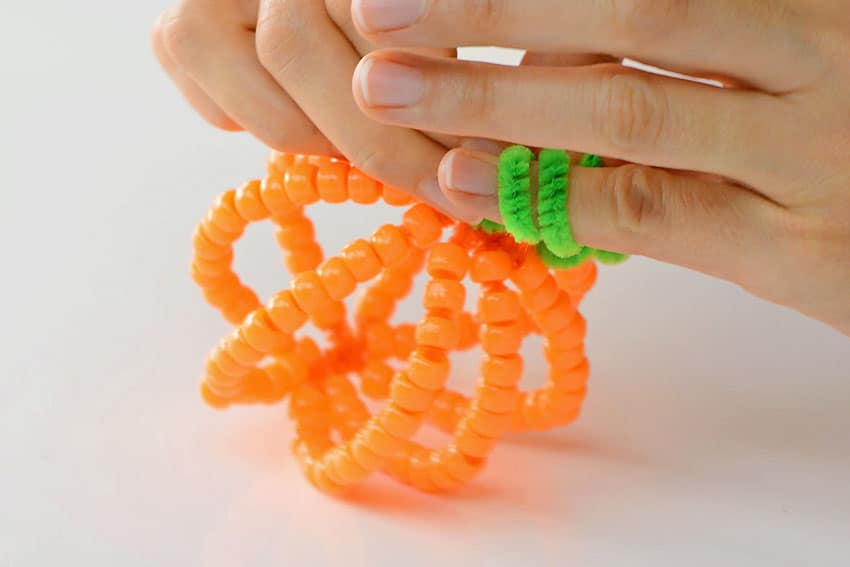
Once you’re happy with the shape, you can add the twirly pumpkin vine as the finishing touch! Grab your green pipe cleaner and wrap it around the top “stem”. (That was the twisted orange pipe cleaners we mentioned earlier).
Wrap the stem with the green pipe cleaner to completely cover it, leaving about 3 inches of pipe cleaner sticking out on each end. If your stem is long, you might need an extra green pipe cleaner to cover it.
Take each of the two green ends and spiral them around your baby finger to form the curly part of the vine.
And there you have it! A perfect little beaded pipe cleaner pumpkin!
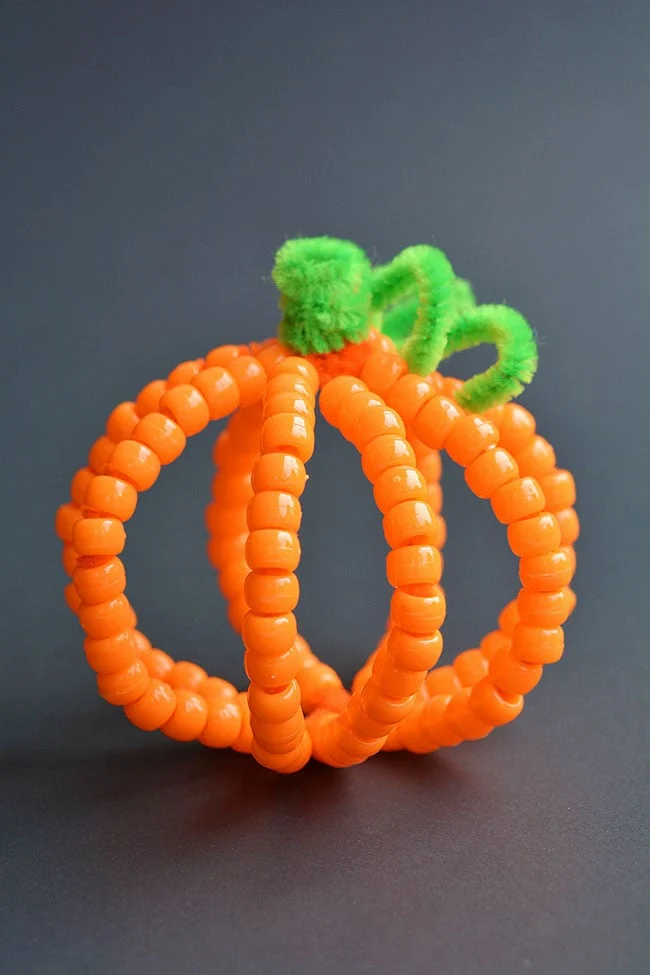
SO easy and SO cute! You could make a bunch of these in no time!
Now all you have to do is figure out how you want to display them!
These beaded pipe cleaner pumpkins are SO ADORABLE! And they’re really easy to make! All you need are two simple supplies that you can usually find at the dollar store. This is such a fun and simple kids craft that’s super for Halloween and Thanksgiving. It’s a great activity for kids, teens, tweens, adults and seniors and a fun activity for October or fall/autumn in general.
MORE ideas :
Beaded Pipe Cleaner Indian Corn

Beaded Pipe Cleaner Dragonflies
Beaded Pipe Cleaner Butterflies
Helpful Tips
- Read through the full tutorial before starting.
- Prepare the listed supplies ahead of time so each step is easier to follow.
- Check the finished craft against the instructions before displaying or using it.
FAQs
Is this tutorial beginner friendly?
Yes. This beaded pipe cleaner pumpkins kids craft is written with simple steps and extra tips for beginners.
Can kids make this craft independently?
Older kids may be able to work independently, while younger kids should have help with any steps that require close attention or small pieces.
How long does the craft take?
Most versions take about 30 minutes, depending on the materials and the pace of the crafter.
Can I use different colors?
Yes. Changing the colors is one of the easiest ways to personalize the finished craft.
Final Thoughts
Once the beaded pipe cleaner pumpkins kids craft is finished, take a moment to check the details, compare the result with the tutorial, and display the project somewhere kids can enjoy their work.


