This crochet rose crochet yarn craft is a cheerful hands-on project for kids, classrooms, and family craft time. It uses the tutorial steps below as the practical guide while adding helpful planning notes so the project feels easier to prepare, follow, and finish. Gather the supplies first, give yourself a little workspace, and enjoy making something creative from simple materials.
Materials:
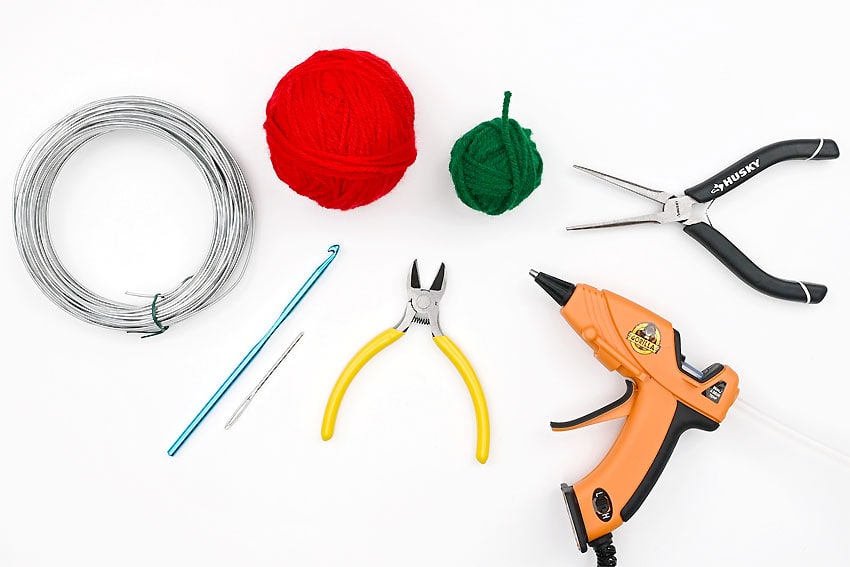
- Worsted weight yarn (size 4; red and green)
- 14 gauge Wire
- Crochet Rose Pattern (No Ads)
Equipment:
Instructions:
Find what you need:
- Gather your supplies and materials.
Rose Foundation:
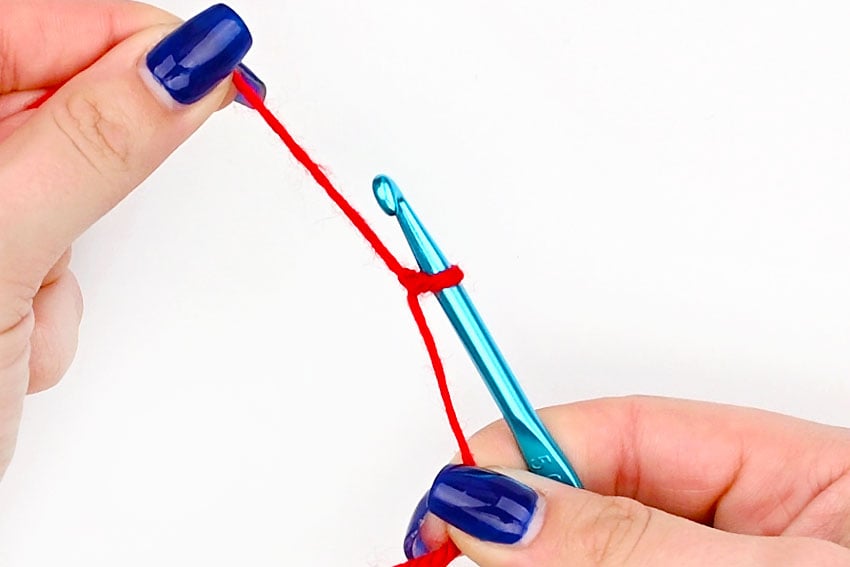
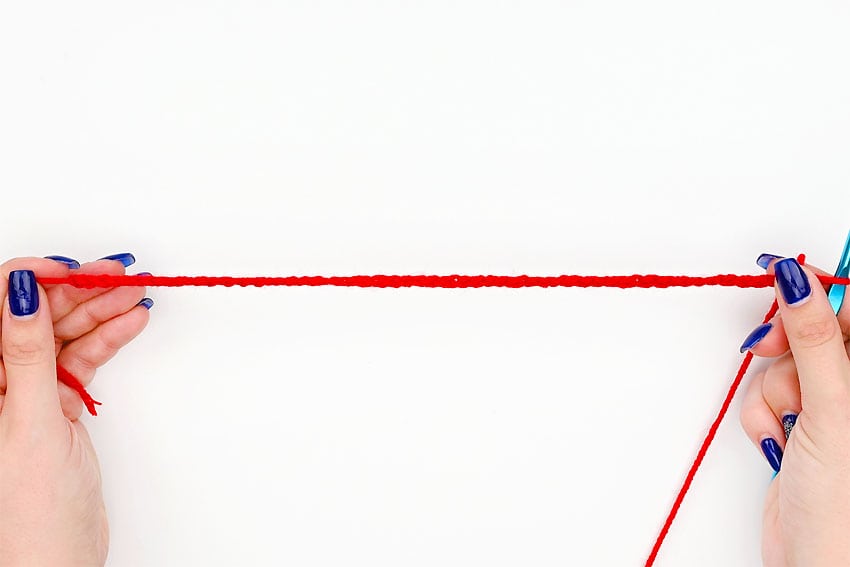
Rose Row 1:
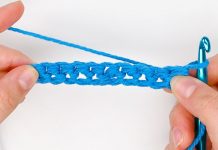
- Starting at the 2nd ch from the hook, insert 1 single crochet into each ch across.
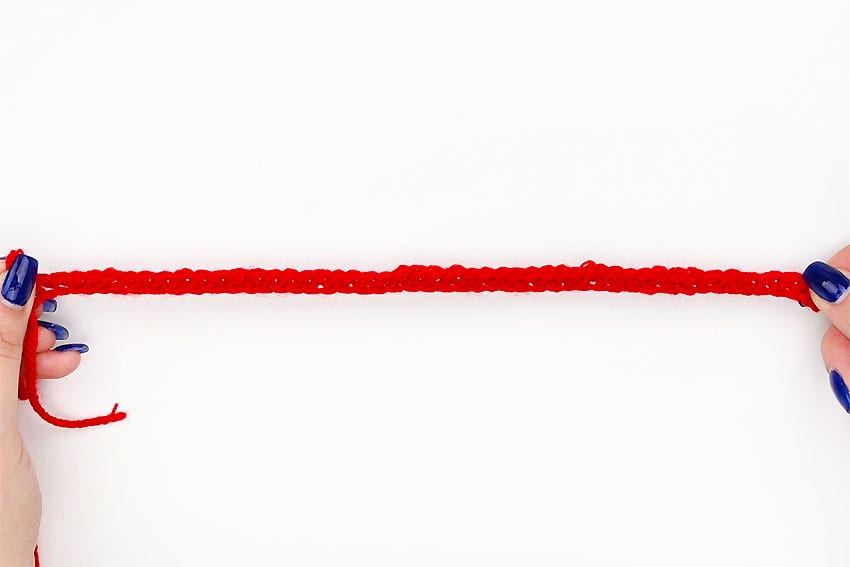
Rose Row 2:
- Ch 4 (counts as 1 double crochet and 2 chs) and insert 1 dc into the first st (right next to the ch 4).
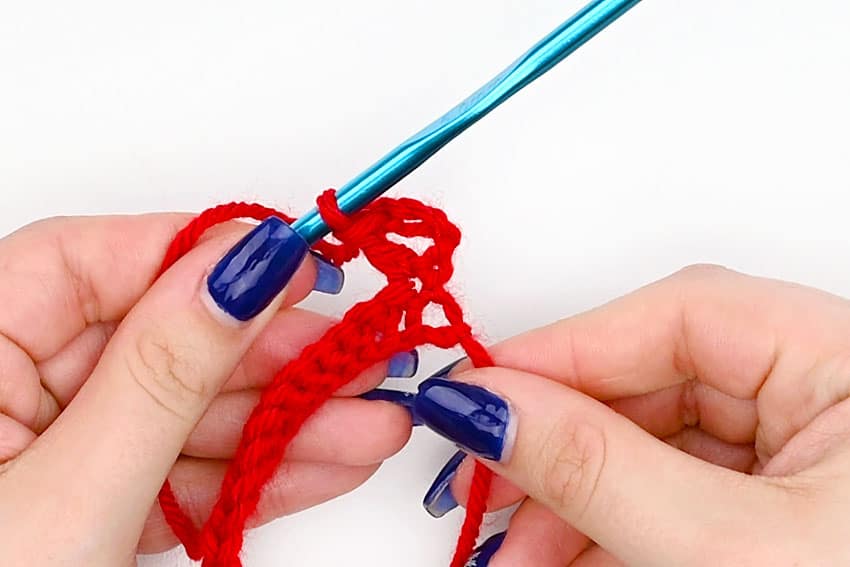
- Ch 1, sk the next 2 sts, and insert a V-stitch into the next st. Start the V-st by working 1 dc.
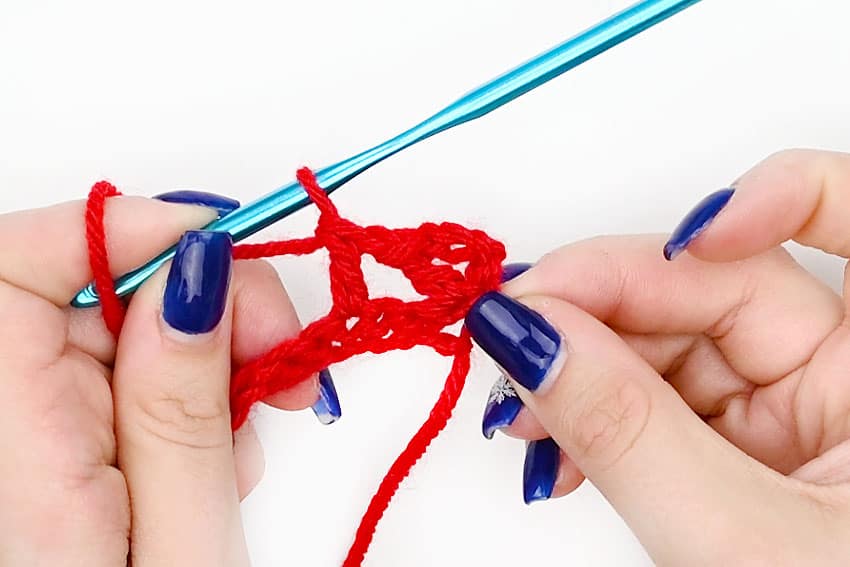
- To continue the V-st: ch 2 and insert 1 dc in the same st.
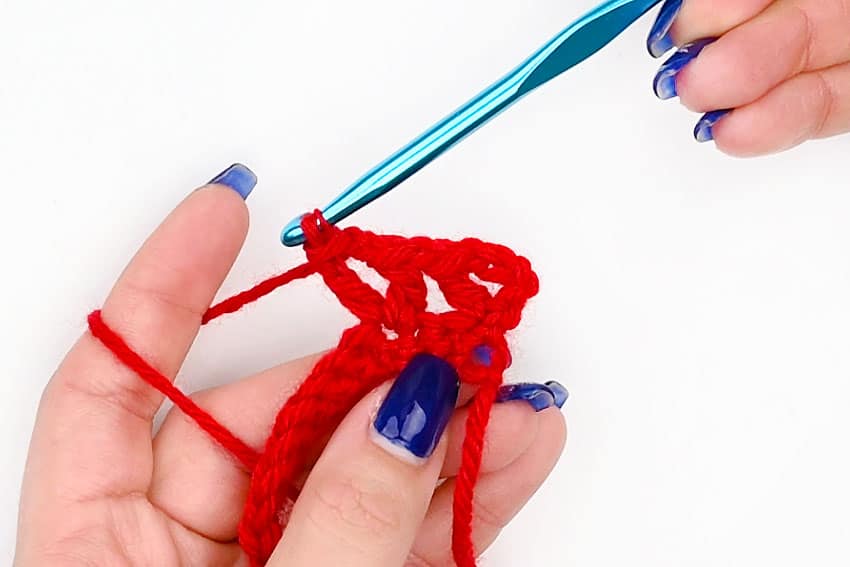
- Rep this pattern (ch 1, sk 2, V-st) across until 1 st remains. Insert 1 dc in the last st.
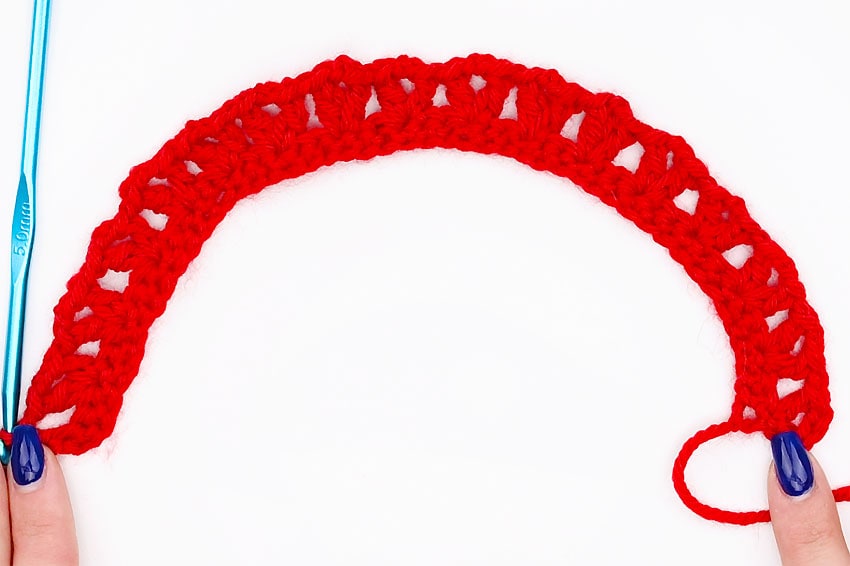
Rose Row 3:
- Insert 1 sc into the first ch-1 space from the previous row.
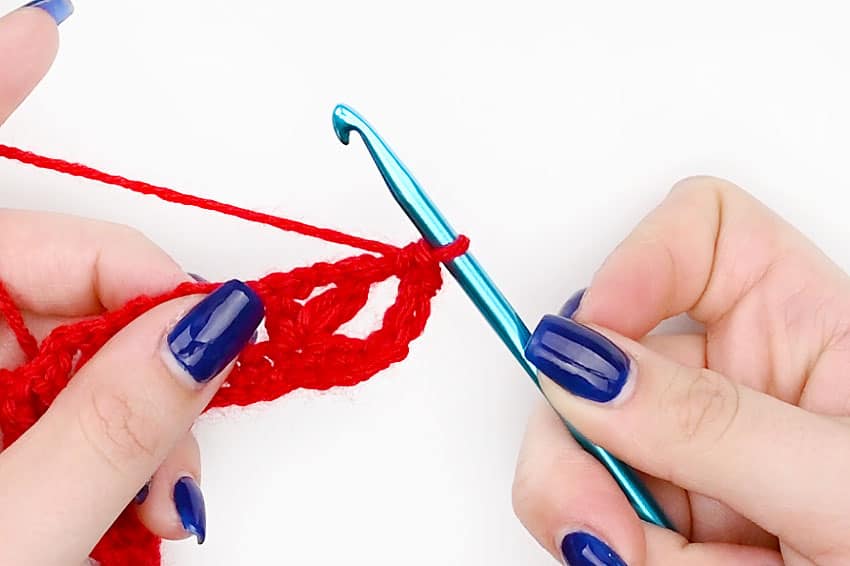
- Insert 8 double crochet into the first ch-2 space from the previous row (the center of the V-st).
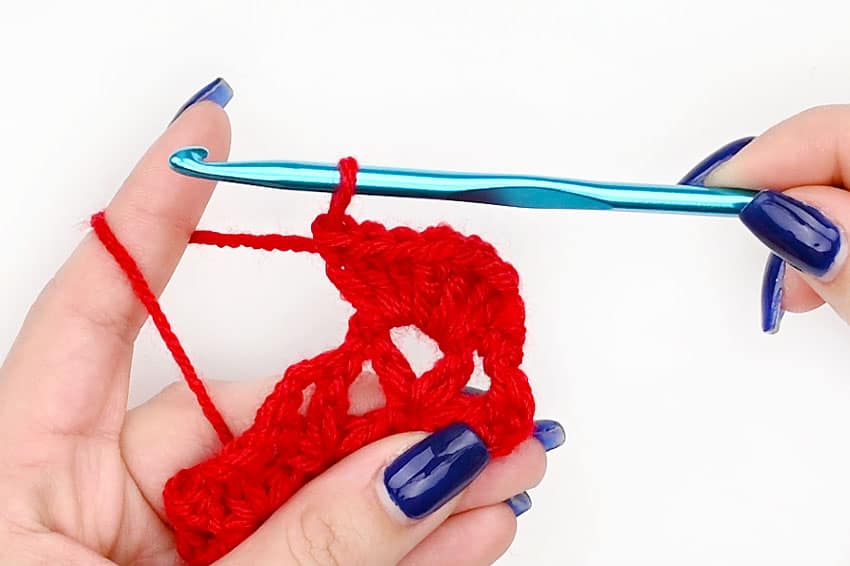
- Rep the last two steps (sc in ch-1 space, 8-dc in ch-2 space) 7 more times, for a total of 8 sets.
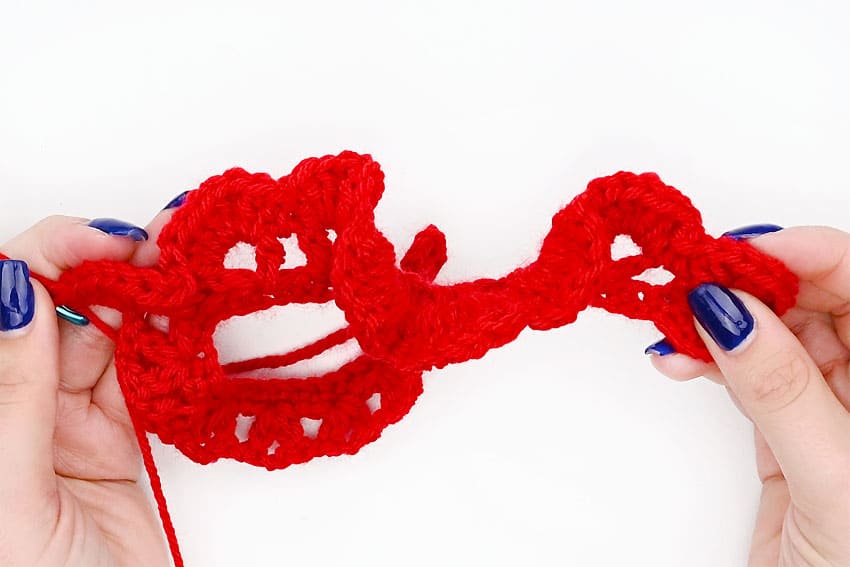
- Insert 1 sc into the next ch-1 space.
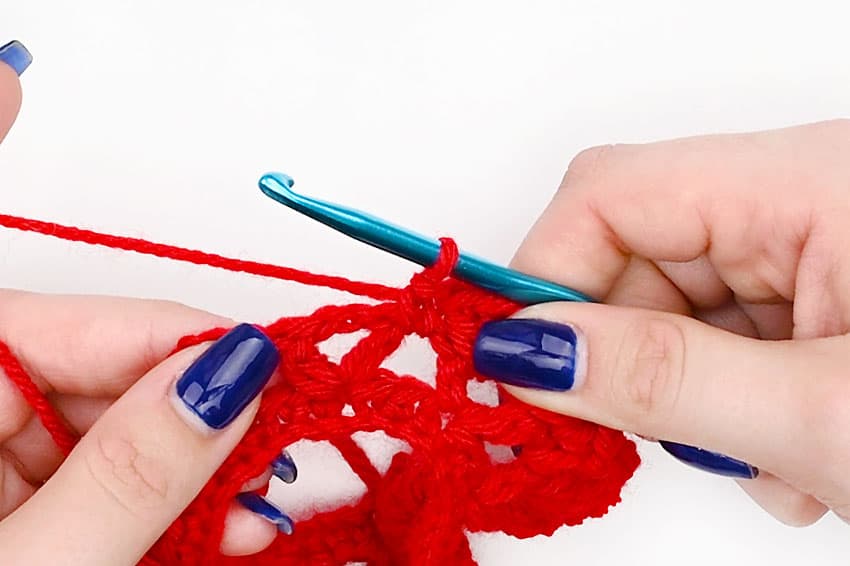
- Insert 12 dc into the next ch-2 space.
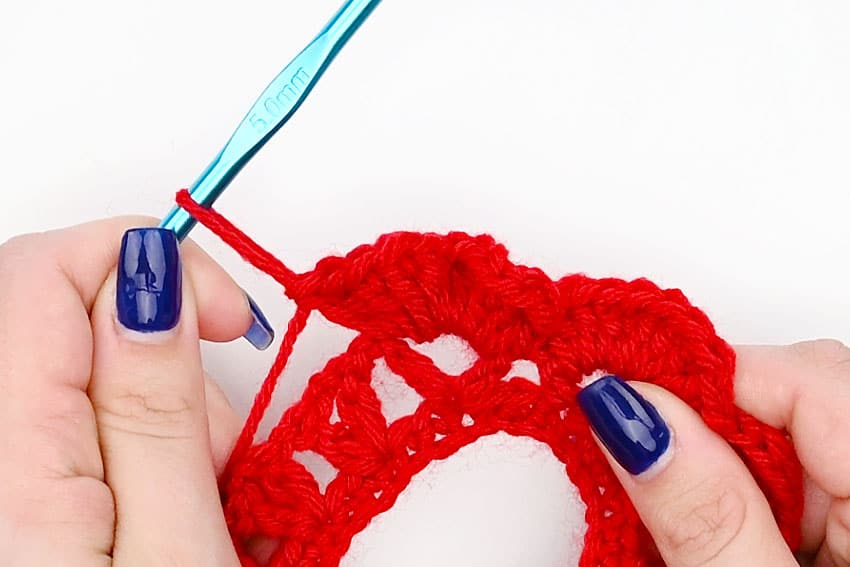
- Rep the last two steps (1 sc in ch-1 space, 12-dc in ch-2 space) across (for a total of 8 sets).

- Fasten off the yarn.
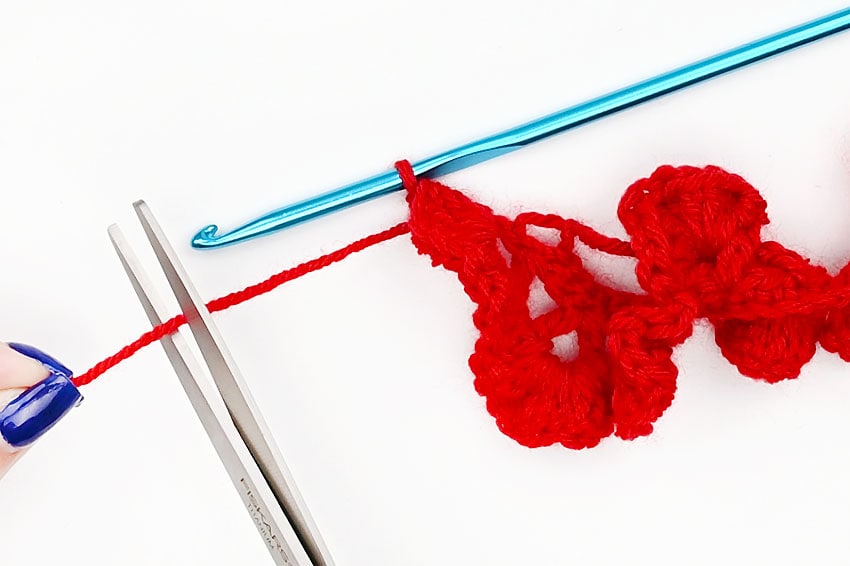
Shape the rose:
- Cut a 12 inch piece of red yarn.
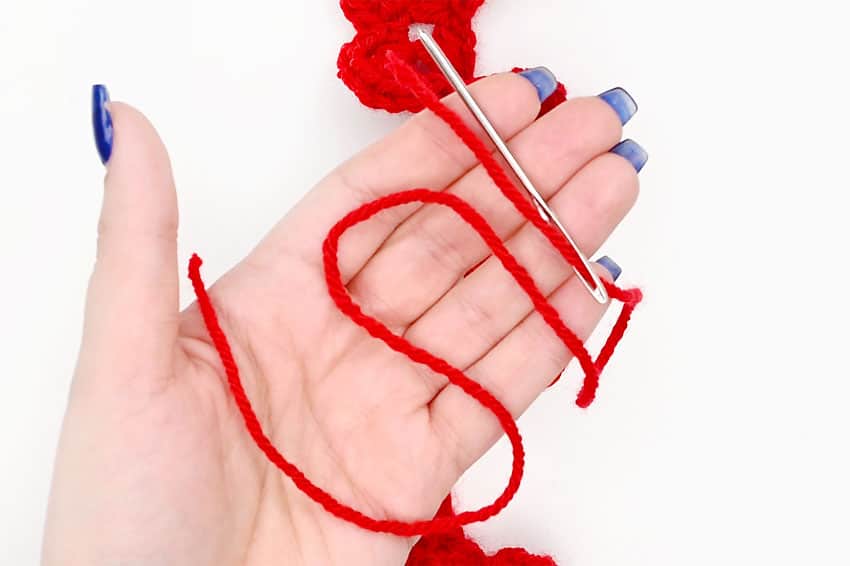
- Tie the yarn to the right side of the rose (the side opposite the tails).Roll the rose into shape, sewing through the bottom after each fold. The 12-dc section should be on the outside.
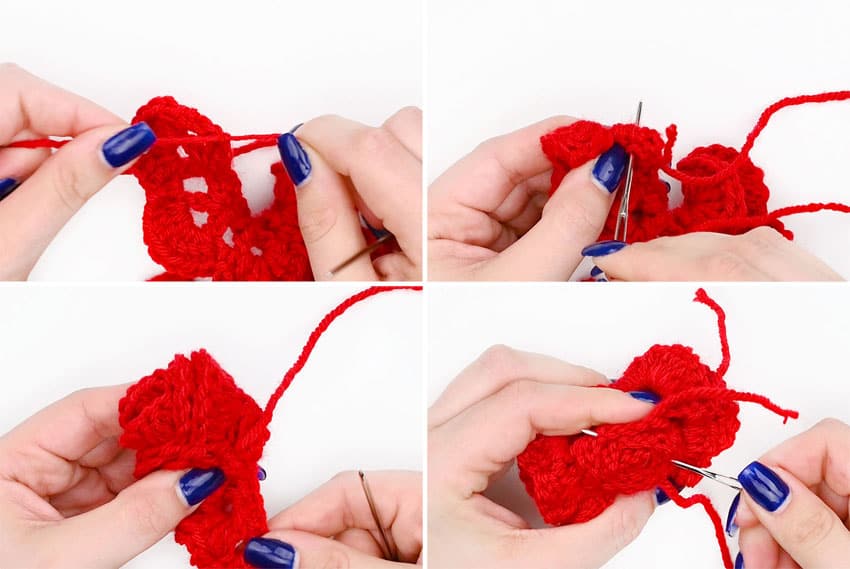
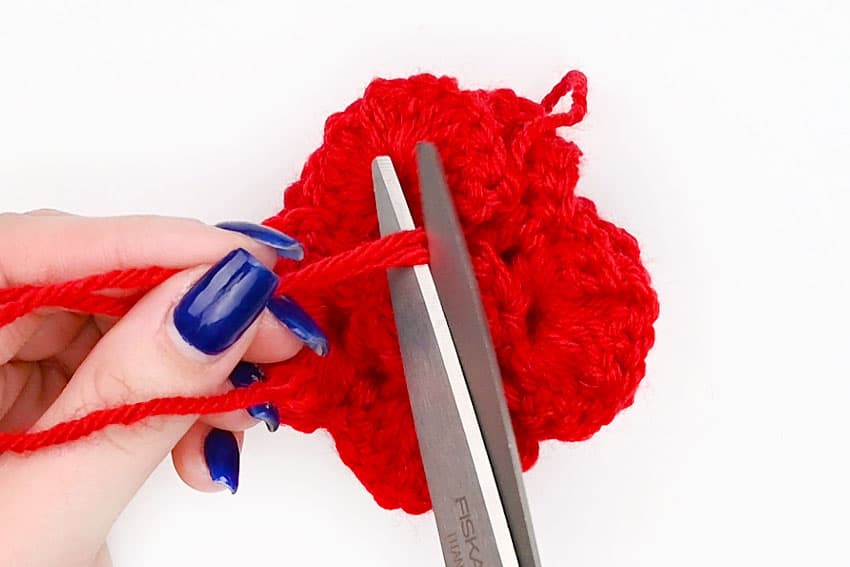
- Tie all the ends to each other and then cut off the excess tails.
Leaves:
- Using green yarn, ch 10.
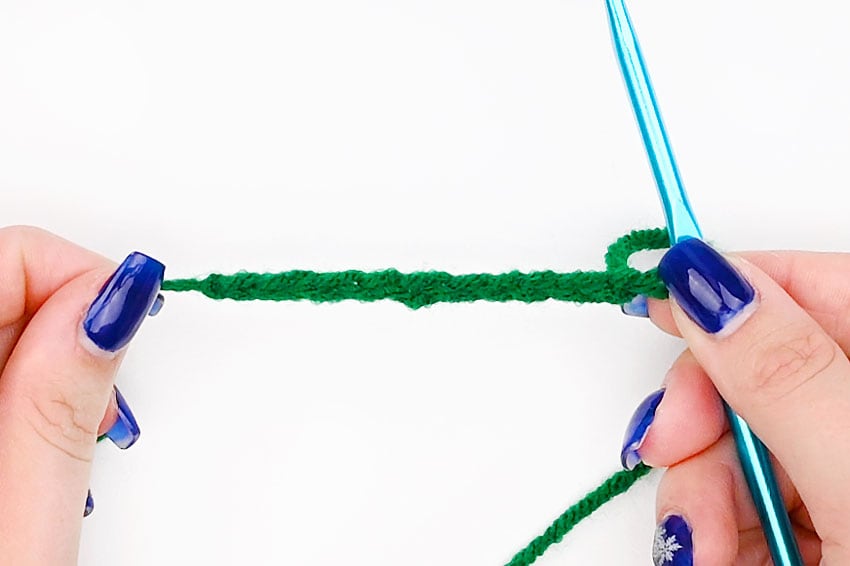
- Starting at the 2nd ch from the hook, work the following sts into successive chs:Slip stitch, sc, half double crochet, dc, triple crochet, dc, hdc, sc, sl st.
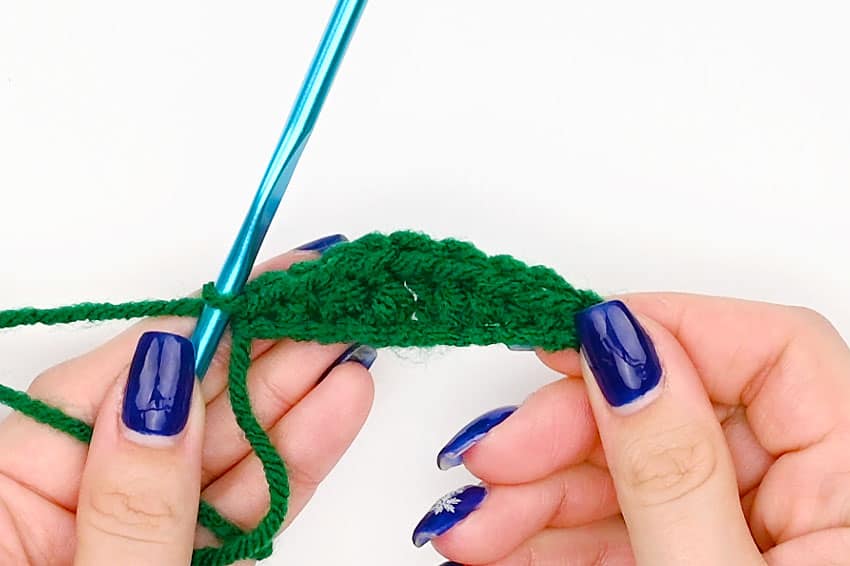
- Fasten off the yarn, leaving a 6 inch tail.
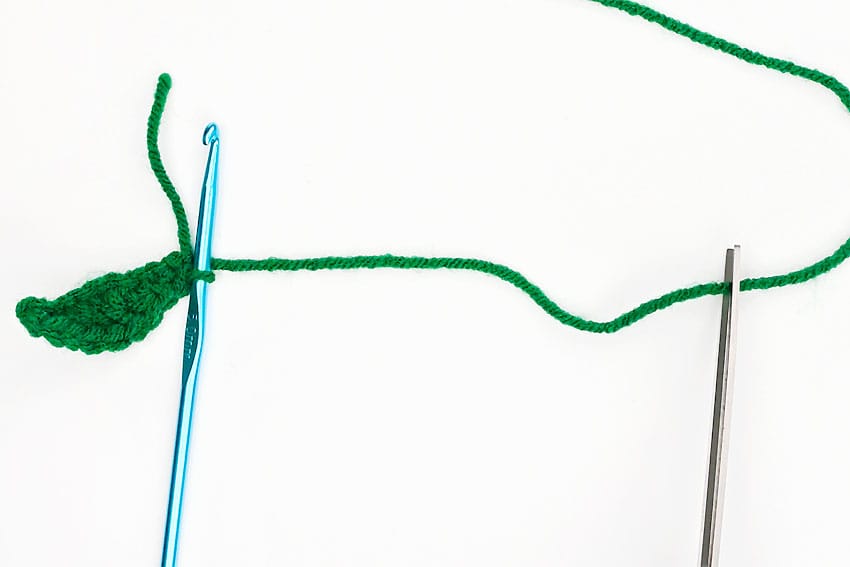
- Rep all of step 4 two more times for a total of 3 leaves.
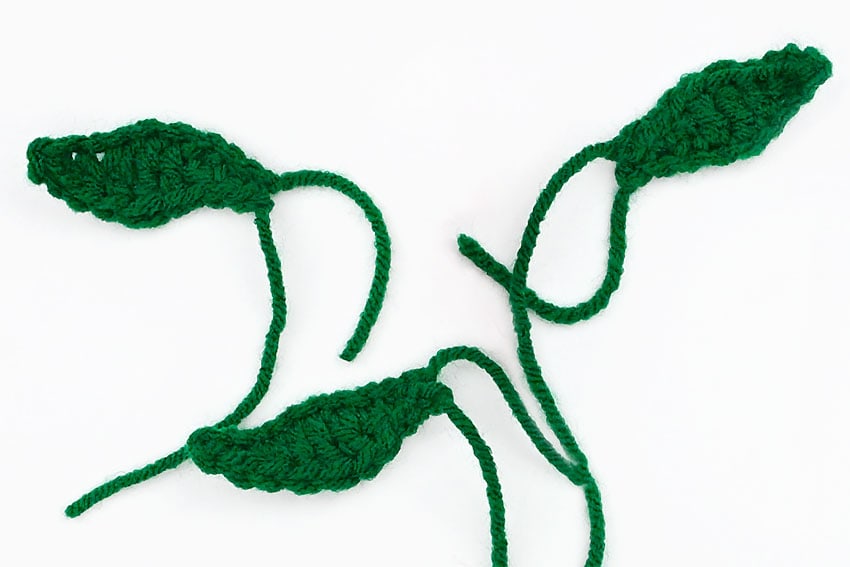
Stem:
- Cut a 16 inch piece of 14-gauge wire.
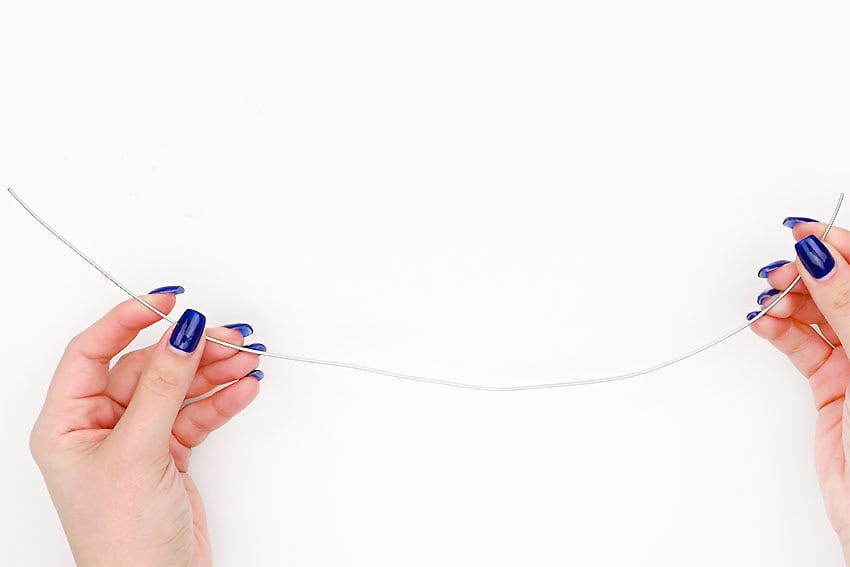
- Fold the wire in half.
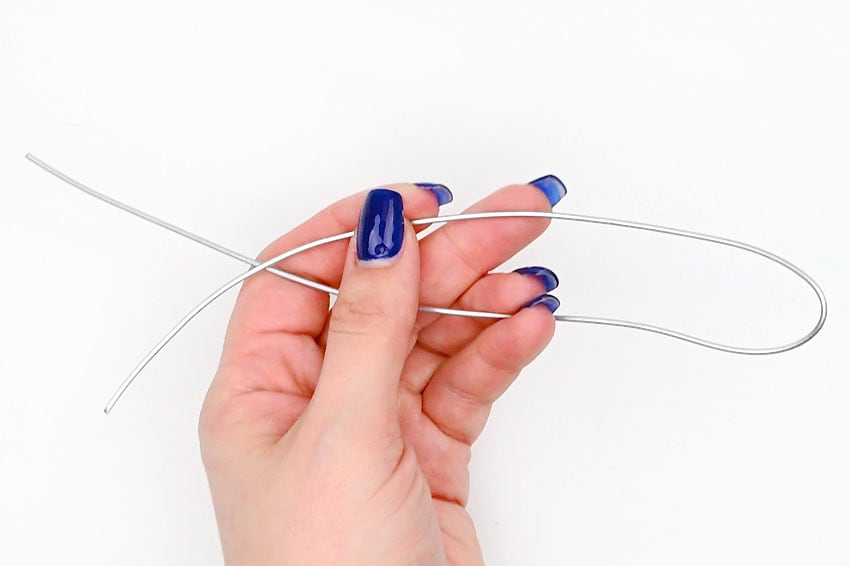
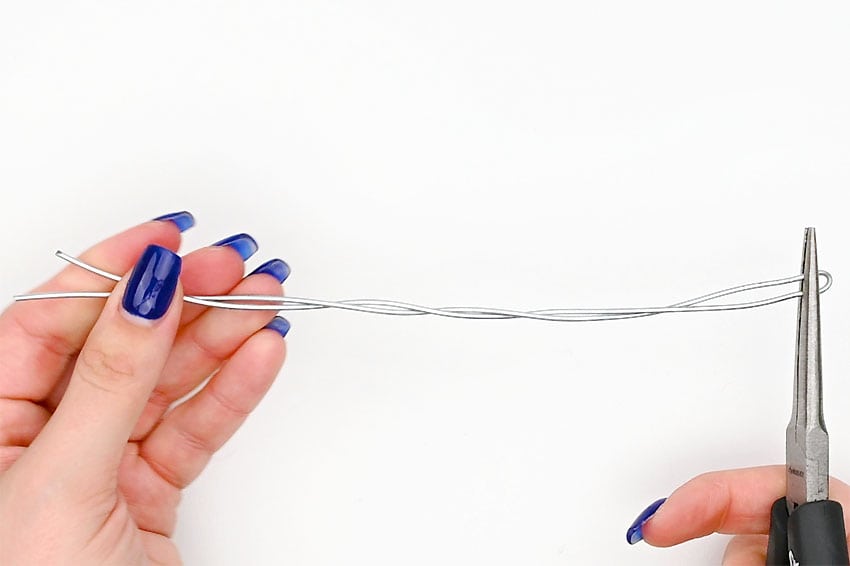
- Use pliers to twist the wire together, leaving a bit of a gap at the folded end.
- Insert green yarn into the bottom gap and then twist/wrap the yarn, covering the bottom of the wire.
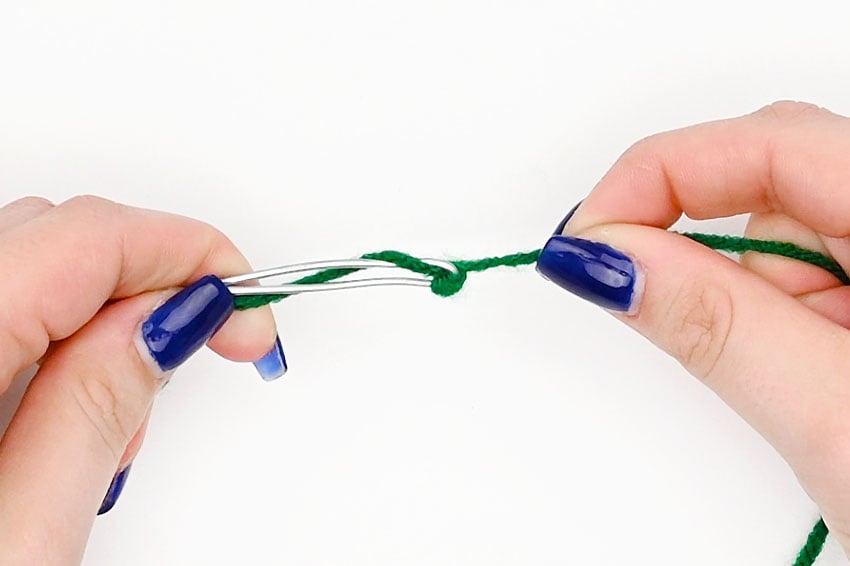
- Begin wrapping the yarn around the wire
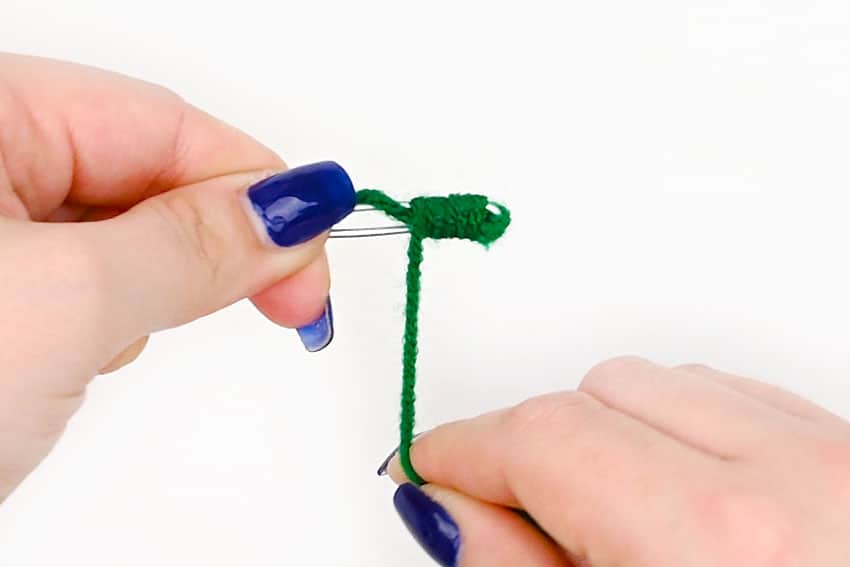
- Continue wrapping the yarn around the wire, stopping near the end, leaving about 1/2 inch of wire bare.
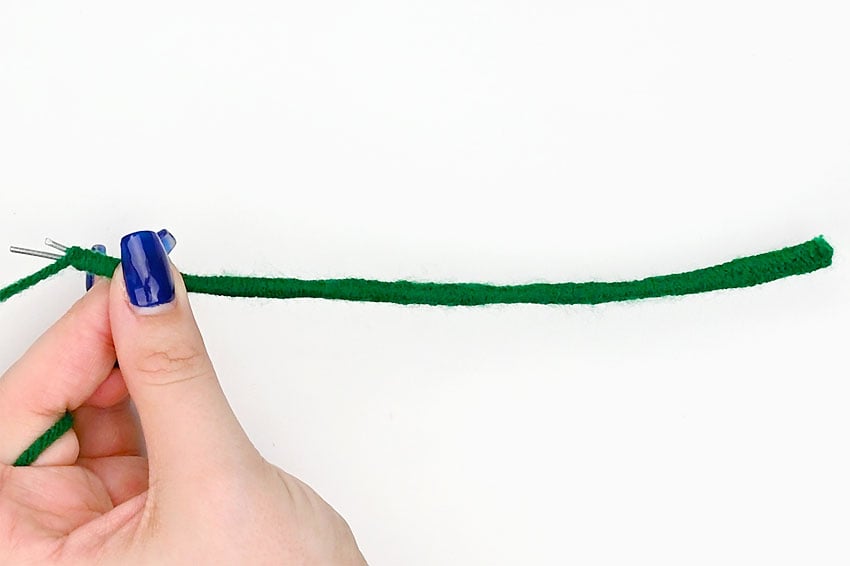
- Cut the yarn and tie the ends together. You can also squish the ends of the yarn between the wire.

Assembly:
- Sew one of the leaves onto the bottom of the rose using the long tail.
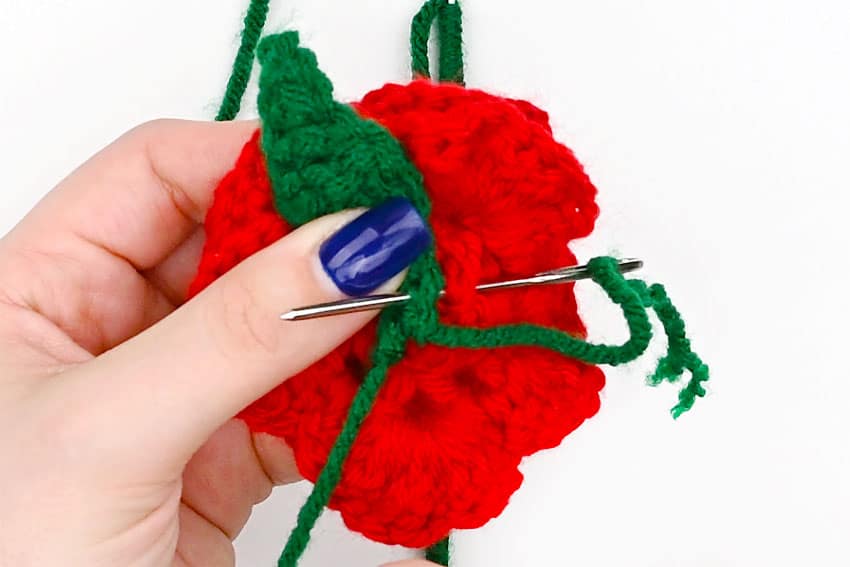
- Sew on the other two leaves, and then tie and cut the tails.
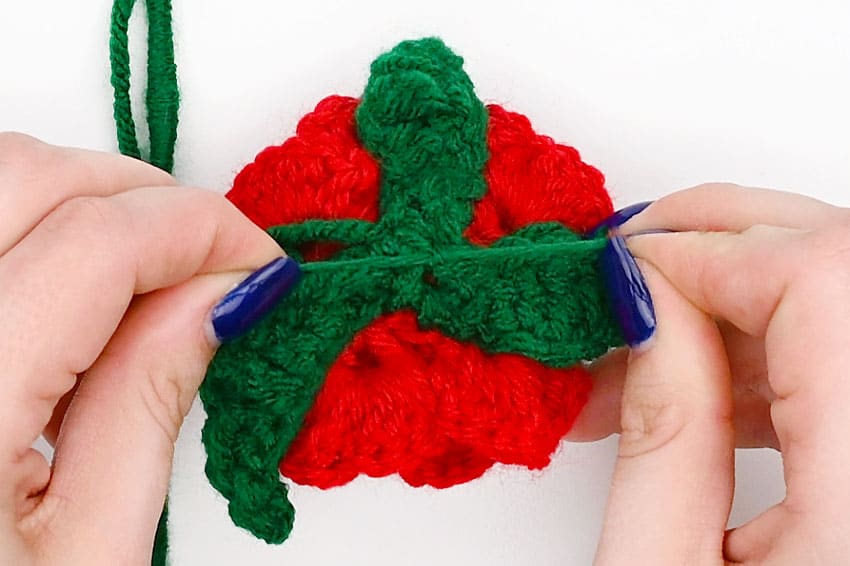
- Add a generous amount of hot glue to the bottom center of the rose.
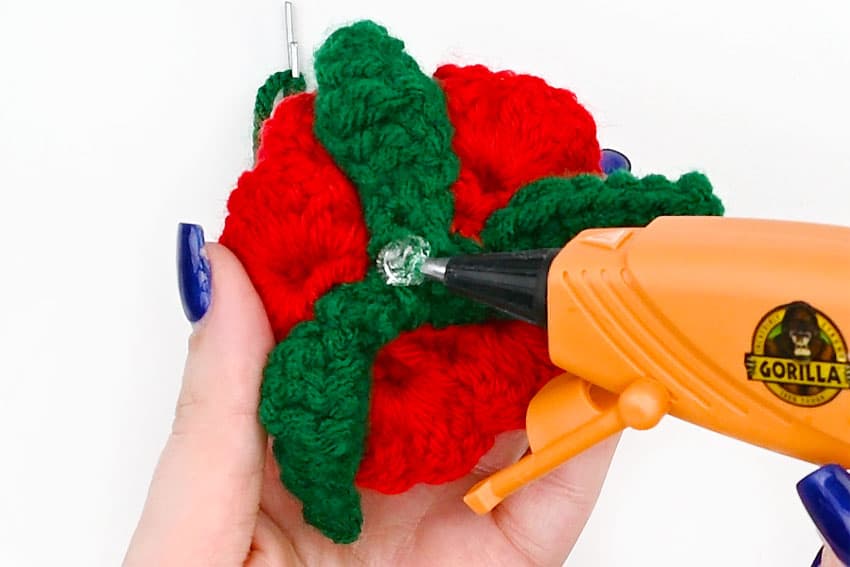
- Push the wire end of the stem into the glue, attaching it to the rose.
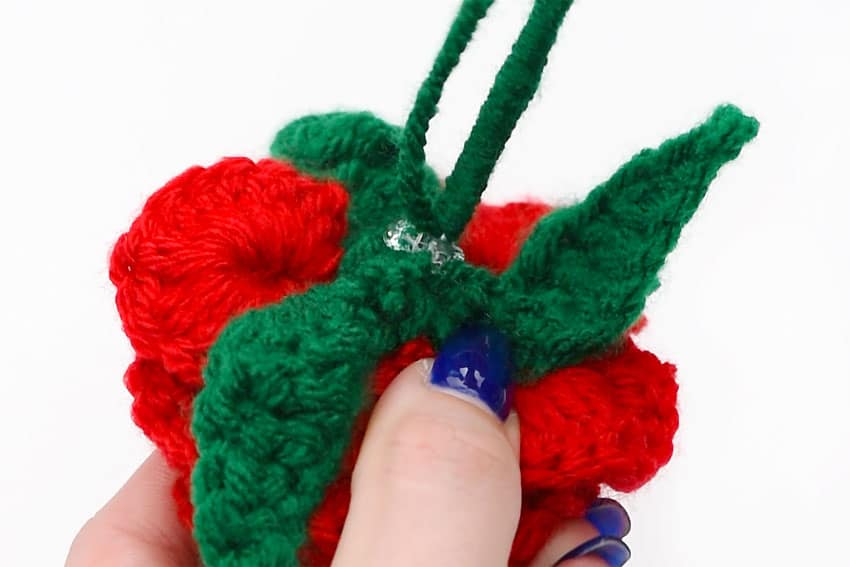
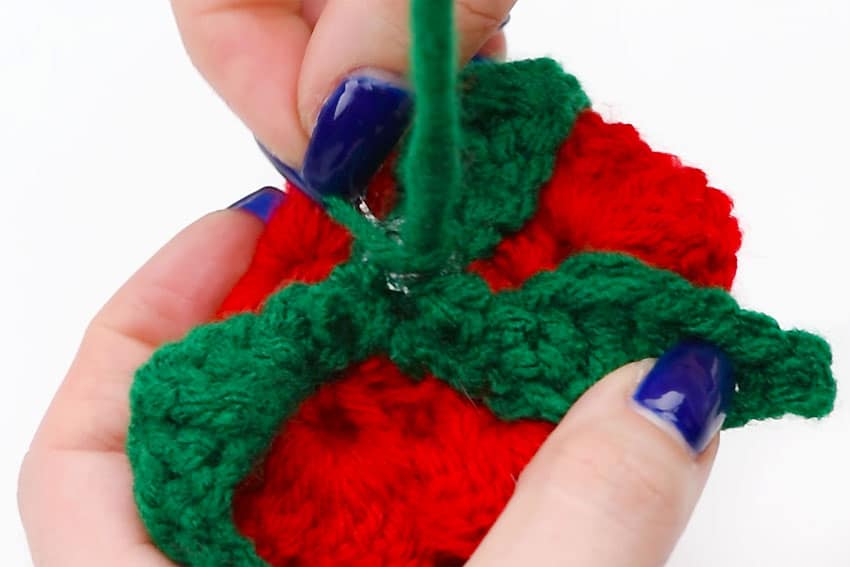
- Wrap the tail around the base of the stem, into the glue, or simply cut it off.
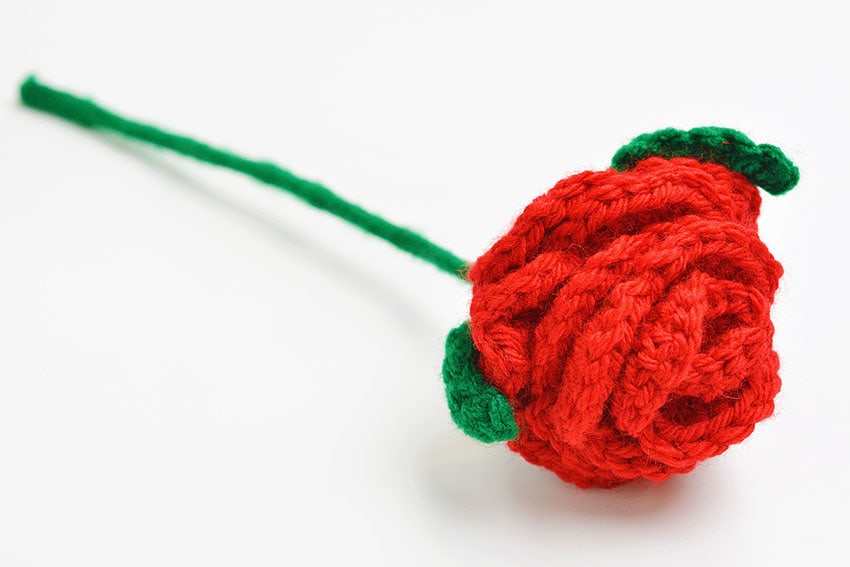
- Your crochet rose is complete!
Helpful Tips
- Keep your yarn tension even so both crochet squares come out close to the same size.
- Use the hook size listed in the tutorial so the stitches are firm enough to hold the marble securely.
- Check the marble fit before closing the toy so it can move inside without slipping out.
FAQs
What yarn works best for a crochet fidget toy?
Worsted weight yarn works well because it creates a sturdy fabric that can hold a marble while still feeling soft in your hands.
What size crochet hook do I need?
Use the hook size listed in the tutorial. For this project, a 5mm crochet hook helps create stitches that are firm but still easy to work with.
What size marble should I use?
A regular glass marble is usually a good fit. Check that the marble can move inside the toy without slipping through the stitches.
Can beginners make this crochet fidget toy?
Yes, confident beginners can make it if they are comfortable chaining, working basic crochet stitches, joining pieces, and finishing yarn ends.
Can I wash a crochet marble fidget toy?
Hand wash gently and let it air dry. Avoid rough washing because the marble and stitched closure should stay secure.
Final Thoughts
When the crochet fidget toy is finished, test the marble movement gently and check that the closing stitches feel secure. This is a small project, but it is a useful way to practice tension, joining, and simple finishing while making something fun to hold.
Affiliate disclosure: This post may contain Amazon affiliate links. As an Amazon Associate, Easy Crafts Ideas may earn from qualifying purchases at no extra cost to you.