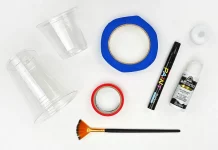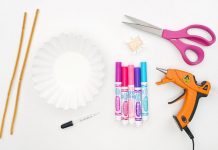
This flapping butterfly kids craft is a cheerful hands-on project for kids, classrooms, and family craft time. It uses the tutorial steps below as the practical guide while adding helpful planning notes so the project feels easier to prepare, follow, and finish. Gather the supplies first, give yourself a little workspace, and enjoy making something creative from simple materials.
Materials:
- FREE Printable Butterfly Outline (see links in Tips section below)
- 1 piece Cardstock (colour of choice)
- 2 plastic straws (2 different sizes)
Equipment:
Instructions:
Step 1: Decorate butterfly
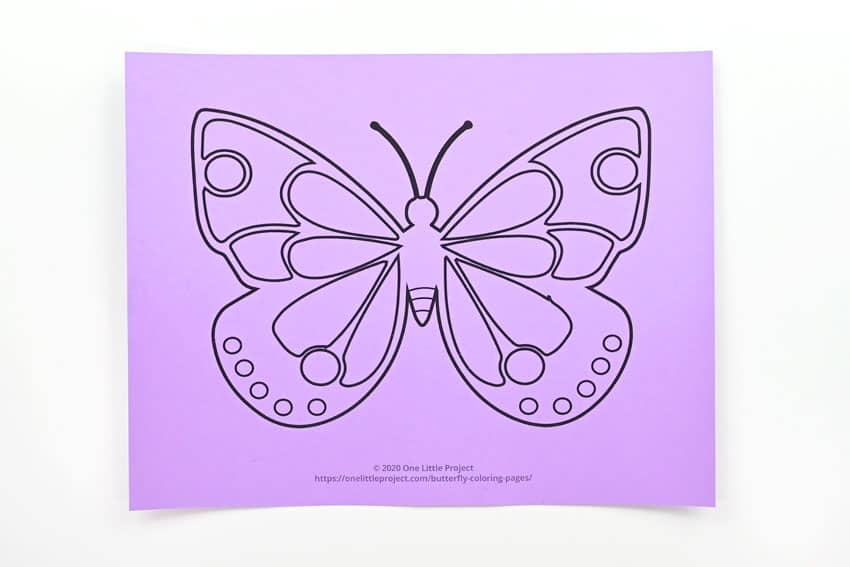
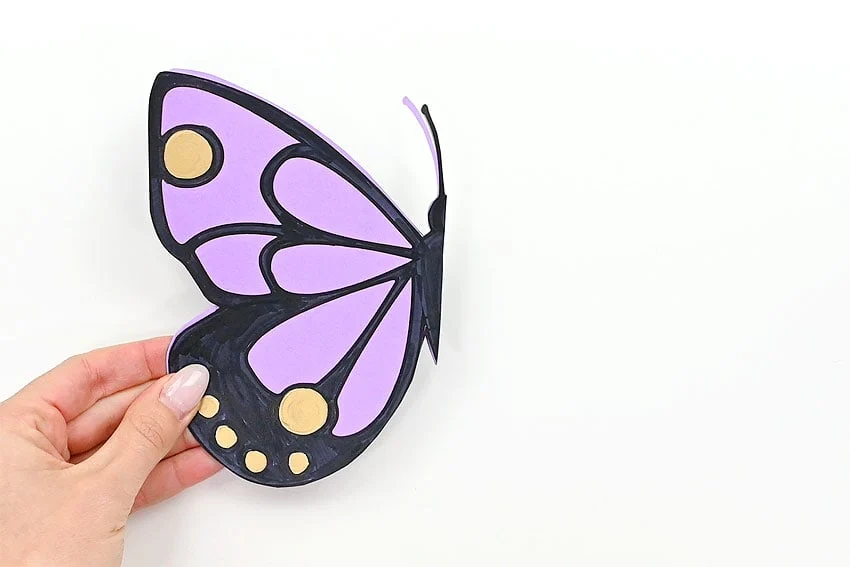
- Print your butterfly template on coloured cardstock. We used purple cardstock, but you can use any colour.
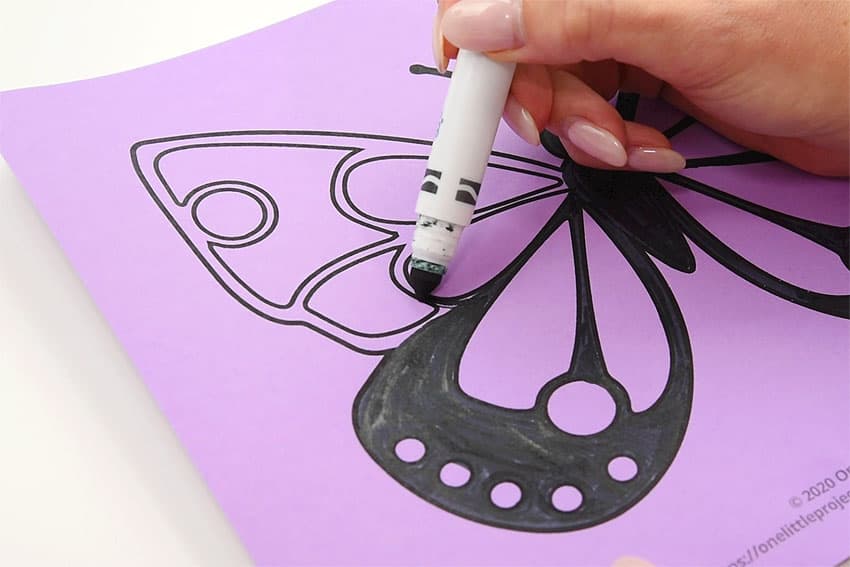
- Decorate the butterfly however you’d like! We used a black marker to colour parts of the butterfly.
- Then we used a gold paint pen to colour in the dots.
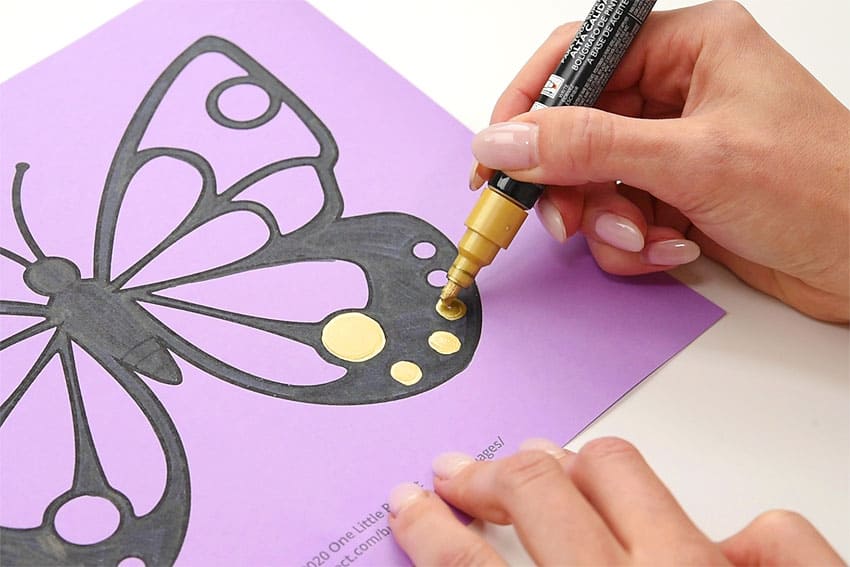
- Cut out the butterfly.
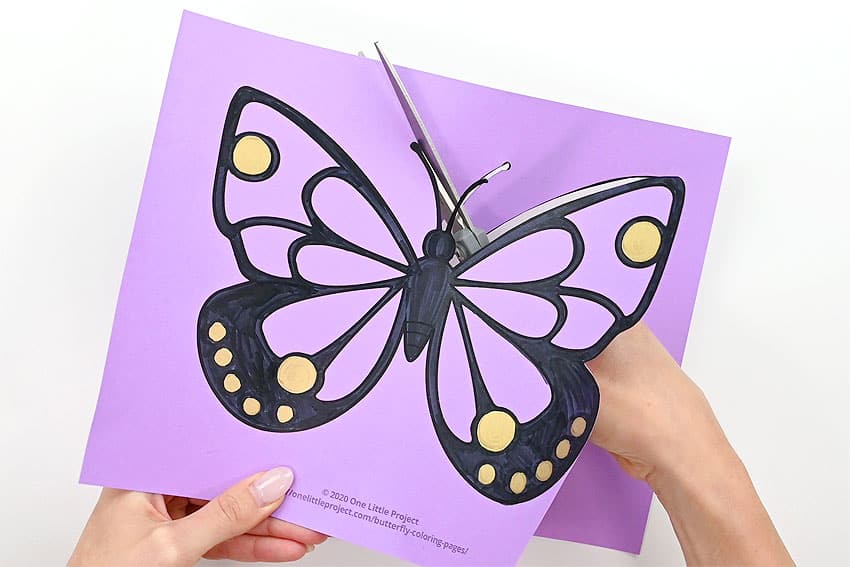
Step 2: Make butterfly backing
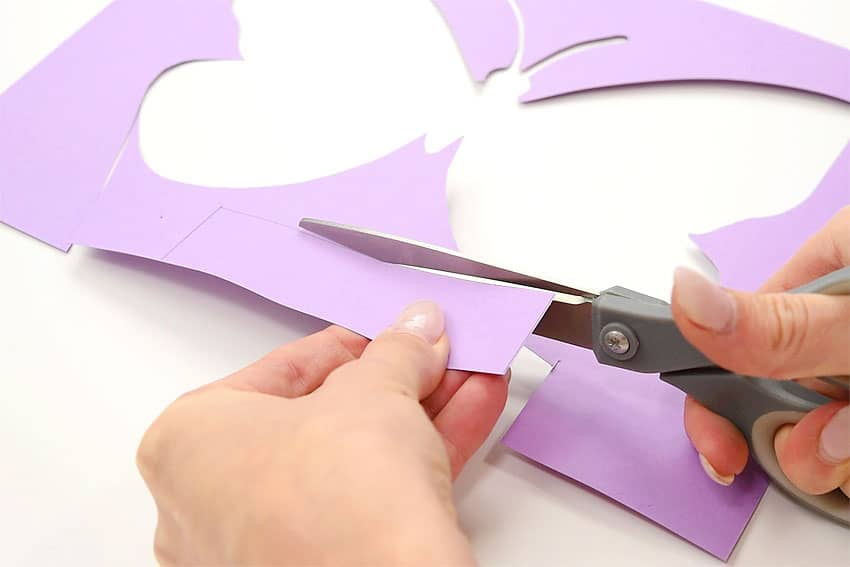
- On the scrap cardstock draw a rectangle 1-1/4 inches high and 4-1/2 inches long. Cut out the rectangle.
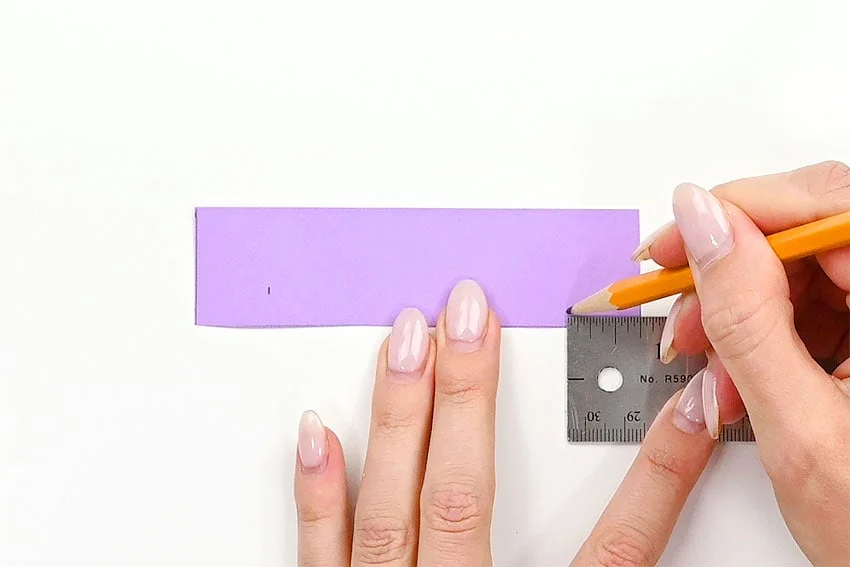
- Measure 3/4 inch from each of the short ends and mark with a pencil.
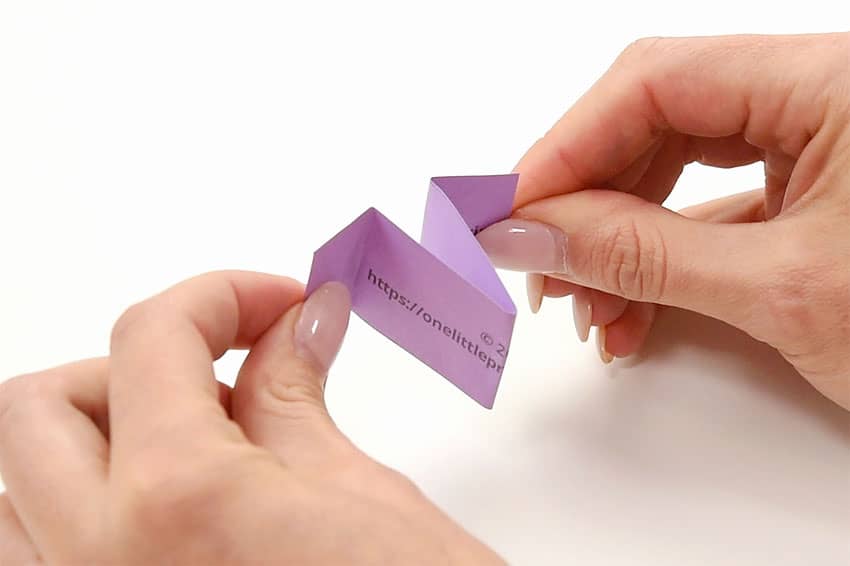
- Fold the cardstock on these marks. Then fold the cardstock in half in the other direction so the folded tabs face outwards.
- Fold the butterfly in half, and then unfold it again, setting the decorated side face down.
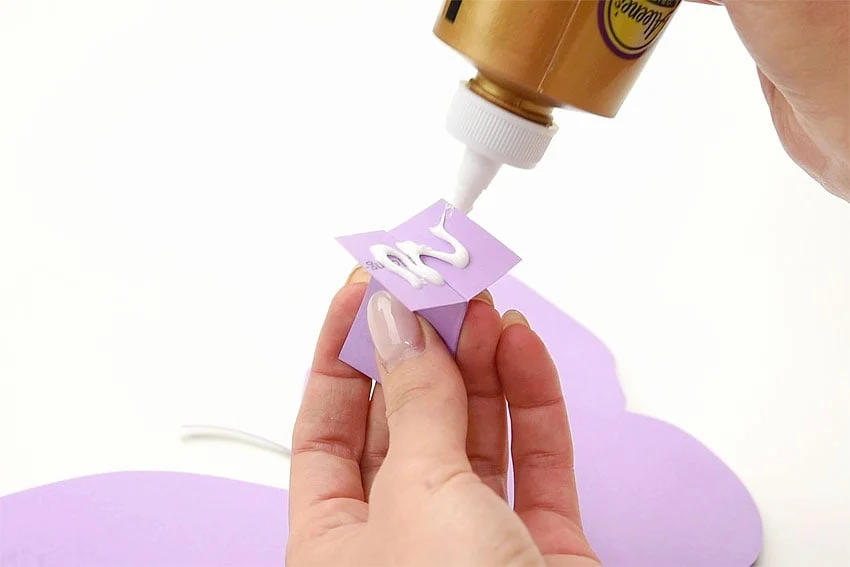
- Add glue to the tabs of the cardboard.
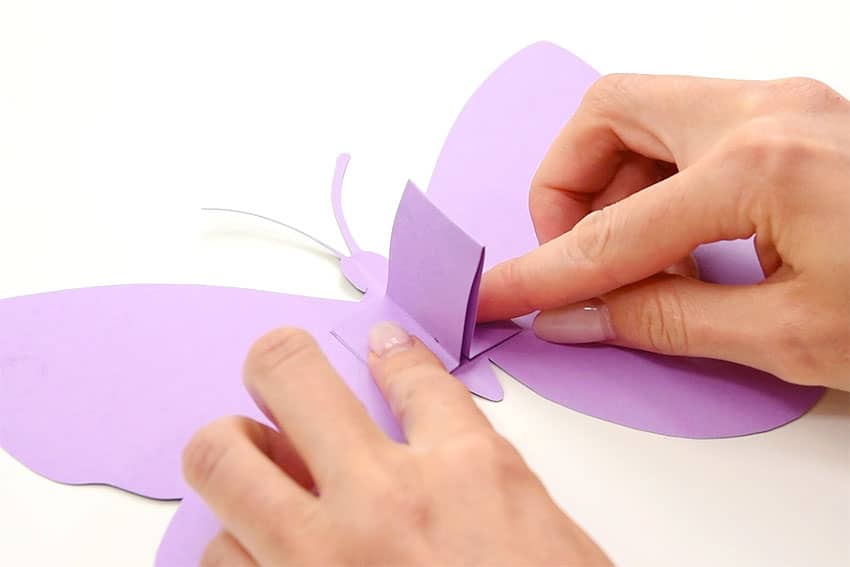
- Attach the tabs to the centre of the butterfly, lining up the crease in the butterfly with the tabs and fold.
Step 3: Cut and connect straws
- Cut off about 2 inches from the straw with the larger diameter (in our case, we cut off the entire bendy part of the straw).
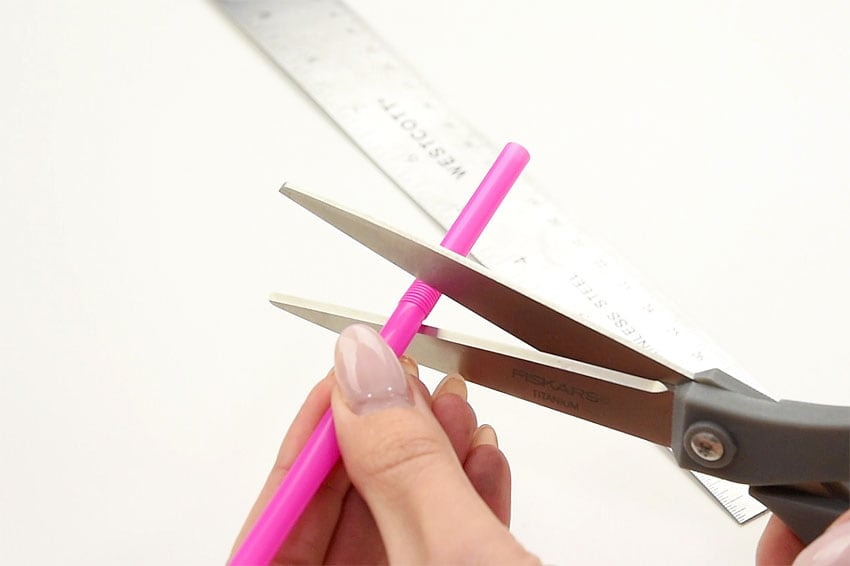
- Cut a slit in the straw 2-1/2 inches long. Rotate the straw 180 degrees and make another slit the same length, directly across from the first slit.
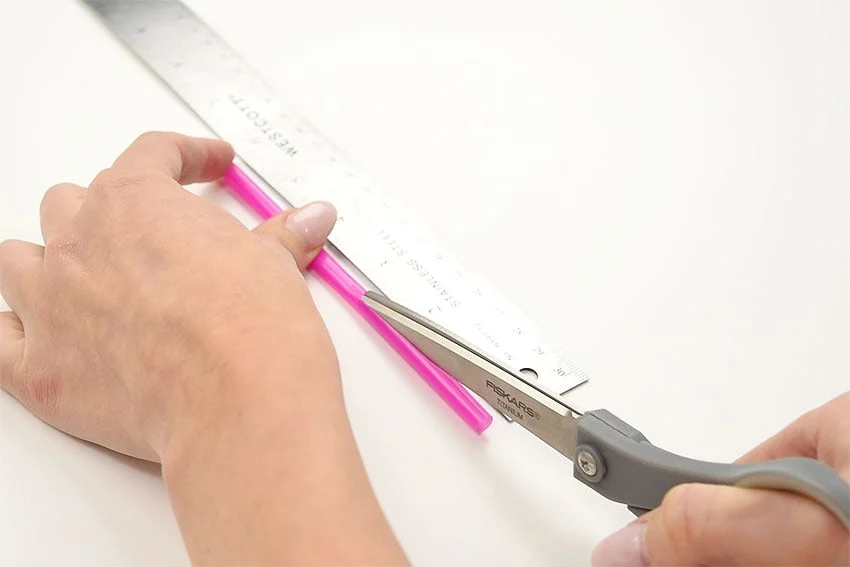
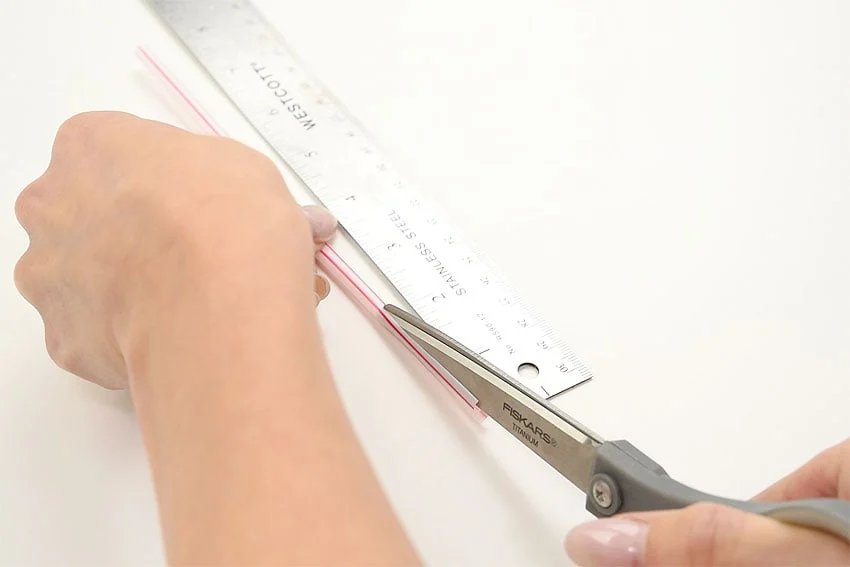
- Cut a 2 inch slit in the smaller straw. Again, turn it 180 degrees, and make another 2 inch slit, directly across from the first slit.
- Open the two flaps in the smaller straw and slide it over the folded backing of the butterfly. Center it and tape it in place on the cardstock.
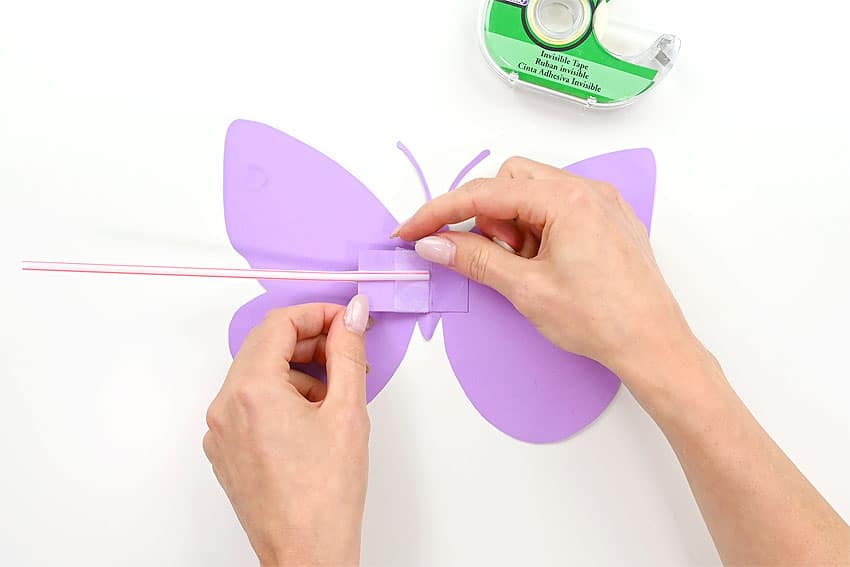
- Slide the larger straw over the smaller straw. Again, separate the two flaps in the straw and push it up as far as it will go on the butterfly’s wings.
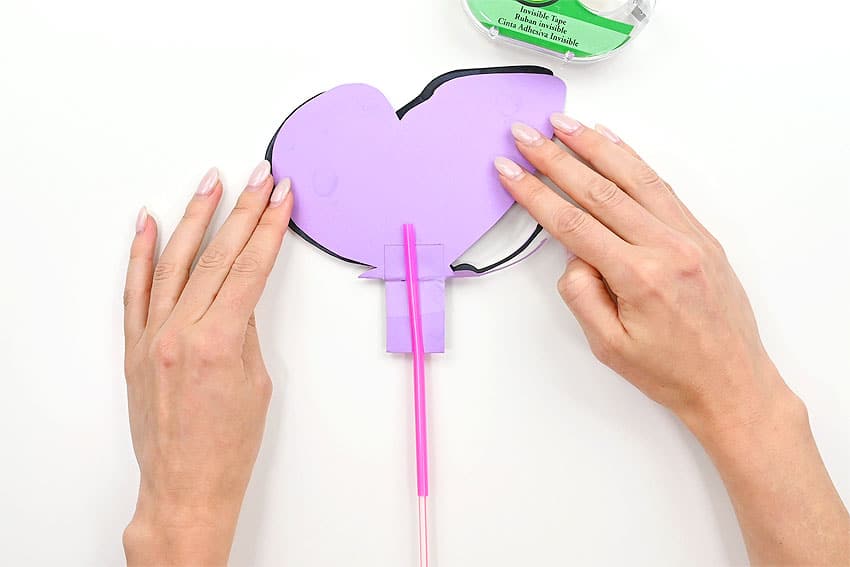
- Take a 3 inch piece of tape and attach the flap of the larger straw to the wing so there’s about 1-1/2 inches of tape on the wing and 1-1/2 inches of tape on the straw flap. Then take another piece of tape and wrap it tightly around the first piece of tape on the straw flap.
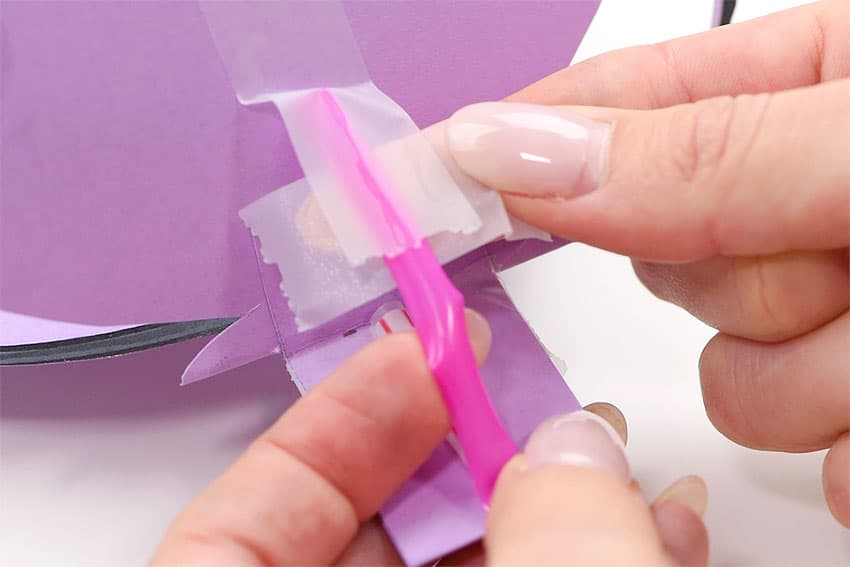
- Repeat the taping on the second wing.
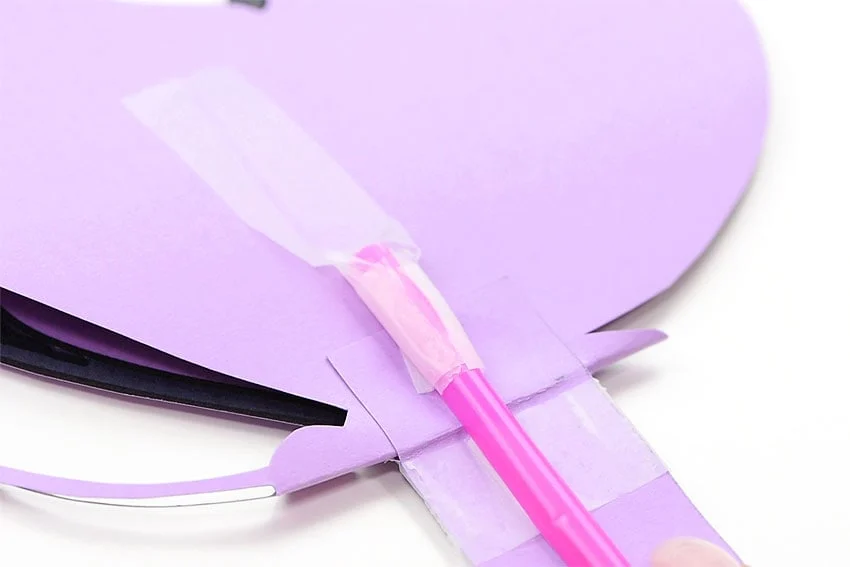
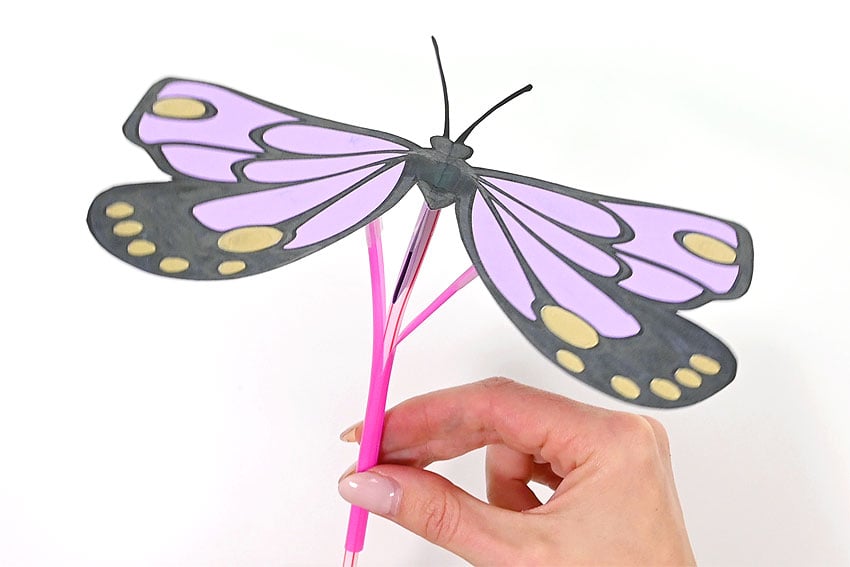
- Unfold the butterfly and see how the straws control the movement of the butterfly’s wings.Hold the longer (inside) straw with one hand and use your other hand to move the shorter (outside) straw up and down.
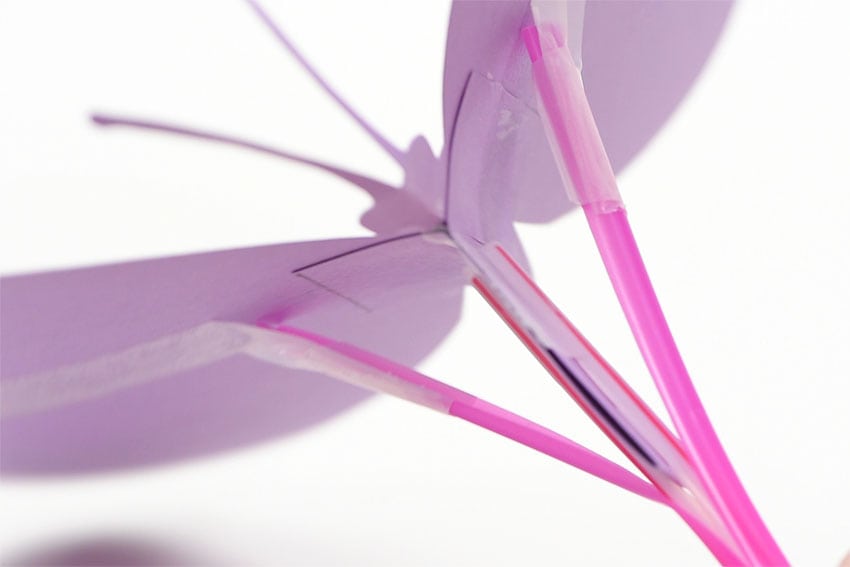
- Your flapping butterfly craft is complete!
Helpful Tips
- Read through the full tutorial before starting.
- Prepare the listed supplies ahead of time so each step is easier to follow.
- Check the finished craft against the instructions before displaying or using it.
FAQs
Is this tutorial beginner friendly?
Yes. This flapping butterfly kids craft is written with simple steps and extra tips for beginners.
Can kids make this craft independently?
Older kids may be able to work independently, while younger kids should have help with any steps that require close attention or small pieces.
How long does the craft take?
Most versions take about 30 minutes, depending on the materials and the pace of the crafter.
Can I use different colors?
Yes. Changing the colors is one of the easiest ways to personalize the finished craft.
Final Thoughts
Once the flapping butterfly kids craft is finished, take a moment to check the details, compare the result with the tutorial, and display the project somewhere kids can enjoy their work.
Affiliate disclosure: This post may contain Amazon affiliate links. As an Amazon Associate, Easy Crafts Ideas may earn from qualifying purchases at no extra cost to you.