This coffee filter fairies kids craft is a cheerful hands-on project for kids, classrooms, and family craft time. It uses the tutorial steps below as the practical guide while adding helpful planning notes so the project feels easier to prepare, follow, and finish. Gather the supplies first, give yourself a little workspace, and enjoy making something creative from simple materials.
Materials:
- Coffee filters
- Washable markers
- Water
- Pipe cleaners (skin tone)
- Embroidery floss (or sewing thread, or ribbon)
Equipment:
Instructions:
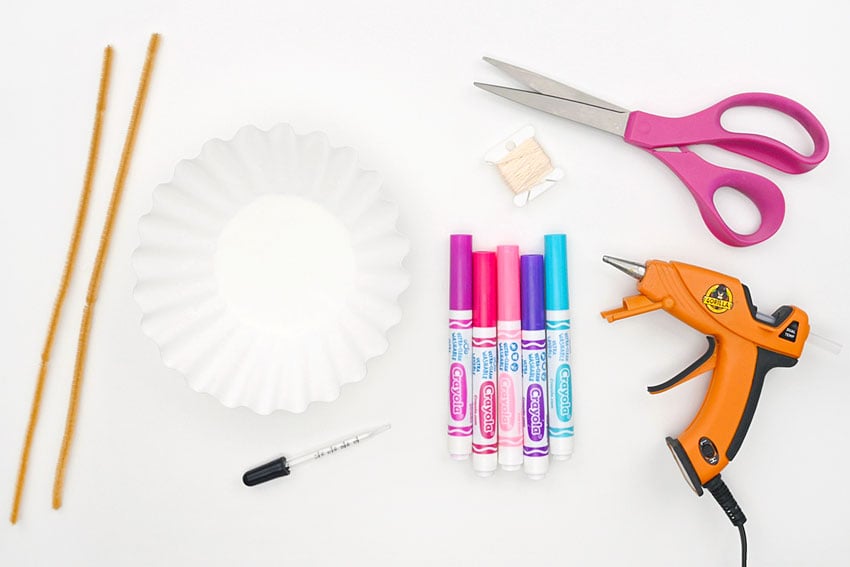
Step 1: Find what you need
- Gather your supplies and materials.
Step 2: Fold and cut the fairy’s wings
- You’ll need a single coffee filter to make the fairy’s wings.
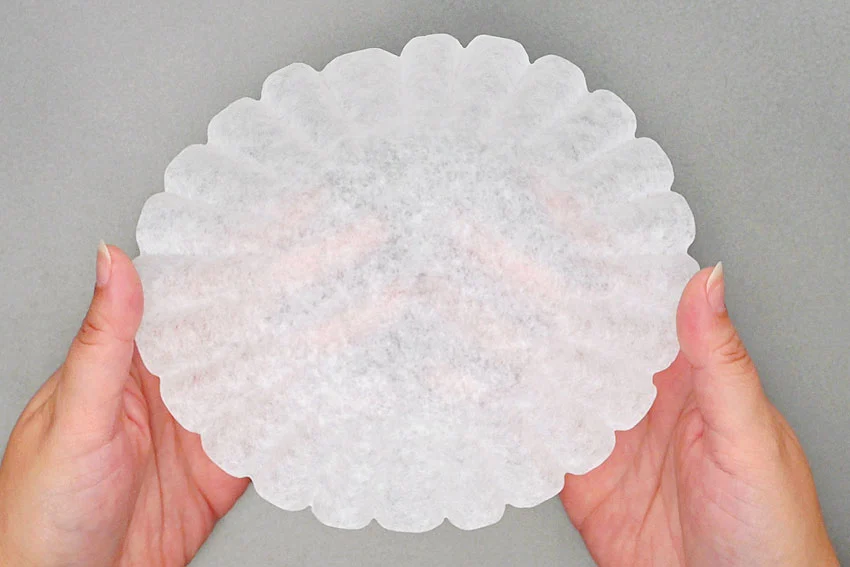
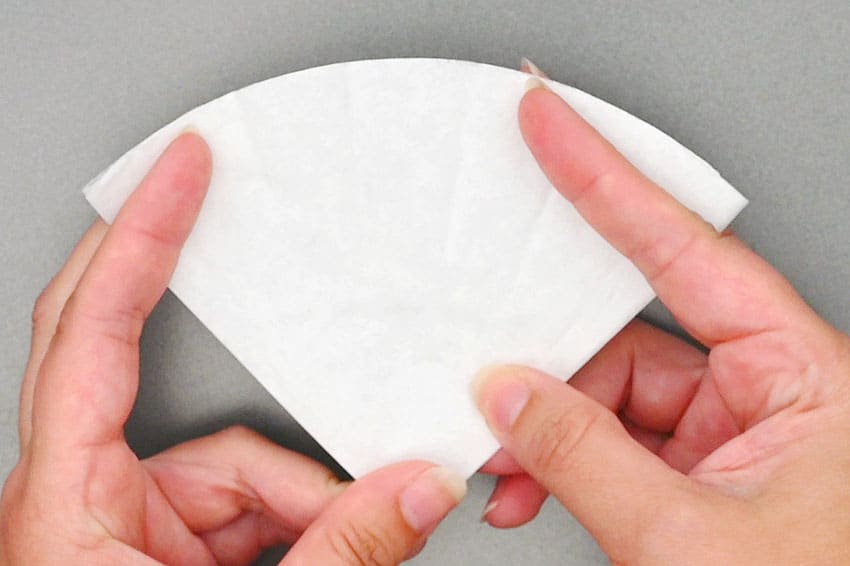
- Fold the coffee filter in half, and then in half again.
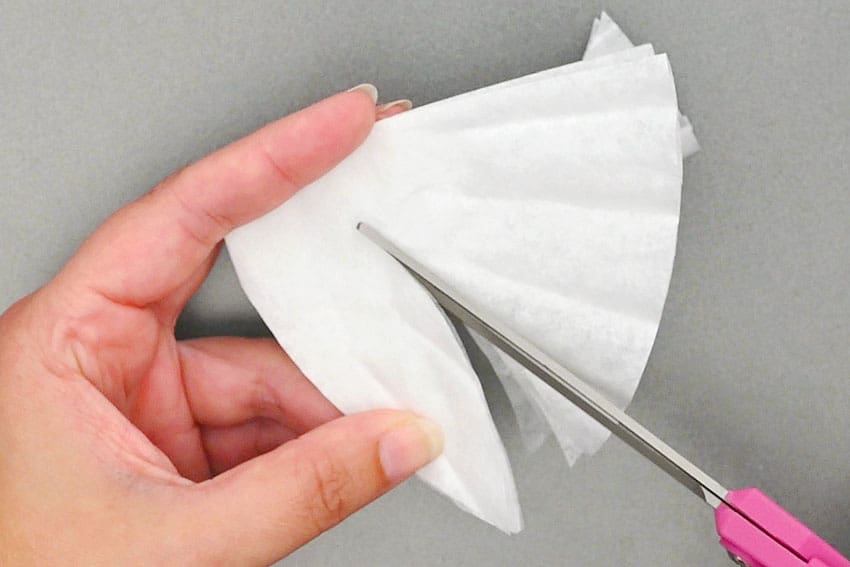
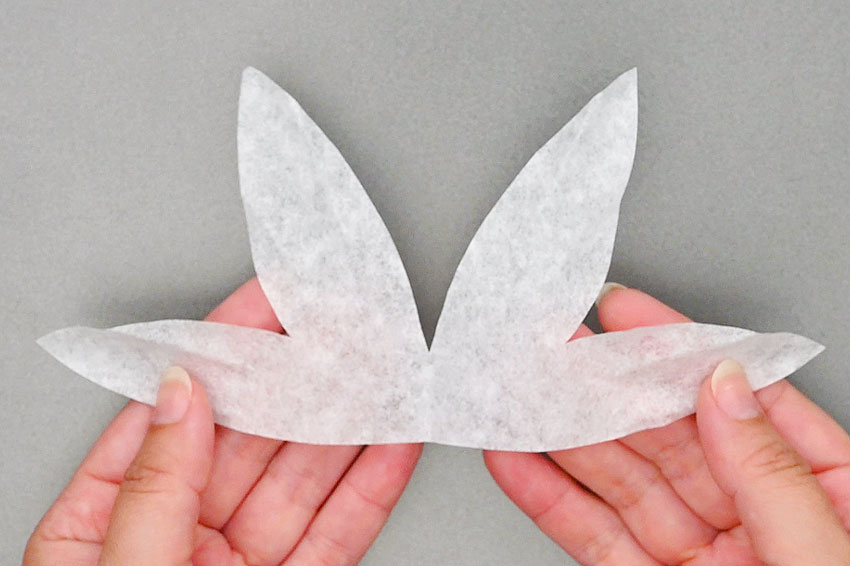
- Cut the wing shapes from the folded coffee filter. Cut up from near the folded point and go in on an angle.Then go back down towards the center, creating a petal (or pointed wing) shape.
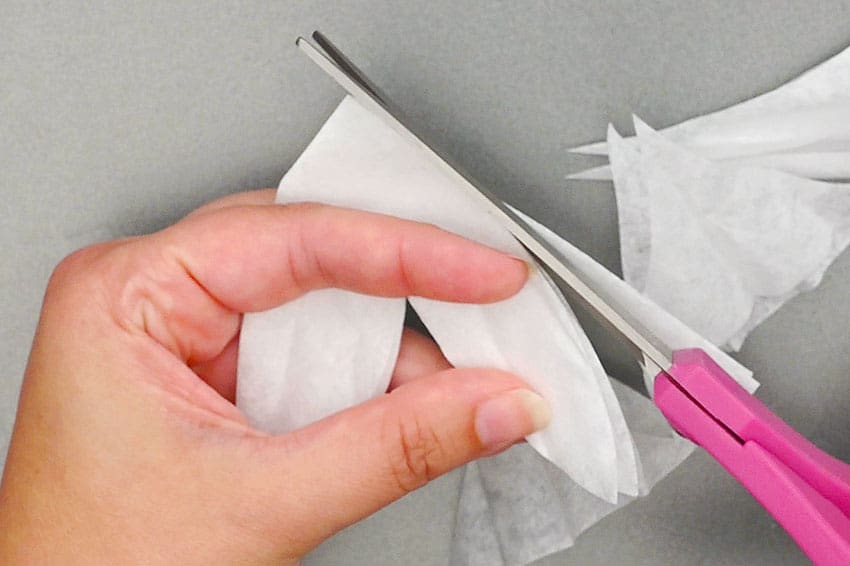
- Repeat, making a second petal shape. Make sure to cut the folded section off completely.
- Unfold to reveal the wing shapes and remove the top layer. You’ll only need 1 piece for the wings.(Or keep them stacked and use the second part for another fairy.)
Step 3: Fold and cut the fairy’s dress
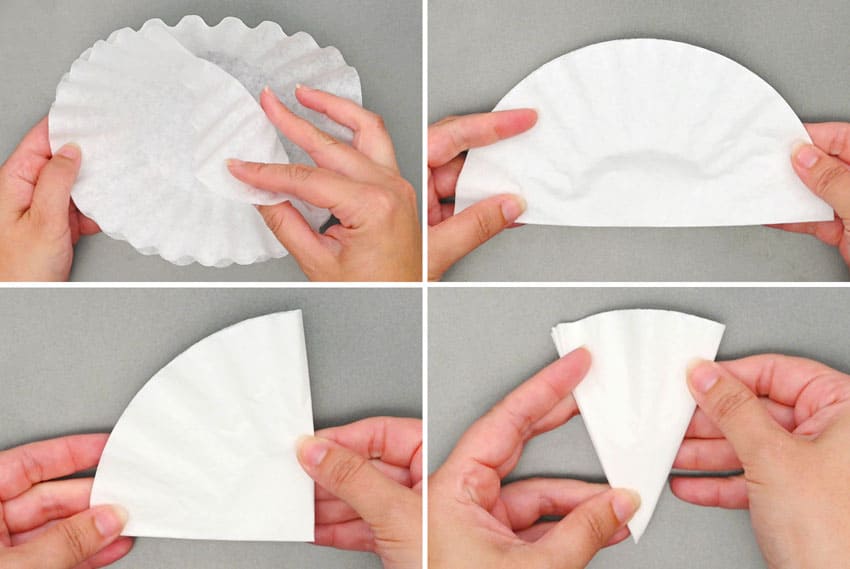
- Make a stack of 2 coffee filters for the fairy’s dress. Fold them in half, in half again, and in half one last time (3 times total).
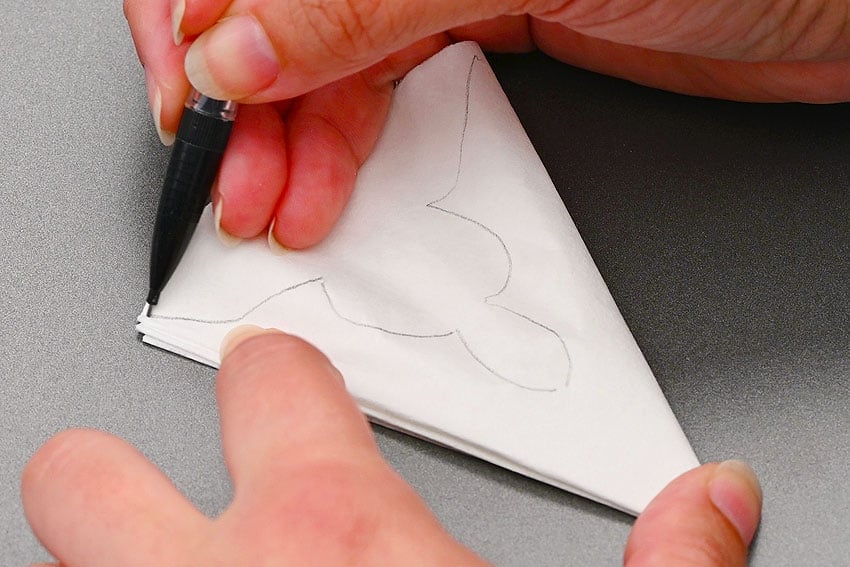
- Use a pencil to draw pointed leaf shapes at both edges of the folded coffee filter. The sides should be even/mirror each other.
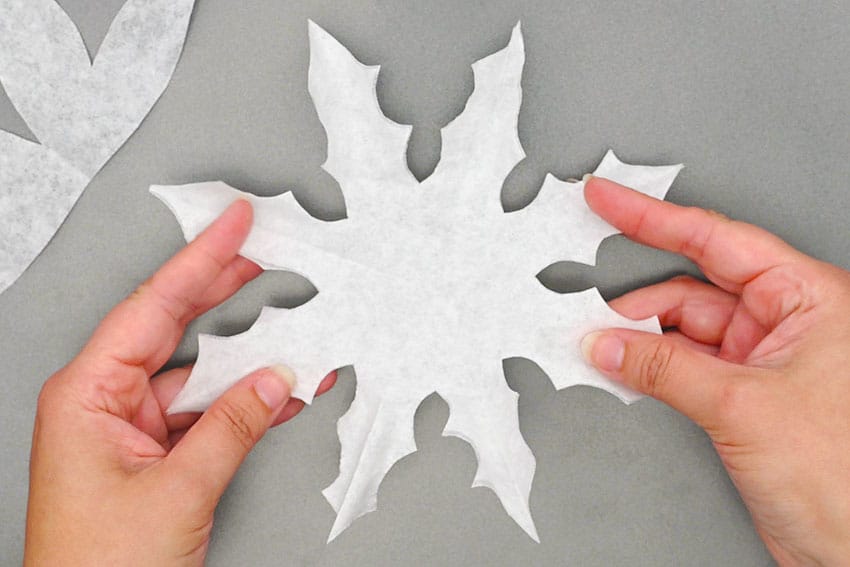
- Cut along the pencil lines and unfold to reveal the fairy’s leaf dress. Keep the 2 coffee filters stacked.
Step 4: Colour the wings and dress
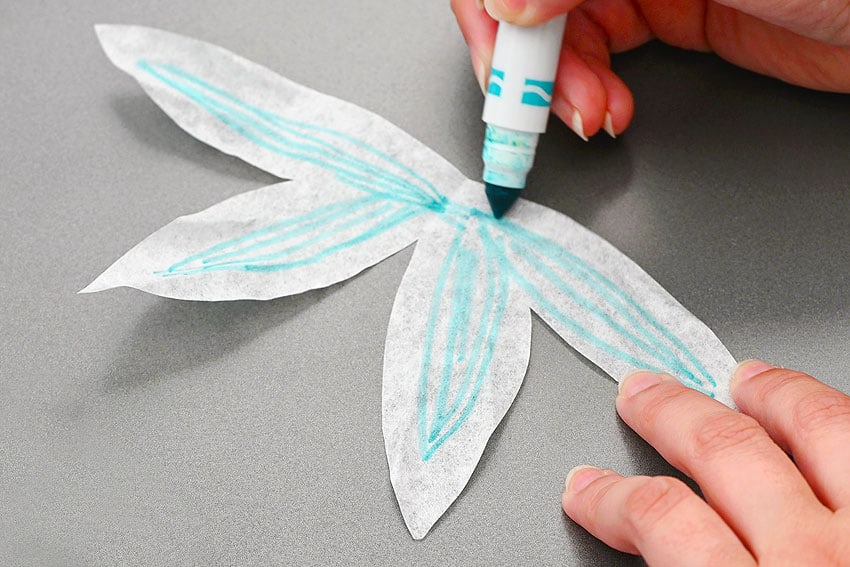
- Use a blue washable marker (or other colour of your choice) to lightly colour the wings. Use more colour if you want dark coloured wings.
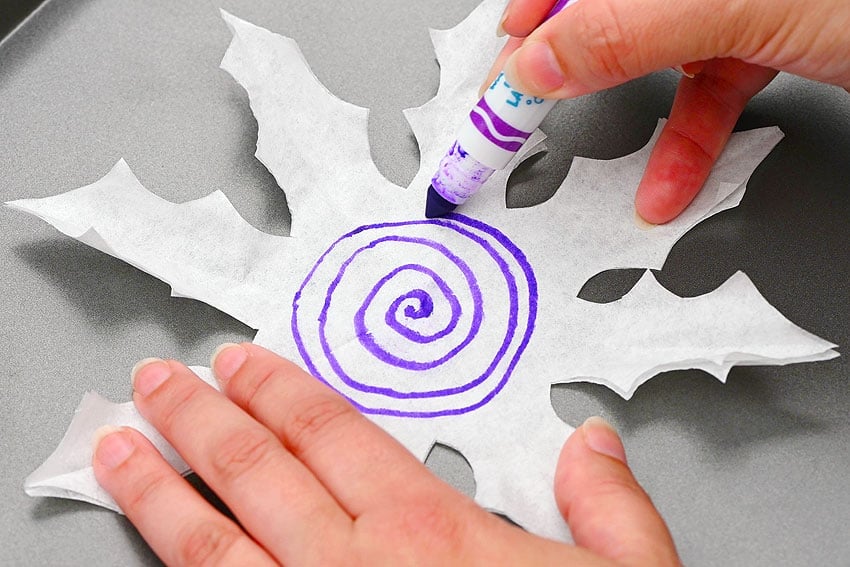
- Begin colouring the dress with another colour of washable marker.We made a spiral with a darker colour in the center, but there are lots of ways you can add colour. (Dots, stripes, fully covering the coffee filter, etc.)
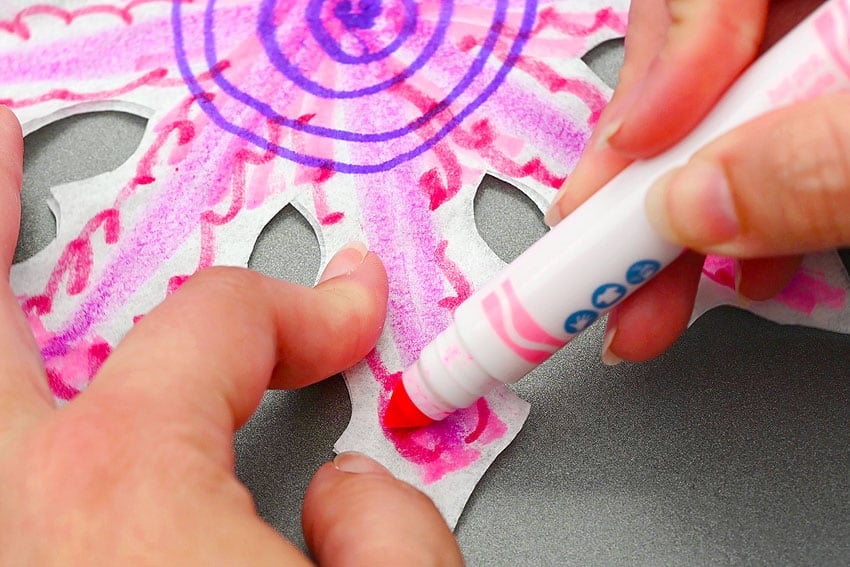
- Then colour with a few complementary colours/shades along the “leaves”.
- Pick up water with an eye dropper. (You can also use a spray bottle.)
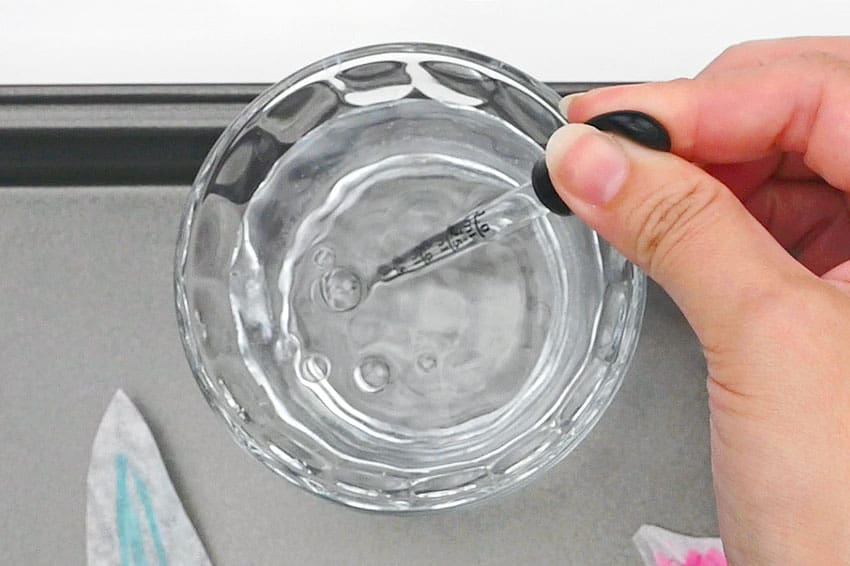
- Add water to the wings with the eye dropper. Continue until they’re completely saturated.
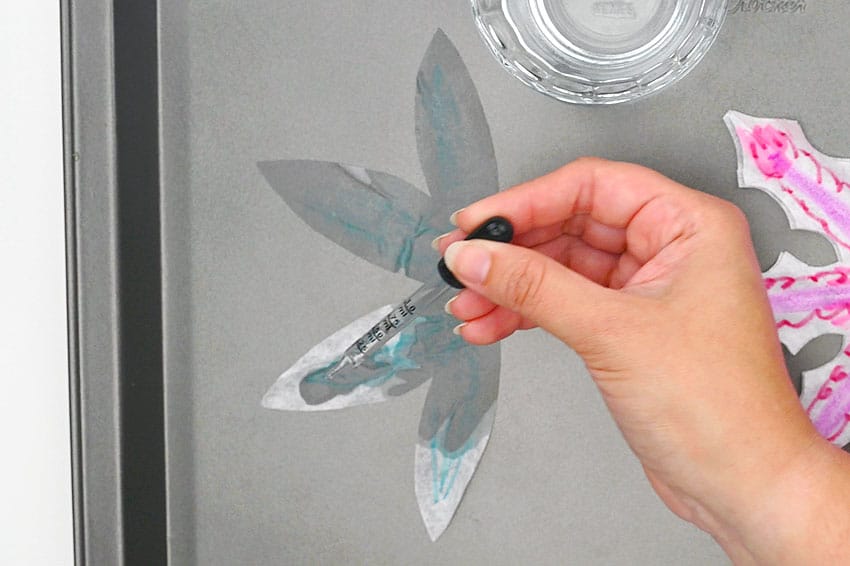
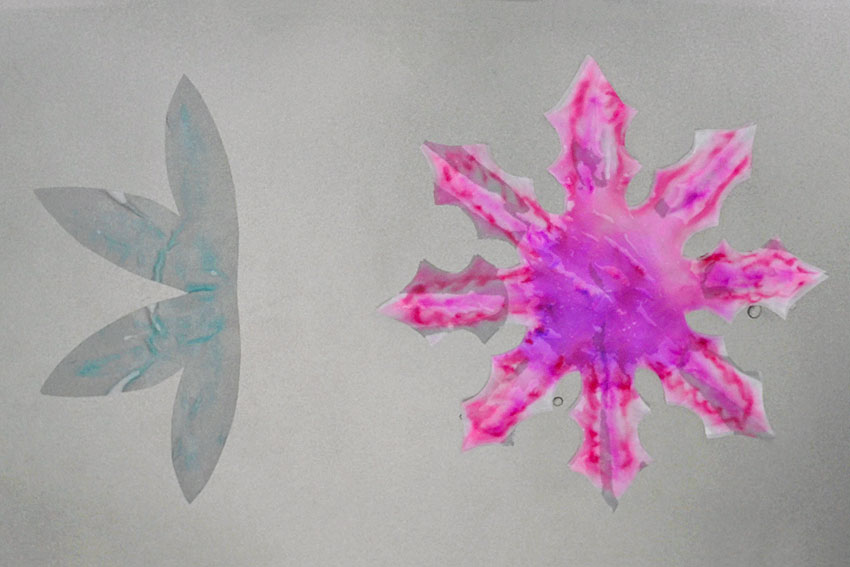
- Repeat with the dress and allow the coffee filters to dry (at least 5 hours, or overnight).
Step 5: Make the base of the fairy
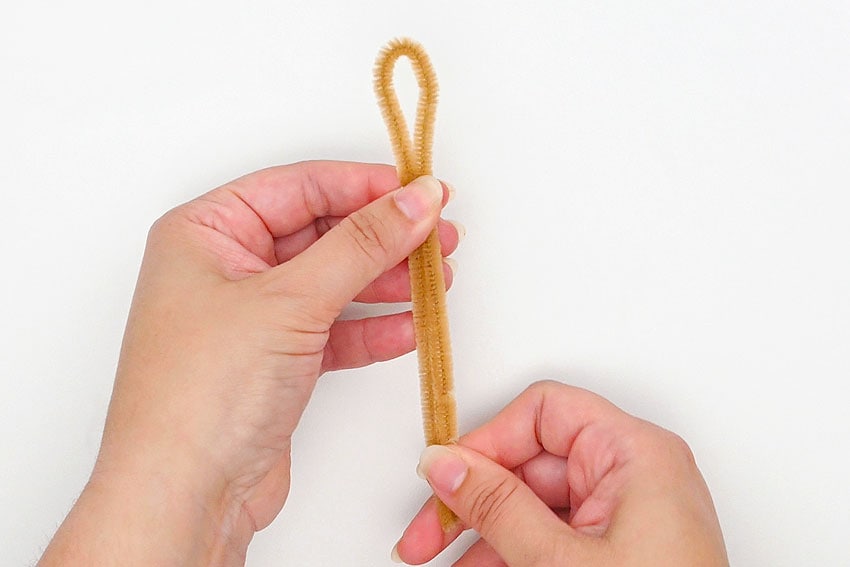
- Fold a pipe cleaner in half gently, leaving a curve at the top. Shape this into a teardrop shape for the fairy’s head.
- Fold a second pipe clear in half and set the fold at the base of the head, at the back.
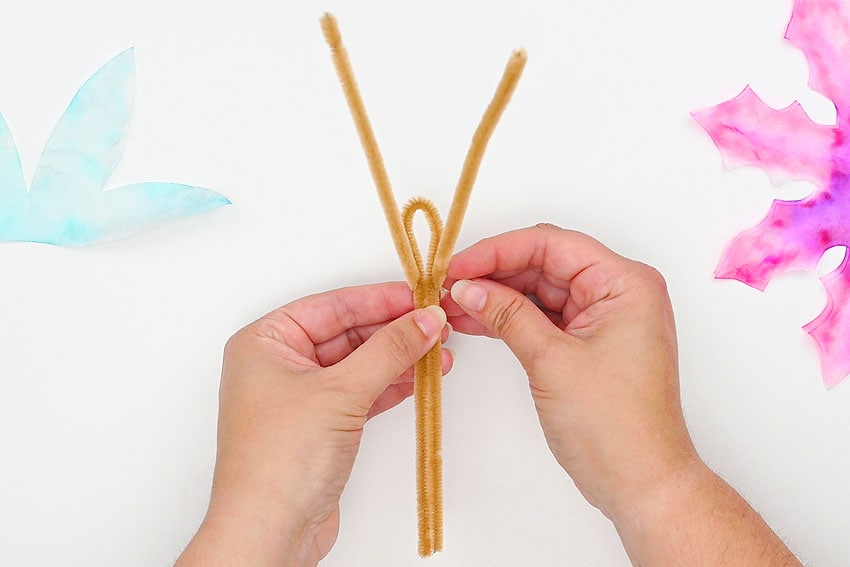
- Wrap the ends of the second pipe cleaner around the first, going down about 1 to 1-1/2 inches.Then wrap back up towards the head, so the arms are by the “neck”.
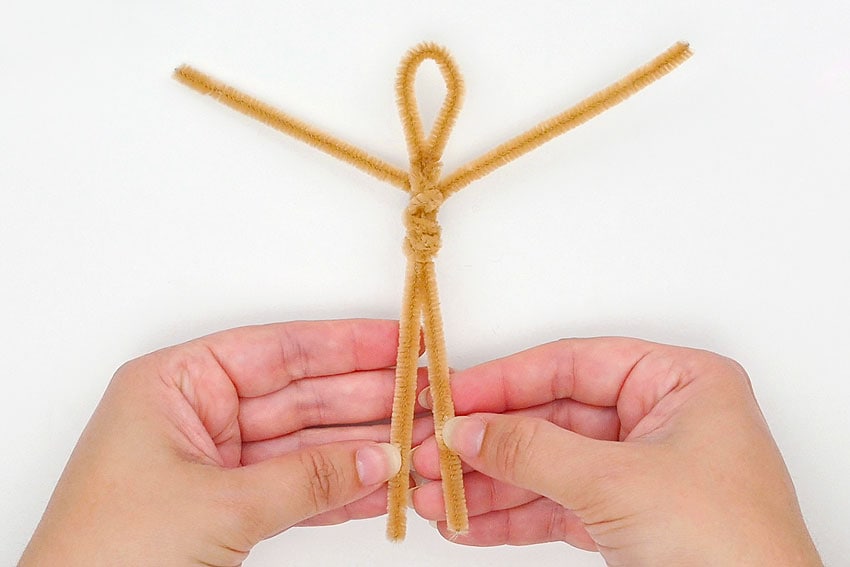
Step 6: Dress the fairy
- Grab one of the dress coffee filters. Fold it in half, and in half again, but don’t press down the folds.Then cut off the tip of the fold. This will be the neck hole of the dress.
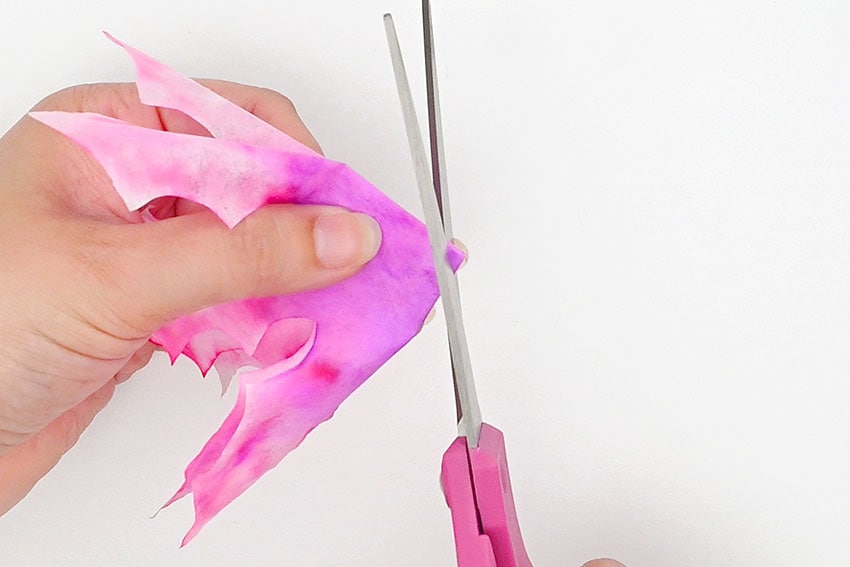
- Unfold once and cut 2 small slits on either side of the “V” shaped neck hole. These will be where the arms go through.
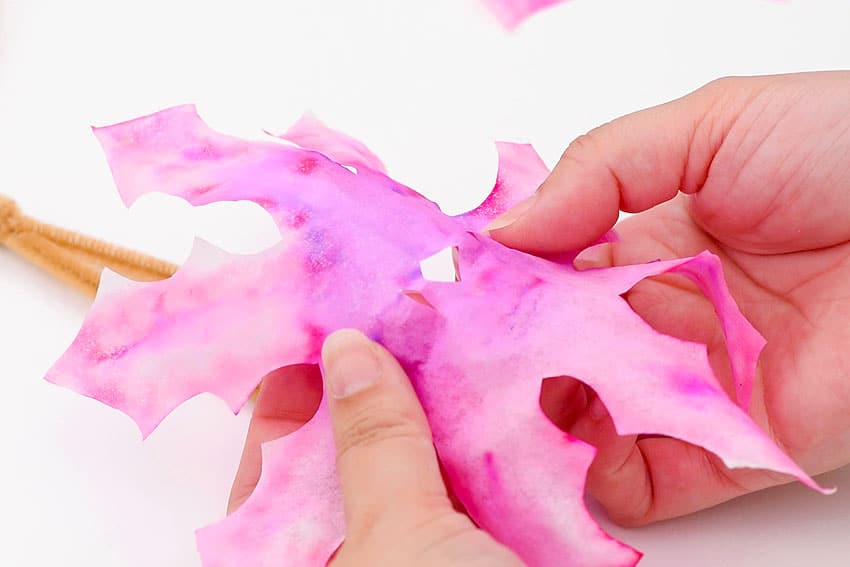
- Dress the fairy from the top, sliding the head and arms through the holes. Then cut a 12 inch piece of thread or embroidery floss.Wrap the thread around the dress a few times, just below the arms. Tie a double knot to secure it and cut off the excess thread.
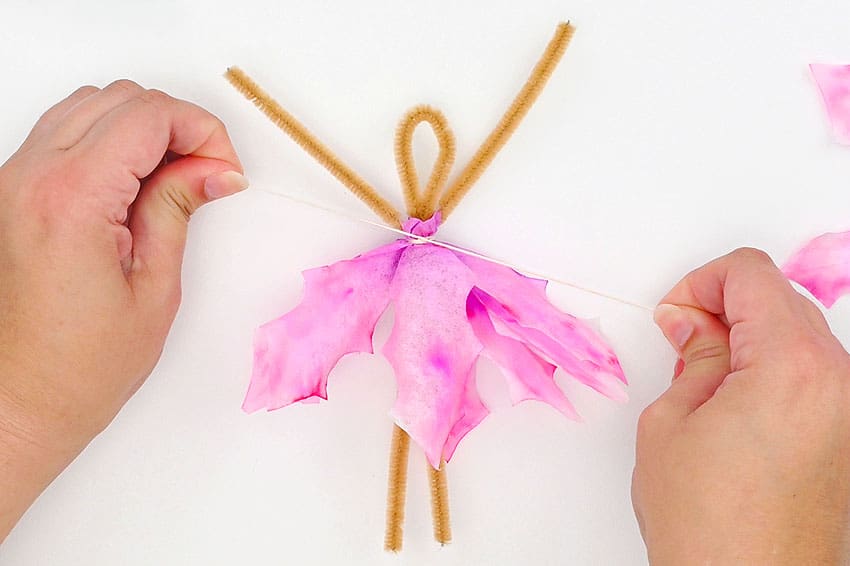
- Fold the second coffee filter in half twice, and cut the tip off. Don’t make the arm holes on this one.Then dress the fairy from the bottom, placing this layer of the dress underneath the first.
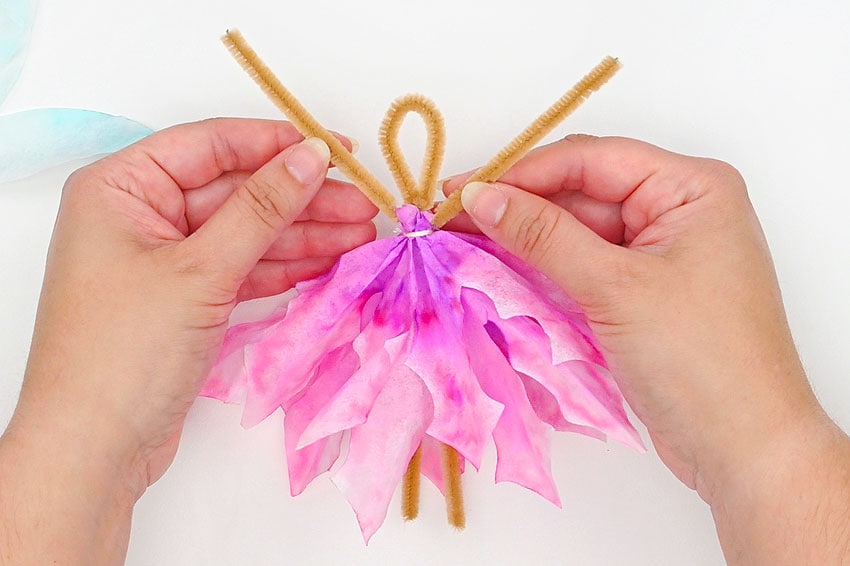
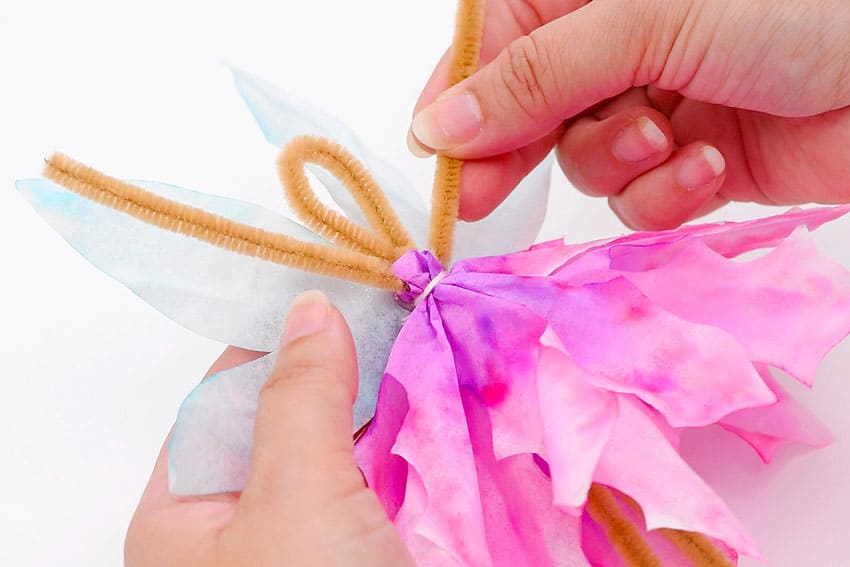
- Add a dot of hot glue to the center of the wings. Place them on the back of the fairy.
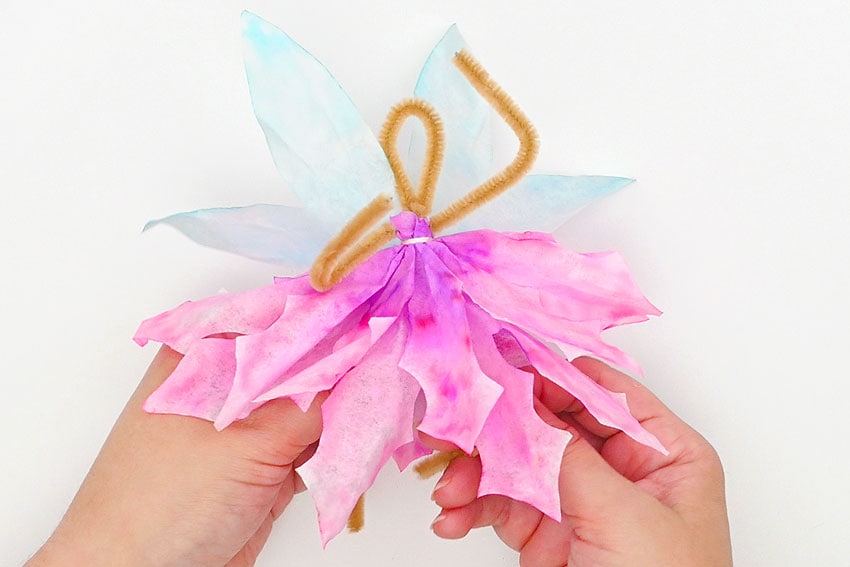
- Bend the pipe cleaner arms and legs however you’d like, to add a bit of movement to the fairy’s body.
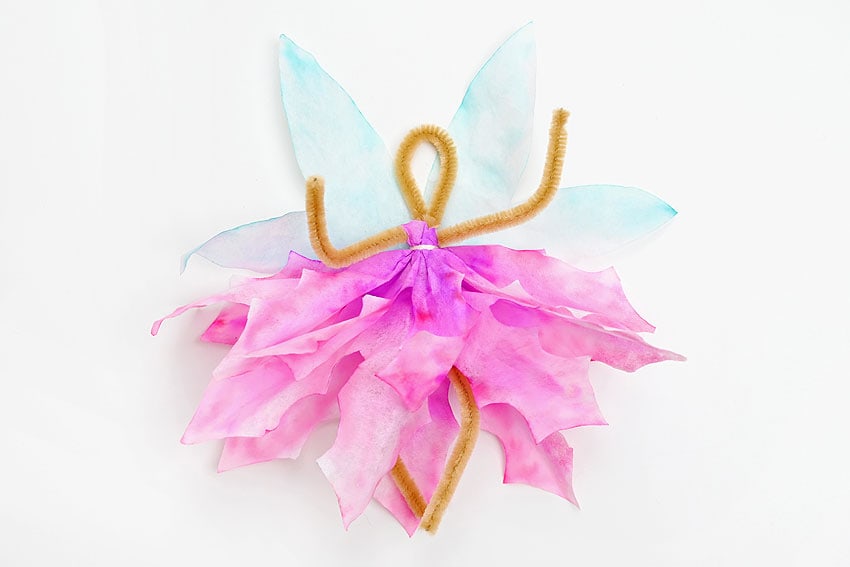
- Your coffee filter fairy is complete!
Helpful Tips
- Read through the full tutorial before starting.
- Prepare the listed supplies ahead of time so each step is easier to follow.
- Check the finished craft against the instructions before displaying or using it.
FAQs
Is this tutorial beginner friendly?
Yes. This coffee filter fairies kids craft is written with simple steps and extra tips for beginners.
Can kids make this craft independently?
Older kids may be able to work independently, while younger kids should have help with any steps that require close attention or small pieces.
How long does the craft take?
Most versions take about 30 minutes, depending on the materials and the pace of the crafter.
Can I use different colors?
Yes. Changing the colors is one of the easiest ways to personalize the finished craft.
Final Thoughts
Once the coffee filter fairies kids craft is finished, take a moment to check the details, compare the result with the tutorial, and display the project somewhere kids can enjoy their work.
Affiliate disclosure: This post may contain Amazon affiliate links. As an Amazon Associate, Easy Crafts Ideas may earn from qualifying purchases at no extra cost to you.