

This construction paper flowers paper craft is a cheerful hands-on project for kids, classrooms, and family craft time. It uses the tutorial steps below as the practical guide while adding helpful planning notes so the project feels easier to prepare, follow, and finish. Gather the supplies first, give yourself a little workspace, and enjoy making something creative from simple materials.
Materials:
- 1 sheet Construction paper (any colour)
- 1 sheet Construction paper (green)
- 1 Popsicle stick (green)
- 1 sparkly pom pom (1/2 inch size)
Equipment:
Instructions:
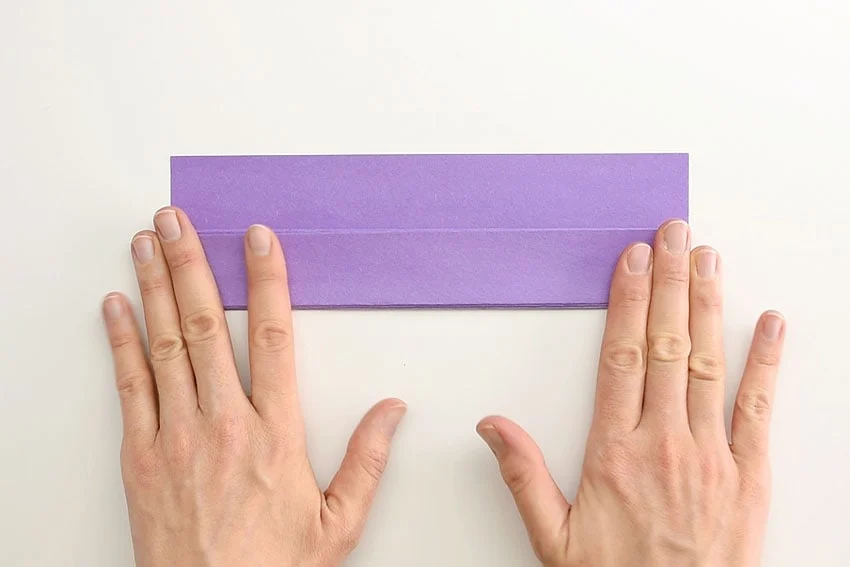
- Fold the shorter edge of a piece of construction paper up by about 1.25 inches (3 cm). Try not to fold up more than that or the paper won’t be long enough to make the number of folds we need.
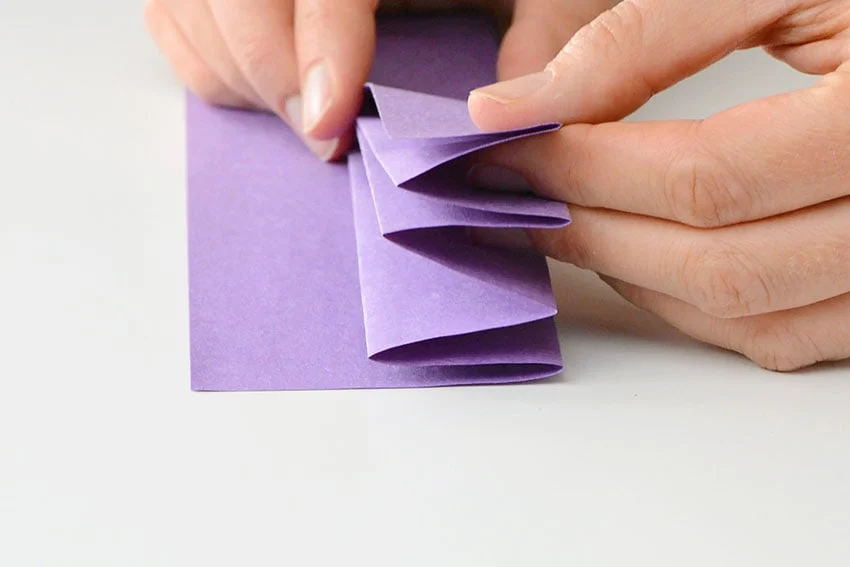
- NOTE: The next few steps will show you how to fold the paper so you can cut all 4 hearts at once. If that sounds too complicated, you can stop here and just cut out 4 similar hearts on this fold, 4 different times.Flip the paper over and again make a 1.25 inch (3 cm) fold. We need to fold accordion style until you’ve made 7 folds total.
- Unfold your paper slightly so you can see the edges. Find the edge that has 4 folds – in the photo, the edge on the right side has 4 folds.
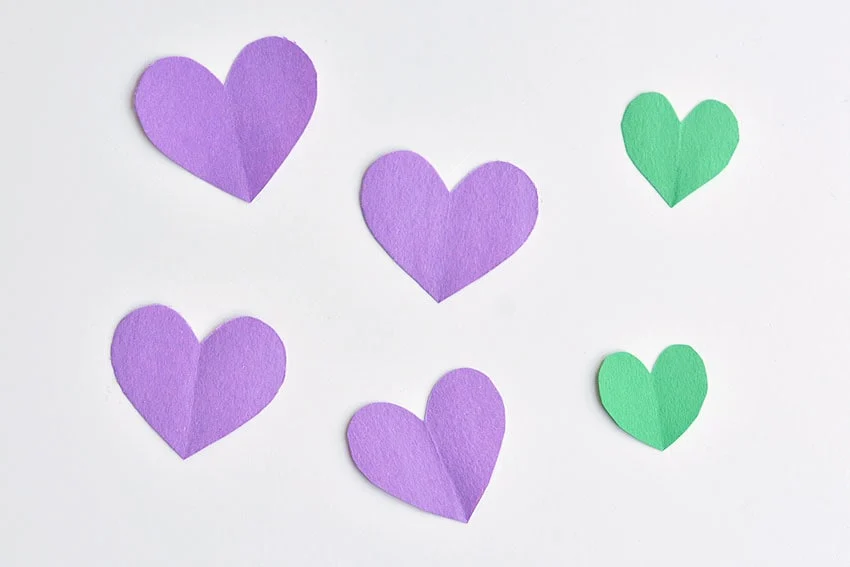
- Cut a half heart shape on that edge.

- You should end up with 4 equally sized hearts. Follow similar steps on green construction paper to make 2 smaller heart leaves.
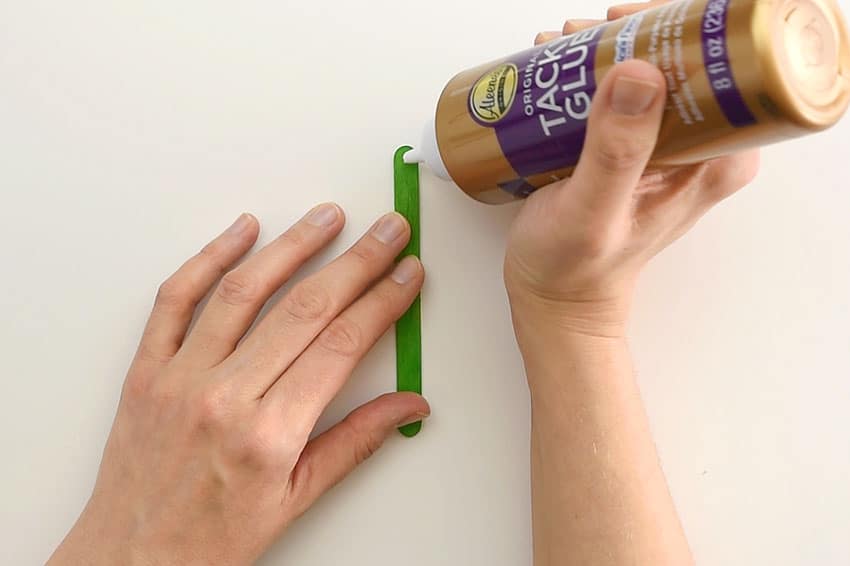
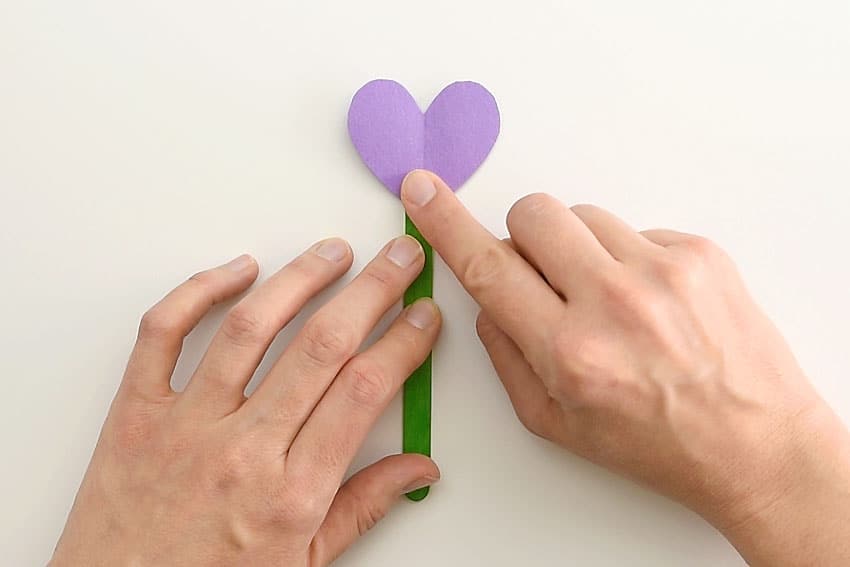
- You can use any kind of white glue to attach the hearts. I find that tacky glue works well because it’s stickier than normal white glue and holds things in place much better while you’re making your craft. Add a small dab of white glue on the end of the green popsicle stick.
- Press the point of one of the hearts onto the dab of glue.
- Next, add another dab of glue and attach the sideways heart, as shown in the photo.

- Add a dab of glue and attach the other sideways heart, again on top of the first heart. Make sure the points of the hearts overlap a little.
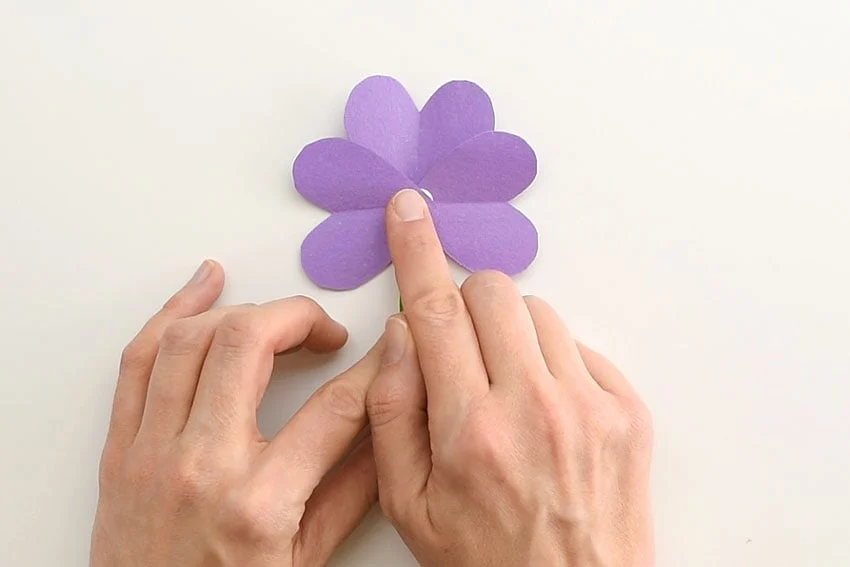
- Add a dab of glue and attach the point of the last heart so the heart is facing downwards.

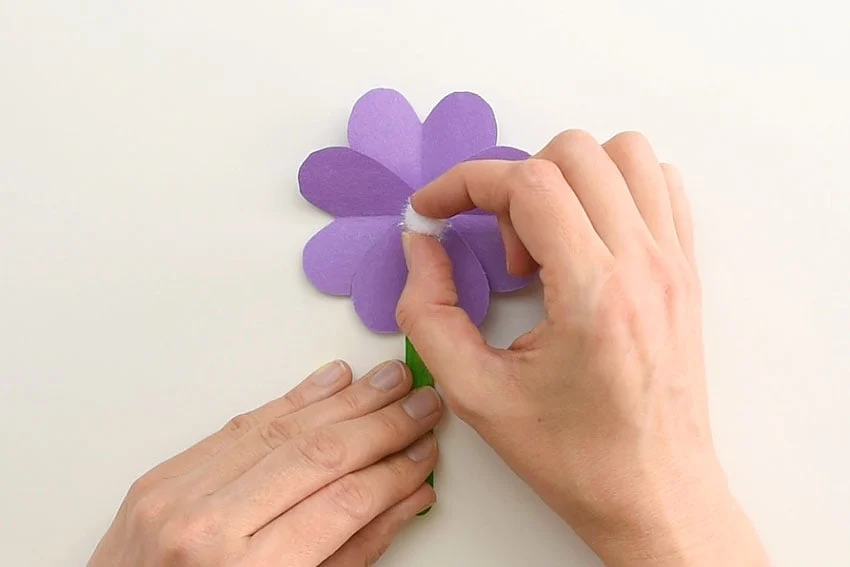
- Squeeze one last dab of glue to the middle of the flower. Press the pom pom into the middle dab of glue.
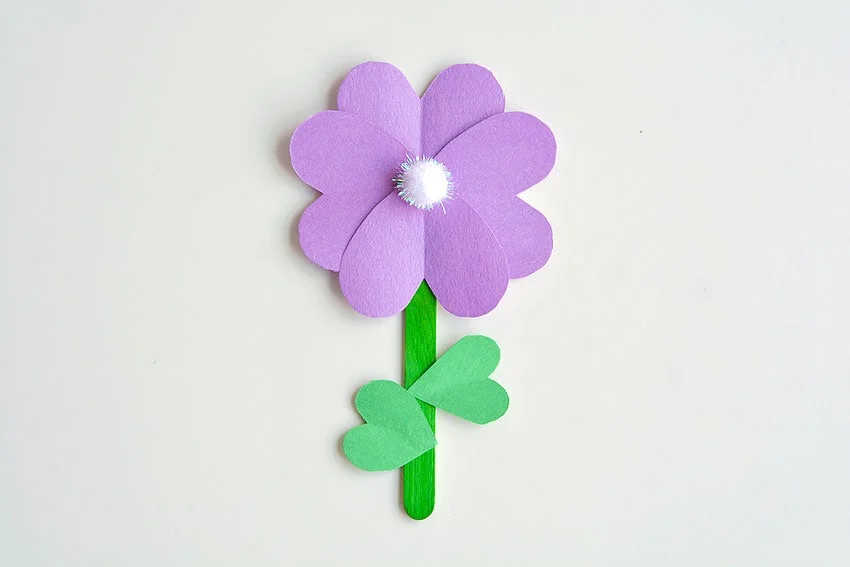
- Add two small dabs of glue onto the popsicle sticks then attach the green hearts to the popsicle stick to make the leaves of the flower.

- Your construction paper flower is complete! Repeat the steps to make flowers in all your favourite colours!
Helpful Tips
- Read through the full tutorial before starting.
- Prepare the listed supplies ahead of time so each step is easier to follow.
- Check the finished craft against the instructions before displaying or using it.
FAQs
Is this tutorial beginner friendly?
Yes. This construction paper flowers paper craft is written with simple steps and extra tips for beginners.
Can kids make this craft independently?
Older kids may be able to work independently, while younger kids should have help with any steps that require close attention or small pieces.
How long does the craft take?
Most versions take about 30 minutes, depending on the materials and the pace of the crafter.
Can I use different colors?
Yes. Changing the colors is one of the easiest ways to personalize the finished craft.
Final Thoughts
Once the construction paper flowers paper craft is finished, take a moment to check the details, compare the result with the tutorial, and display the project somewhere kids can enjoy their work.
Affiliate disclosure: This post may contain Amazon affiliate links. As an Amazon Associate, Easy Crafts Ideas may earn from qualifying purchases at no extra cost to you.


")


