

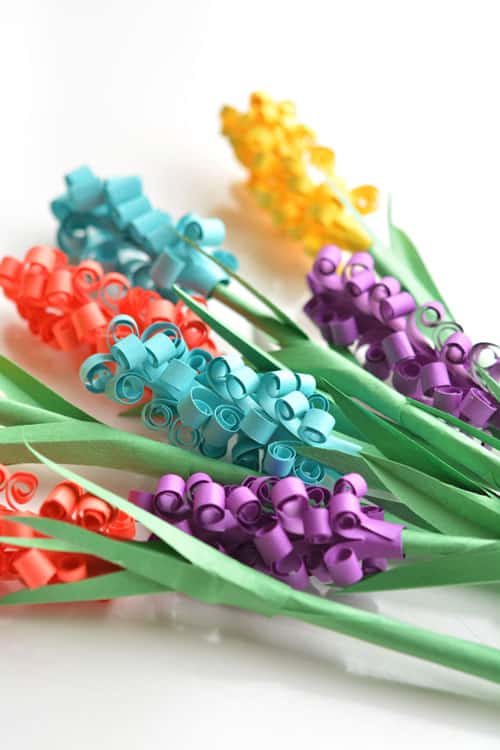
This paper hyacinth flowers paper craft is a cheerful hands-on project for kids, classrooms, and family craft time. It uses the tutorial steps below as the practical guide while adding helpful planning notes so the project feels easier to prepare, follow, and finish. Gather the supplies first, give yourself a little workspace, and enjoy making something creative from simple materials.
Check out our video on How to Make Paper Hyacinth Flowers:
Here are some more awesome flower crafts for you to try!
Pipe Cleaner Daffodils and Tulips
How to Make Paper Hyacinth Flowers
Here’s what you’ll need:
- Assorted colours of cardstock (Not too thick. Mine was 65 lbs, but thinner paper will work too)
- Green construction paper (It needs to be thin)
- Scissors
- Ruler
- Pencil
- Glue Stick
- Knitting Needle (optional)
Cut out a strip of cardstock paper approximately 8.5″ x 2″. If your paper is only 8″ wide, a strip 8″ x 2″ wide will work too. I just made mine the length of my paper.
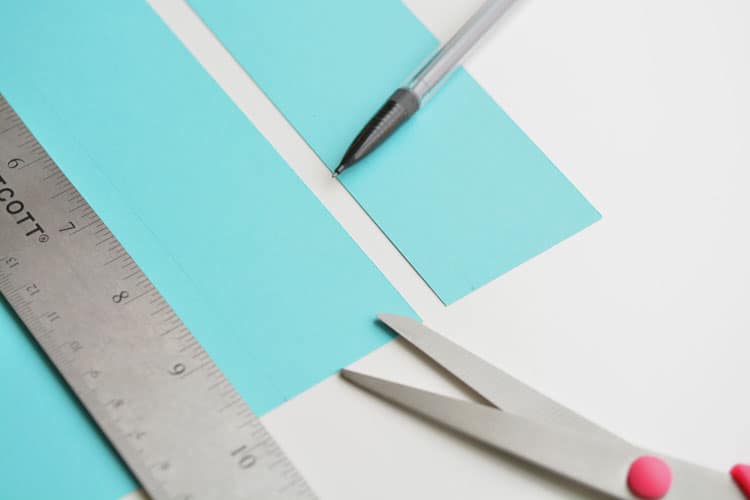
Mark 3/8″ from both edges of the paper and use a pencil to lightly draw a line across the paper.
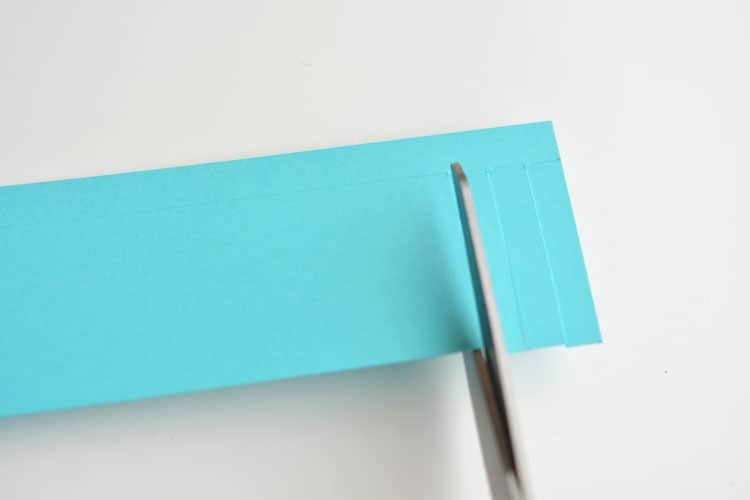
Using scissors (I tried an exacto knife, and scissors are waaaaaay easier), carefully snip the paper into strips that are about 1/4″ wide, cutting up to the pencil line.
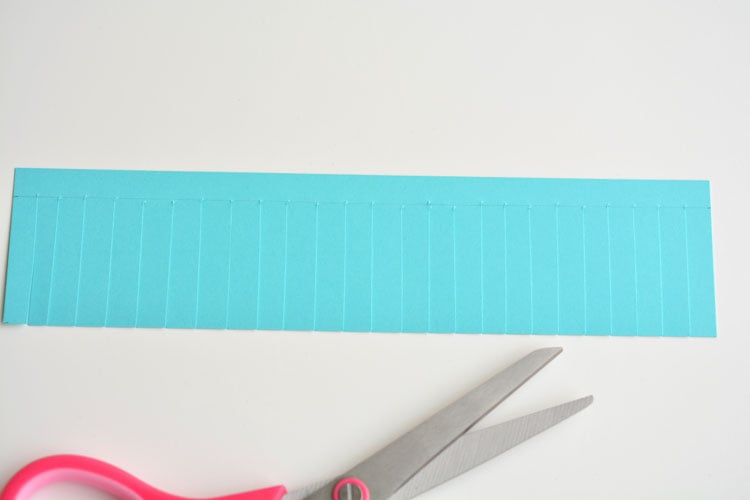
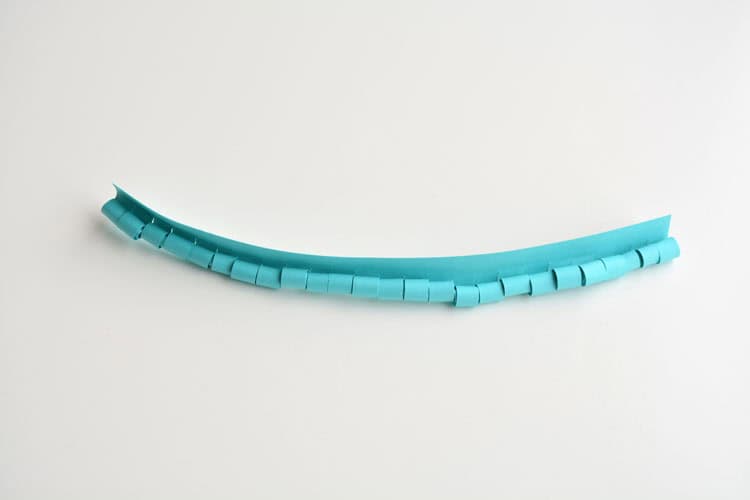
Continue cutting 1/4″ strips until you’ve made it across the entire strip of paper.
Try to keep your cuts as straight and parallel as possible, but don’t panic if they aren’t perfect. It won’t really matter once you’ve swirled them up.
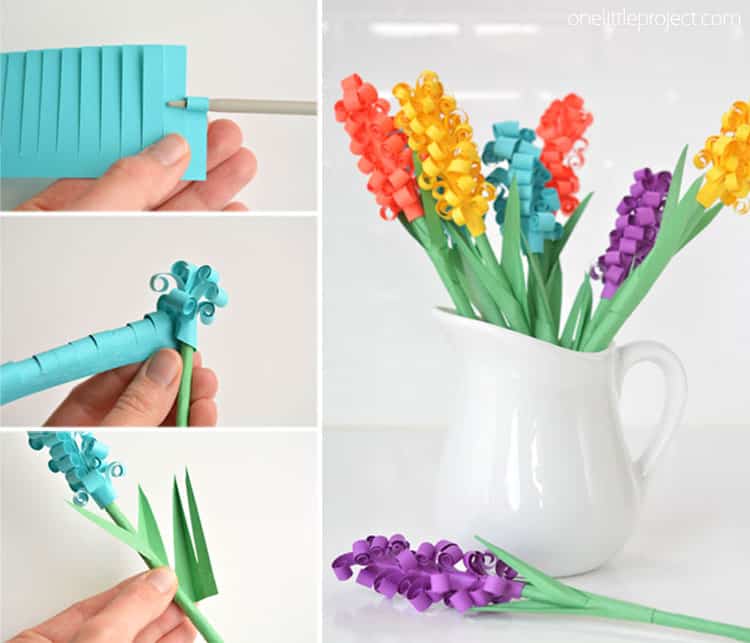
Using a knitting needle or wooden skewer, carefully roll each strip. Make sure the pencil line is on the BACK of the striplike in the photo below. You want to roll the strips away from the pencil line so it’s not visible when you’re done the flower.
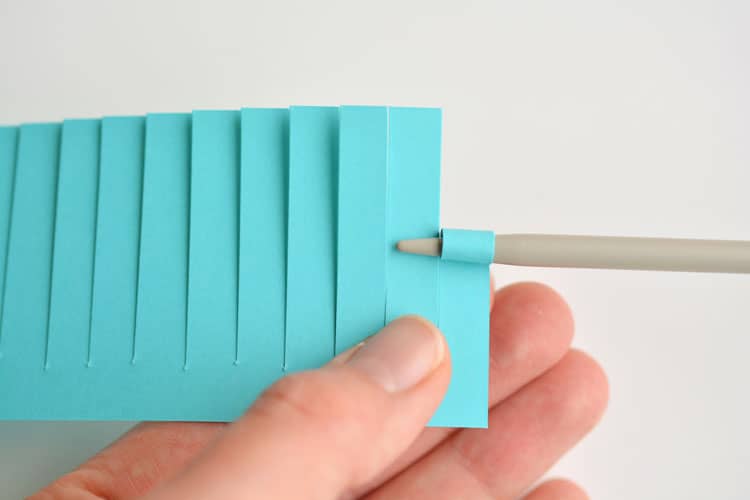
Roll each strip as far as it will go.
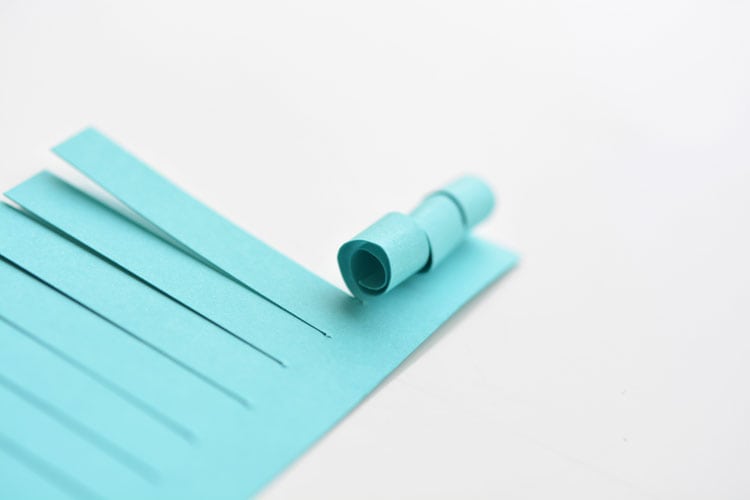
And continue rolling until you’ve rolled each piece along the entire length of the paper.
Making the Stem:
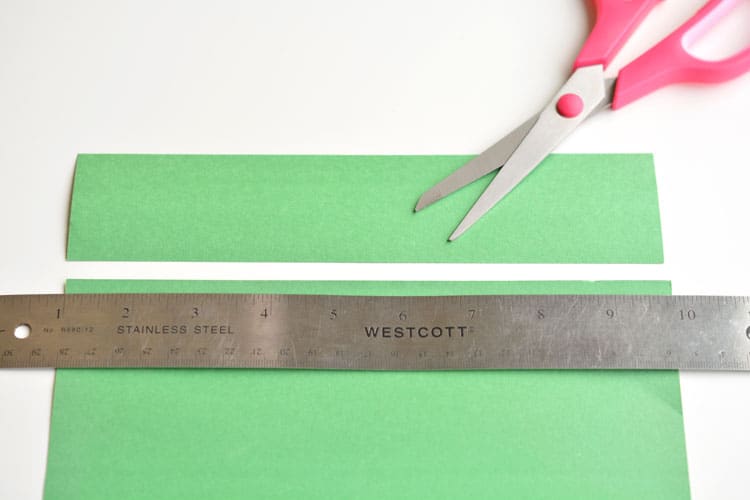
Next, you’ll need to make the stem. Make sure you’re using construction paper or another type of thin paper or you won’t be able to roll it. Or if you want to save time, just use green straws as the stems.
Cut out a strip 2″ x 8″.
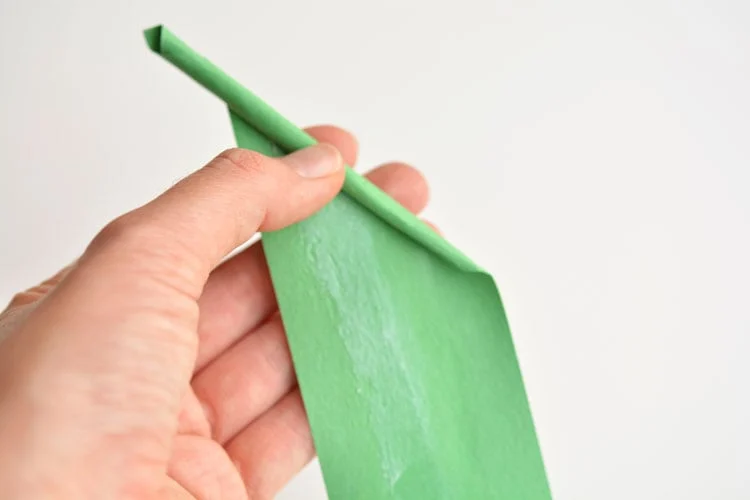
Start rolling one of the corners diagonally. Once you’ve gotten it started, add some glue to the paper to help keep it together.
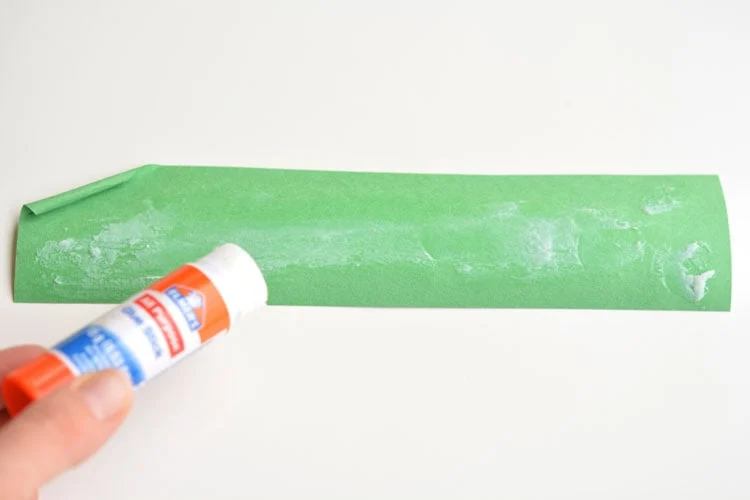
Keep rolling the green paper diagonally around itself to make a thin, stem-like tube.
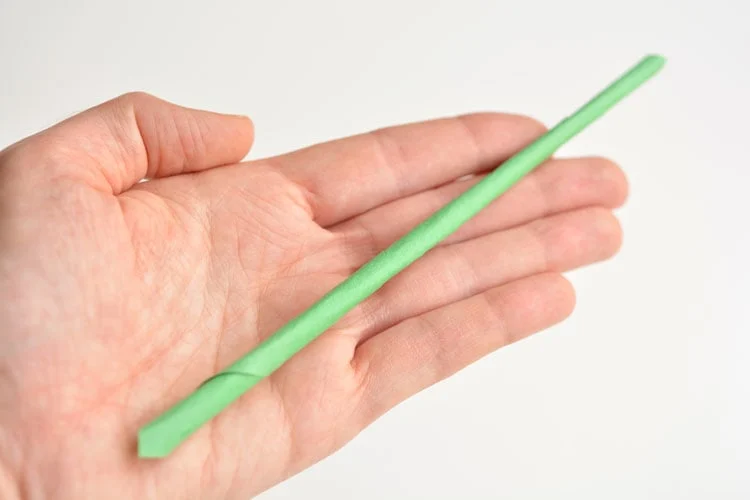
When you’re done, it will look something like this:
Adding the Flower to the Stem
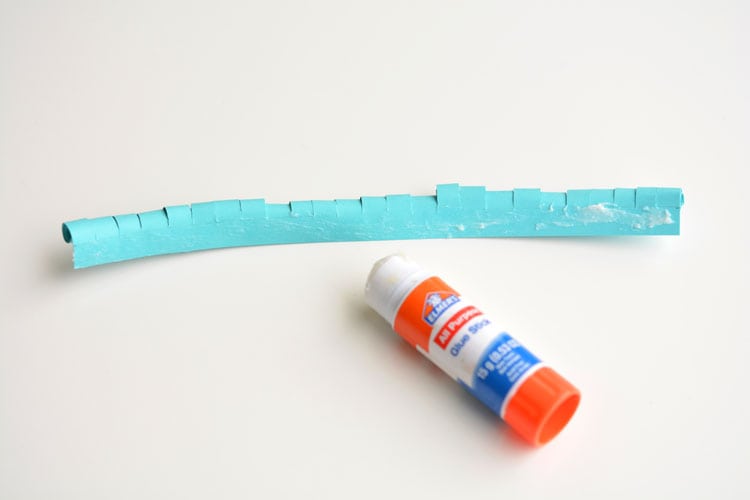
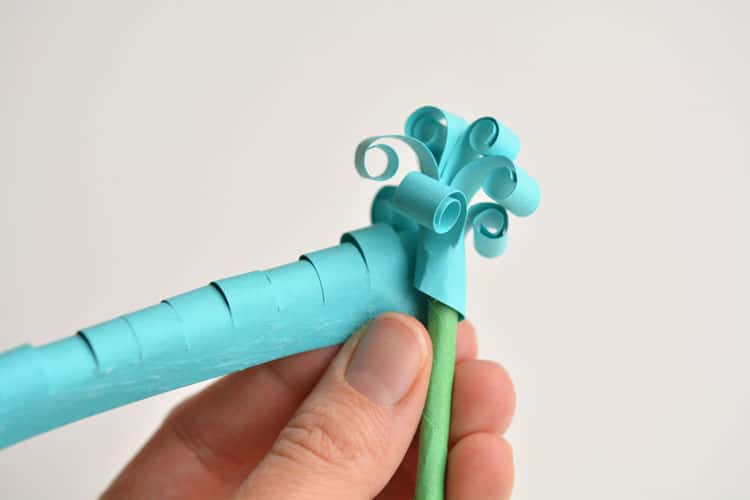
Add some glue to the back of the swirled up paper.
Then place it over the thinner end of the stem with the swirls pointing up and towards the outside, like in the photo below.
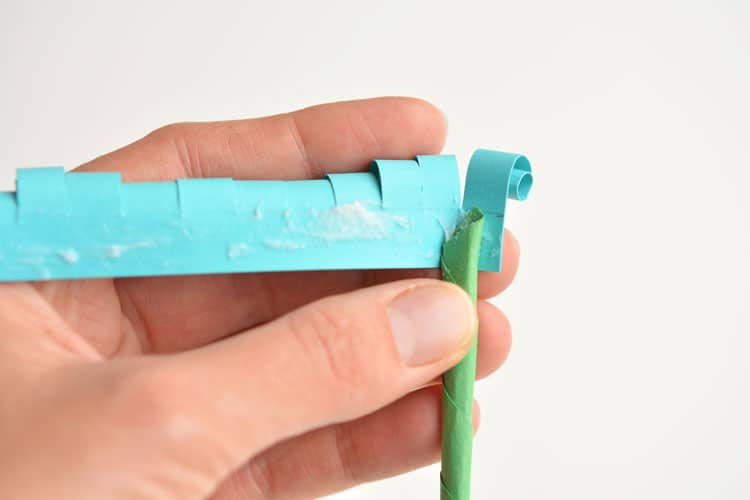
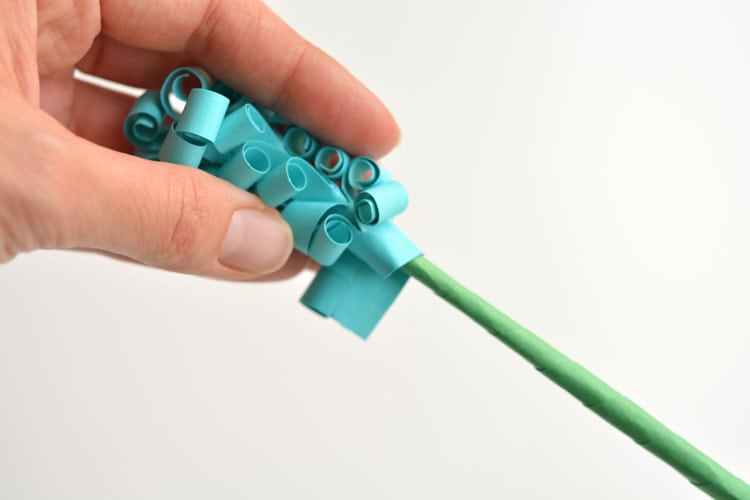
Start wrapping the swirled up paper around the stem so that it overlaps itself as you go.
Try to get it as tight as you can around the stem until you reach the end of your swirled up paper strip. If you need to, add a bit of extra glue to the end to help keep it in place.
Making the Leaves
Next, you’re going to need some leaves.
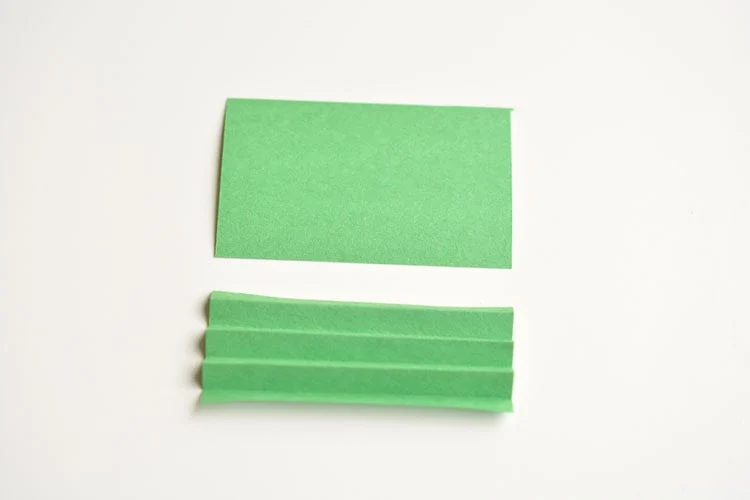
Cut out a piece of paper, about 2″ x 3″. Fold it accordion style along the long edge in roughly 1/4″ sections.
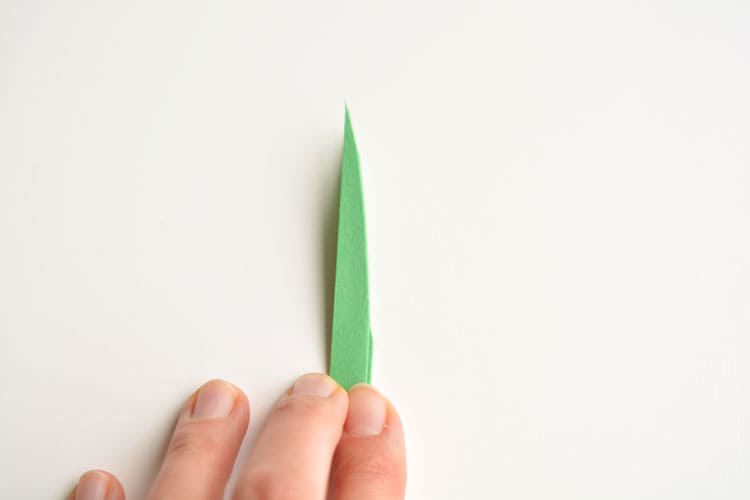
Using sharp scissors, cut out a leaf shape, leaving about 1/2″ at the bottom to give you room to glue it later.
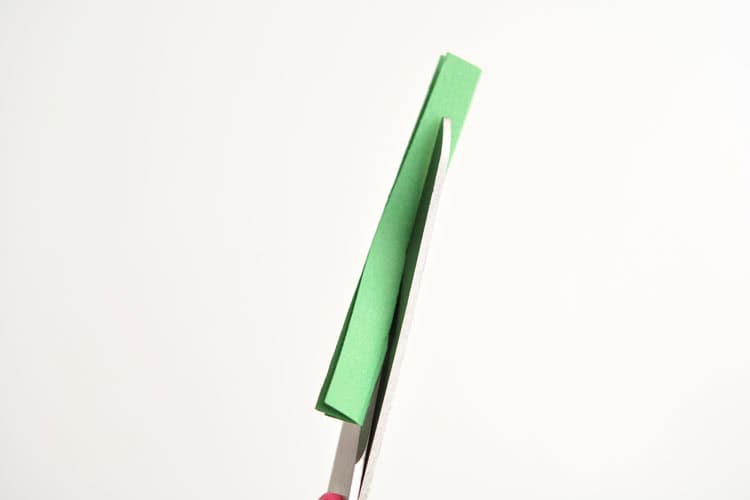
Here’s what my leaf shape looked like before I unfolded it:
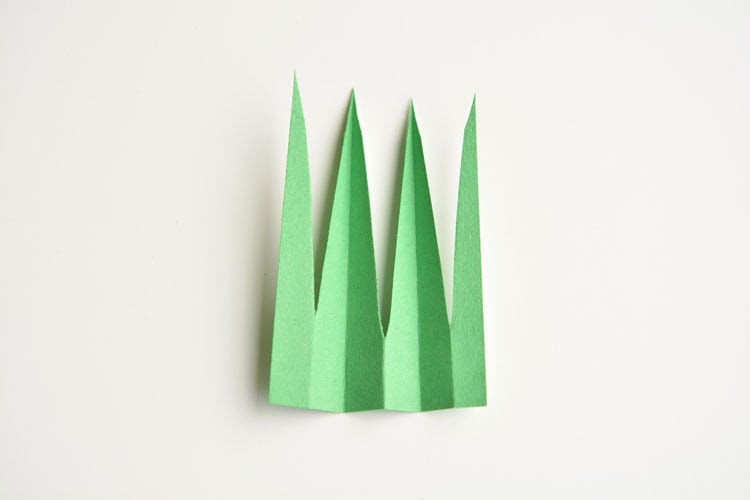
And here’s what it looked like after it was unfolded. You’ll end up with 3 or 4 “leaves”.
Next, add some glue to the bottom of the leaves, and place one corner about 2″ below the flower, at an angle like in the photo below:
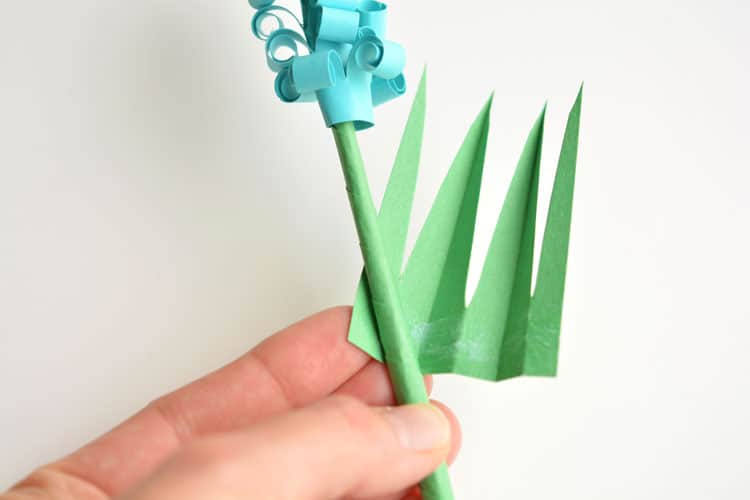
Wrap it tightly around the stem as you press down the glue to keep it in place.

And there you have it! One paper hyacinth flower!
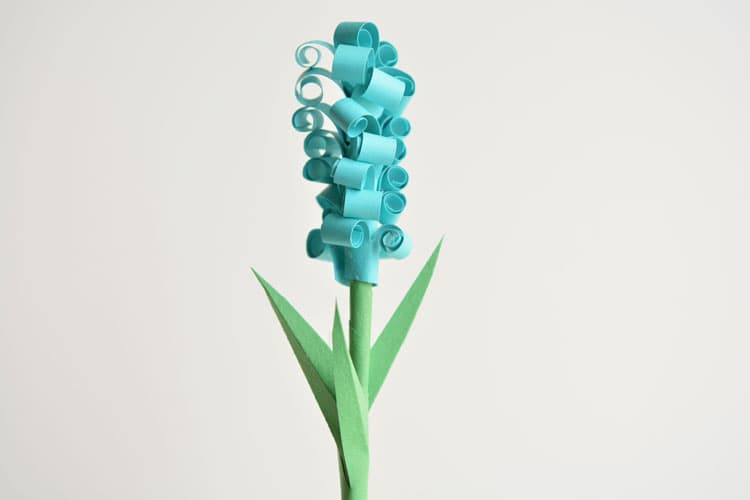
Repeat the process in different colours to make yourself a beautiful bouquet!

The first one takes a bit of time, but I promise, you only have to make one or two of them to become an expert!
By the time I was done my bouquet, it was only taking me about 5 minutes per flower. Which really isn’t bad!
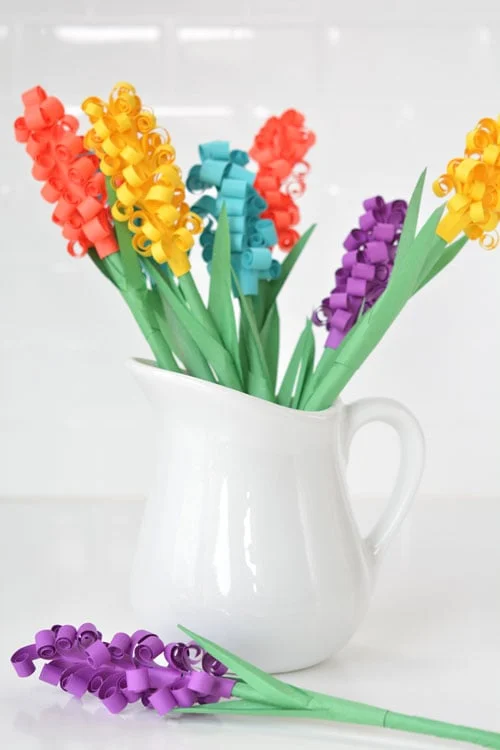
They are so fresh and I love the pop of colour it adds to my kitchen counter!
These are a little more work than the rolled paper flowers I made a couple years ago, but they are so beautiful! It’s definitely worth the effort!
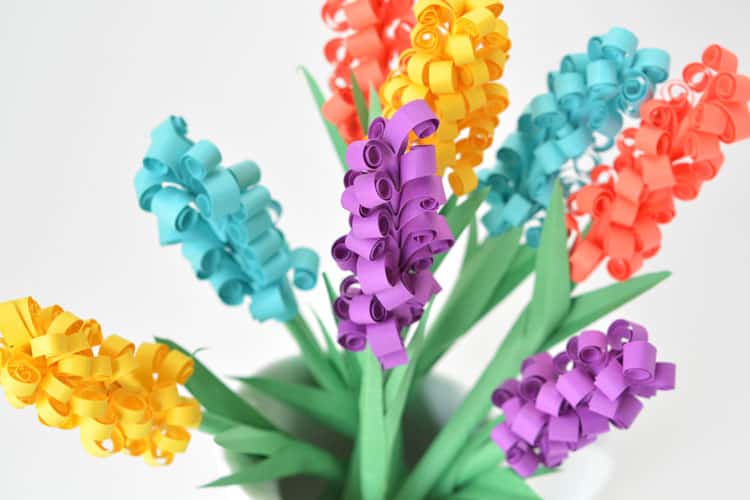
These paper hyacinth flowers are easy to put together and they make a gorgeous spring bouquet! They’d make beautiful decorations for a wedding or baby shower, or a beautiful centerpiece. This is a fun spring craft and a great way to add a splash of colour to your kitchen. I love how real these flowers look!
Helpful Tips
- Read through the full tutorial before starting.
- Prepare the listed supplies ahead of time so each step is easier to follow.
- Check the finished craft against the instructions before displaying or using it.
FAQs
Is this tutorial beginner friendly?
Yes. This paper hyacinth flowers paper craft is written with simple steps and extra tips for beginners.
Can kids make this craft independently?
Older kids may be able to work independently, while younger kids should have help with any steps that require close attention or small pieces.
How long does the craft take?
Most versions take about 30 minutes, depending on the materials and the pace of the crafter.
Can I use different colors?
Yes. Changing the colors is one of the easiest ways to personalize the finished craft.
Final Thoughts
Once the paper hyacinth flowers paper craft is finished, take a moment to check the details, compare the result with the tutorial, and display the project somewhere kids can enjoy their work.


")