

Materials:
- 1/4 cup Boiling water
- 1/2 Tablespoon Borax
- 2 Tablespoons Elmer’s clear glue
- Glitter
Equipment:
Instructions:
Step 1: Find what you need
- Gather your supplies and materials.
Step 2: Make the borax solution
- Pour boiling water into a measuring cup, then add the borax.
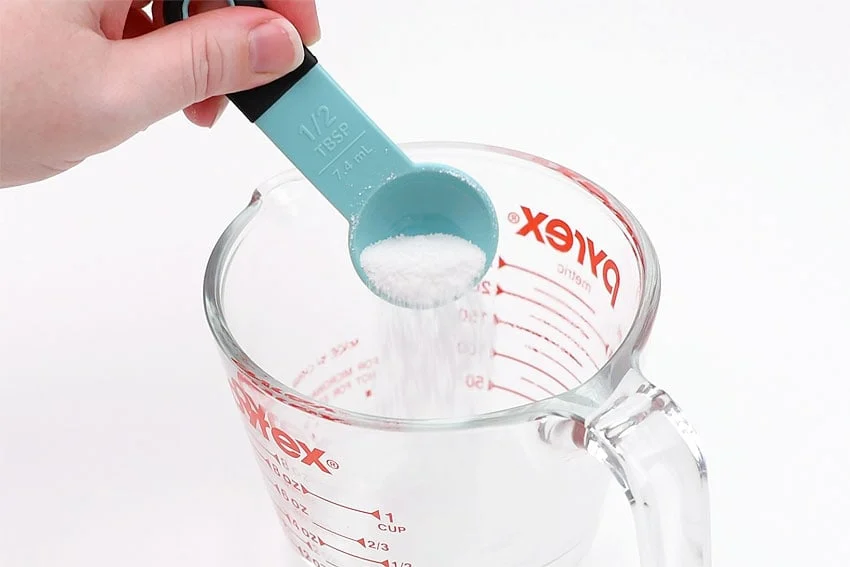
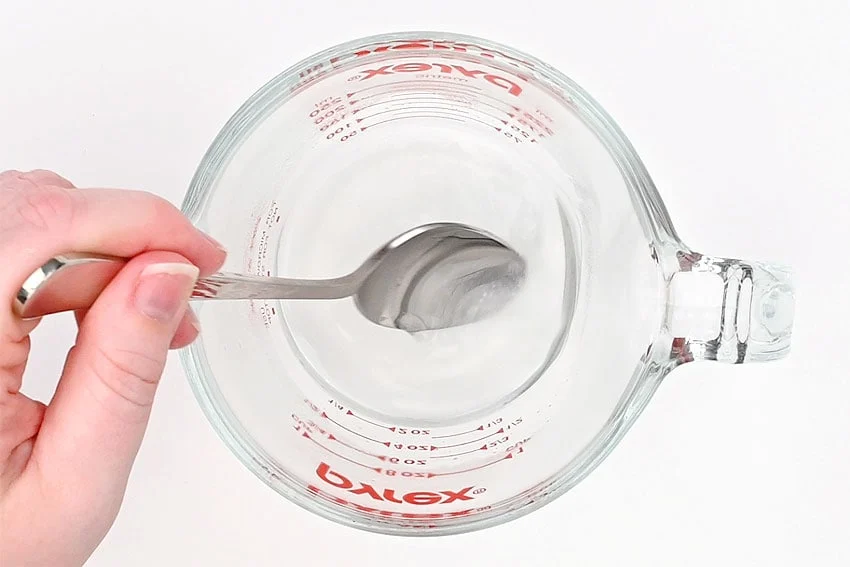
- Stir well until the borax is dissolved. Set aside to cool.
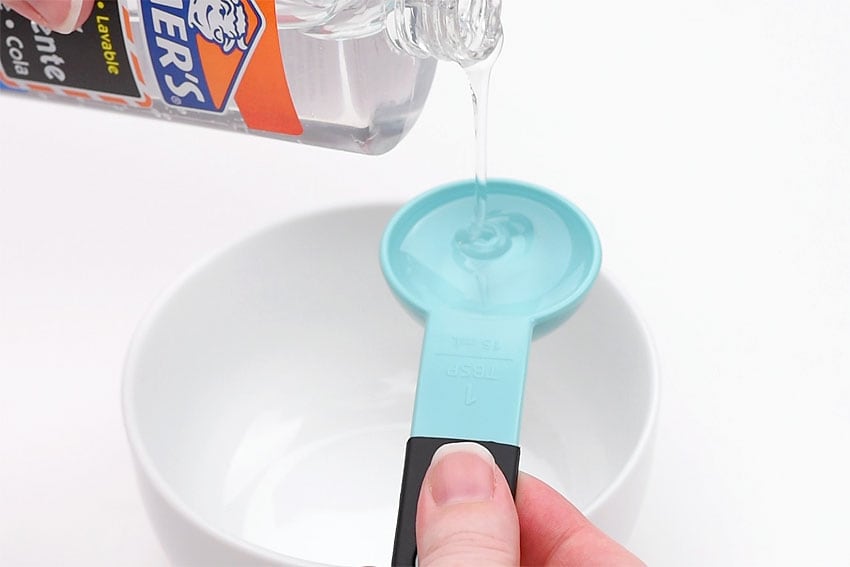
Step 3: Mix the ingredients
- Add the clear glue to a small bowl.
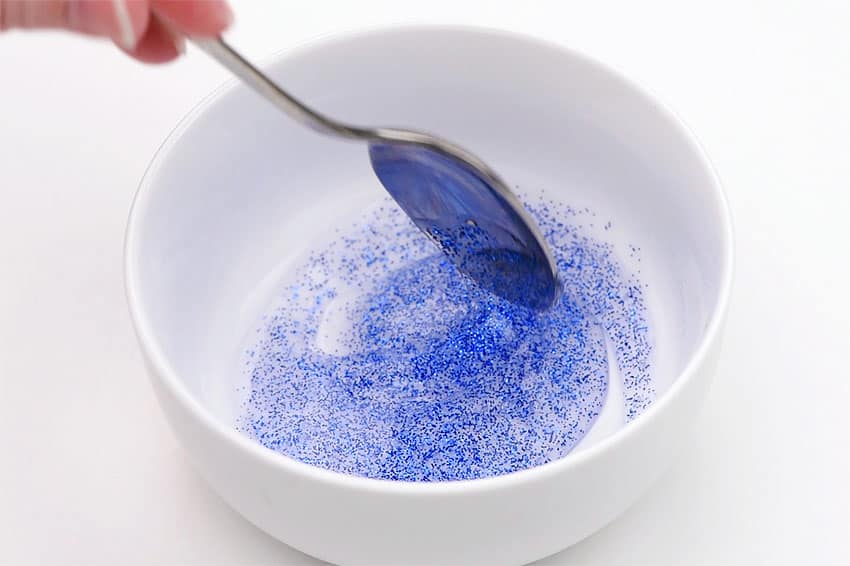
- Add glitter in your favourite colour. Stir until the glitter is well combined with the glue. Add just enough glitter that you can see the colour in your mixture (about 1/4 teaspoon or so). If you add too much glitter your ball won’t have the cool see-through look to it.
- Add 1 teaspoon of the borax mixture to the glitter glue and stir.
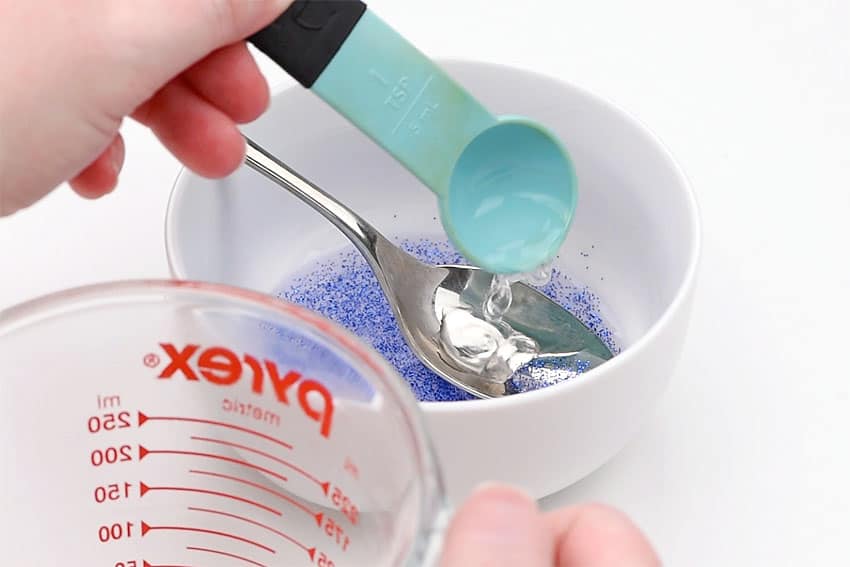
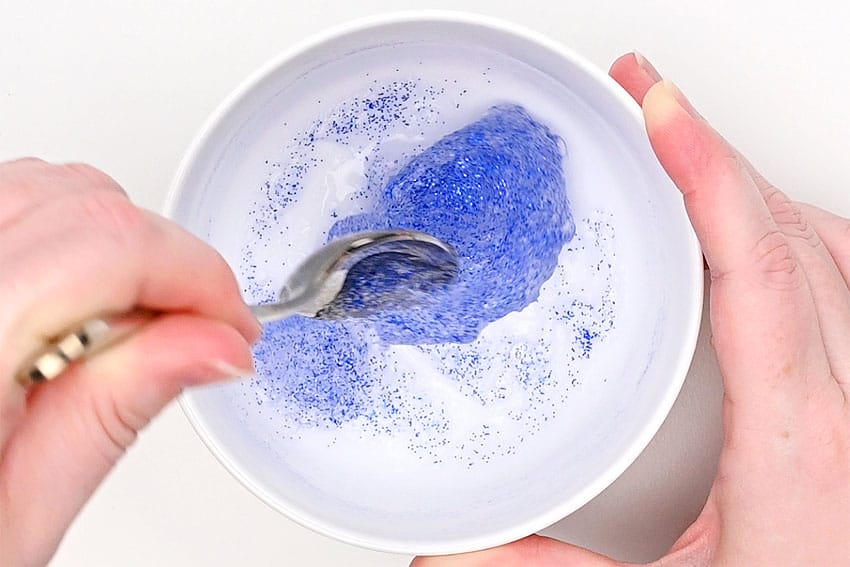
- Add another teaspoon of the borax mixture and stir until the glue becomes jelly-like and too difficult to stir anymore.
Step 4: Form the bouncy ball
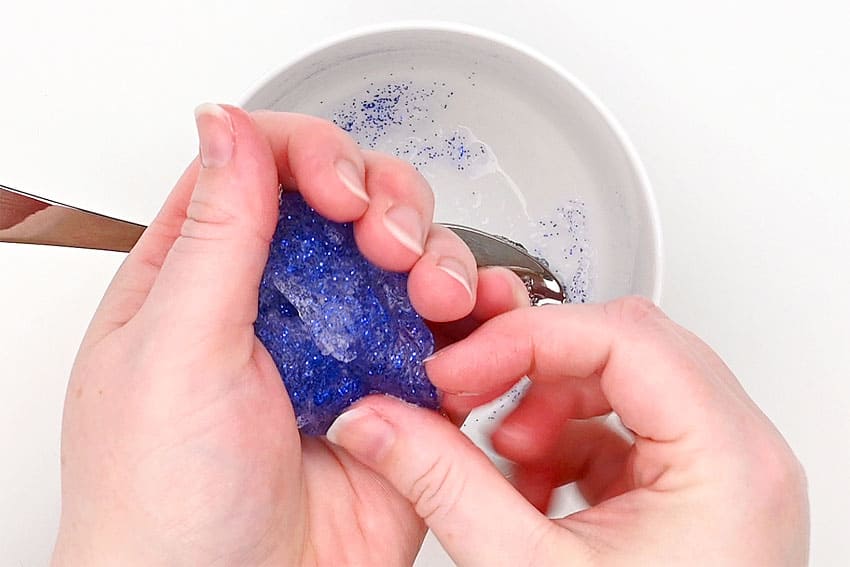
- Pick up the thick slime and squish it together with your hands, making sure there aren’t any sticky glue spots remaining.Begin to shape it into a ball.
- Roll the ball in-between your palms, like you would a ball of cookie dough.It will still be wet at first, and difficult to roll, but just keep going! It will become easy to roll fairly quickly.
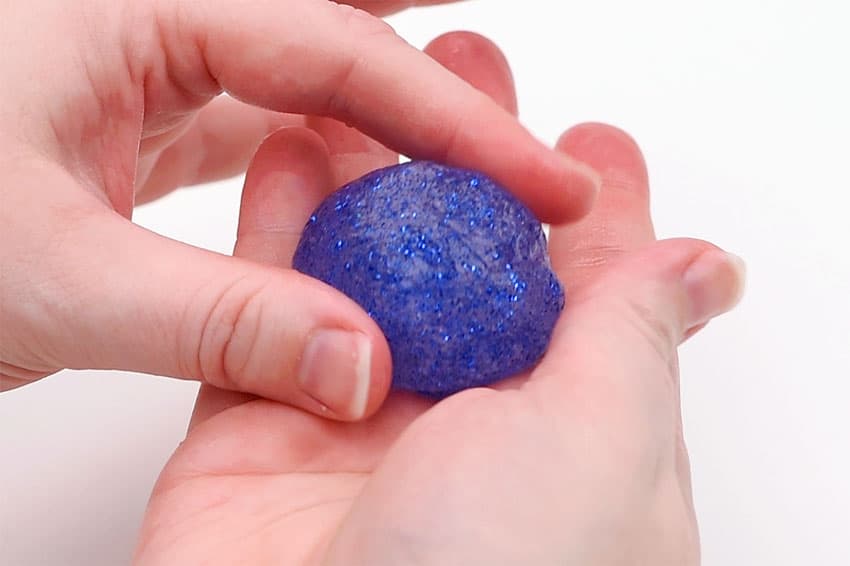
- Continue rolling until you have a nice round shape.Wet your fingertips with extra borax mixture and smooth down the outside of the ball.(You can also put the ball in a round mold to give it a perfect sphere shape.)
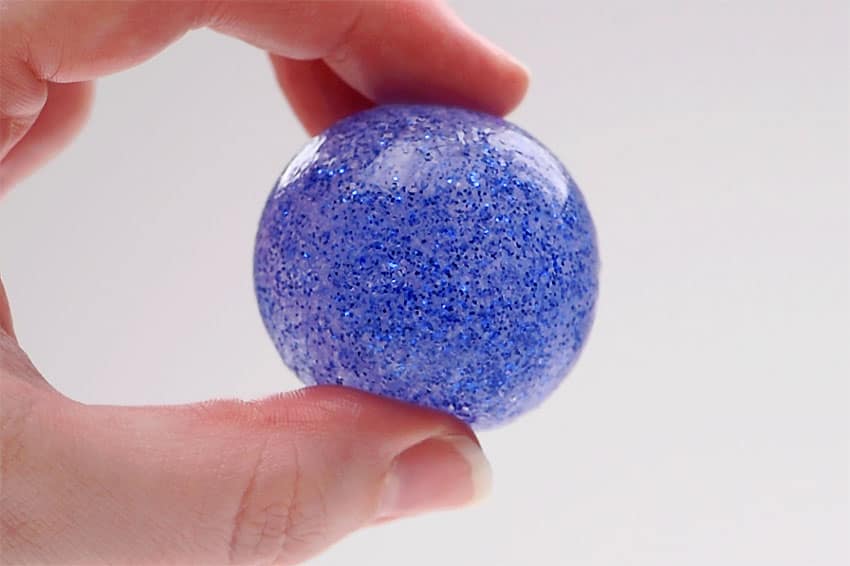
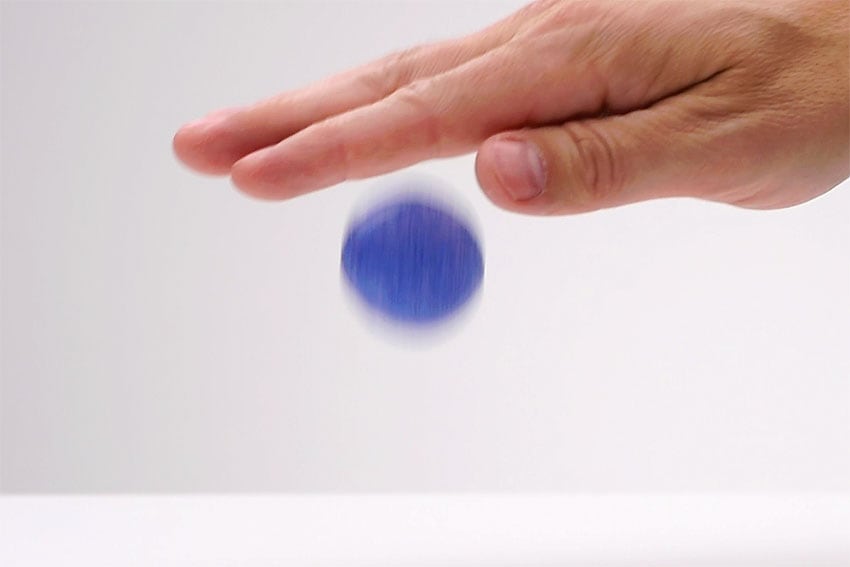
- Now have fun playing with your bouncy ball!Your DIY bouncy ball is complete!
Helpful Tips
- Read through the full tutorial before starting.
- Prepare the listed supplies ahead of time so each step is easier to follow.
- Check the finished craft against the instructions before displaying or using it.
FAQs
Is this tutorial beginner friendly?
Yes. This a bouncy ball sensory craft is written with simple steps and extra tips for beginners.
Can kids make this craft independently?
Older kids may be able to work independently, while younger kids should have help with any steps that require close attention or small pieces.
How long does the craft take?
Most versions take about 30 minutes, depending on the materials and the pace of the crafter.
Can I use different colors?
Yes. Changing the colors is one of the easiest ways to personalize the finished craft.
Final Thoughts
Once the a bouncy ball sensory craft is finished, take a moment to check the details, compare the result with the tutorial, and display the project somewhere kids can enjoy their work.


")
")

