Skill Level
Beginner
Time to Make
1 hour
Adult Supervision
Yes
Tagged with:
Card Making, Hanukkah
Top Tip
To paint wooden letters, stick a strip of double-sided tape onto some scrap paper then press the mini wooden shapes on top. Stick the shapes lightly at the edges, just enough to hold them still. Brush paint over the letters and around the edges. Leave to dry.
How to Make
Step 1
Step 2
Step 3
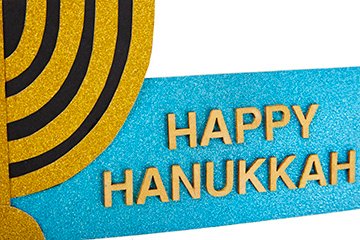
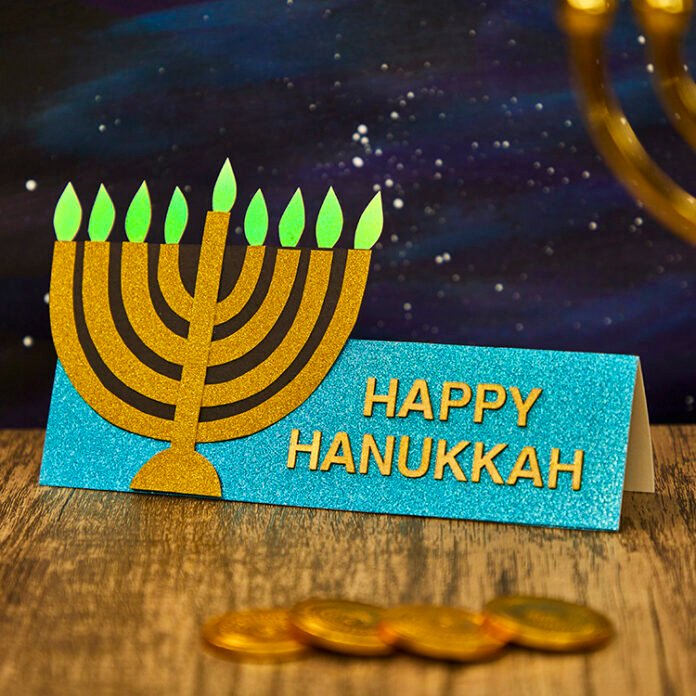
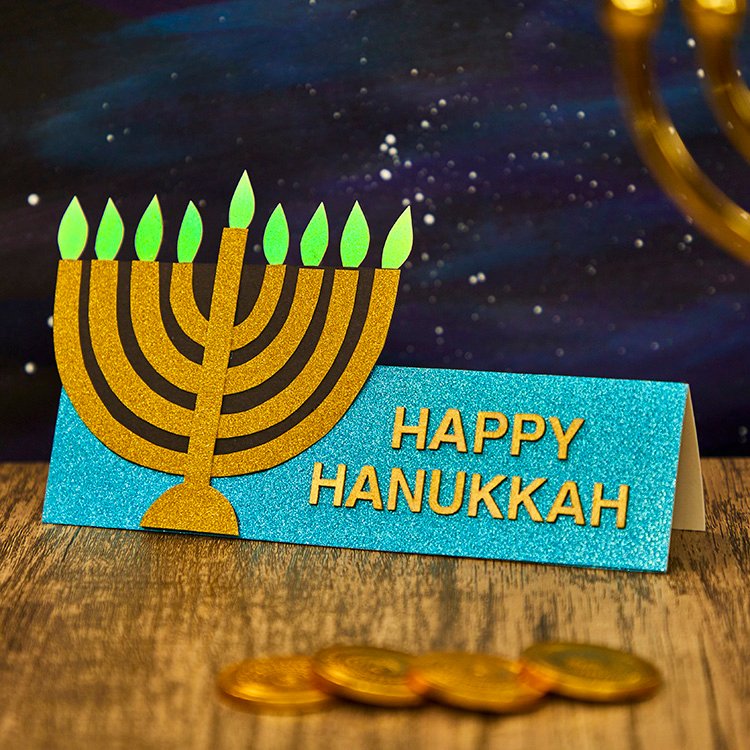
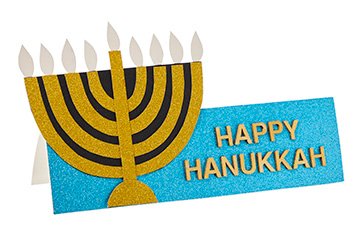
- Paint mini wooden letters in gold for a ‘HAPPY HANUKKAH’ message. Leave the letters to dry.
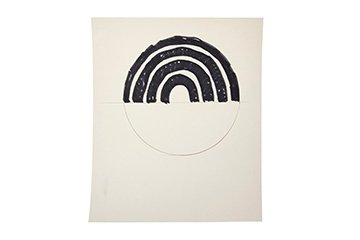
- To make the menorah, draw a 12cm semi-circle on the reverse side of gold glitter card. You could use a roll of tape, small bowl or compass as a guide for making the semi-circle.
Draw more lines inside the semi-circle, like a rainbow. You’ll need 4 separate semi-circles for the menorah branches with a space between each curve. Use a thick felt pen to fill in the lines so the shapes for the branches are clear.
Cut out the 4 branches then glue onto black card with a space between each curve. Trim the black card around the edge. Glue a straight card strip down the middle of the menorah with a small semi-circle for the base. - Cut out 9 flames from glow in the dark card then glue onto the top of the menorah. Make the flames long enough to stick onto the back of the card.
- Fold a piece of 21cm x 15cm glitter card in half as a background. Choose a colour to contrast with the gold menorah. Arrange the painted letters onto the background. Check the position and spelling then glue the letters in place. Use a small brush or a cocktail stick to apply a small amount of glue onto the back of each letter. Glue the menorah onto the background next to the letters.


