Skill Level
Beginner
Time to Make
1 hour
Adult Supervision
Yes

Tagged with:
Advent

Top Tip
Before the clay starts to dry, carefully place a tea light inside the lantern to check it fits inside. If it’s too small, carefully press inside the lantern, around the base to make it wider. For a simpler version, make the lanterns without bases. Use a plate (20-22cm) as a guide for cutting the clay into a curve.
How to Make
Step 1

Step 2

Step 3

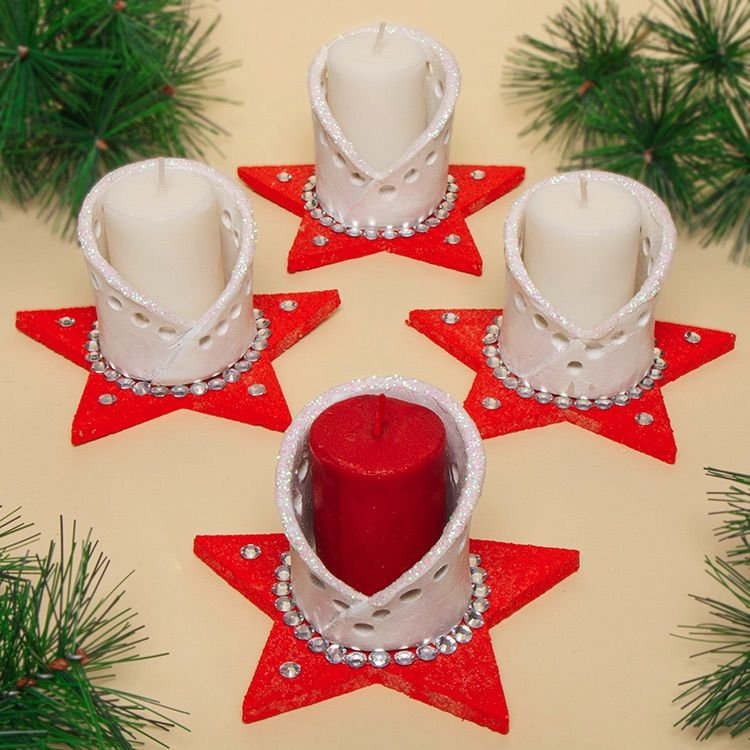
- To make a lantern, break off a piece of clay then shape it into a 6cm smooth ball. Roll the ball between your hands to make a 10cm sausage shape then place it onto a piece of baking parchment on your work surface. Press the clay to slightly flatten it, place another piece of baking parchment on top then roll with a rolling pin until the clay is about 18-20cm long, 7cm wide and 5mm deep.
Wrap up any unused clay so it doesn’t dry out. - Remove the top sheet of baking parchment then cut out a long curved semi-circle shape from the rolled clay, 18cm in length, 6cm at the highest point in the middle.
- Break off a small piece of clay then roll it into a 3cm ball for the lantern base. Flatten the clay into a 4cm circle, or slightly bigger than the width of a tea light. Carefully lift up the long piece of clay from the baking parchment then wrap it around the circle base, with the thin ends overlapping. Smooth around the top edge of the lantern with your fingers. Carefully blend the clay inside the lantern, without distorting the shape, so the base is joined to the piece wrapped around the sides.
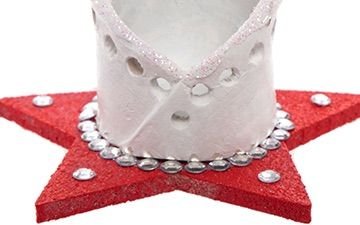
- Use a section cut from piece of drinking straw to make holes around the side of the lantern by carefully pushing the straw through the clay then pulling it back through. If the clay sticks in the end of the straw, pull it out with a cocktail stick or cut off the end from the straw before making the next hole.
- Make 3 more lanterns in the same way then leave the clay to dry out thoroughly.
- Paint 4 x cork coasters with white paint, including around the edges then leave to dry. Paint the coasters red and leave to dry. Add a second coat if necessary.
- Brush white paint over the clay lanterns and leave to dry.
Tip some iridescent glitter into a saucer or shallow container. Squeeze glue along the tops of the lanterns, turn them upside down then dip them into the glitter and leave upright to dry.
Glue the lanterns onto the painted cork bases. - Decorate the bases with sticky gems or paint a design in white or silver if you prefer.
Put an LED tea light into each lantern.


