

This squishies kids craft is a cheerful hands-on project for kids, classrooms, and family craft time. It uses the tutorial steps below as the practical guide while adding helpful planning notes so the project feels easier to prepare, follow, and finish. Gather the supplies first, give yourself a little workspace, and enjoy making something creative from simple materials.
Materials:
Equipment:
- 3 Disposable plastic cup(s)
- 3 Tongue depressors (or plastic spoons, for mixing)
- Black Sharpie marker (for labeling)
- Vinyl gloves (or rubber)
- Kitchen scale
- Silicone donut pan
Instructions:
Step 1: Find what you need
- Gather your supplies and materials.
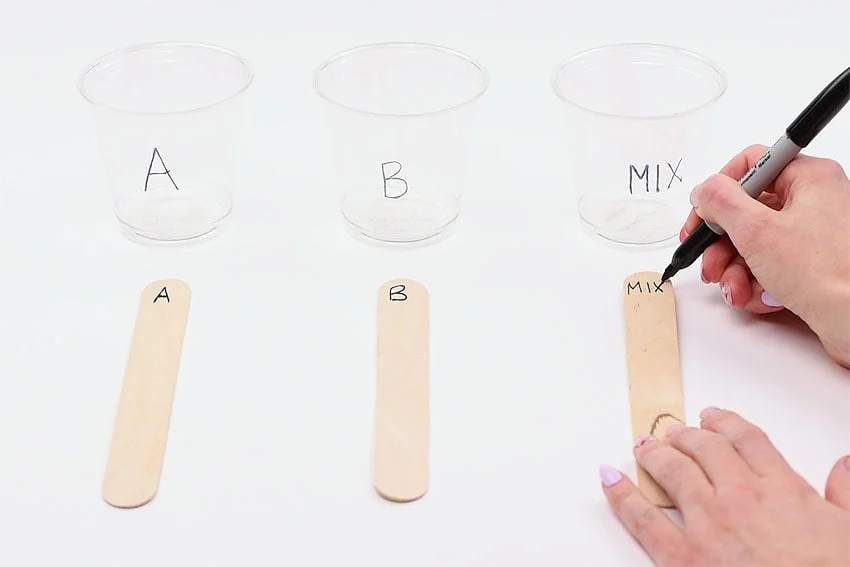
Step 2: Label your cups and stir sticks
- Use a marker to label the plastic cups. Write ‘A’ on one cup, ‘B’ on another, and ‘MIX’ on the third. Label the tongue depressors to match.
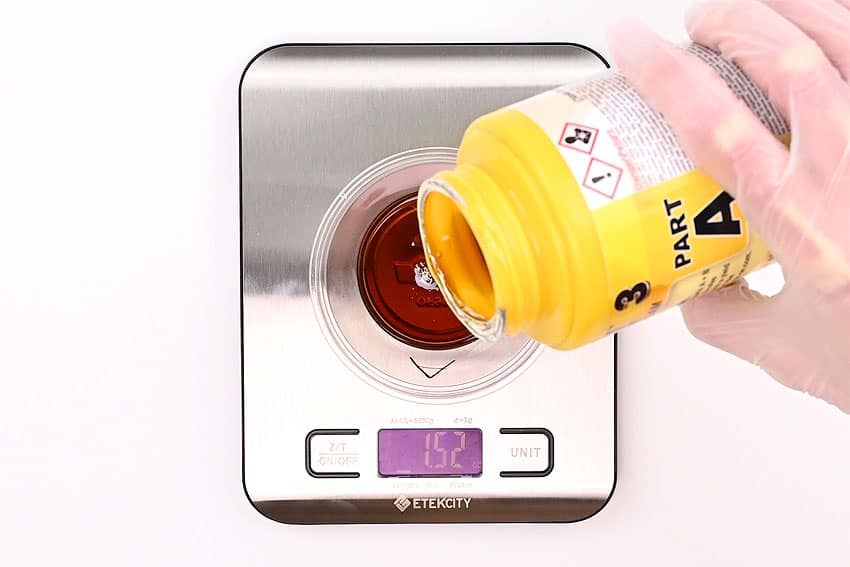
Step 3: Measure the two liquids
- Stir the Part A liquid well with the tongue depressor marked A. Put cup A on a kitchen scale and tare it.Measure out 1-1/2 ounces of solution A into cup A. (Confirm the exact amount with your Foam-It kit instructions).
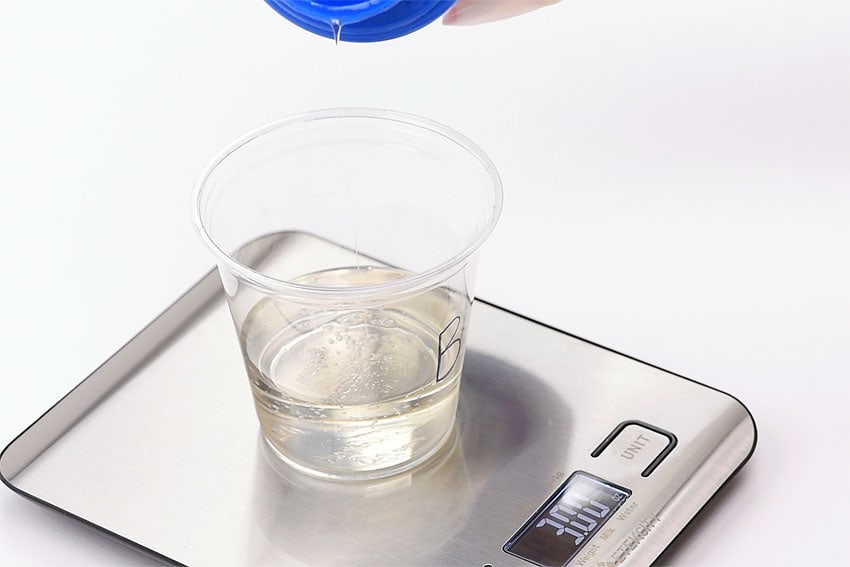
- Stir liquid B well with the B stir stick. Measure out 3 ounces of solution B. (Confirm the exact amount with your Foam-It kit instructions).
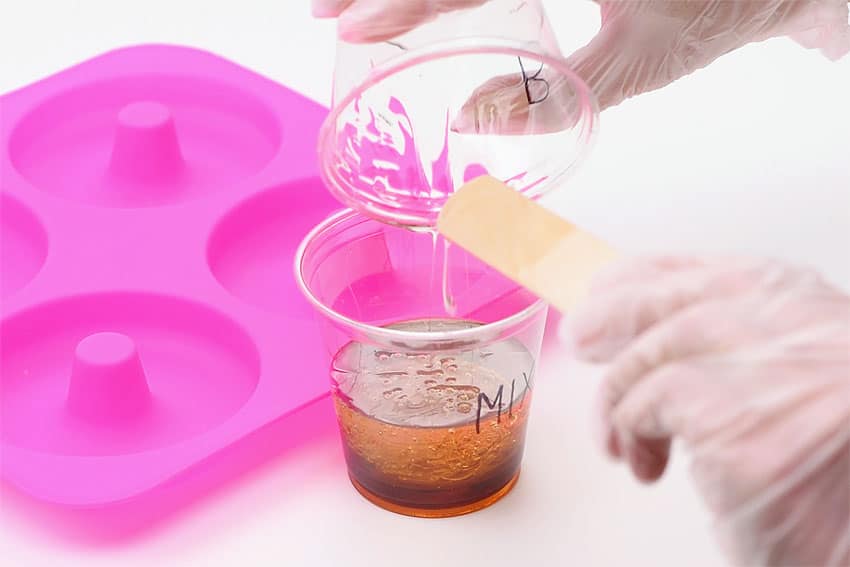
Step 4: Combine the liquids and pour into the mold
- Pour cup A’s contents into the mix cup, making sure to use stir stick A to scrape out all of the liquid.
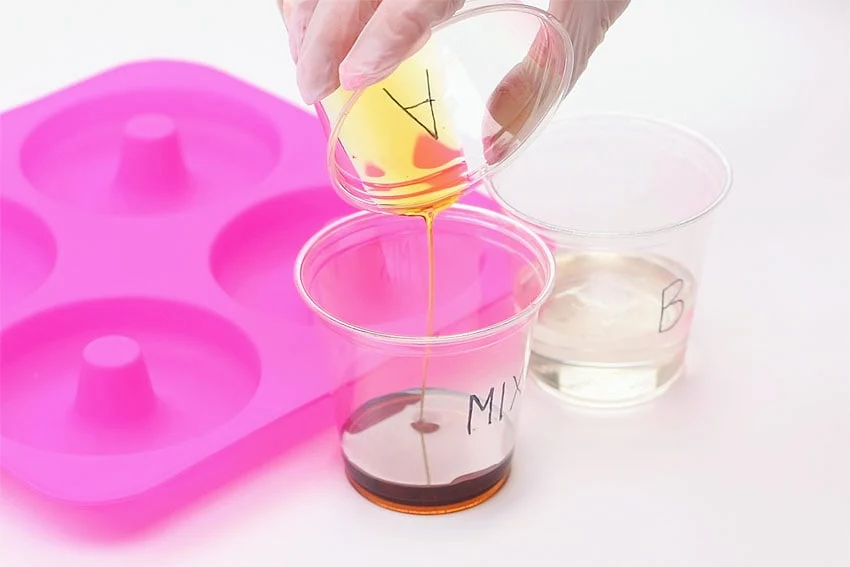
- Pour cup B into the mix cup, again scraping out all the liquid. Make sure to do this quickly, since the chemical reaction will begin as soon as the two liquids touch.
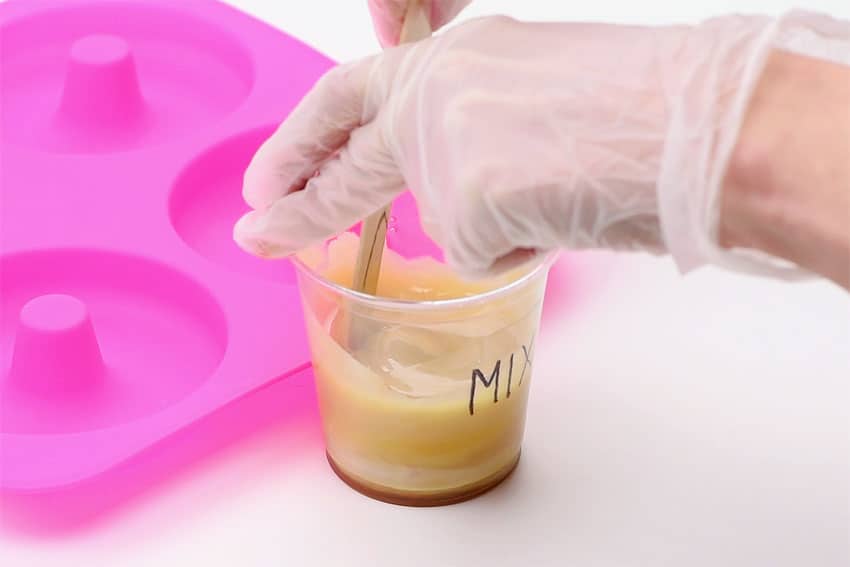
- Use the Mix stir stick to stir the two liquids together. Stir for about 20 seconds, making sure the liquids are well combined.
- Immediately pour the mixture into the silicone mold, covering only the bottoms of each mold.
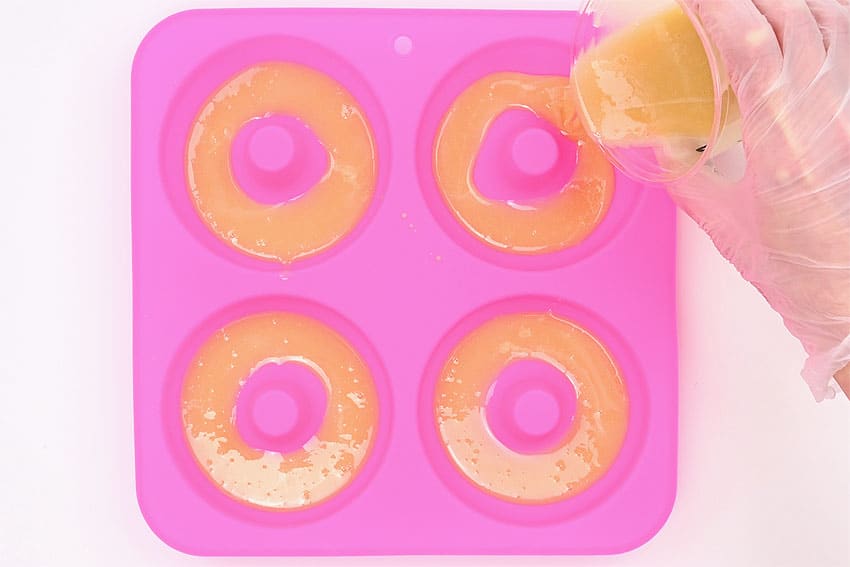
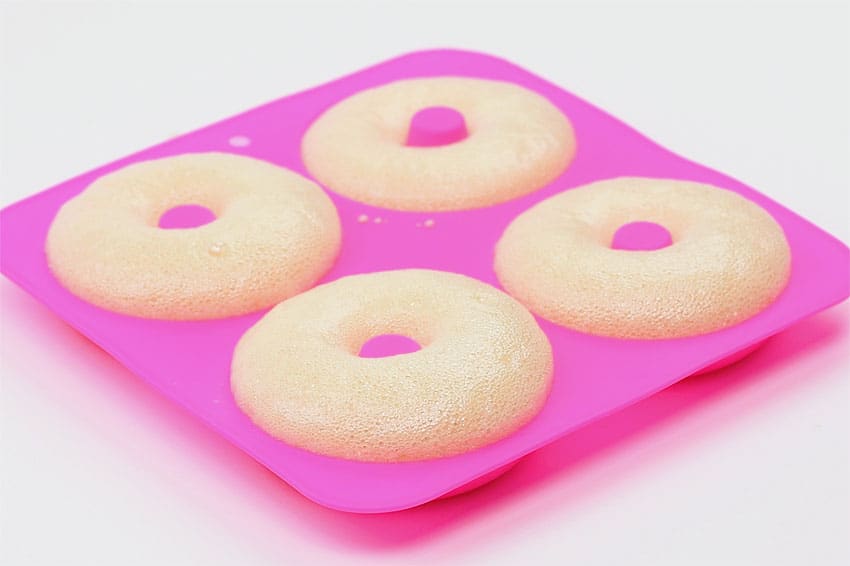
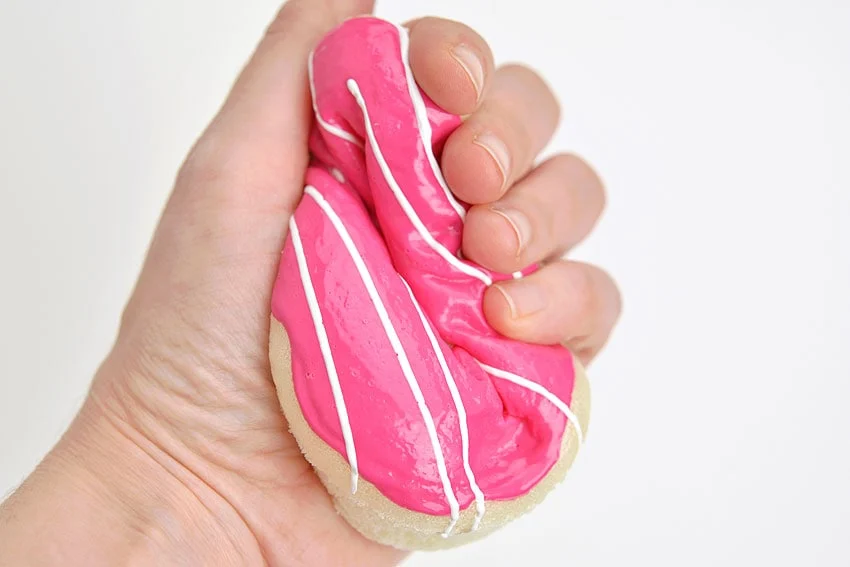
- Watch as the squishies grow before your eyes. The solution will expand to 15 times its size!Leave the squishies to set in the molds for 2 hours.
Step 5: Paint the squishies
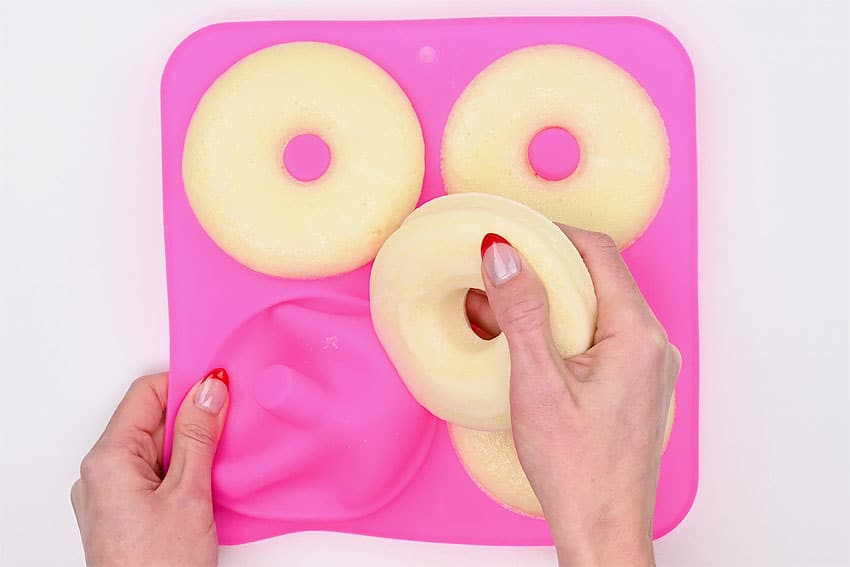
- Once the squishies have set you can remove them from the molds. They should peel away from the silicone easily.
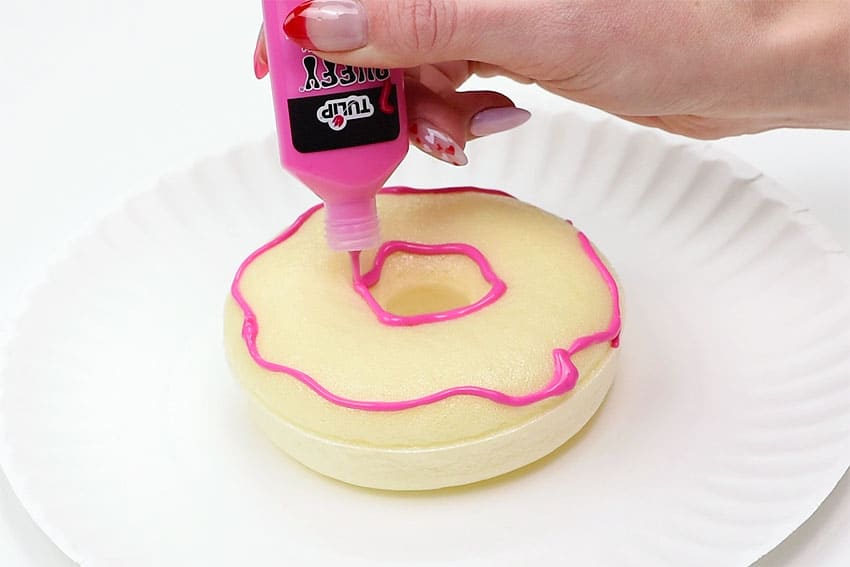
- Use thin lines of puffy fabric paint to create an outline for the donut’s icing.
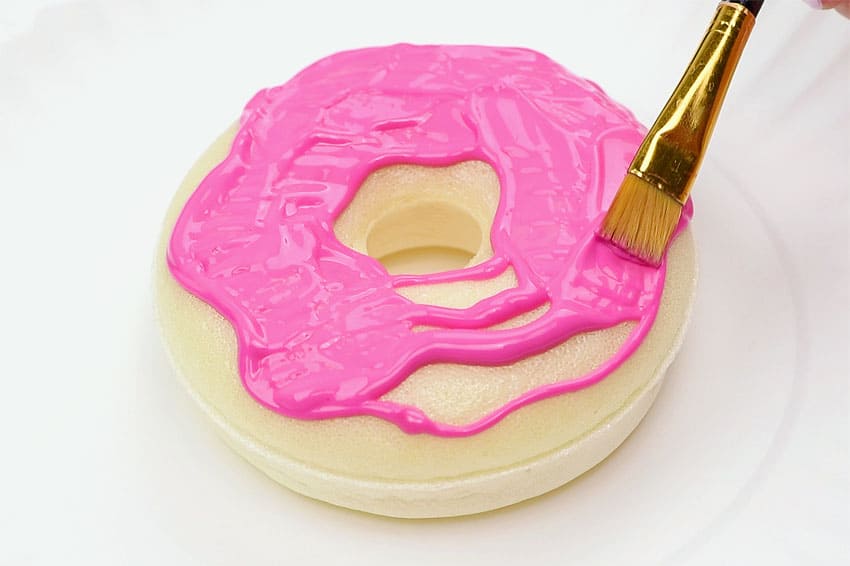
- Add thicker lines of paint inside the lines and use a paintbrush to spread it evenly.Allow paint to dry for 1 hour.
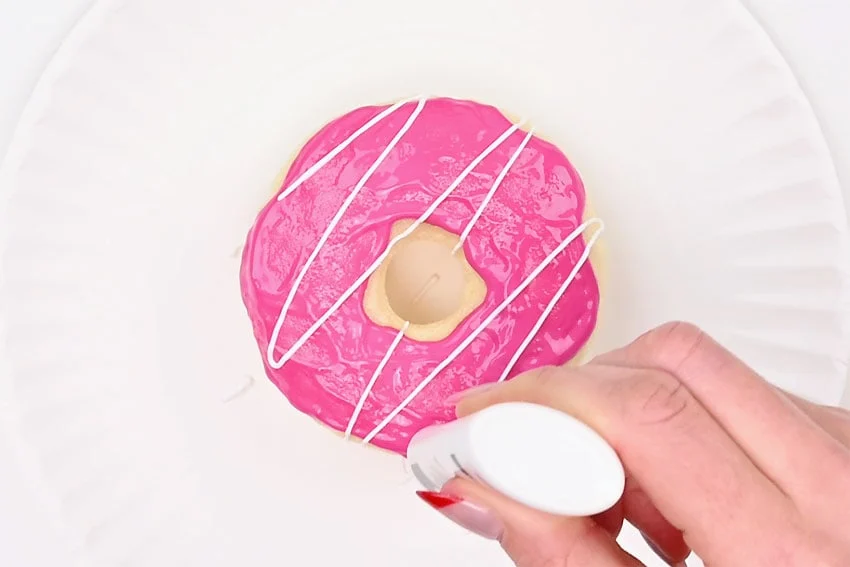
- Add a thin glaze line or sprinkles with a different colour of puffy paint.
- Allow the paint to dry overnight. Make sure the paint is completely dry before playing with the squishy.
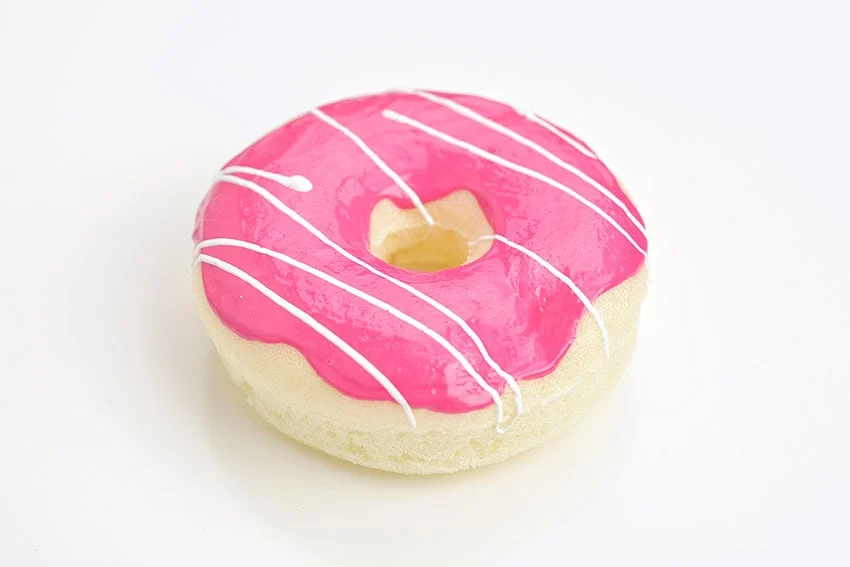
- Your DIY squishies are complete!
Helpful Tips
- Read through the full tutorial before starting.
- Prepare the listed supplies ahead of time so each step is easier to follow.
- Check the finished craft against the instructions before displaying or using it.
FAQs
Is this tutorial beginner friendly?
Yes. This squishies kids craft is written with simple steps and extra tips for beginners.
Can kids make this craft independently?
Older kids may be able to work independently, while younger kids should have help with any steps that require close attention or small pieces.
How long does the craft take?
Most versions take about 30 minutes, depending on the materials and the pace of the crafter.
Can I use different colors?
Yes. Changing the colors is one of the easiest ways to personalize the finished craft.
Final Thoughts
Once the squishies kids craft is finished, take a moment to check the details, compare the result with the tutorial, and display the project somewhere kids can enjoy their work.
Affiliate disclosure: This post may contain Amazon affiliate links. As an Amazon Associate, Easy Crafts Ideas may earn from qualifying purchases at no extra cost to you.


")


