

How to Make a Paper Squishy
It’s so cool to make your own paper squishy!! Transform one of our free templates (or your own drawing) into a 3D toy that you can play with! This simple art project for kids is a fun and inexpensive way to make your own customized DIY toy.
Step 1: Find what you need
-
- Gather your supplies and materials.
Step 2: Print and colour the squishy template
-
- Print one of our free printable paper squishy templates!Find the link for the cupcake in the materials list above, or keep reading to find the other characters.
-
- Use alcohol markers (or another coloring tool) to colour the first page of the squishy template.
-
- Cut out the food shape close to the black line, so no white shows around the edge.
-
- Colour the second page (the back of the squishy) and cut it out.
Step 3: Add the first lengths of tape
-
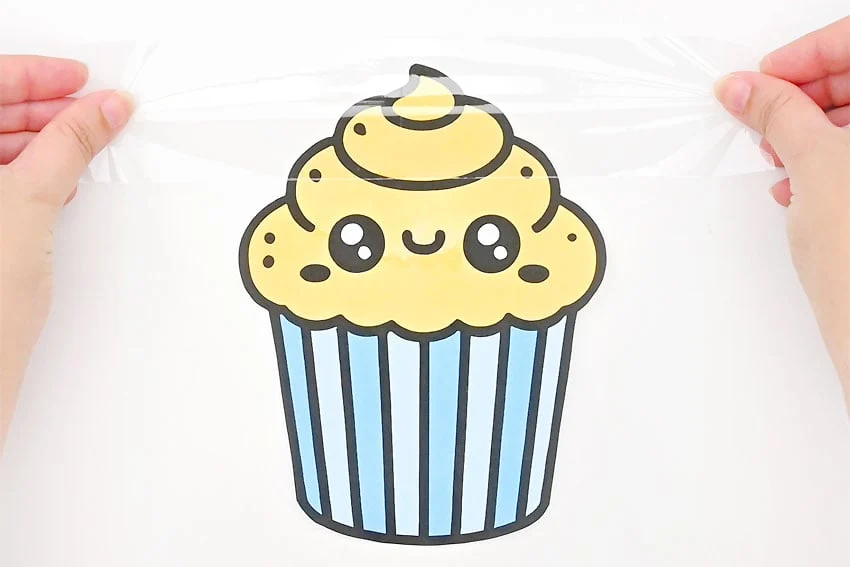
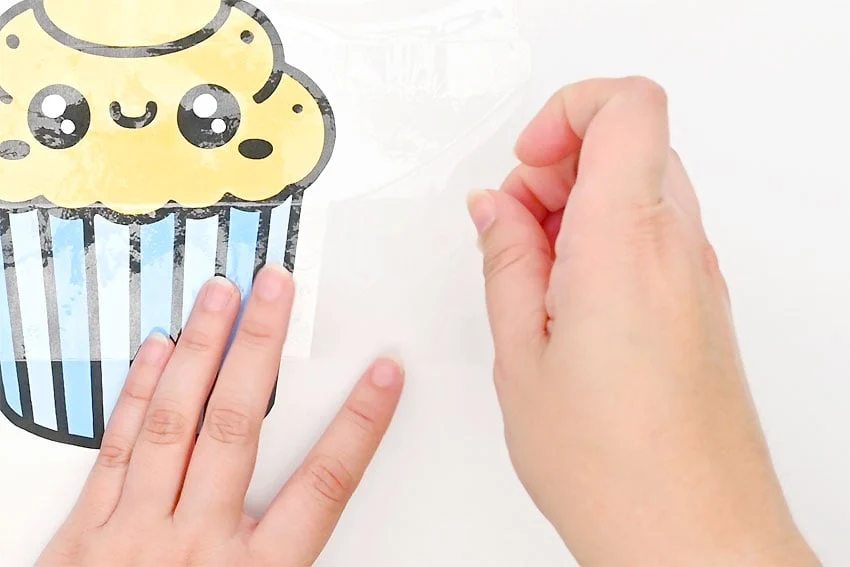
- Cut a piece of packing tape that’s at least 4 inches longer than your squishy is wide.Place the tape onto the paper so it’s overlapping both the top and the sides.
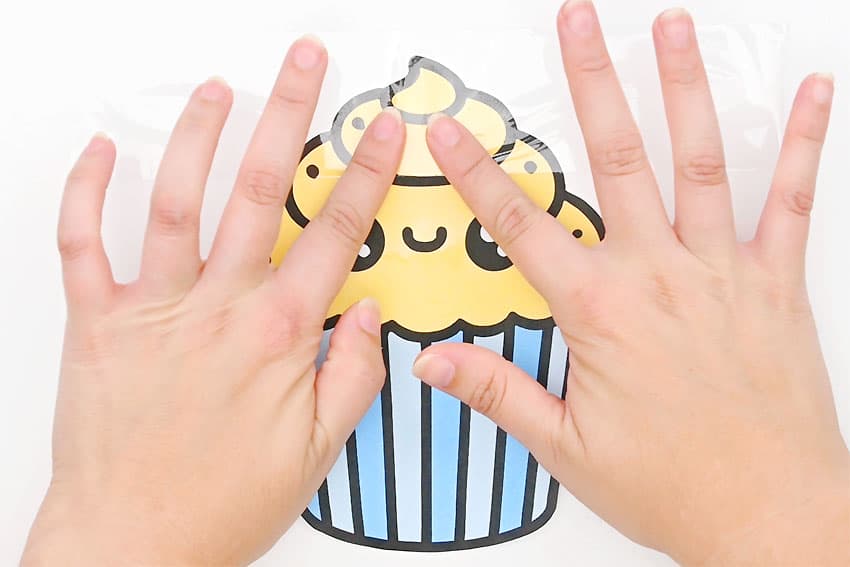
- Press the tape down onto the paper to make sure it’s smooth and completely adhered to the paper. You can also use a ruler or scraper tool to do this.
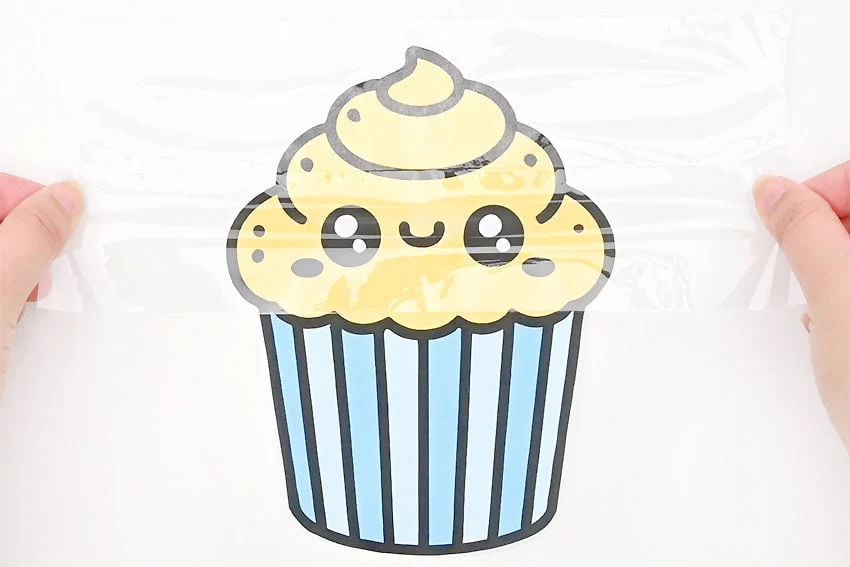
- Place a second piece of tape below the first, as close as you can get without overlapping.Again, smooth the tape down.
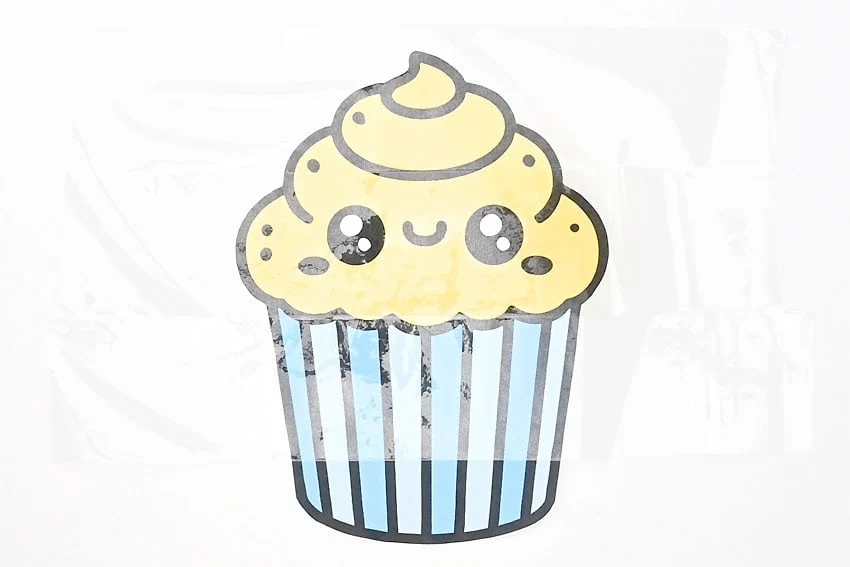
- Repeat, adding tape until the next piece would overlap the bottom of the paper.Stop at this point, making sure the bottom of the paper is tape-free.
Step 4: Make cuts in the tape
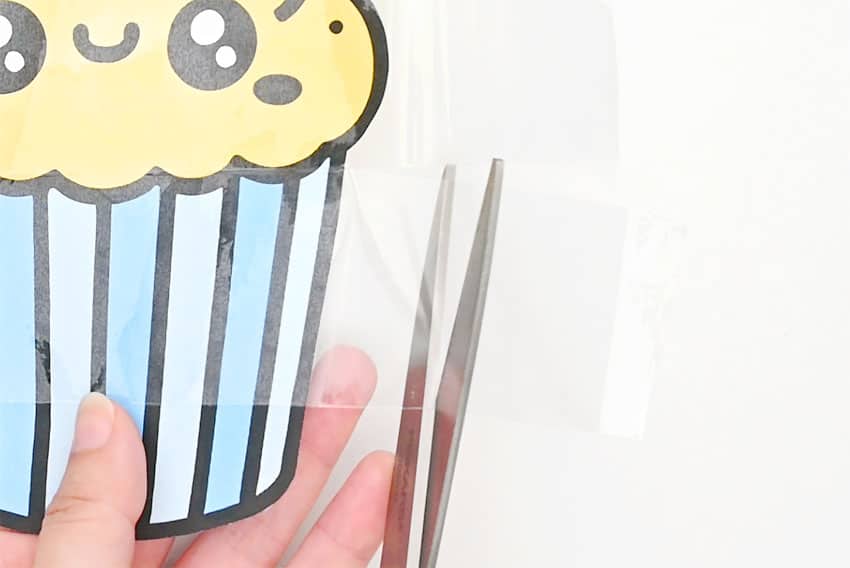
- Lift the template up, carefully pulling the tape away from your working surface.
- Cut off some of the excess tape, following the shape of the squishy and leaving about an inch along each side.
- Cut slits in the tape wherever there’s a rounded edge, making sections between 1/2 to 1 inch in size.This will make it easier to connect the two sides.
Step 5: Attach the back side of the squishy
- Flip the template upside down so that the sticky side of the tape is facing up.
- Set the back of the squishy on top of the front, with the right side up (both white sides in the middle).Be careful placing it, so the edges align neatly and the paper doesn’t get stuck on the tape.
- Hold the back in place as you fold the tape onto it, connecting the two pieces of paper.Continue all the way around, making sure the bottom part still has no tape on it.
- Now cover the back with tape. This time cut the pieces shorter so they just cover the plain paper. Try not to overlap much with the taped edges.Again, make sure you leave the bottom part free of tape.
Step 6: Add stuffing and close off the squishy
- Open up the bottom of the squishy and insert stuffing. Continue until you’re happy with the amount of squish.Don’t fill the squishy too full, or else the paper might rip open.
- Set the squishy down so you see the front again. Make sure all the stuffing is hidden inside and add another piece of tape to the bottom section. This tape should overlap the sides and the bottom.
- Trim the tape, if needed, and cut slits into the tape at the rounded edges.
- Fold the tape over to the other side, making sure all the paper is covered with tape.
- Your paper squishy is complete!
Helpful Tips
- Read through the full tutorial before starting.
- Prepare supplies ahead of time for younger kids.
- Let glue or paint dry fully before handling the finished craft.
FAQs
Is this tutorial beginner friendly?
Yes. This paper squishy paper craft is written with simple steps and extra tips for beginners.
Can kids make this craft independently?
Older kids may be able to work independently, while younger kids should have help with cutting, glue, or paint.
How long does the craft take?
Most versions take about 30 minutes, plus extra drying time if glue or paint is used.
Can I use different colors?
Yes. Changing the colors is one of the easiest ways to personalize the finished craft.
Final Thoughts
Once the paper squishy paper craft is finished, take a moment to check the details, let any glue or paint dry fully, and display the project somewhere kids can enjoy their work.


")


