This easter egg bird feeder kids craft is a cheerful hands-on project for kids, classrooms, and family craft time. It uses the tutorial steps below as the practical guide while adding helpful planning notes so the project feels easier to prepare, follow, and finish. Gather the supplies first, give yourself a little workspace, and enjoy making something creative from simple materials.
Materials:
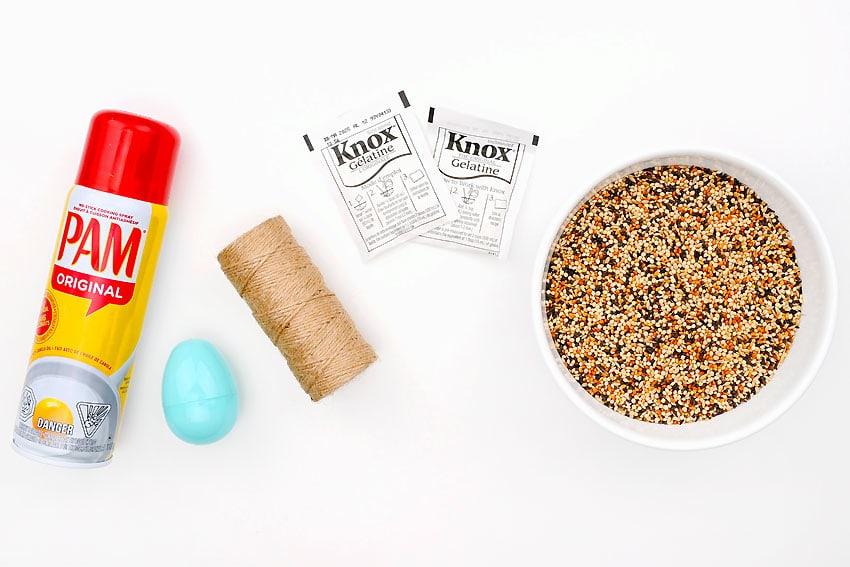
- Water
- Gelatin
- Birdseed
- Twine
- Cooking spray
Equipment:
Instructions:
Step 1: Find what you need
- Gather your supplies and materials.
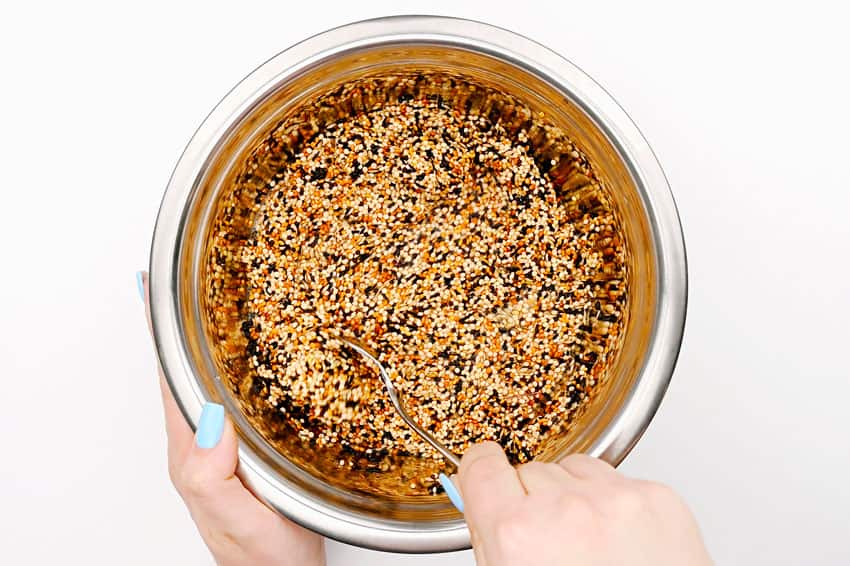
Step 2: Prepare the birdseed mixture
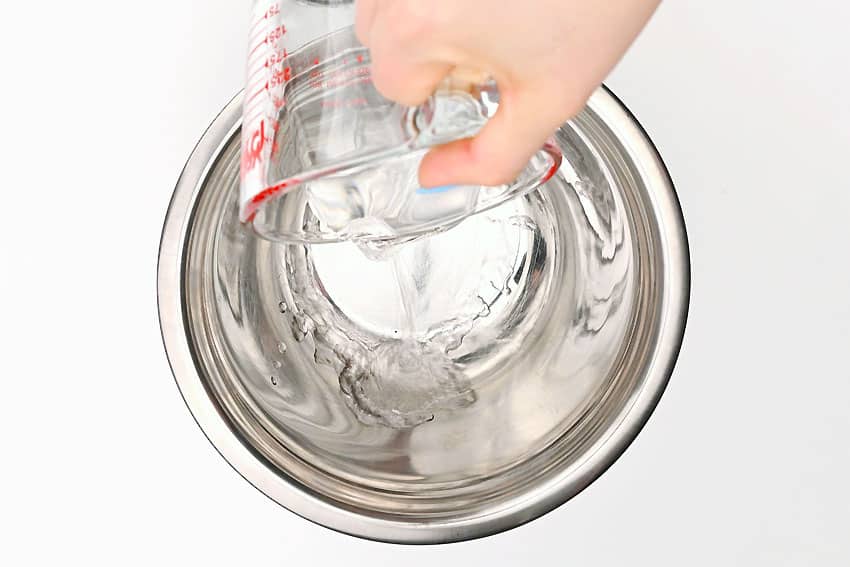
- Pour 1/2 cup of cold water into a mixing bowl.
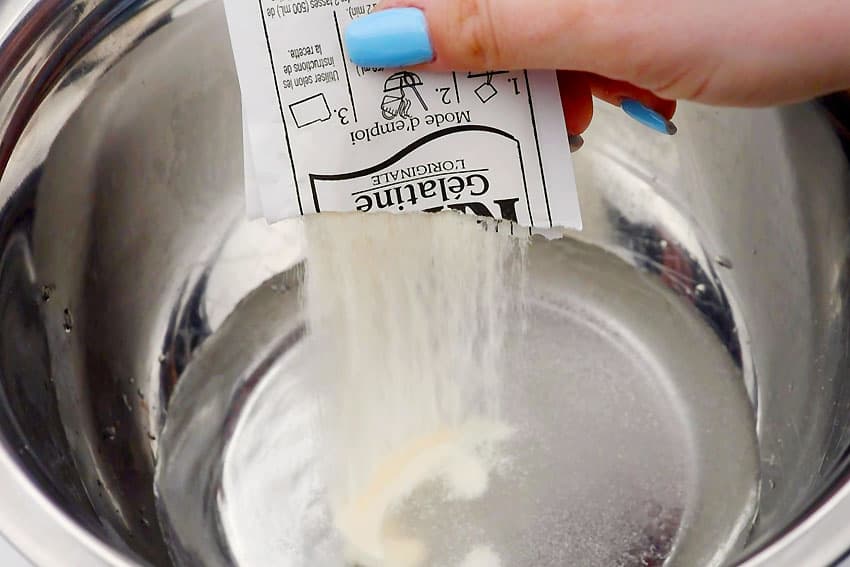
- Add 2 packages of gelatin to the bowl.
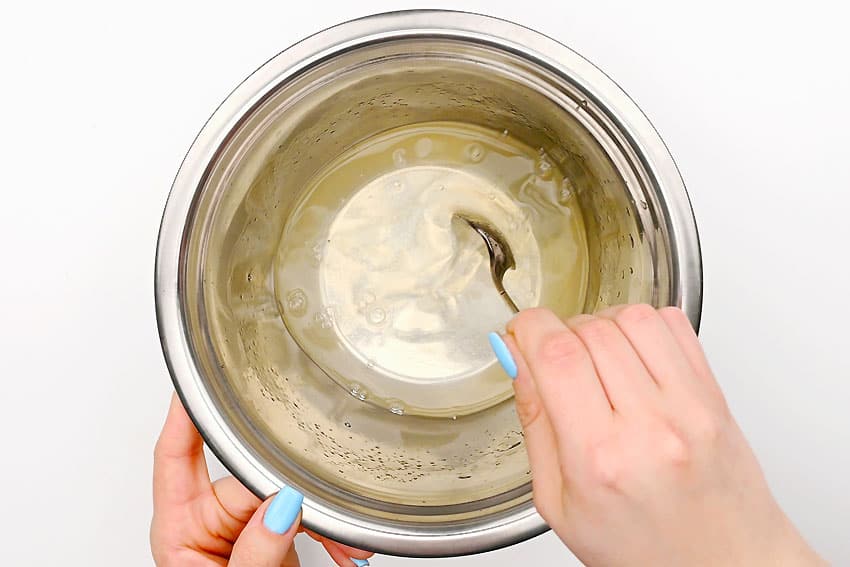
- Pour 1/2 cup of boiling water into the bowl. Stir until the gelatin is completely dissolved.
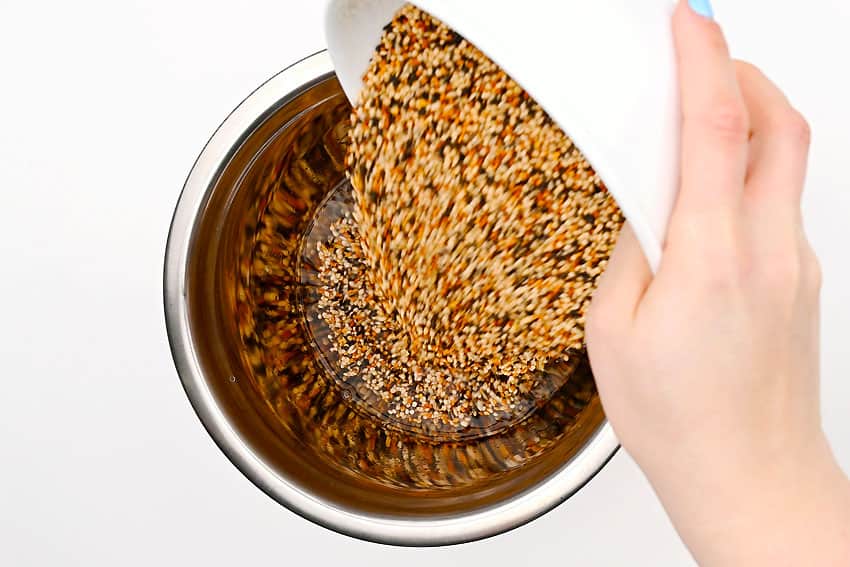
- Pour 2-1/2 cups of bird seed into the gelatin mixture.
- Stir until well mixed, then refrigerate for 10 minutes.
Step 3: Prepare the egg mold
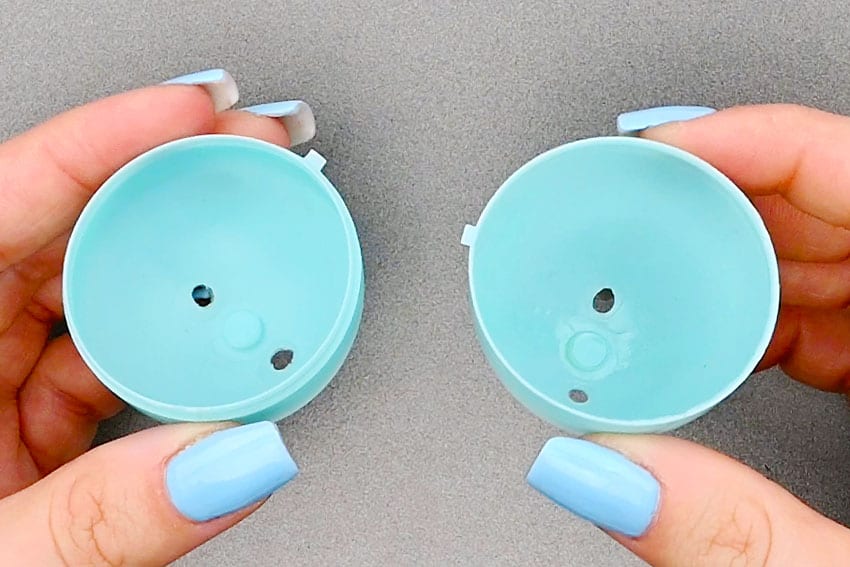
- Separate a plastic Easter egg into 2 halves. Cut the plastic hinge, if needed.
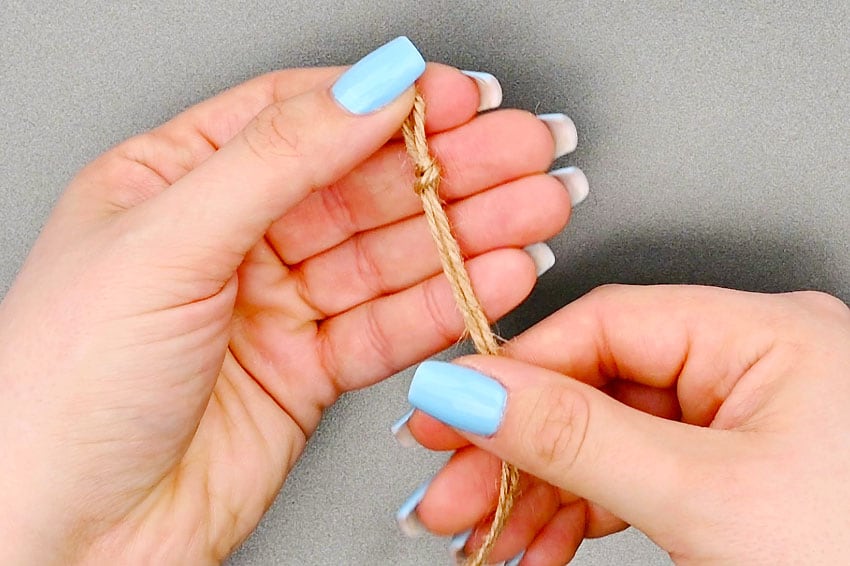
- Cut a 12 inch piece of twine and fold it in half. Tie a knot near the fold.
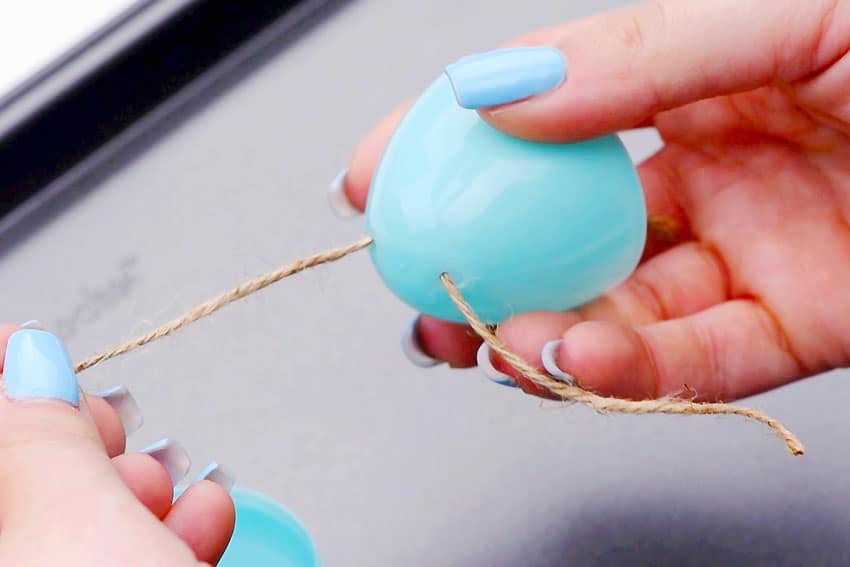
- Slide the ends of the twine up through the holes in the egg top.
- Spray both halves of the egg generously with cooking spray.You can also brush a small amount of regular cooking oil into the egg halves.
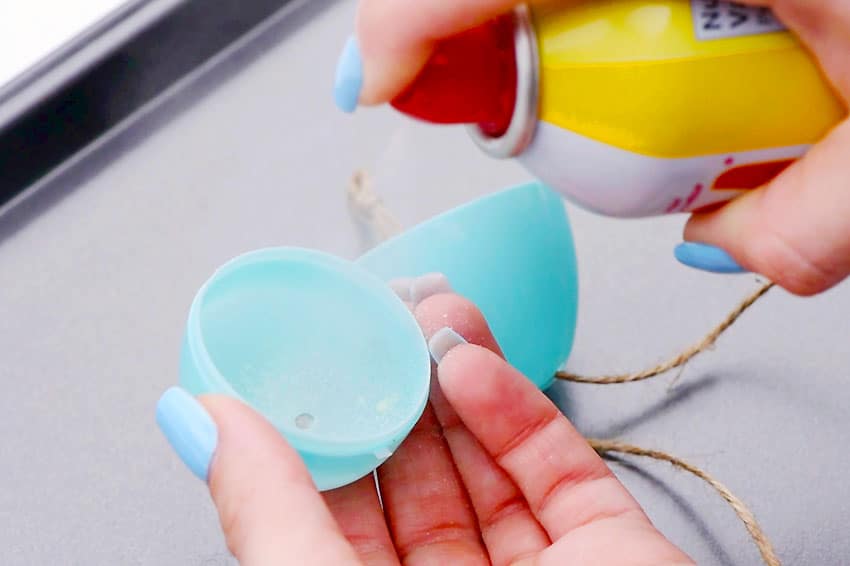
Step 4: Fill the mold
- Hold the egg halves in one hand (or set them together) and place the knotted twine so it goes into the bottom half of the egg.
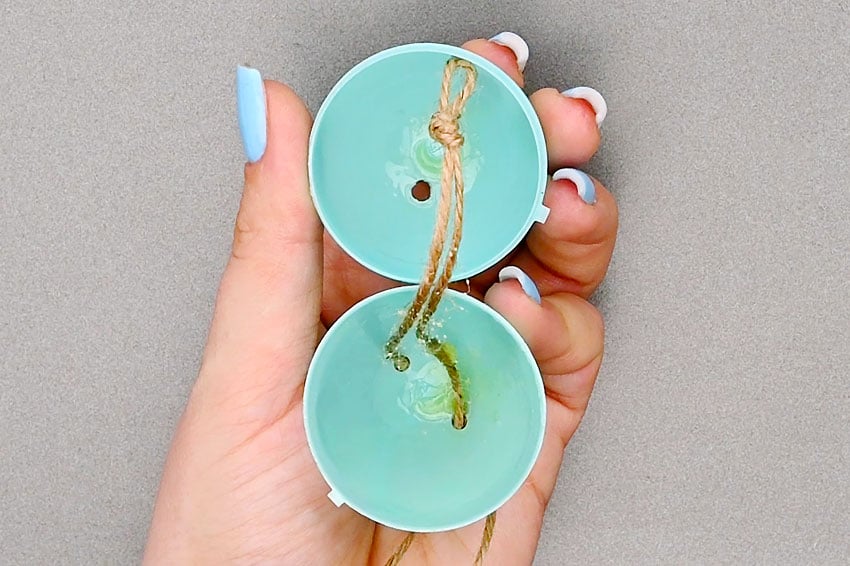
- Fill both halves of the egg with the birdseed mixture, pressing it down with a spoon so it’s well packed.
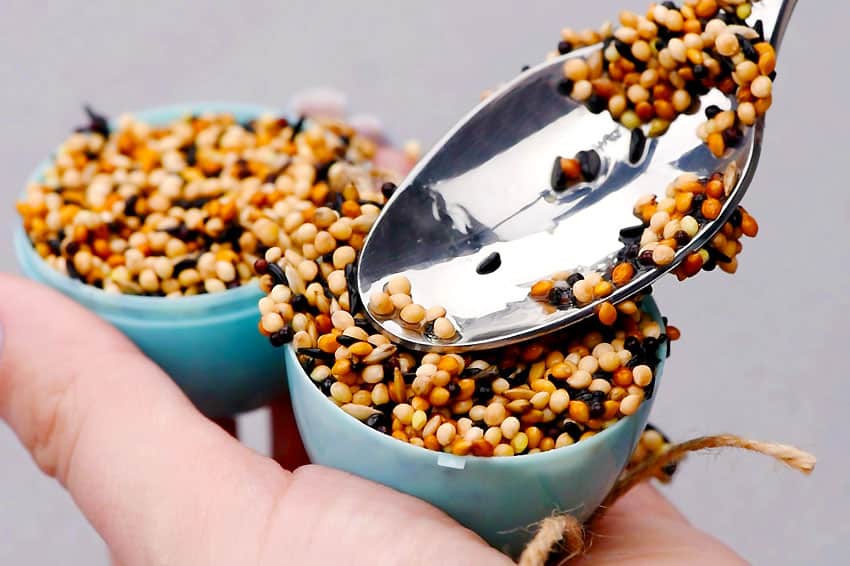
- Close the plastic egg, pressing the halves of the birdseed ornament together.
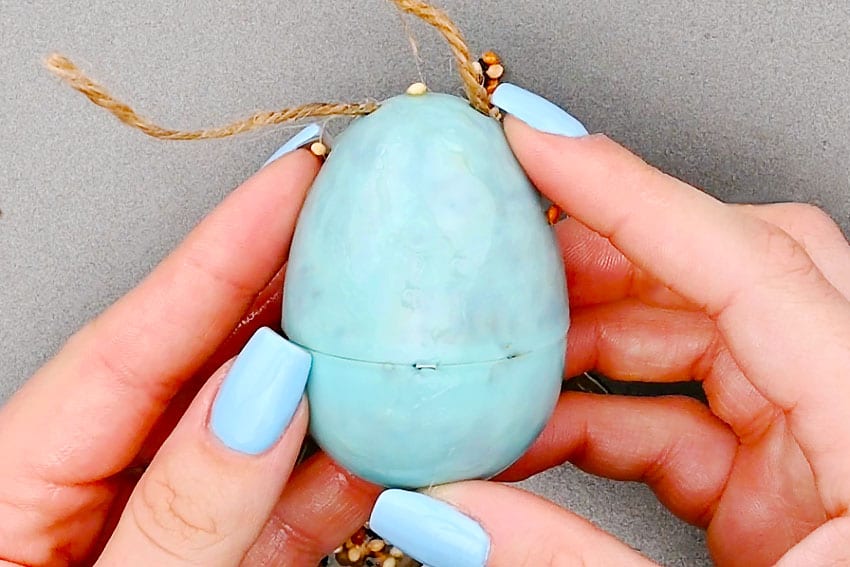
Step 5: Refrigerate the eggs
- After a few minutes, carefully remove the top of the plastic egg.
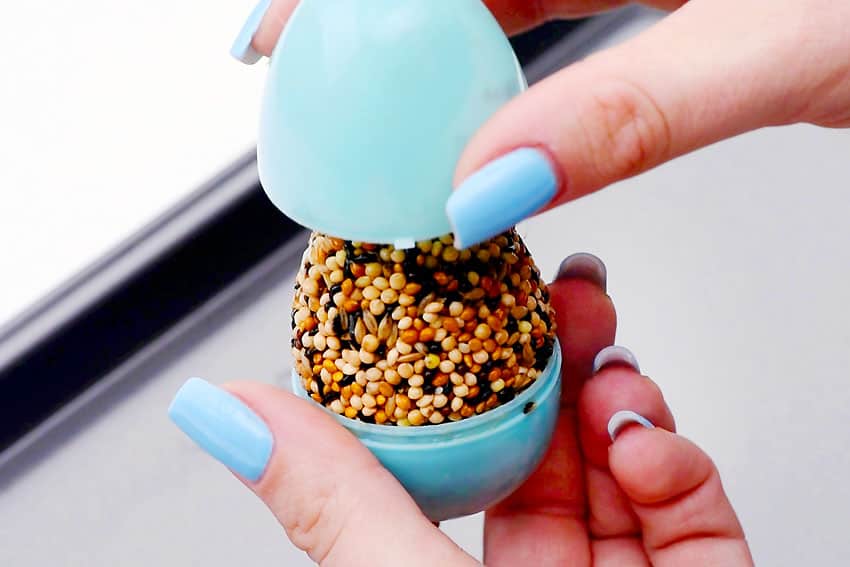
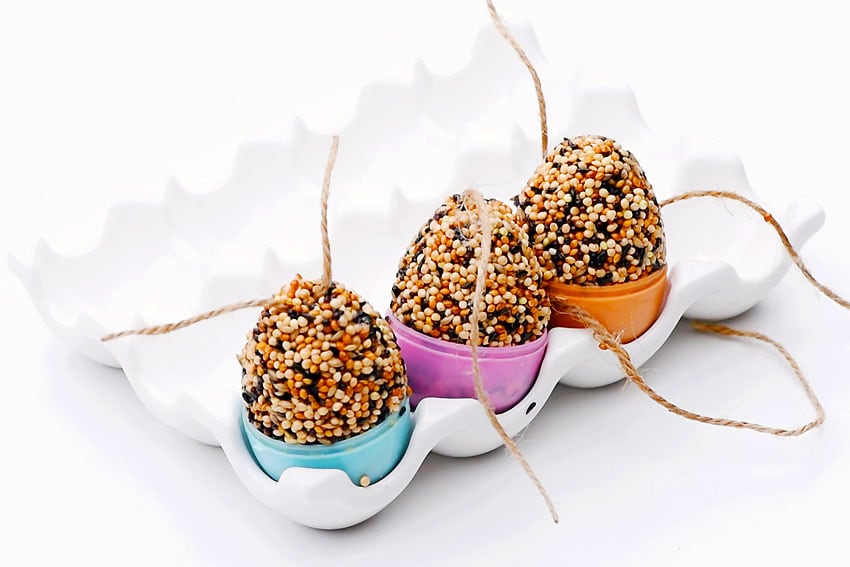
- Repeat to make more birdseed ornaments. This amount of birdseed mixture should make about 12 egg bird feeders, but this may vary depending on the size of the plastic eggs used. Set the the bird feeders in an egg carton, egg holder, or muffin tin and refrigerate overnight.
Step 6: Remove the birdseed ornament
- Remove the egg from the bottom half of the “shell.”
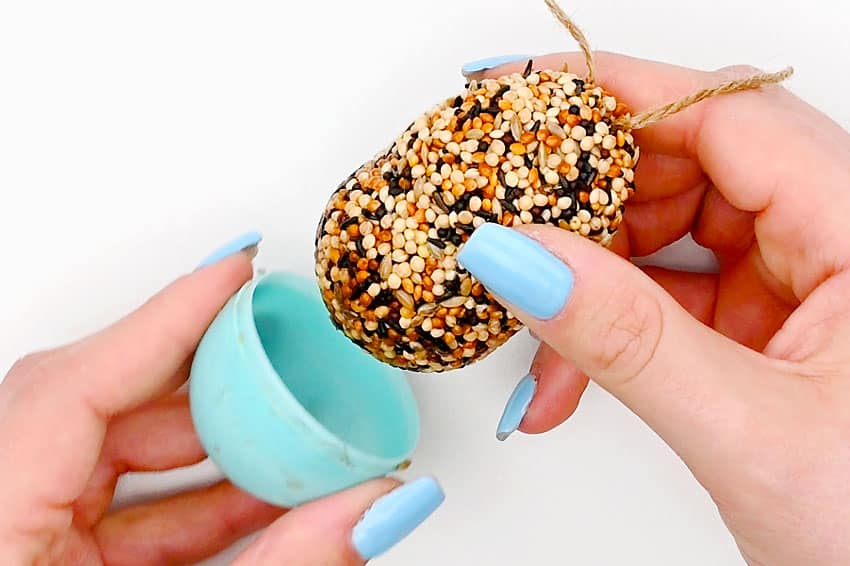
- Tie the twine into a knot.
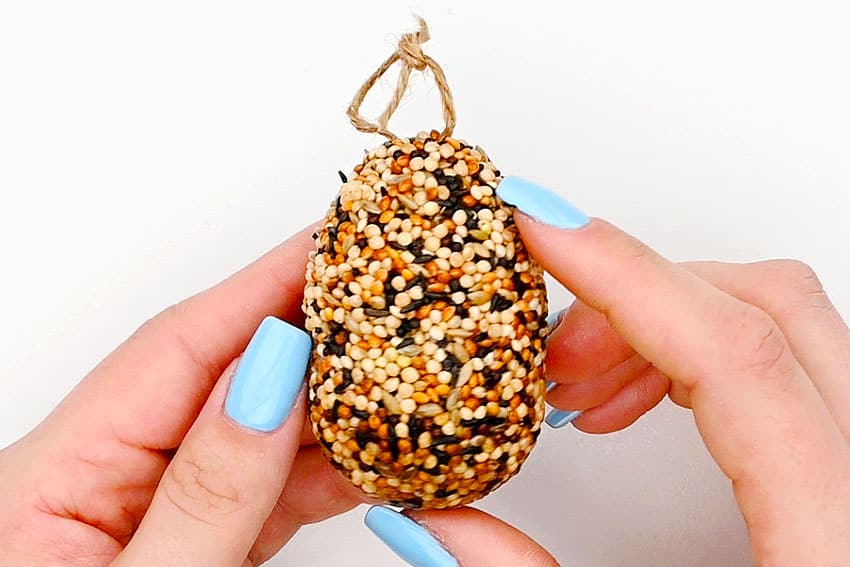
- Your Easter egg bird feeder is complete!
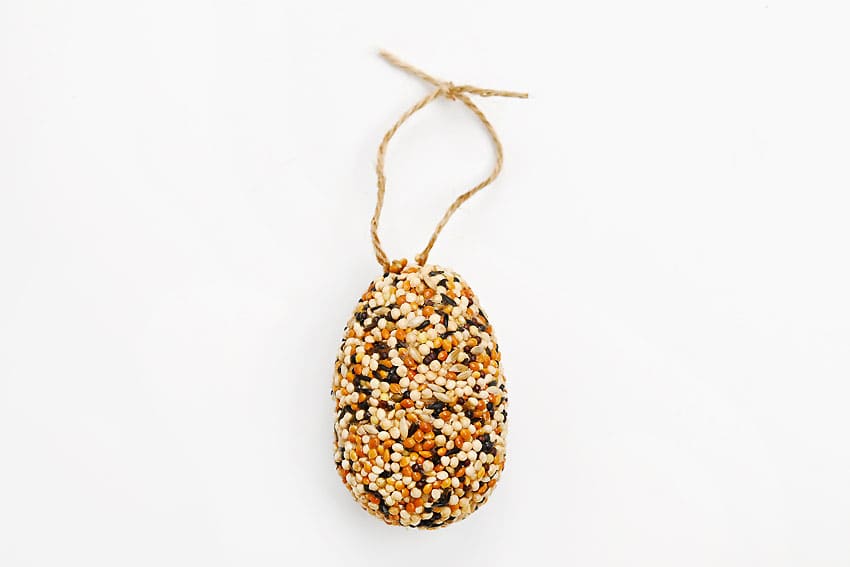
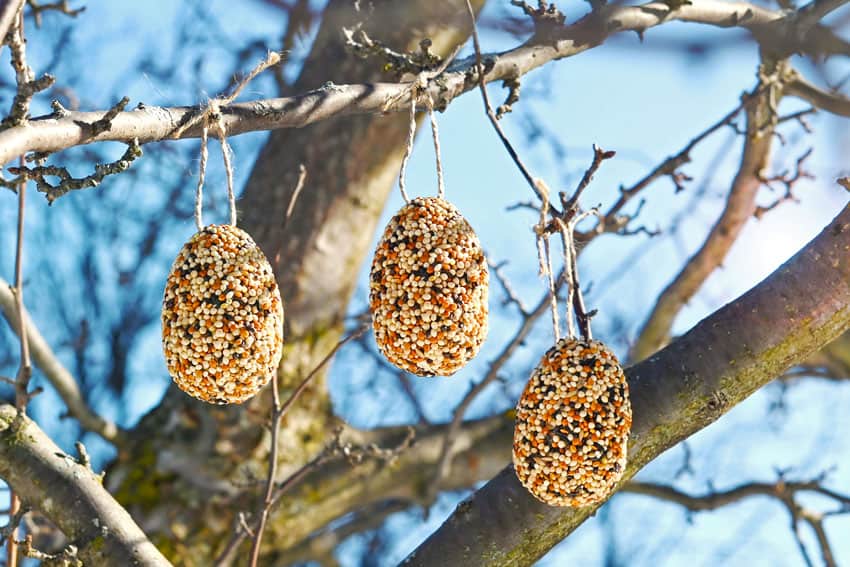
- Hang your Easter egg bird feeders outside and see what feathered friends come to visit!
Helpful Tips
- Read through the full tutorial before starting.
- Prepare the listed supplies ahead of time so each step is easier to follow.
- Check the finished craft against the instructions before displaying or using it.
FAQs
Is this tutorial beginner friendly?
Yes. This easter egg bird feeder kids craft is written with simple steps and extra tips for beginners.
Can kids make this craft independently?
Older kids may be able to work independently, while younger kids should have help with any steps that require close attention or small pieces.
How long does the craft take?
Most versions take about 30 minutes, depending on the materials and the pace of the crafter.
Can I use different colors?
Yes. Changing the colors is one of the easiest ways to personalize the finished craft.
Final Thoughts
Once the easter egg bird feeder kids craft is finished, take a moment to check the details, compare the result with the tutorial, and display the project somewhere kids can enjoy their work.
Affiliate disclosure: This post may contain Amazon affiliate links. As an Amazon Associate, Easy Crafts Ideas may earn from qualifying purchases at no extra cost to you.