How to Make Pipe Cleaner Flower Rings
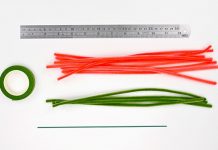
Here’s a list of what you’ll need. The affiliate links below will take you to products on Amazon that are similar to the supplies we used to make this craft:
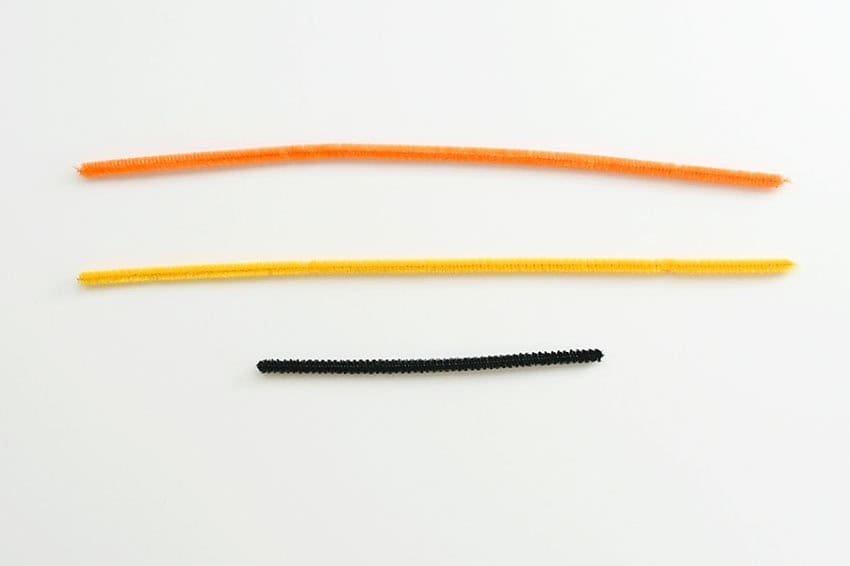
The longer pipe cleaners will be the butterfly’s wings. I made about 10 of these pipe cleaner butterfly rings and I found that they looked the nicest when you used two shades of the same colour for the wings. So light orange and dark orange pipe cleaners. Or light purple and dark purple. Or light pink and dark pink. Etc.
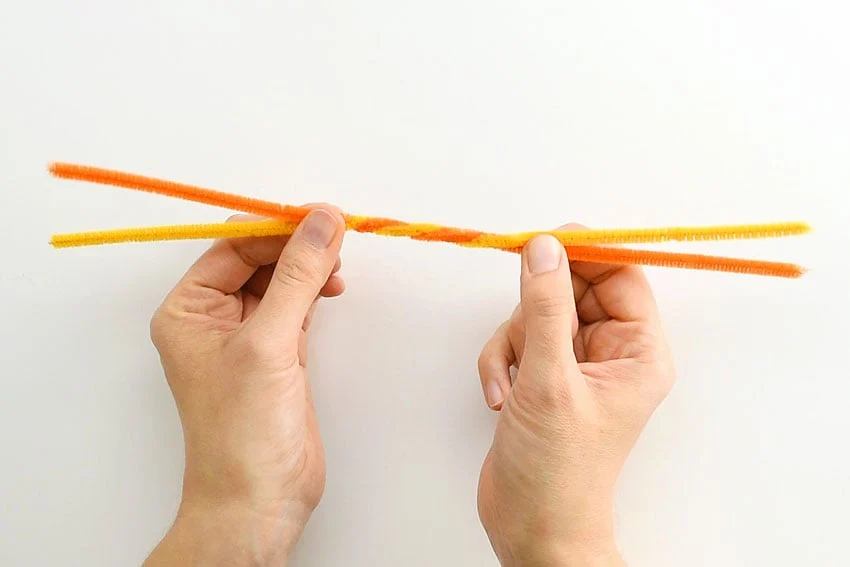
Take the two longer pipe cleaners and line up the ends. Then twist them in the middle about 4 or 5 times.
This part of the ring will go around your finger, so it just helps keep it ring shaped if the pipe cleaners are twisted, just a little bit.
Place the middle of the pipe cleaners under one of your fingers, making sure the length of pipe cleaners on both sides is equal.
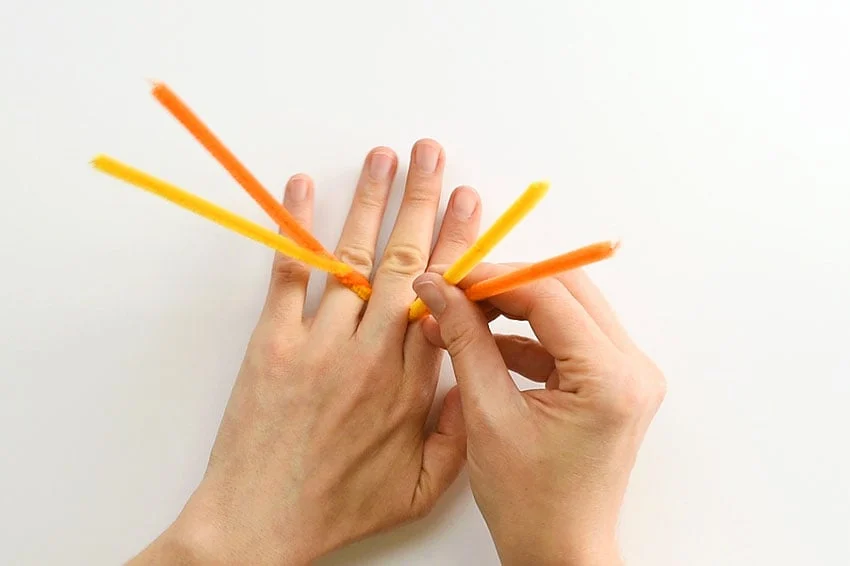
Then twist the pipe cleaners around themselves a couple of times. I find it helpful to take the ring off your finger before you twist it.
Sometimes when you twist the pipe cleaners, it makes your ring smaller by accident. So if the ring ends up being too small, untwist it and try twisting it again until the ring fits nicely on your finger.
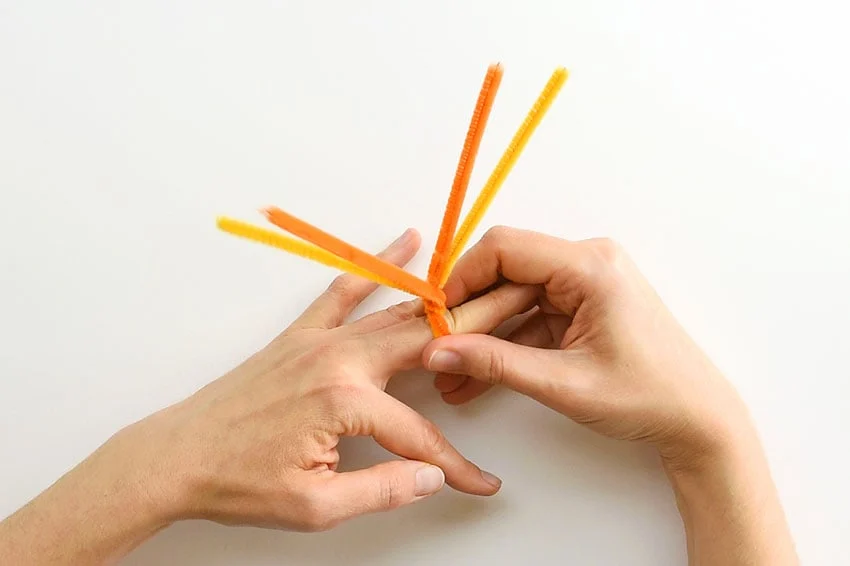
Take the 4 pipe cleaner ends and spread them out them evenly, as shown in the photo below.
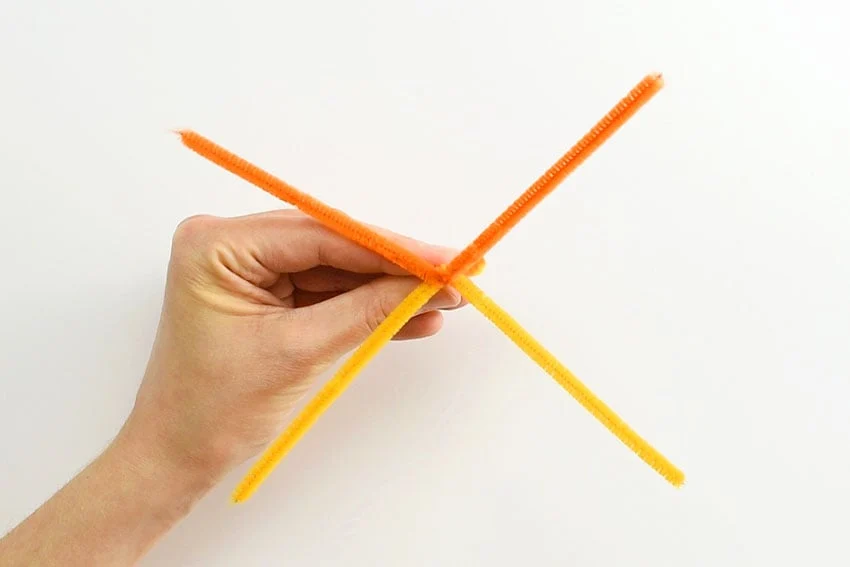
Now you’ll have to decide which wings you want on the top, and which wings you want on the bottom.
Whichever colour you decide you want on the bottom, snip off a little less than 1 inch from the ends of those pipe cleaners, as shown in the photo below.
We’re trimming them because we want the butterfly’s bottom wings to be just a little bit smaller than the top wings.
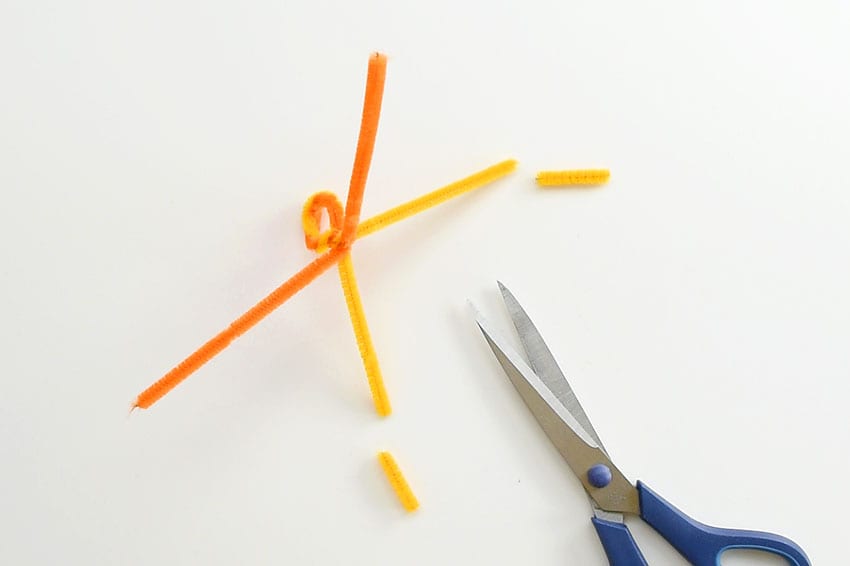
Pinch the end of the pipe cleaner and roll it into a tight spiral, towards the middle.
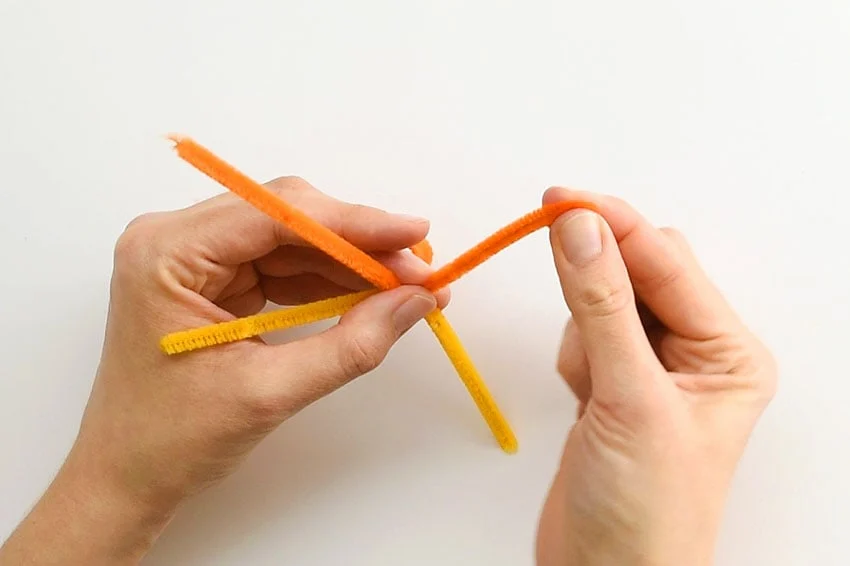
Repeat for the other 3 ends of the pipe cleaners. Pinch each end of the pipe cleaner and roll it into a tight spiral, towards the middle.
For the top wings, make sure you roll the spiral down towards the bottom wings. And for the bottom wings, make sure you roll the spiral up towards the top wings.
You can see in the photo below that my top wings have the spirals that are rolled towards the bottom. And even though you might not be able to see it, the bottom spirals were rolled towards the top. It just helps the butterfly keep it’s shape if your spirals go towards each other, rather than away from each other.
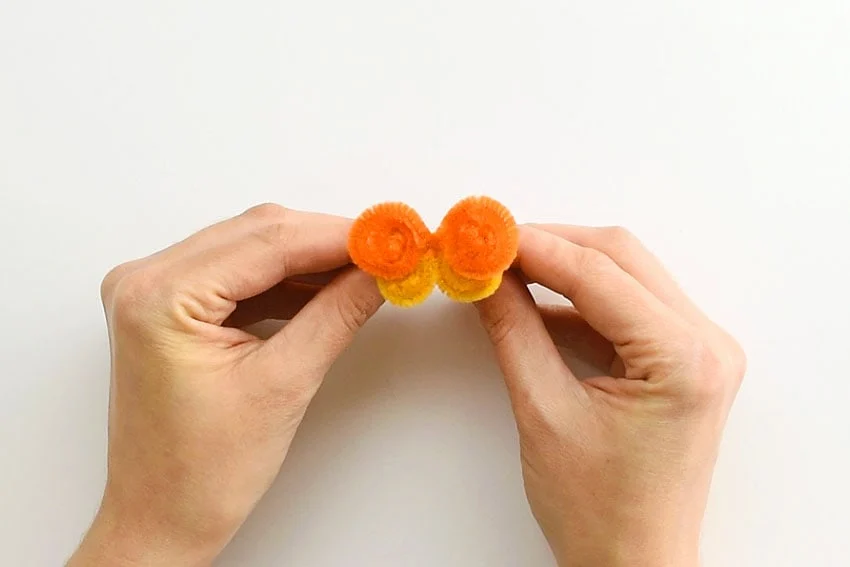
Make sure the bottom wings are tucked behind the top wings. Then pinch the wings to bend them into a wing shape as shown in the photo below. (You can watch the video if any of this isn’t clear).
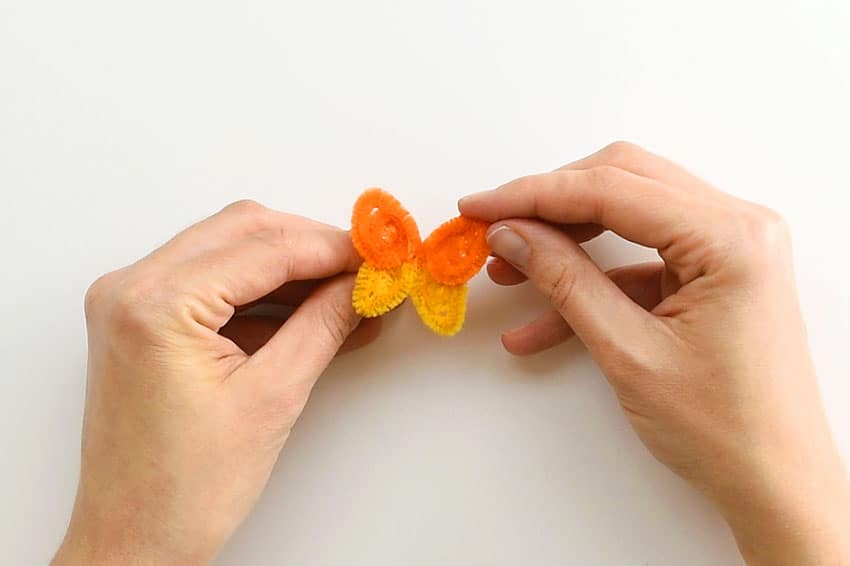
Take the smaller black pipe cleaner and place it behind the butterfly. Tuck it in behind the wings, right where the body of the butterfly would be.
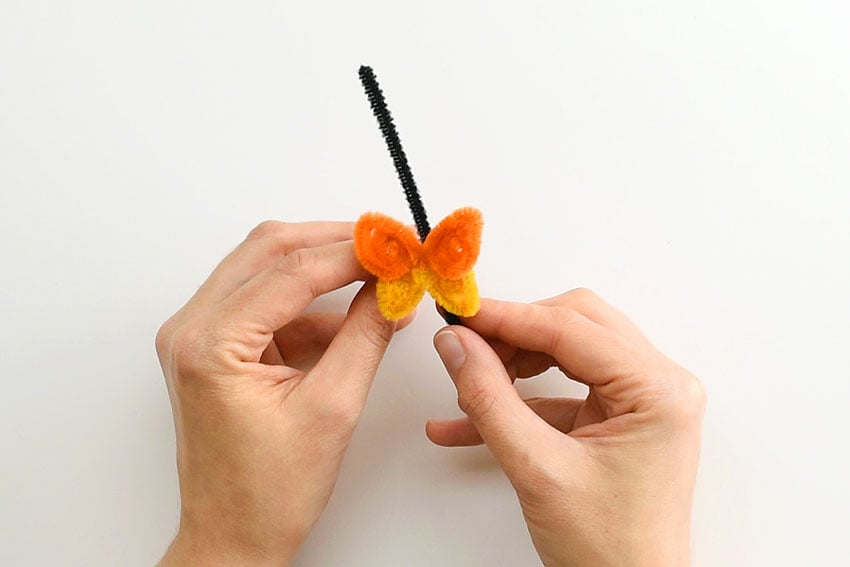
Wrap the bottom of the black pipe cleaner up and around the butterfly to make its body. Then twist 2 or 3 times right above the top wings to hold it together.
Trim the antenna if needed to make them even.
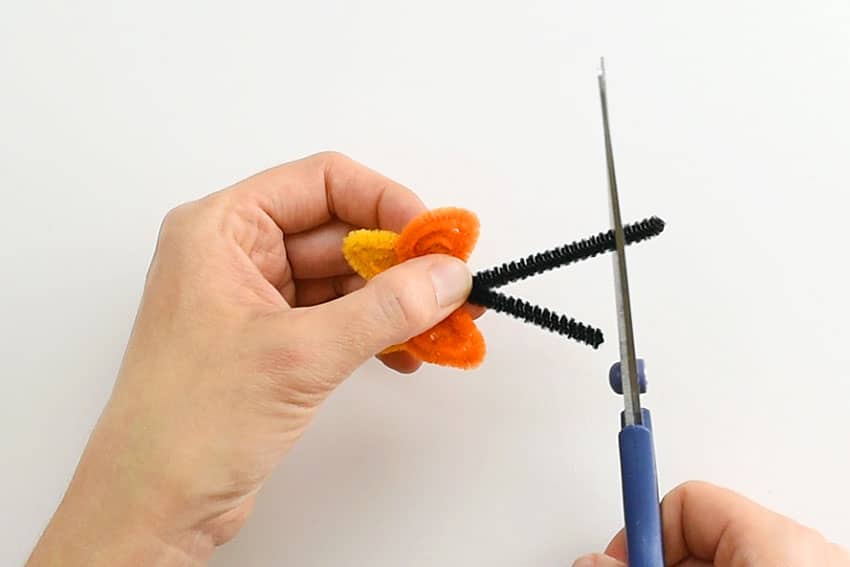
Finally, pinch the end of each black pipe cleaner, and curl it down into a loose spiral to make the antennae.
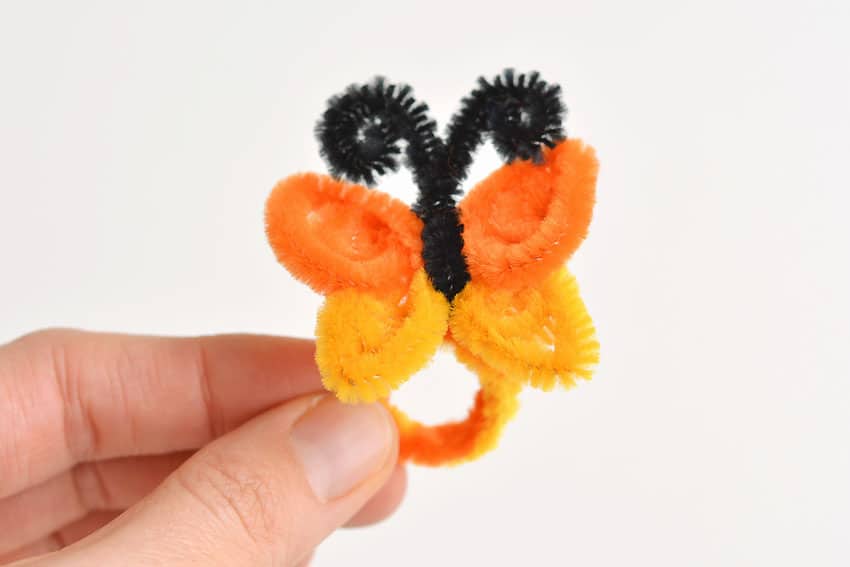
Then repeat in all of your favourite colours!
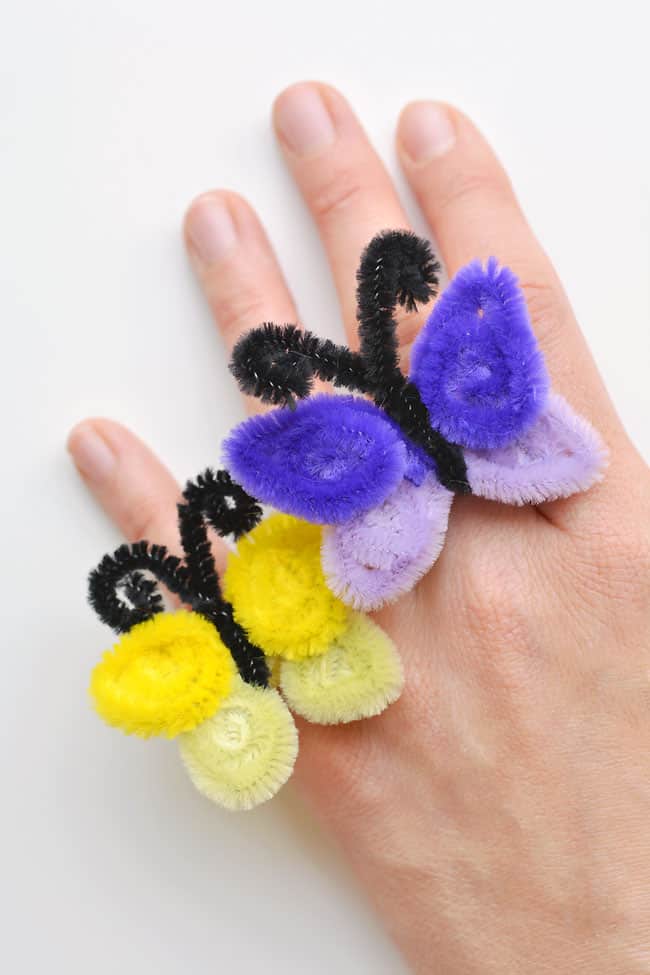
These pipe cleaner butterfly rings are so simple to make and they’re so pretty!
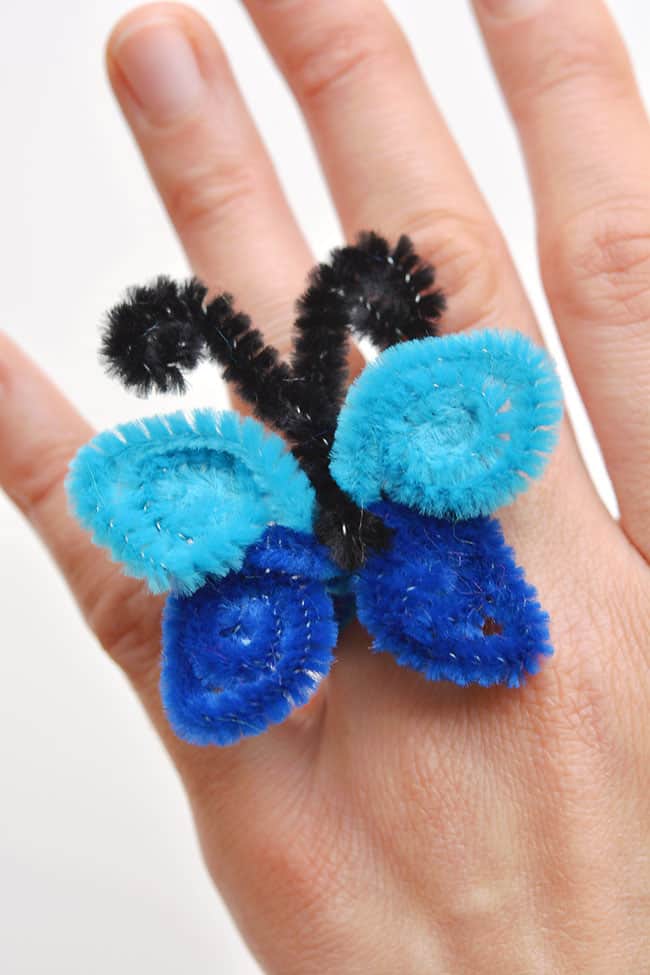
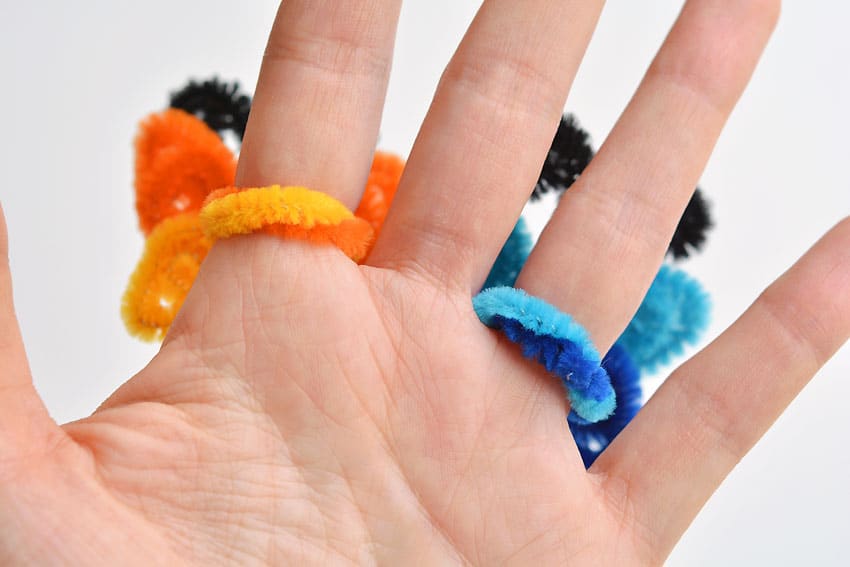
When you flip your hand over, all you should see are the two twisted pipe cleaners around your finger.
If you want to make them even prettier, try adding tiny rhinestone stickers on the wings (make sure they’re symmetrical on both wings).
The rhinestones add a bit of sparkle. And let’s face it, sticker rhinestones are pretty much my favourite craft supply EVER. So I’ll use any excuse to add them to my crafts!
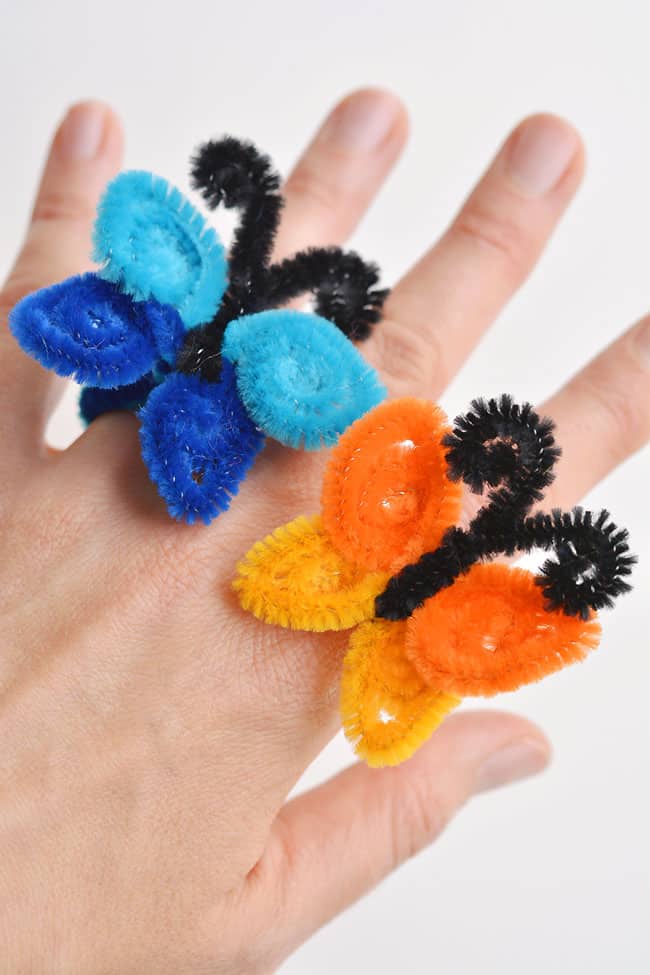
Mix up the colours and try new combinations. You can also make them using sparkly pipe cleaners.
I LOVE that you only need 2 and a half pipe cleaners for this craft!
These pipe cleaner butterfly rings are SO SIMPLE to make and they’re so pretty! This is such a fun and easy kids craft idea and a super fun summer craft. All you need are a few pipe cleaners and in less than 5 minutes you can make an awesome homemade ring! Isn’t homemade jewelry the best!?
Helpful Tips
- Read through the full tutorial before starting.
- Prepare the listed supplies ahead of time so each step is easier to follow.
- Check the finished craft against the instructions before displaying or using it.
FAQs
Is this tutorial beginner friendly?
Yes. This pipe cleaner butterfly rings kids craft is written with simple steps and extra tips for beginners.
Can kids make this craft independently?
Older kids may be able to work independently, while younger kids should have help with any steps that require close attention or small pieces.
How long does the craft take?
Most versions take about 30 minutes, depending on the materials and the pace of the crafter.
Can I use different colors?
Yes. Changing the colors is one of the easiest ways to personalize the finished craft.
Final Thoughts
Once the pipe cleaner butterfly rings kids craft is finished, take a moment to check the details, compare the result with the tutorial, and display the project somewhere kids can enjoy their work.