This chainmail bracelet kids craft is a cheerful hands-on project for kids, classrooms, and family craft time. It uses the tutorial steps below as the practical guide while adding helpful planning notes so the project feels easier to prepare, follow, and finish. Gather the supplies first, give yourself a little workspace, and enjoy making something creative from simple materials.
Materials:
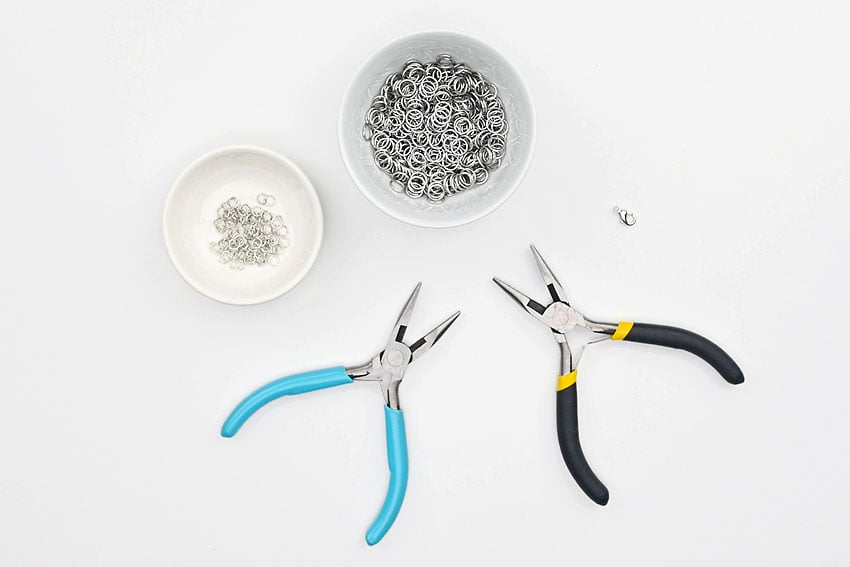
- Free Printable Chainmail Bracelet Patterns (optional)
- Jump rings (4mm, 5mm, 8mm)
- Lobster clasp
Equipment:
- 2 Chain nose pliers (or flat nose; or 1 of each)
Instructions:
Find what you need:
- Gather your supplies and materials.Each bracelet will require different sizes of jump rings, a lobster clasp, and 2 pairs of chain-nose (or flat-nose) pliers.
Style 1 (Helm or Parallel Weave):
- For this style you’ll need 8mm rings and 5mm rings. Have all your 5mm rings and some of your 8mm rings open beforehand.To begin, use 2 pairs of pliers to open a 5mm jump ring and place a lobster clasp on it. Don’t close the jump ring yet.
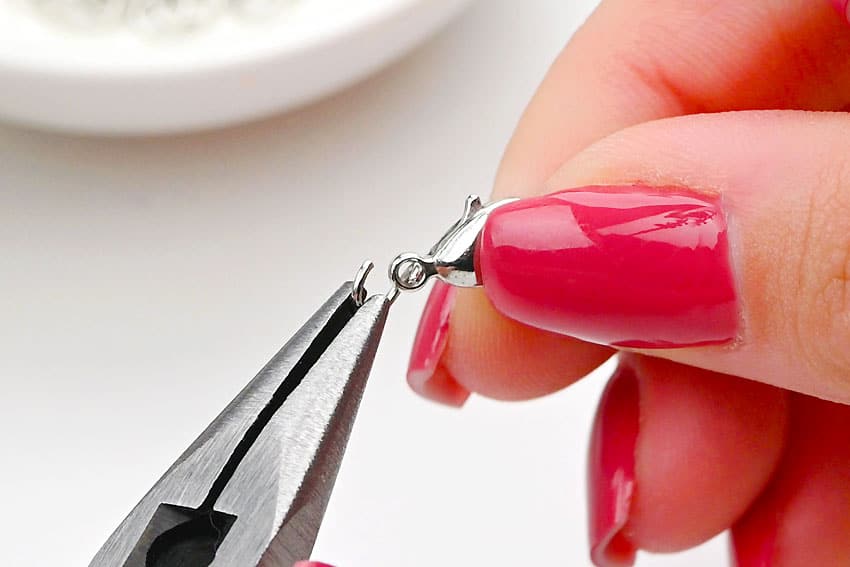
- Place two 8mm jump rings on the 5mm jump ring and then close it.
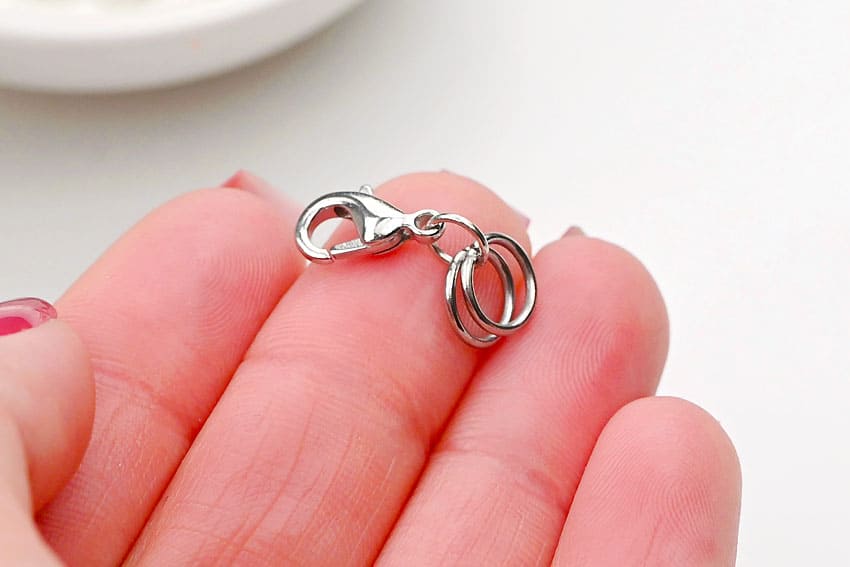
- Add two 5mm rings onto both of the 8mm rings.
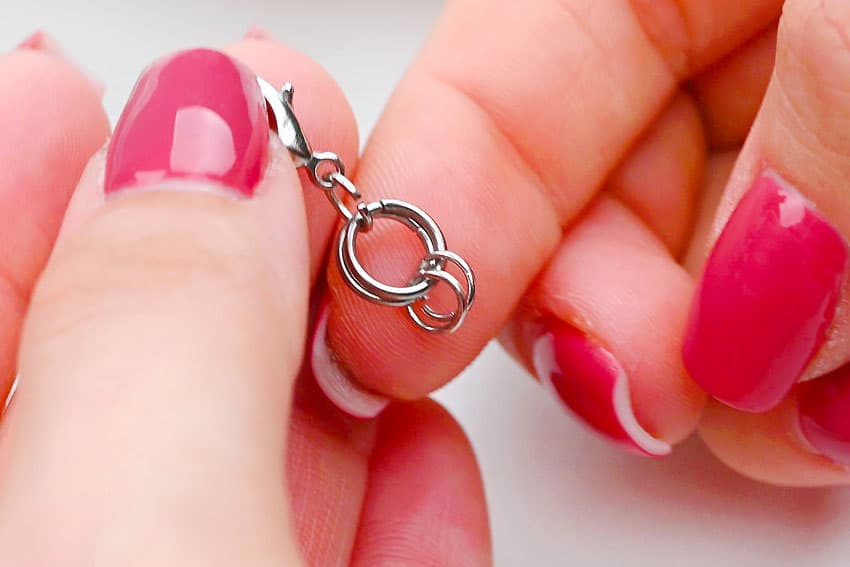
- Attach two 8mm jump rings through both the 5mm rings.
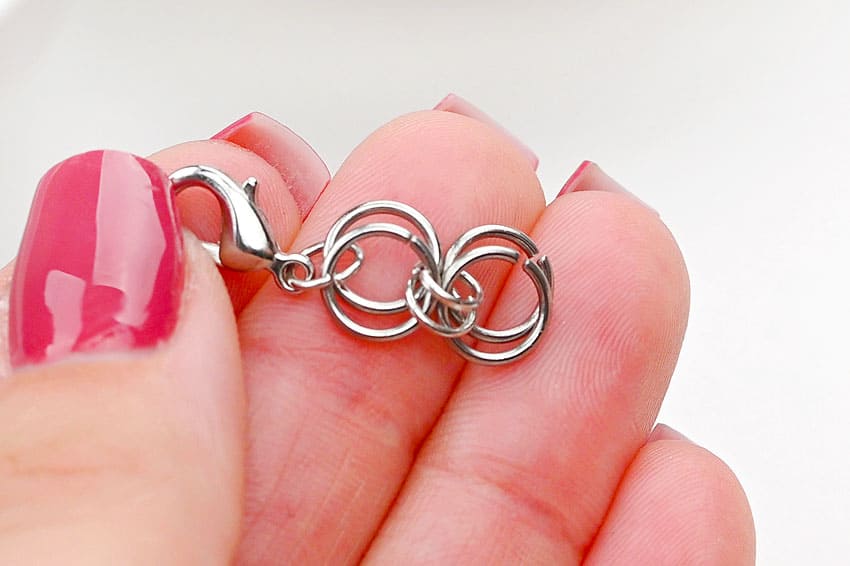
- Place an open 8mm ring between the last two 8mm jump rings. Bring it around the two 5mm jump rings and between the previous two 8mm jump rings before closing it.It should be around the 5mm rings and sandwiched between the 2 sets of 8mm rings.
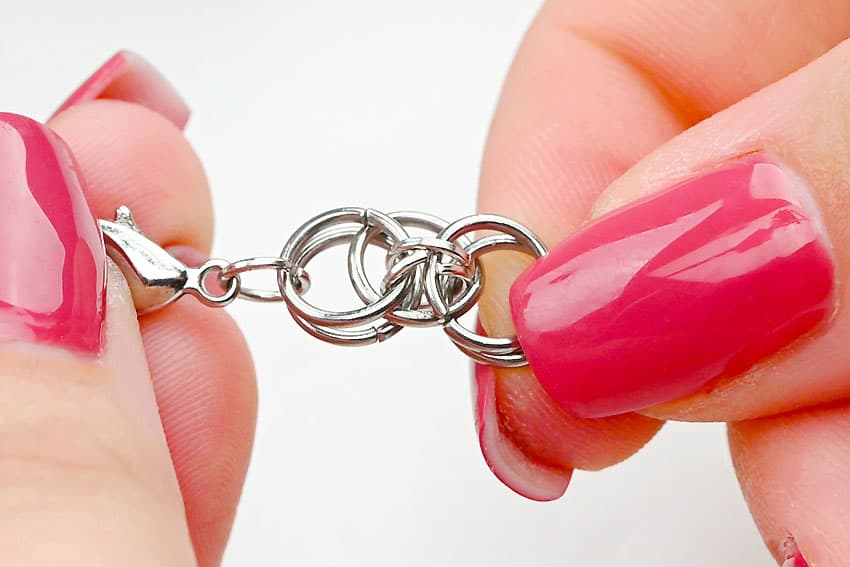
- Repeat the last 4 steps to create the same pattern.
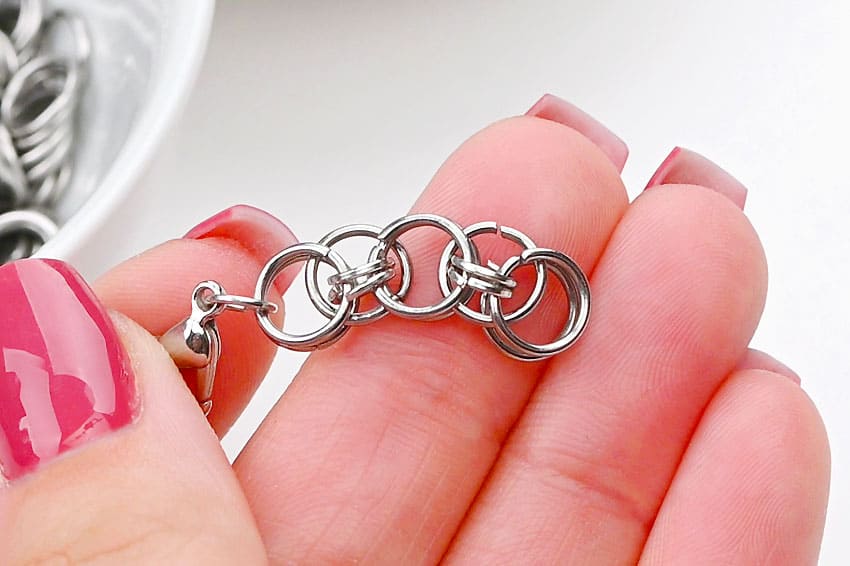
- Continue making this pattern until the bracelet is your desired length. End with a 5mm jump ring — this will be where you connect the clasp to close the bracelet.
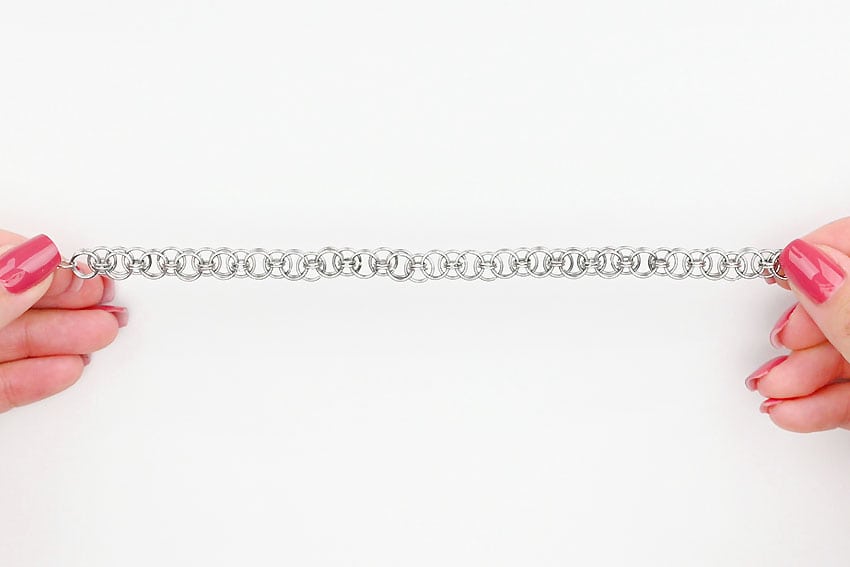
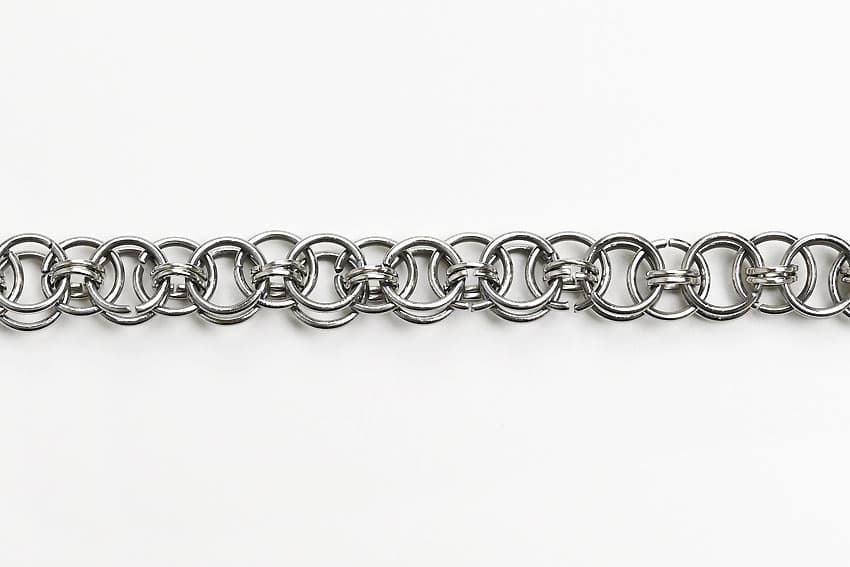
- Your chainmail bracelet is complete! Here’s a close look at the pattern.
Style 2 (Barrel Weave Variation):
- For this style you’ll need 8mm rings (plus one 5mm ring to attach the clasp). Open about half your rings.To begin, attach a 5mm ring to a lobster clasp. Then attach two 8mm rings around the 5mm ring.
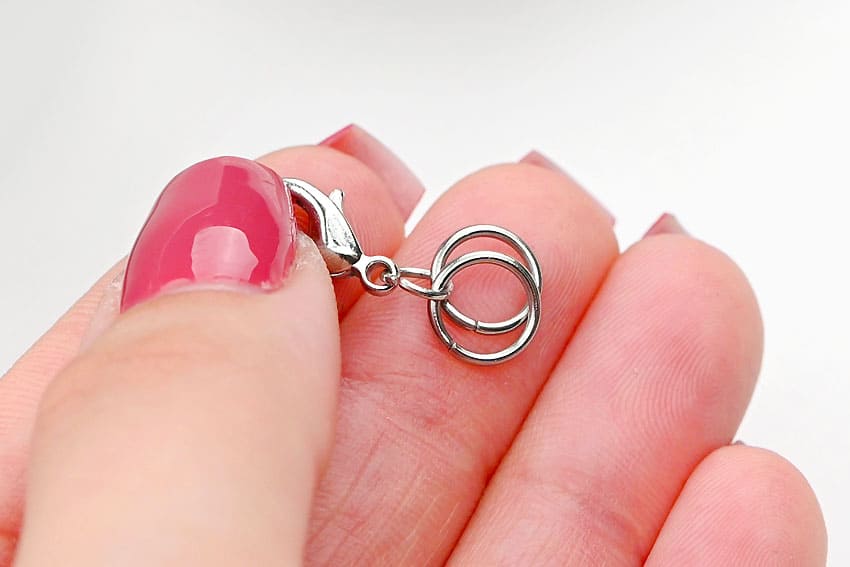
- Attach four 8mm rings around the last 2 rings
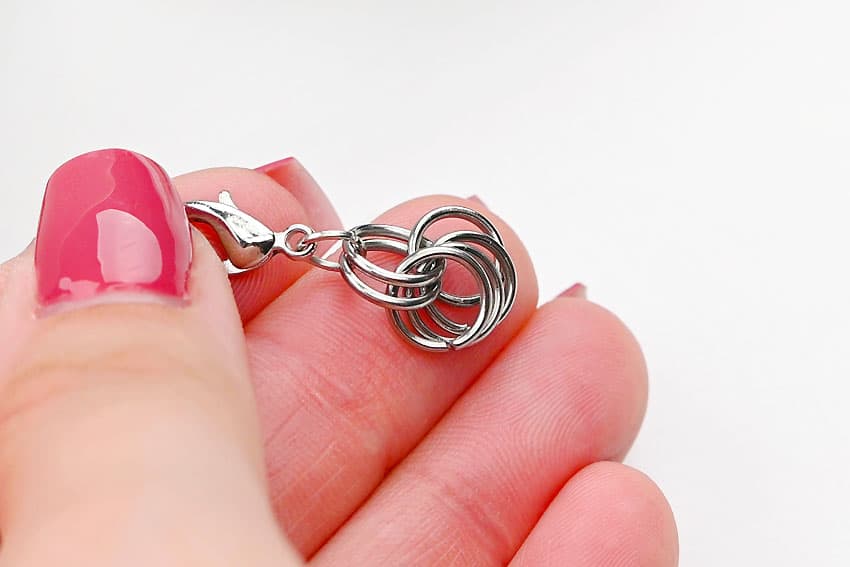
- Connect an 8mm jump ring around the left two jump rings. Then instead of going straight through the next 2 rings, twist it around and go down through them. Close off the ring.
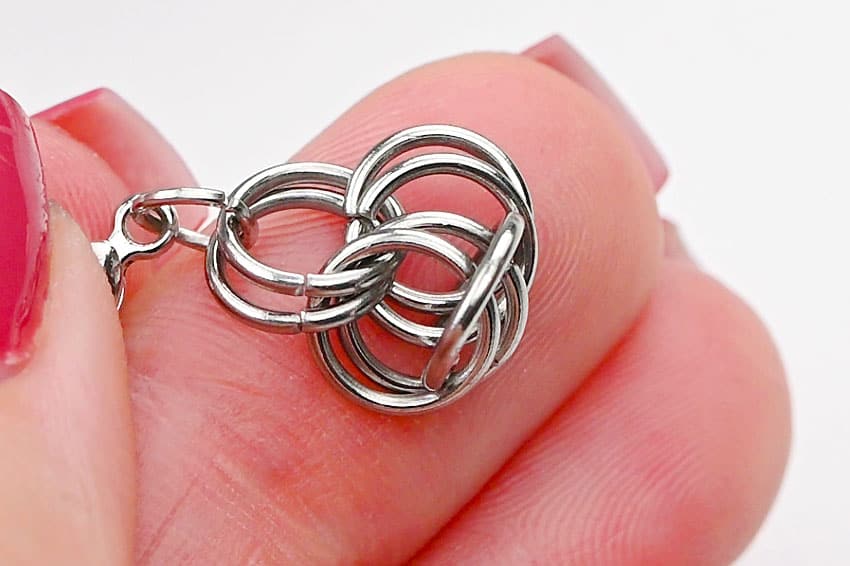
- Repeat the last step with a second 8mm ring.
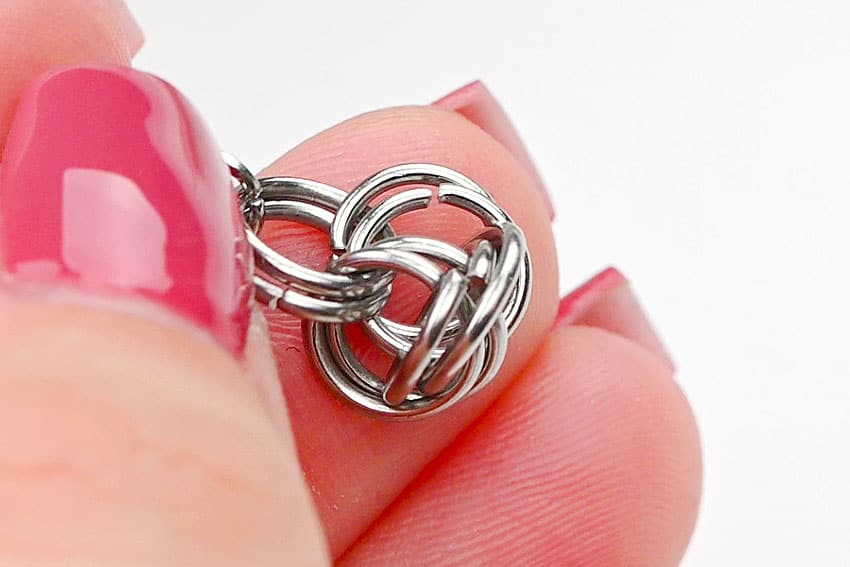
- Now connect two more 8mm rings through the bottoms of the original 4 rings.
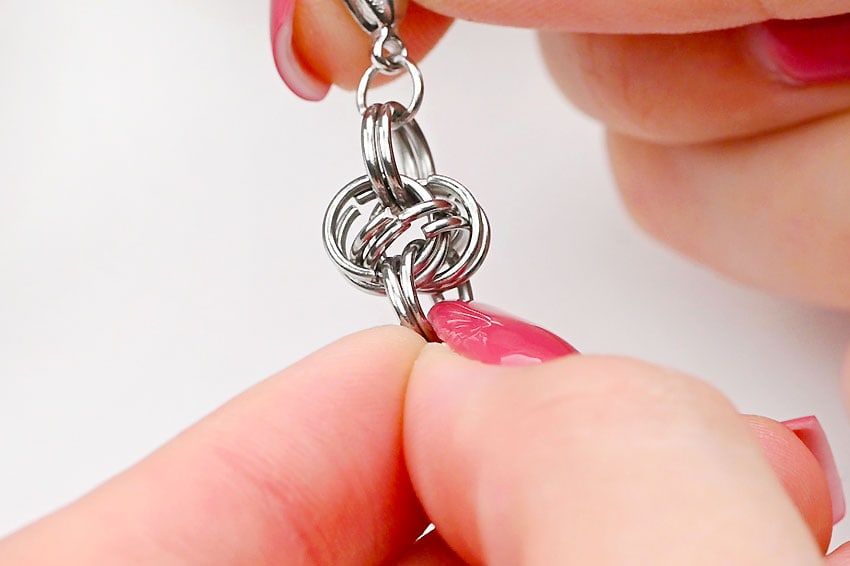
- Repeat the last 4 steps until your bracelet is as long as you need it to be. You can finish the bracelet with another 5mm jump ring if you’d like, to attach to the clasp when closing the bracelet.
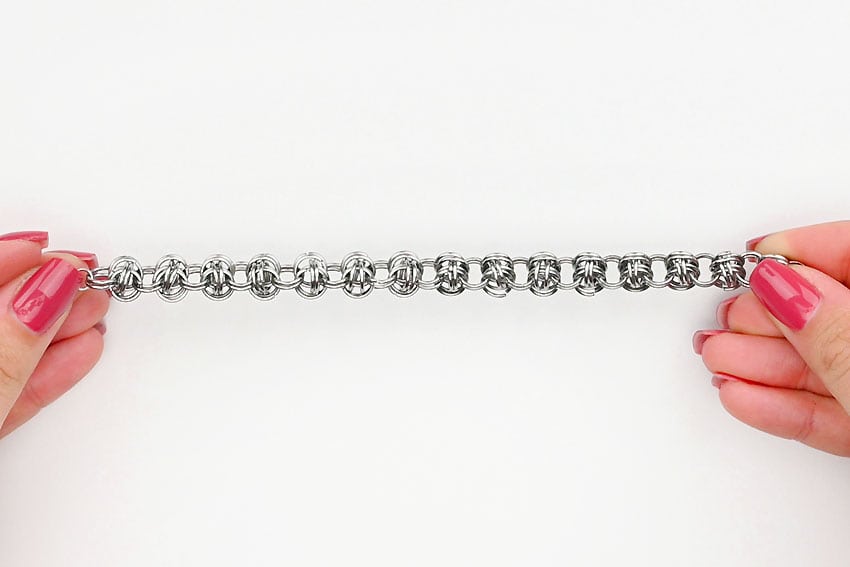
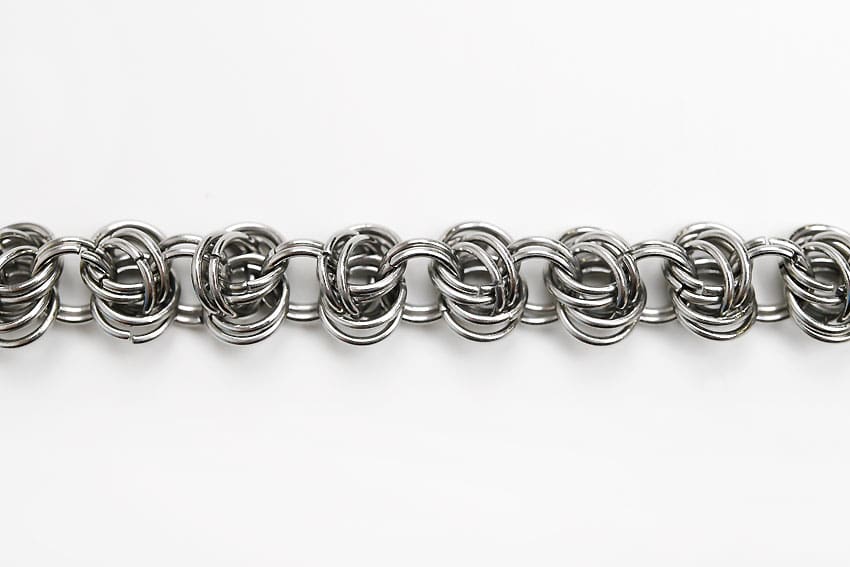
- Your chainmail bracelet is complete! Here’s a closeup of what the pattern looks like.
Style 3 (Diamond Pattern Chainmail Weave):
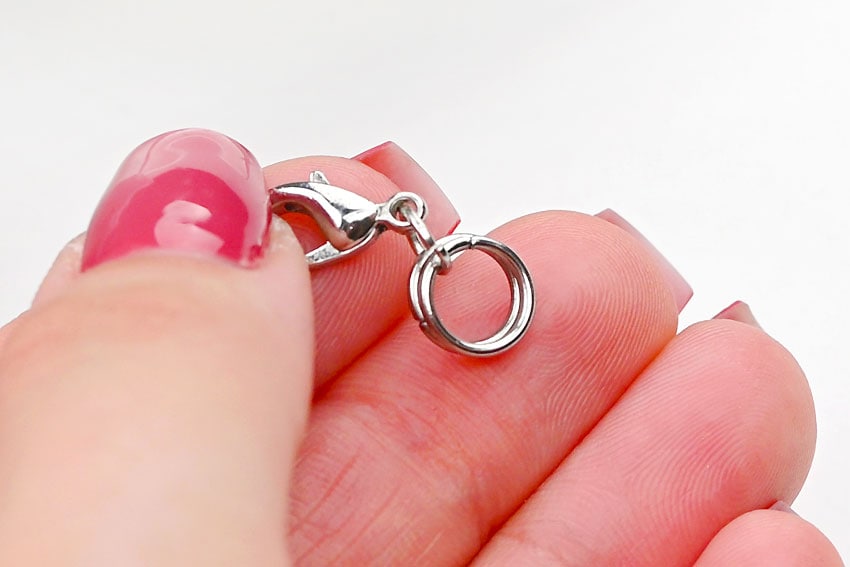
- For this style you’ll need 8mm rings (plus one 4mm ring to attach the clasp). Open all your rings beforehand.To begin, connect a 4mm jump ring to a lobster clasp and then add two 8mm rings to it before closing it off.
- Add four 8mm jump rings around the previous 2.
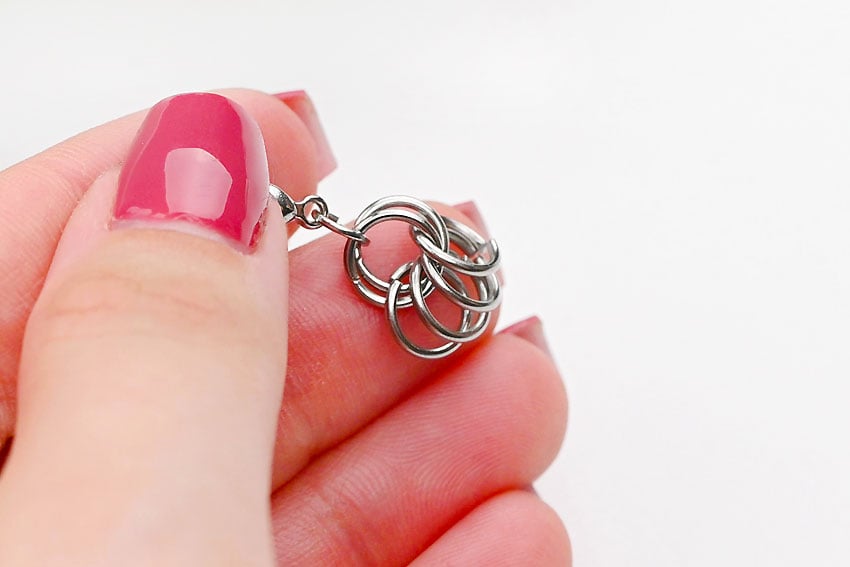
- Connect an 8mm jump ring to the 2 right jump rings (#3 and #4).
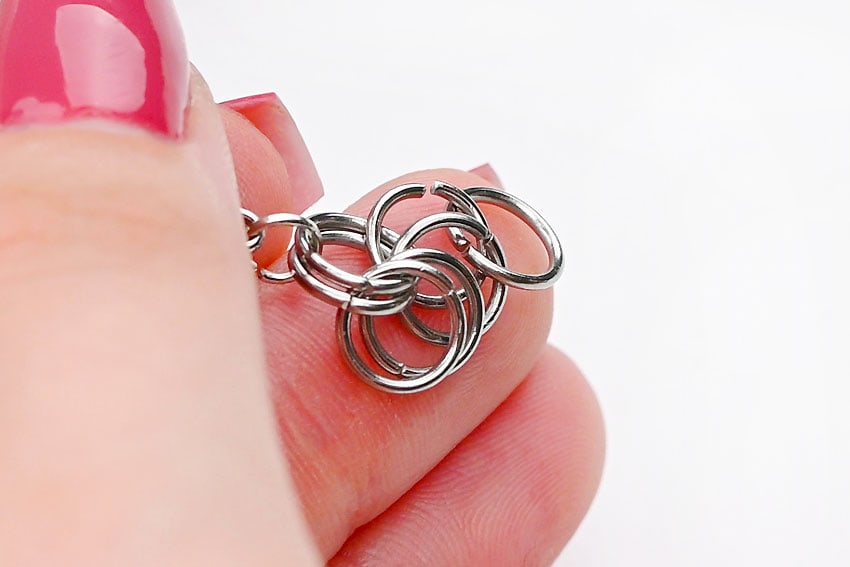
- Add another 8mm ring to the center rings (#2 and #3).
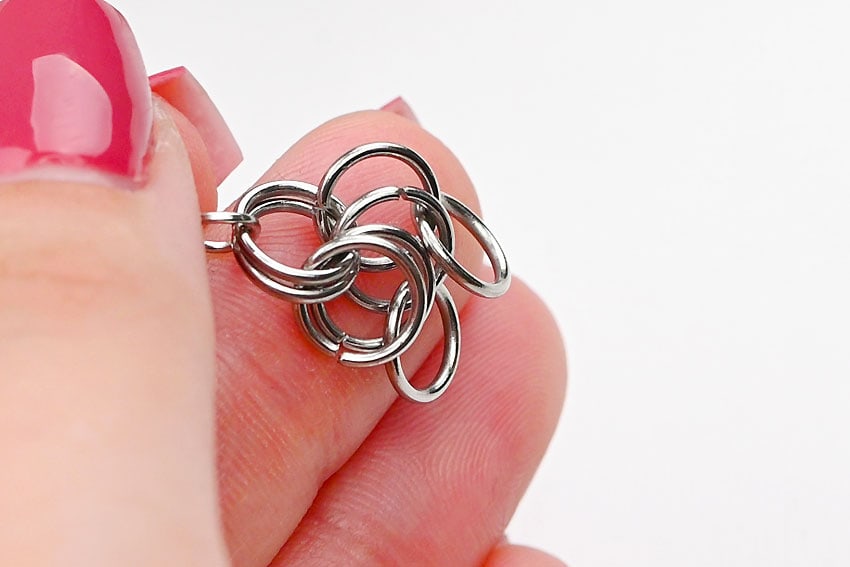
- Then connect an 8mm ring to the left two (#1 and #2).
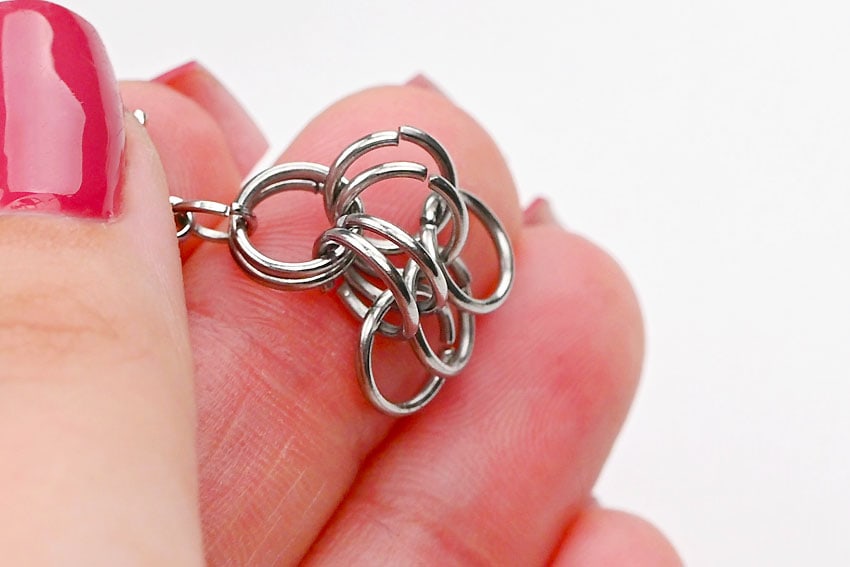
- Add four more 8mm rings to the last three: one to #3, one connecting #2 and #3, one connecting #1 and #2, and one to #1.
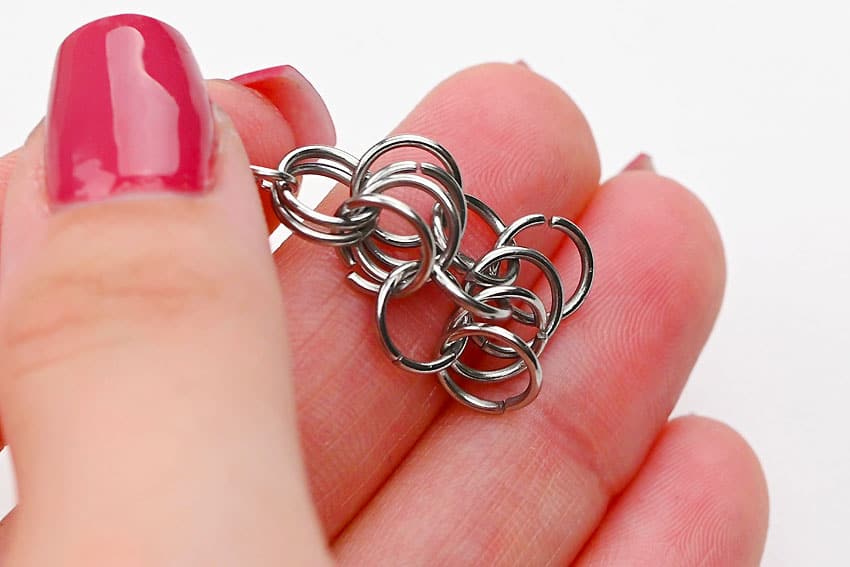
- Then start the pattern over by connecting two jump rings through the bottom of these four.
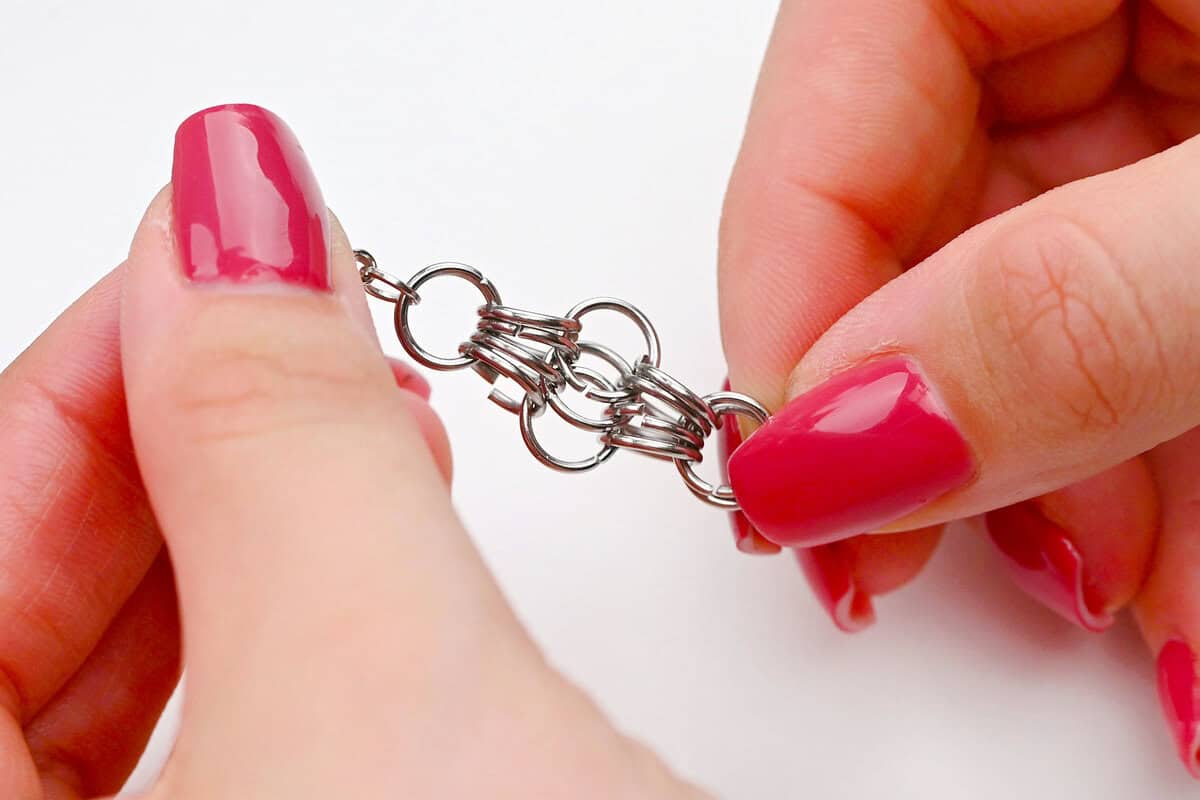
- Repeat the last steps until the bracelet is as long as you’d like it to be. Finish with the two jump rings, or add another 4mm jump ring to the bottom for connecting the clasp.
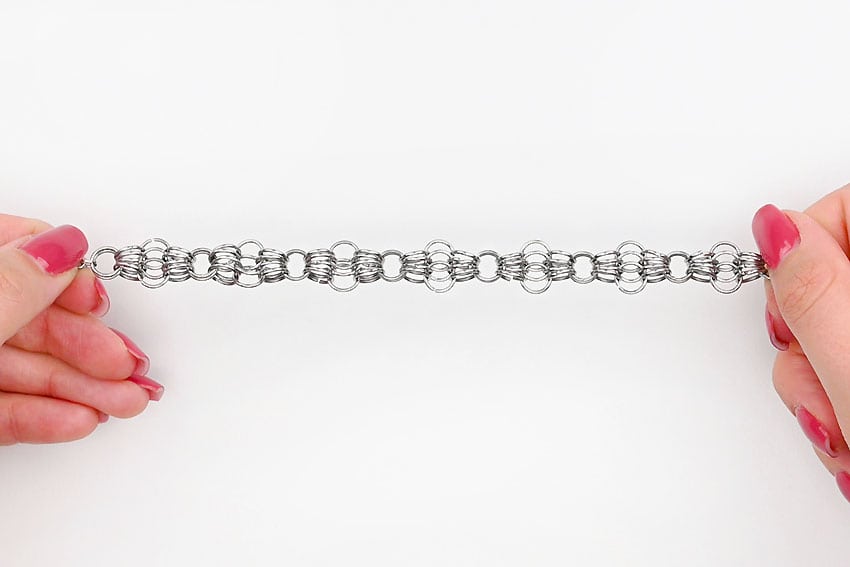
- Your chain mail bracelet is complete! Here’s what the pattern should look like.
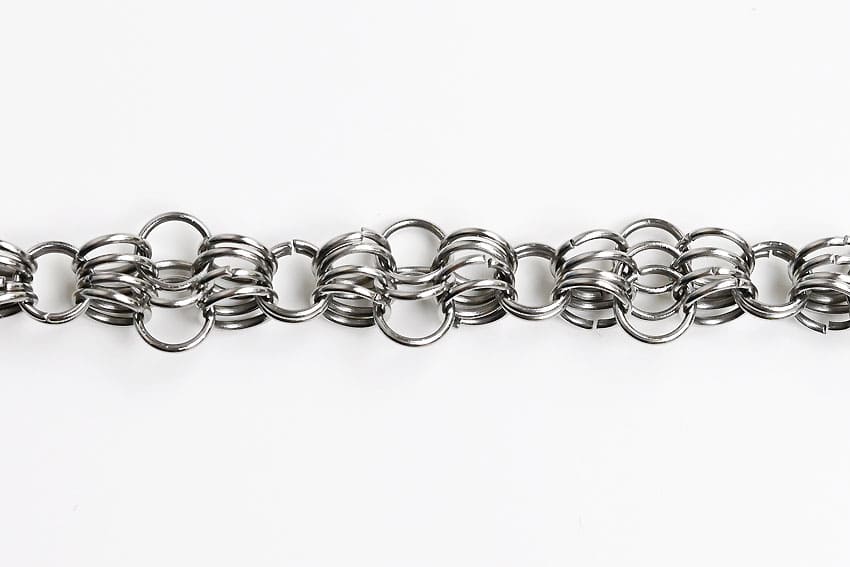
Style 4 (Box Weave Variation):
- For this style you’ll need 8mm and 5mm jump rings. Open all of your 5mm rings and some of your 8mm rings beforehand.To begin, add an 8mm jump ring to a lobster clasp. Then add two more 8mm jump rings onto the first.
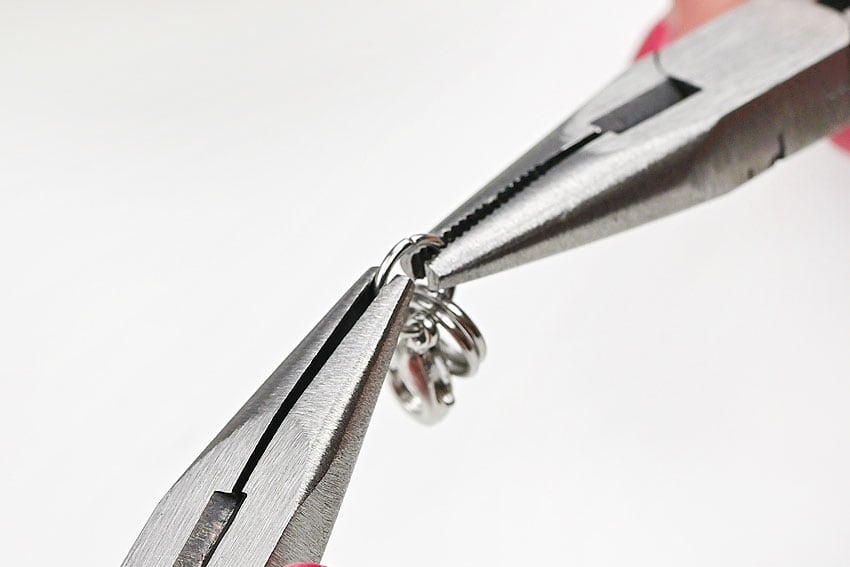
- Set another 8mm ring in-between those two, sandwiching it so that it’s still sticking out a bit.
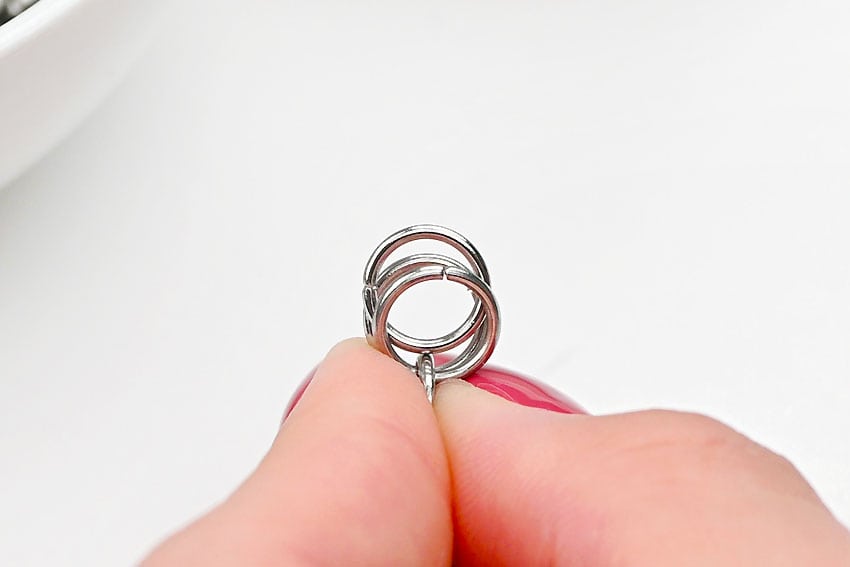
- Add two 5mm rings through all three jump rings. Pull the 8mm ring out, sliding the 5mm rings to each side.
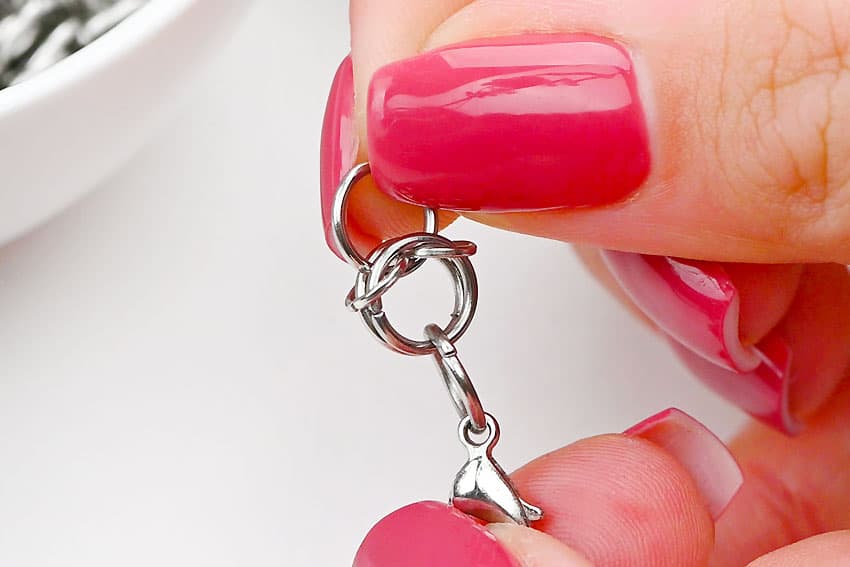
- Attach two 5mm jump rings to the 8mm ring.
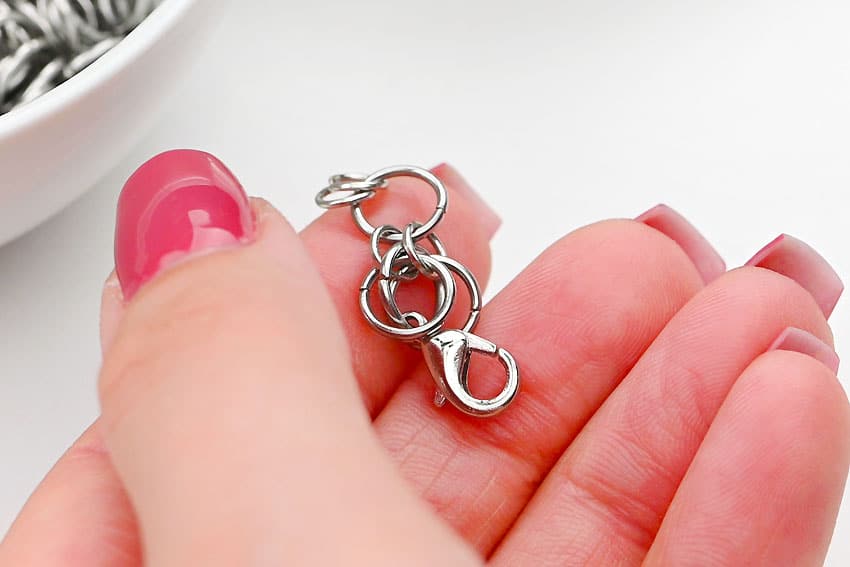
- Then add two 8mm jump rings through the 5mm ones.
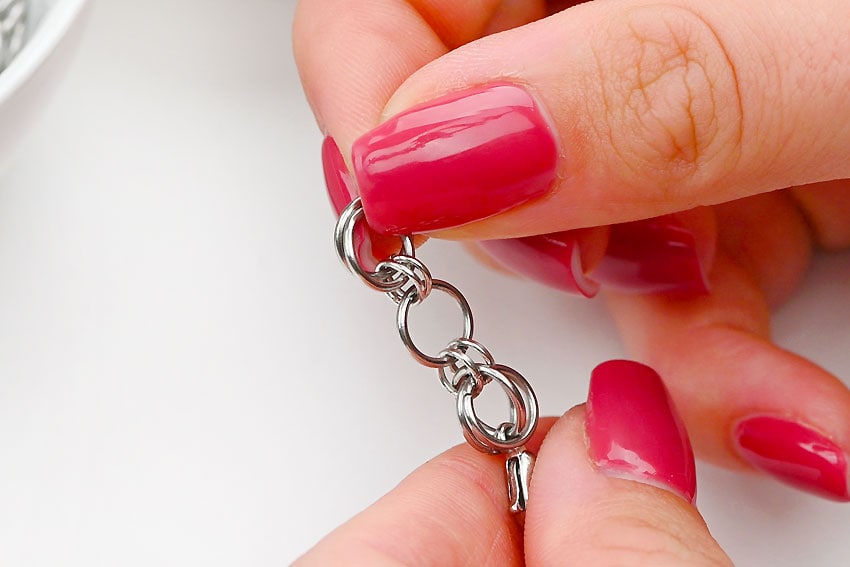
- Let go of the 8mm rings, letting one fall to the front and one to the back. Then slide the 5mm jump rings to either side (left and right), using the pliers if necessary.
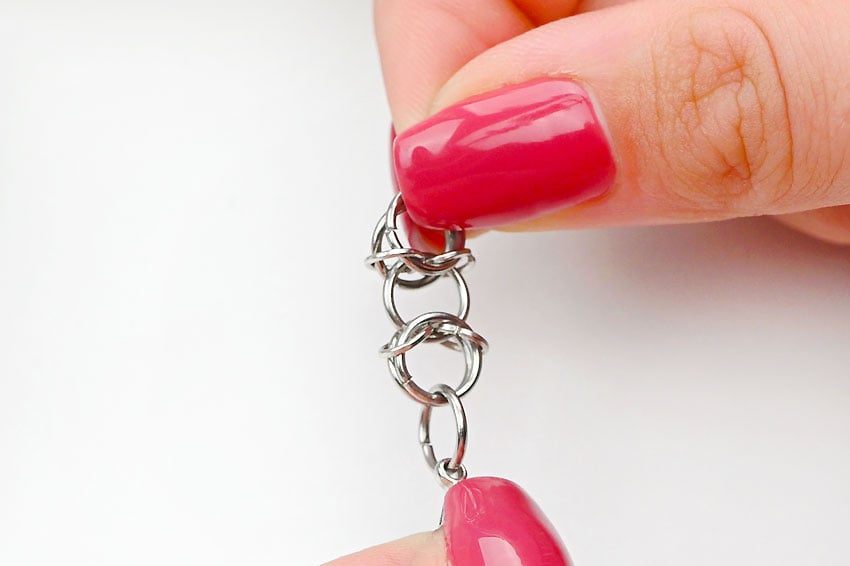
- Repeat, starting with step 2. Sandwich another 8mm jump ring and connect 5mm rings through all 3.
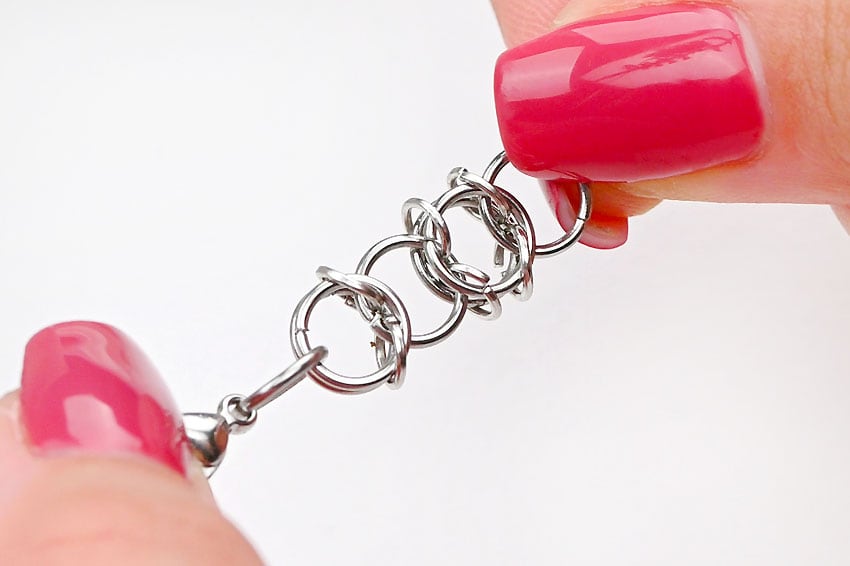
- Continue following the pattern and repeating until the bracelet is long enough.
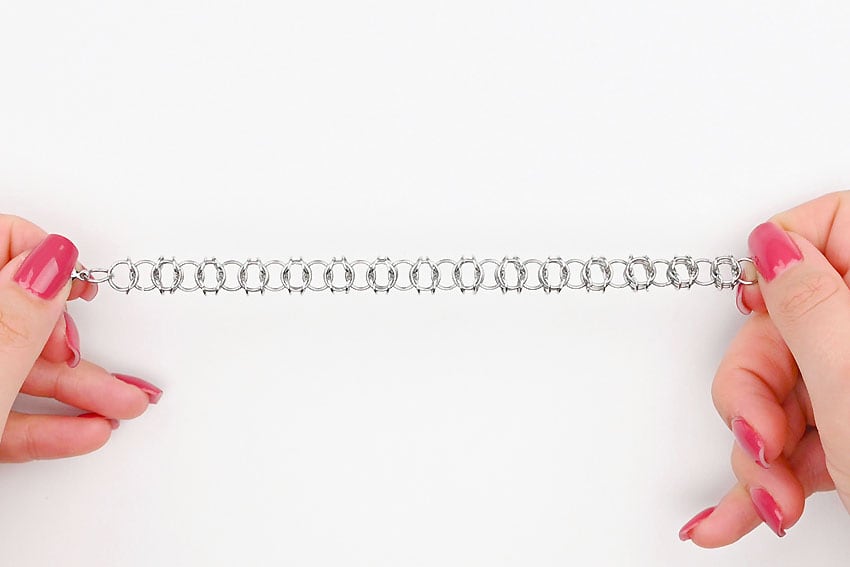
- Your chainmaille bracelet is complete! Here’s a closeup of this pattern.
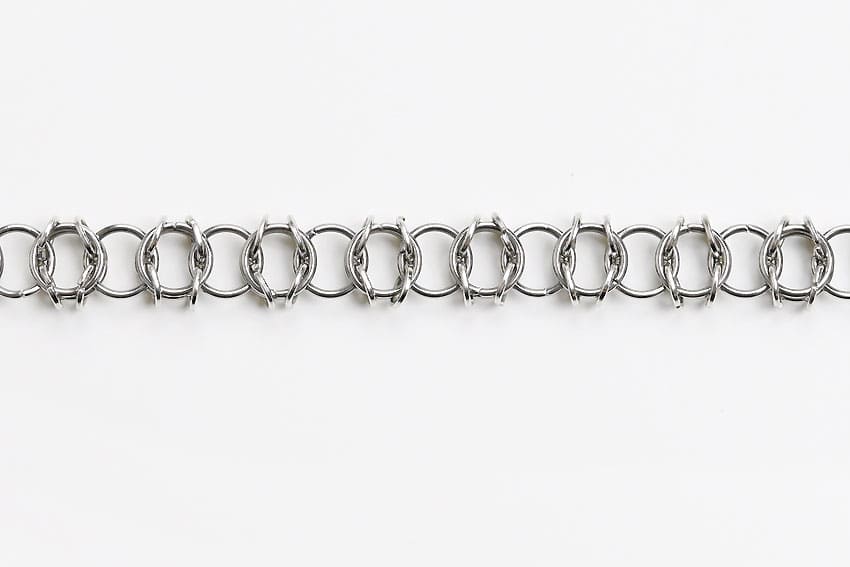
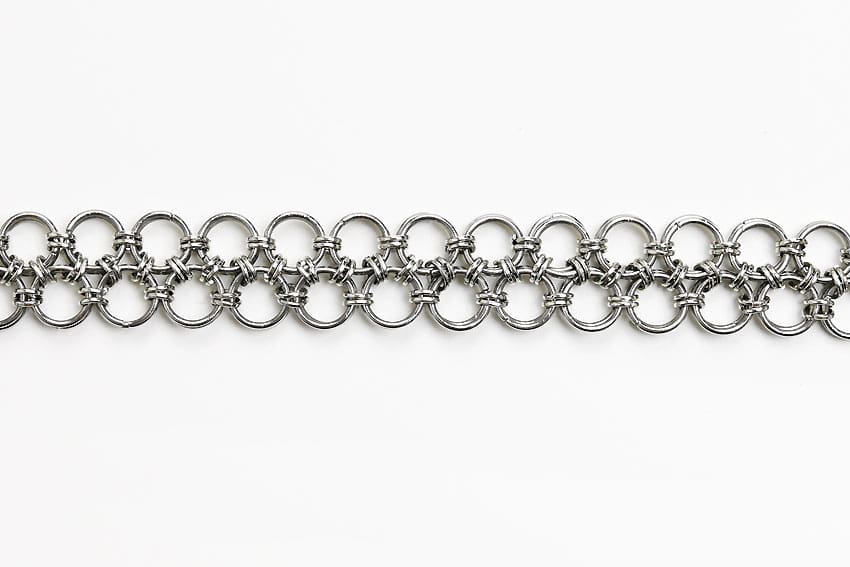
Style 5 (Japanese 12-in-2 Weave):
- For this style you’ll need 8mm and 4mm rings. Have all your rings open beforehand.To begin, add a 4mm jump ring onto a lobster clasp. Before closing it, add two 8mm rings.
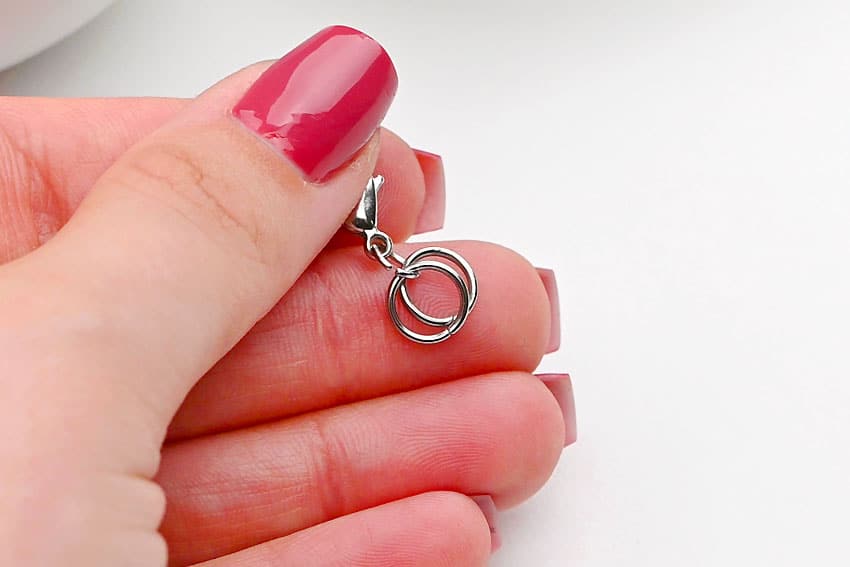
- Attach four 4mm jump rings to the 8mm rings.
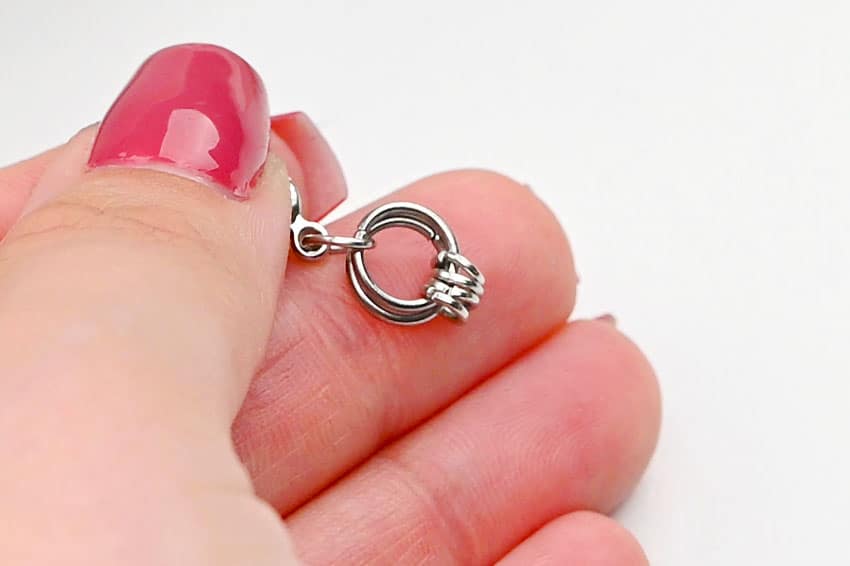
- Add two 8mm rings to the two 4mm rings on the left. Then add another two 8mm rings to the other 4mm rings (on the right).
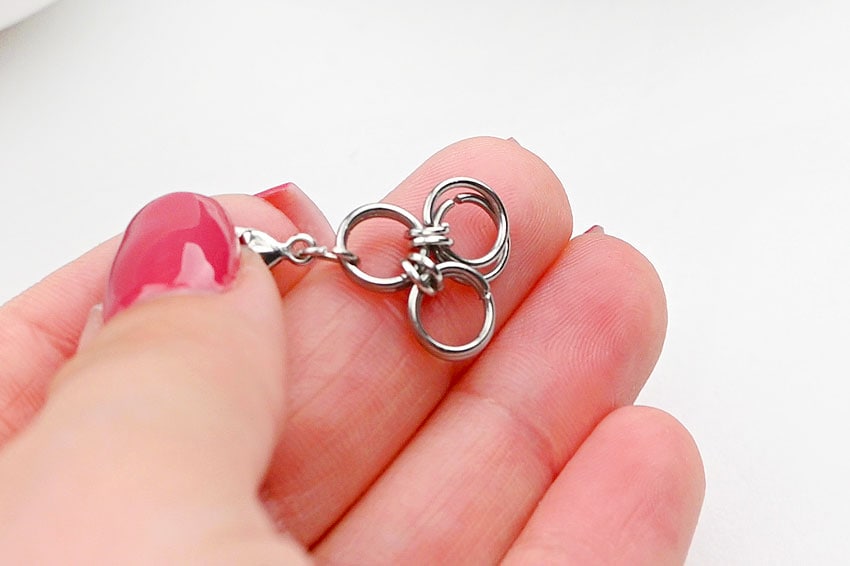
- Connect the four 8mm rings together with two more 4mm rings.
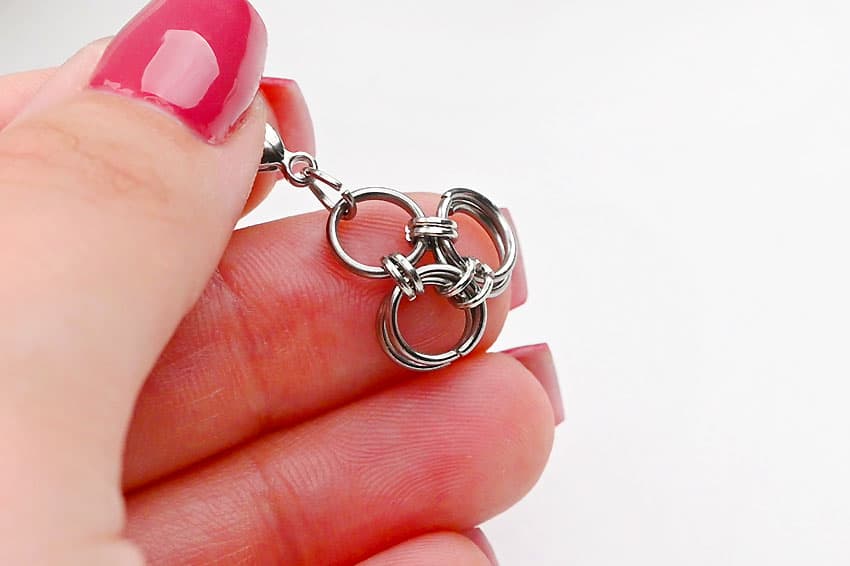
- Attach two 4mm jump rings to one 8mm set and two more to the other.
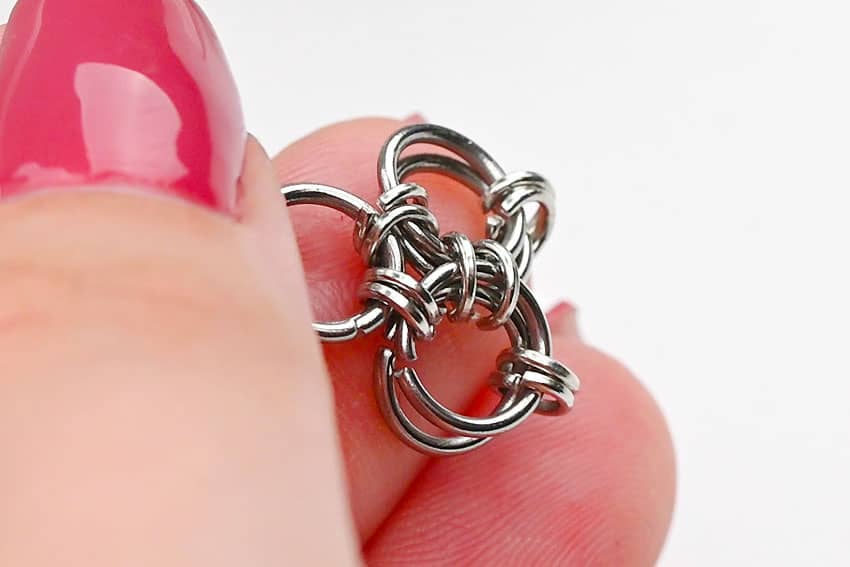
- Continue adding sets of 8mm rings, connecting each set to another with two 4mm rings.
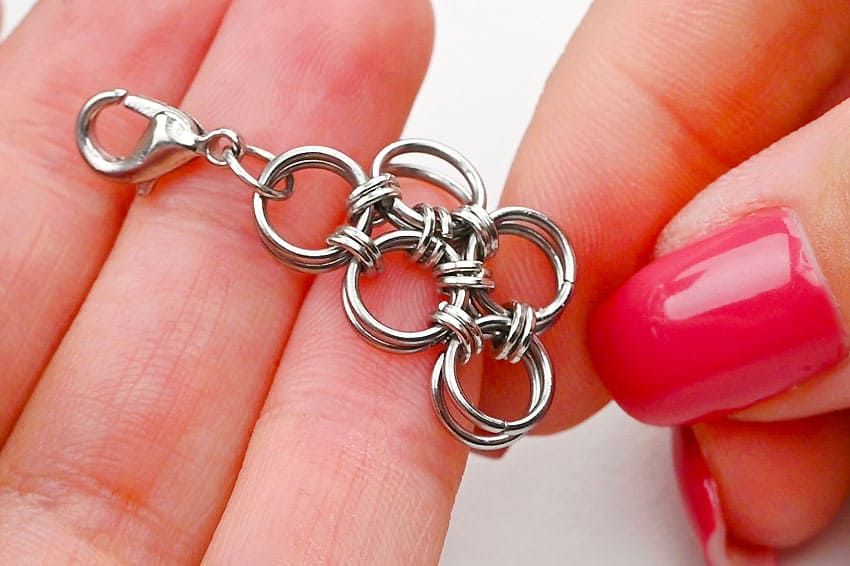
- Repeat this pattern until the bracelet reaches your desired length.Important Note: When making this pattern it may be easier to start with the 2nd set of jump rings down and add eight 4mm rings to it and work out that way. It’s simpler to connect and close the 8mm rings rather than get 4mm rings around the 2 sets. So connect the 8mm rings through the last 4mm rings (above and to the side) and then add 2 more sets of 4mm rings before closing it off.
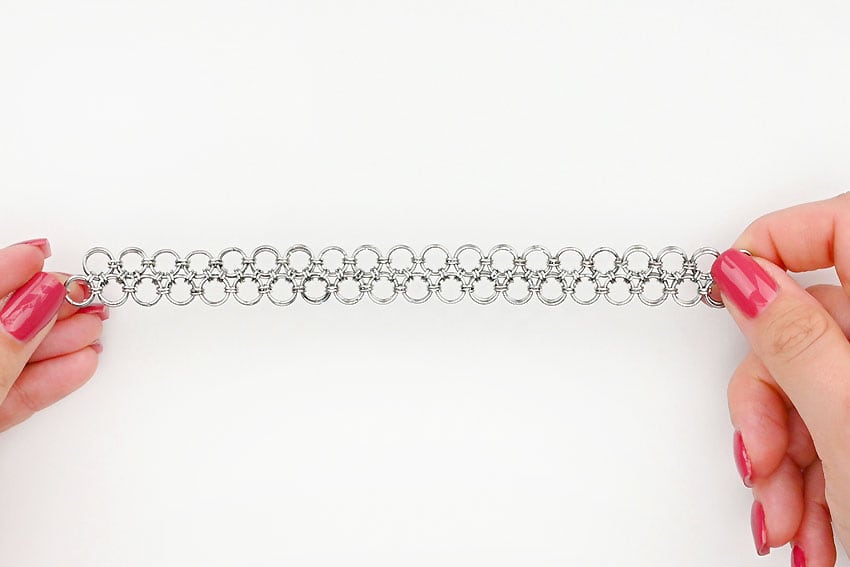
- Your chainmail bracelet is complete! Here’s a closeup of the pattern.
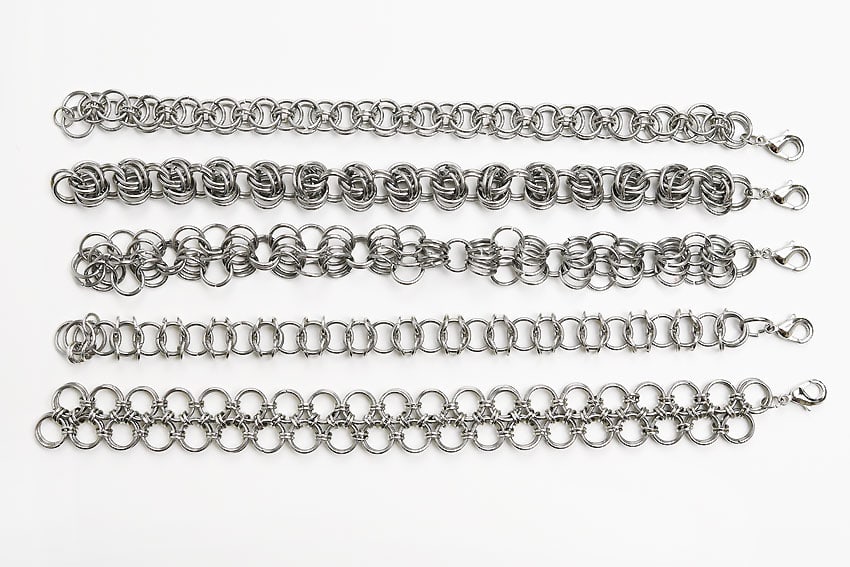
Enjoy making all the patterns:
- Once you’ve made one chainmail bracelet you’ll definitely want to try all kinds of different designs!
Helpful Tips
- Read through the full tutorial before starting.
- Prepare the listed supplies ahead of time so each step is easier to follow.
- Check the finished craft against the instructions before displaying or using it.
FAQs
Is this tutorial beginner friendly?
Yes. This chainmail bracelet kids craft is written with simple steps and extra tips for beginners.
Can kids make this craft independently?
Older kids may be able to work independently, while younger kids should have help with any steps that require close attention or small pieces.
How long does the craft take?
Most versions take about 30 minutes, depending on the materials and the pace of the crafter.
Can I use different colors?
Yes. Changing the colors is one of the easiest ways to personalize the finished craft.
Final Thoughts
Once the chainmail bracelet kids craft is finished, take a moment to check the details, compare the result with the tutorial, and display the project somewhere kids can enjoy their work.
Affiliate disclosure: This post may contain Amazon affiliate links. As an Amazon Associate, Easy Crafts Ideas may earn from qualifying purchases at no extra cost to you.