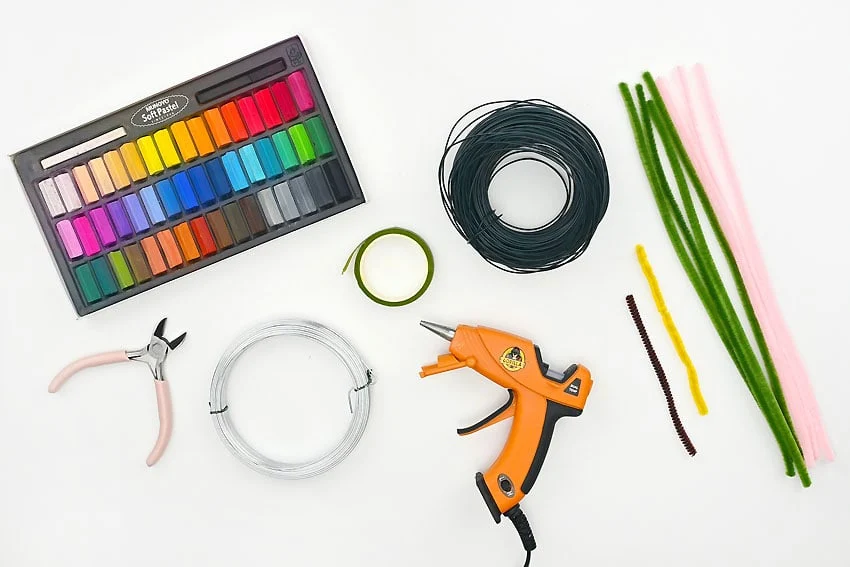
This pipe cleaner lily kids craft is a cheerful hands-on project for kids, classrooms, and family craft time. It uses the tutorial steps below as the practical guide while adding helpful planning notes so the project feels easier to prepare, follow, and finish. Gather the supplies first, give yourself a little workspace, and enjoy making something creative from simple materials.
Materials:
- Pipe cleaners (pink, green, brown, and yellow)
- Soft pastels
- Floral wire
- 18 gauge Wire
- Floral tape
Equipment:
Instructions:
Step 1: Find what you need
- Gather your supplies and materials.
Step 2: Make the petals and leaves
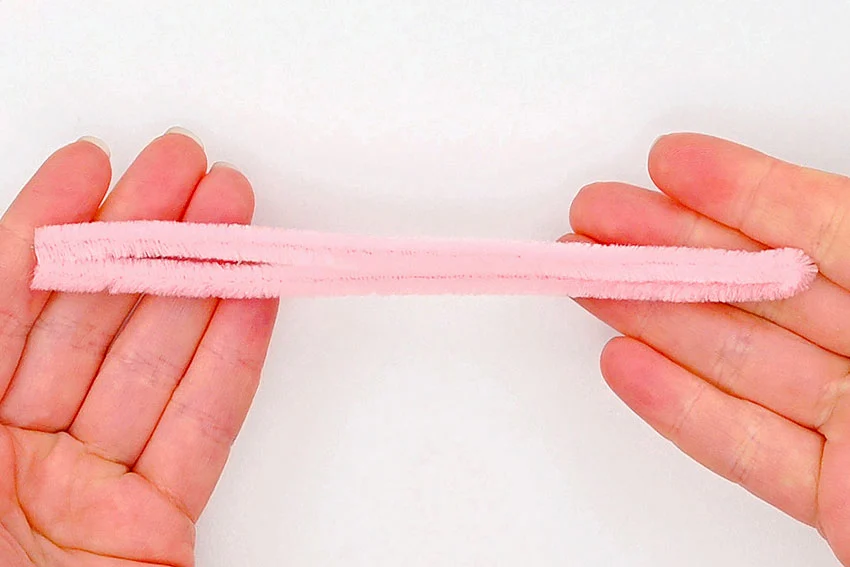
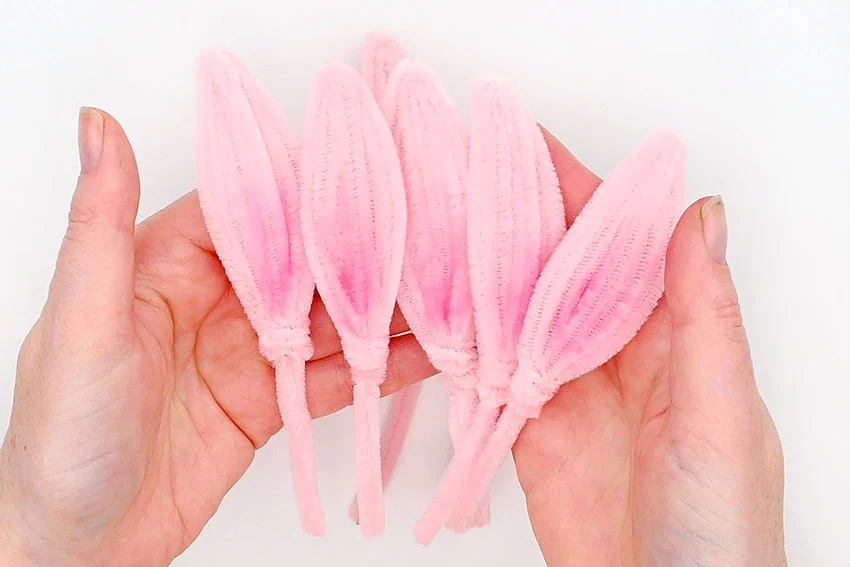
- Fold a pink pipe cleaner in half.
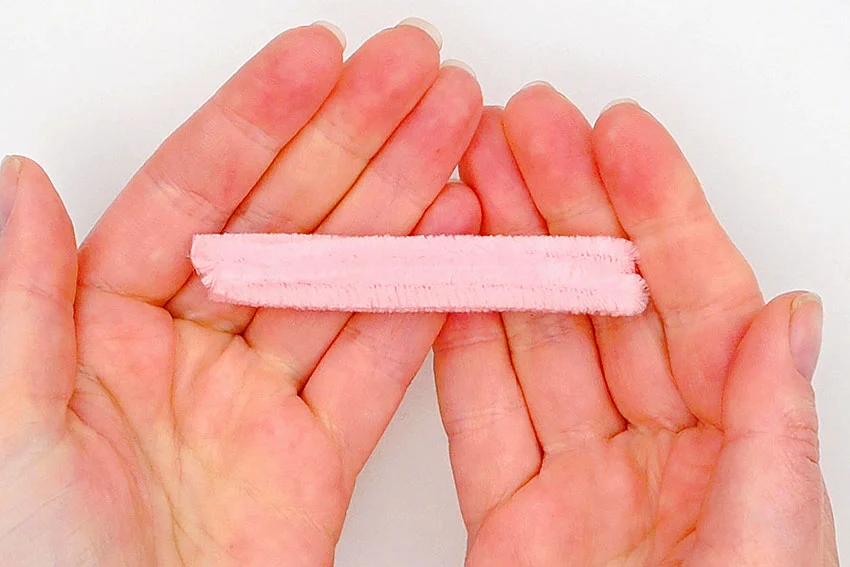
- Then fold it in half again.
- Fold a second pink pipe cleaner in half and connect it through the middle of the first pipe cleaner, so the two “V”s intersect.
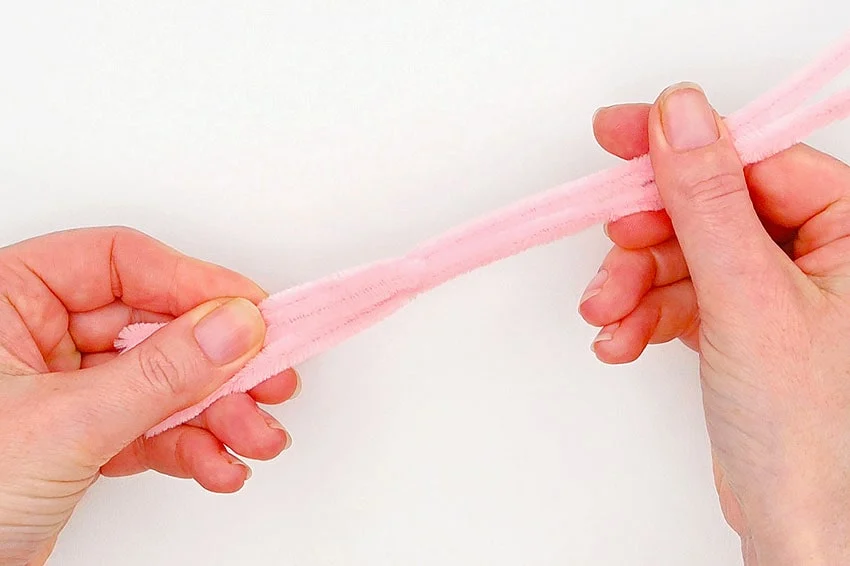
- Twist the longer pipe cleaner a couple of times at the base of the first pipe cleaner. Then bend the ends down towards the other pipe cleaner, on either side.
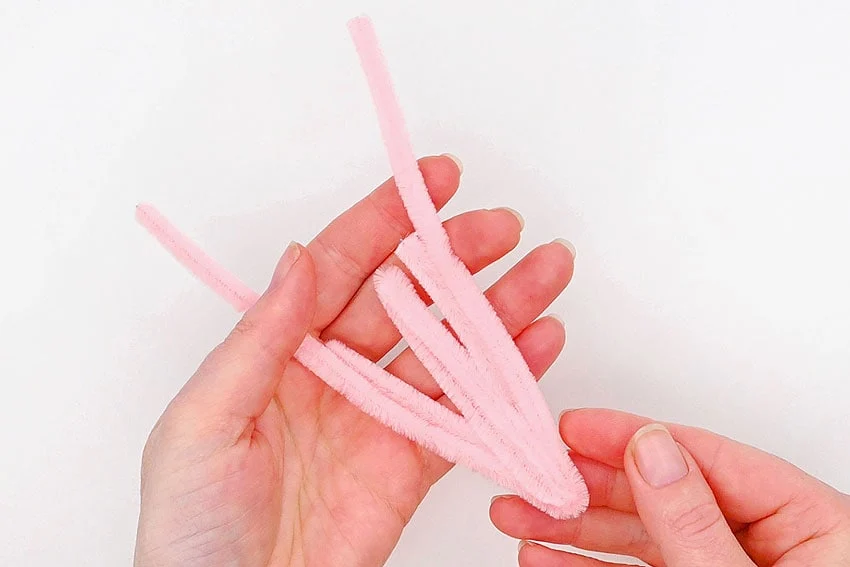
- Pinch the end of the petal into a point and arrange the pipe cleaner pieces so they lay flat and curve a bit.Wrap one of the longer outside pieces around the bottom of the other pieces, securing them together.
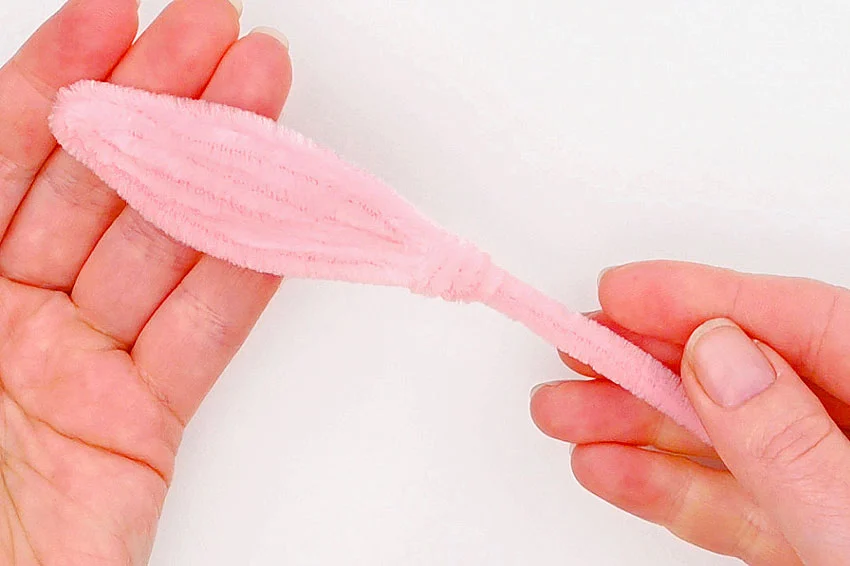
- Optional: Use a soft pastel or some eyeshadow to add shading to the petal. Use your finger or a paintbrush to blend it in.
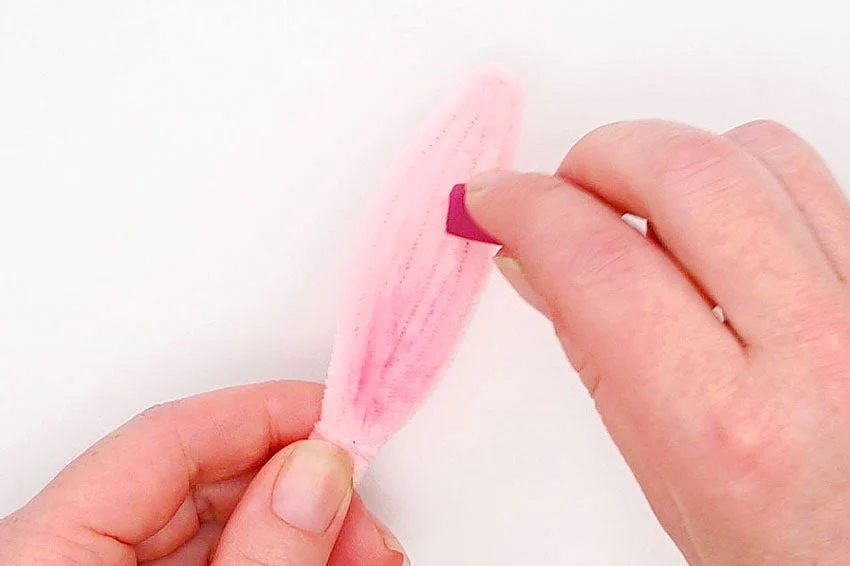
- Repeat 5 times so you have 6 petals total.
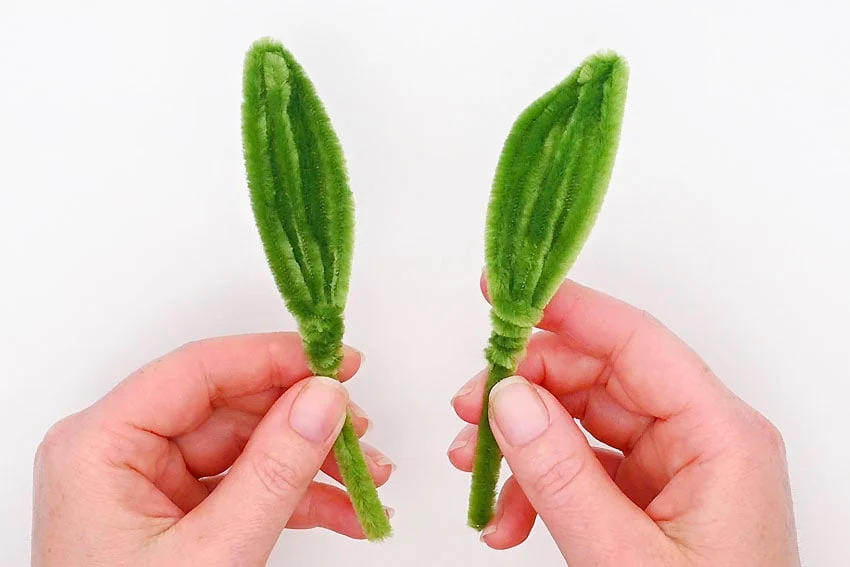
- Then do the same steps with green pipe cleaners to make 2 leaves.
Step 3: Create the stamen
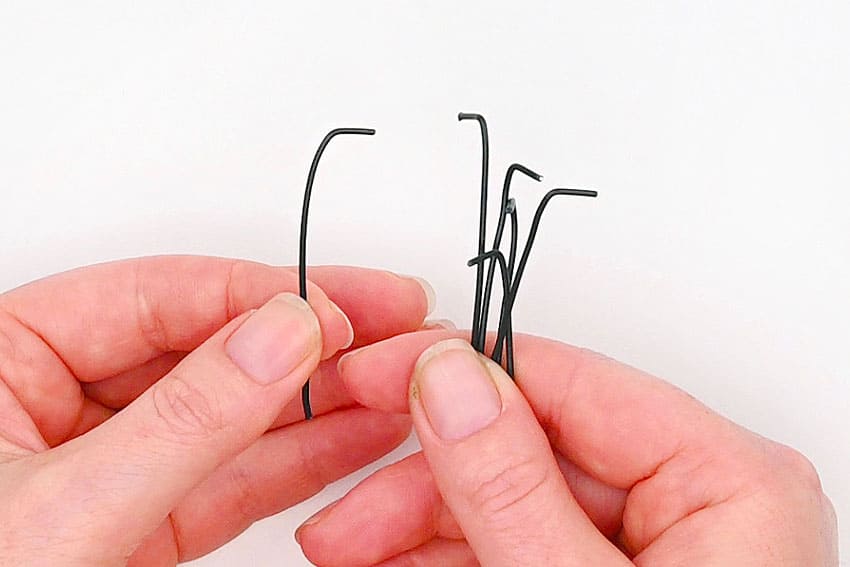
- Cut 6 pieces of thin floral wire to be 2-1/2 inches each. Use pliers to bend about 1/4 to 1/2 inch down at a 90 degree angle on one end of each piece.
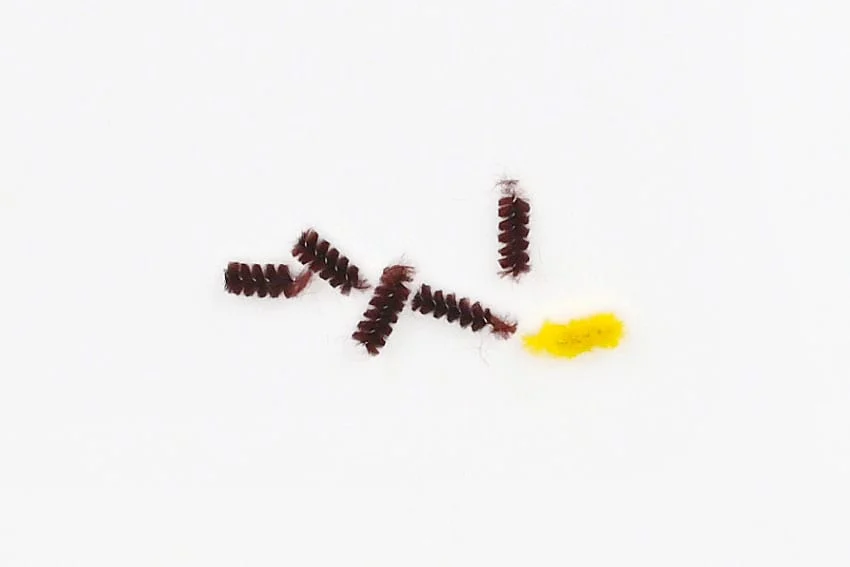
- Cut 5 small pieces, about 1/2 inch each, from a brown pipe cleaner. Then cut 1 small piece the same size from a yellow pipe cleaner.
- Add a bit of hot glue to the bent end of a wire.
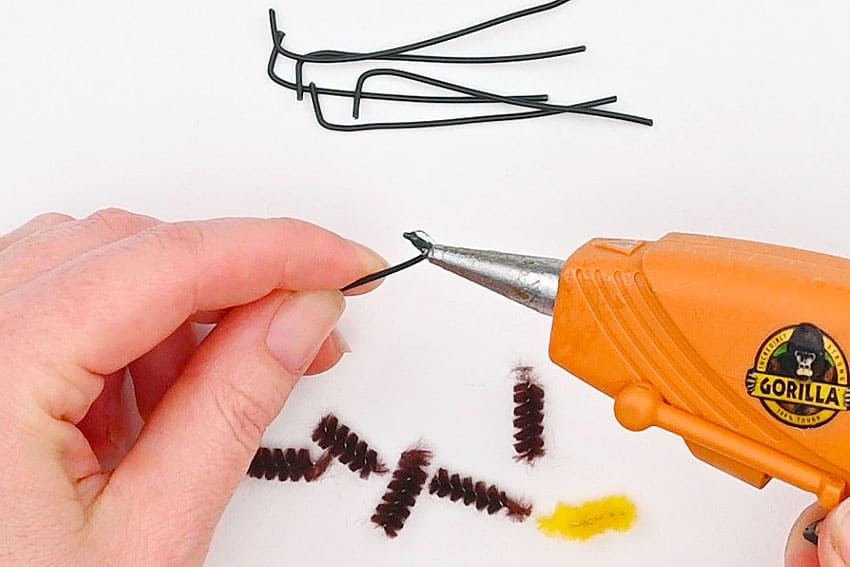
- Place a pipe cleaner piece into the glue. Repeat with the rest of the pipe cleaner bits and wire pieces.
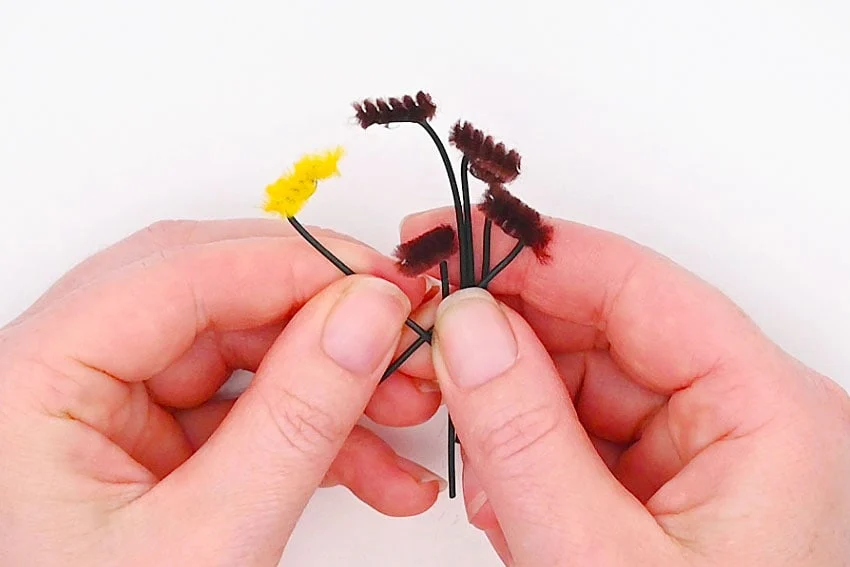
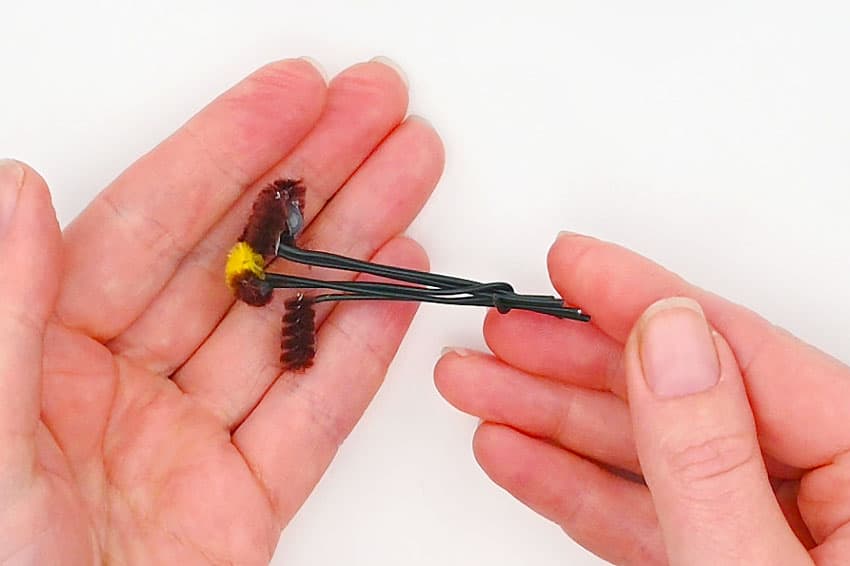
- Arrange the wires so that the yellow piece is in the middle. Wrap one of the wire ends around the rest of the bundle, securing them together.
Step 4: Assemble the bloom
- Add hot glue to the base of one of the petals.
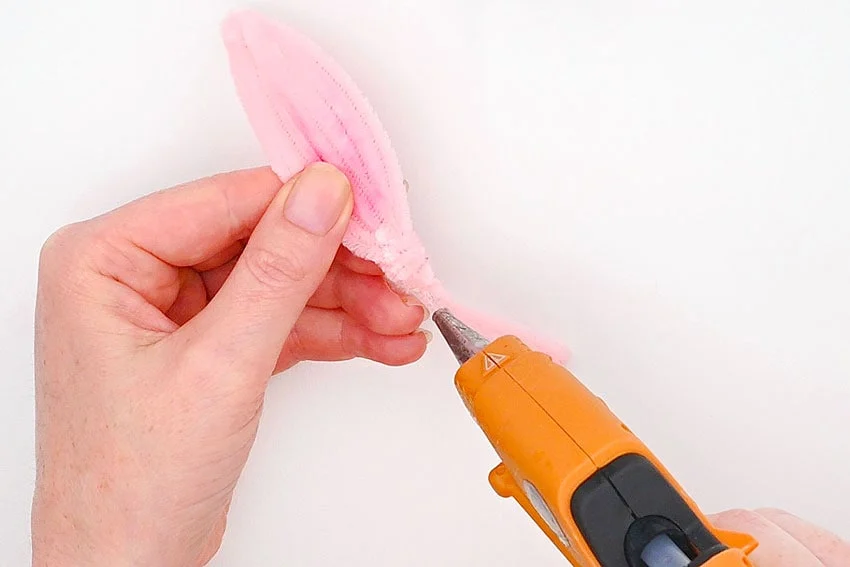
- Set the petal against the stamen, holding it until it stays in place on its own.
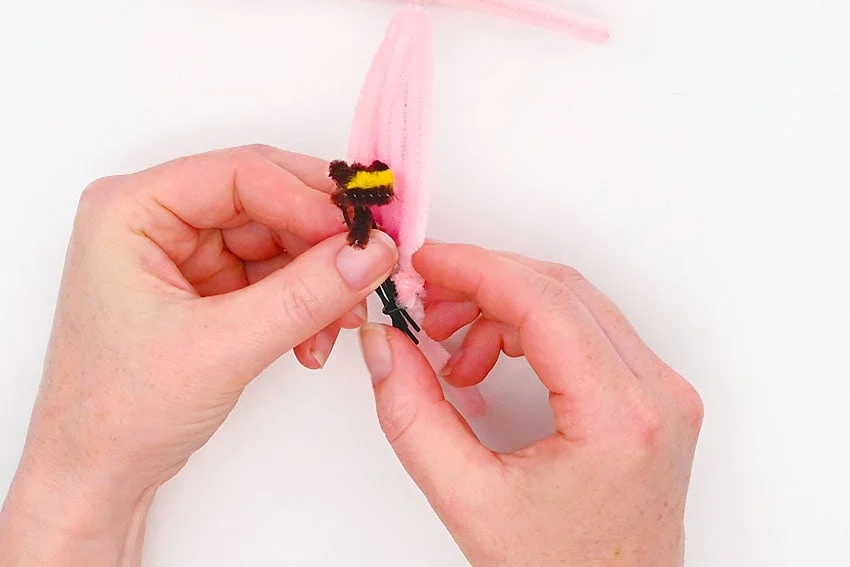
- Add 2 more petals around the stamen, spacing them evenly.
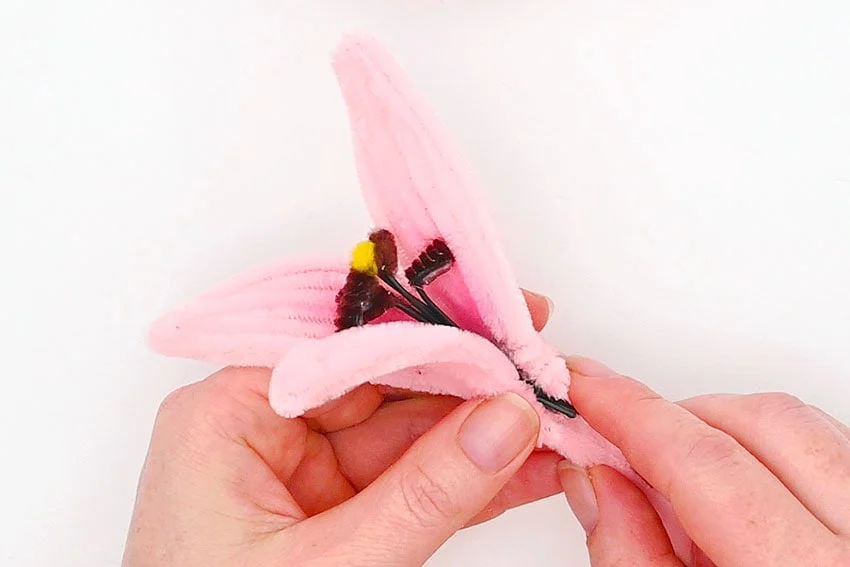
- Then add the rest of the petals, placing each between 2 of the previous ones.
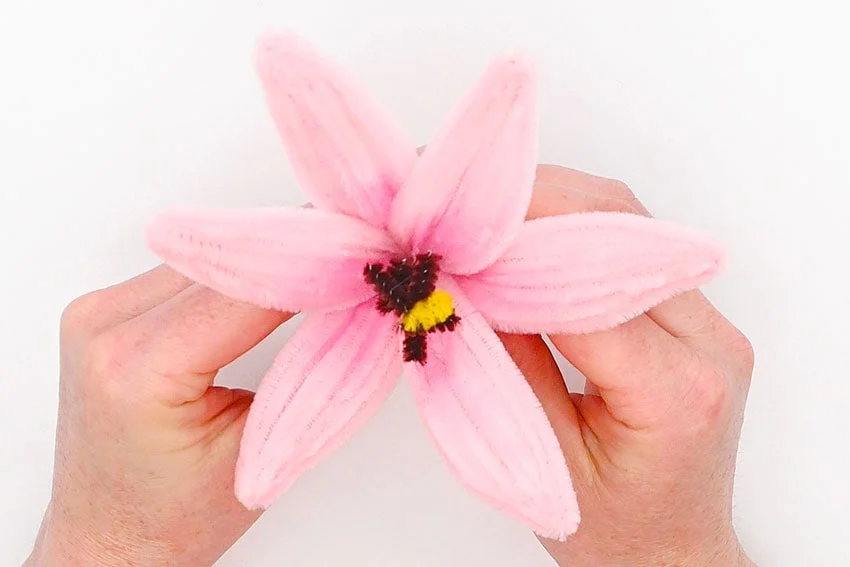
Step 5: Add the stem and leaves
- Cut a piece of garden wire or thick floral wire to be about 12 inches long.
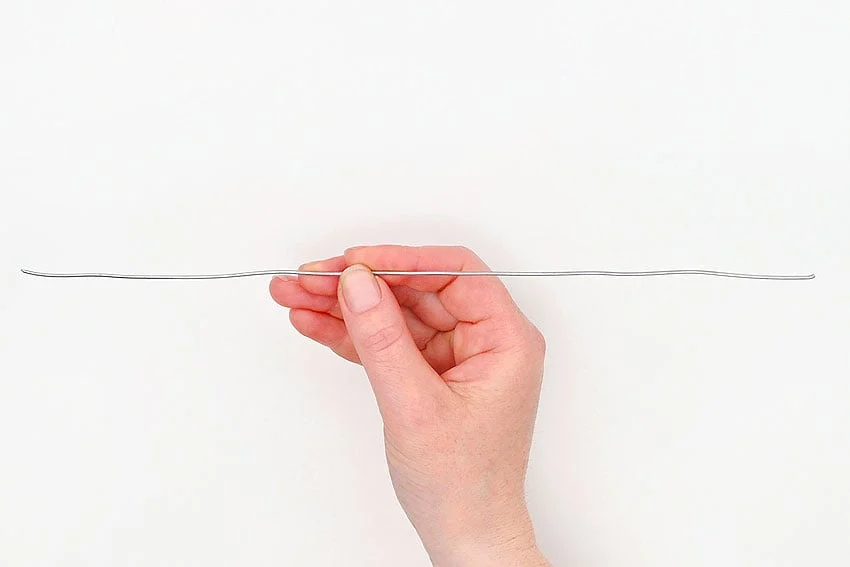
- Add hot glue to one end of the wire and place it on the bottom of the flower, in-between the “stems” of the petals.
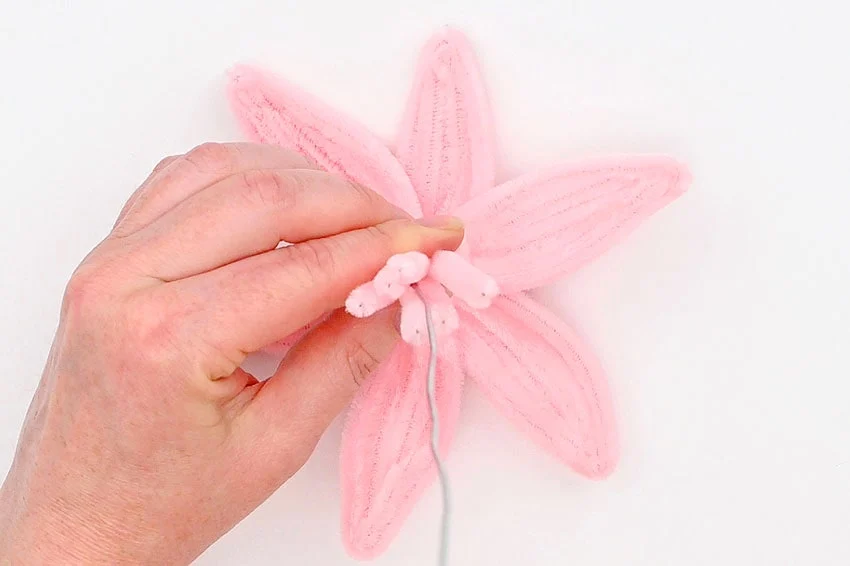
- Now wrap a green pipe cleaner around the wire stem and petal “stems” at the base of the flower.
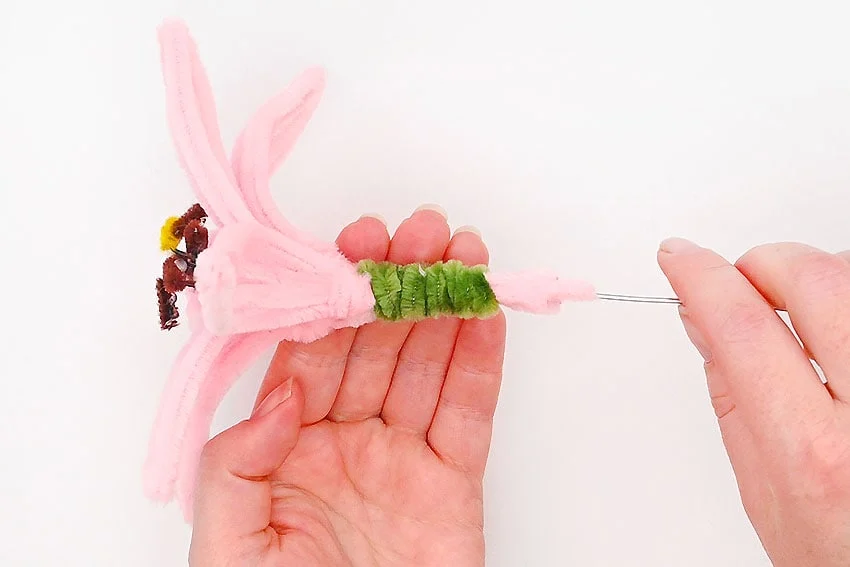
- Leaving a wrap or two of green pipe cleaner bare, wrap floral wire tightly around the green pipe cleaner. Continue down the stem about 1/3 of the way.If your floral tape doesn’t want to stick to the pipe cleaner, secure it with a tiny dot of hot glue.
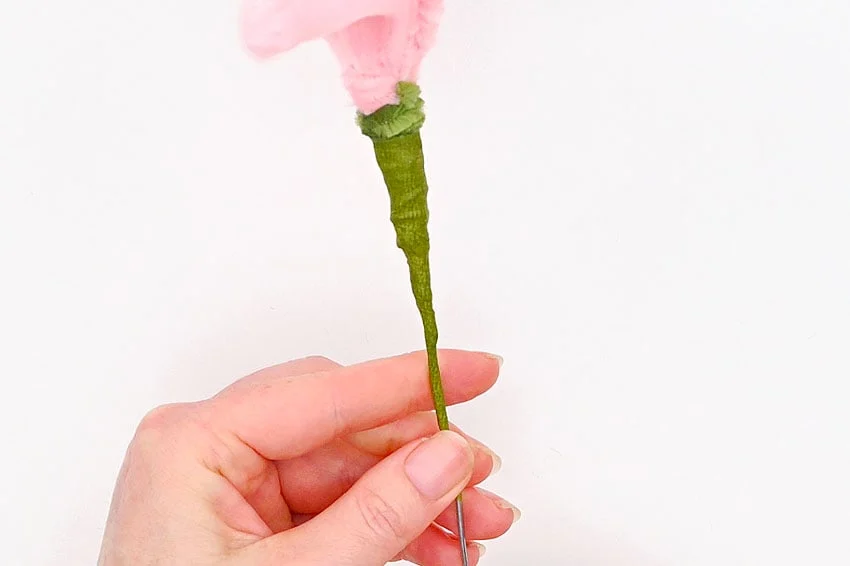
- Use hot glue to attach one of the leaves to the stem.
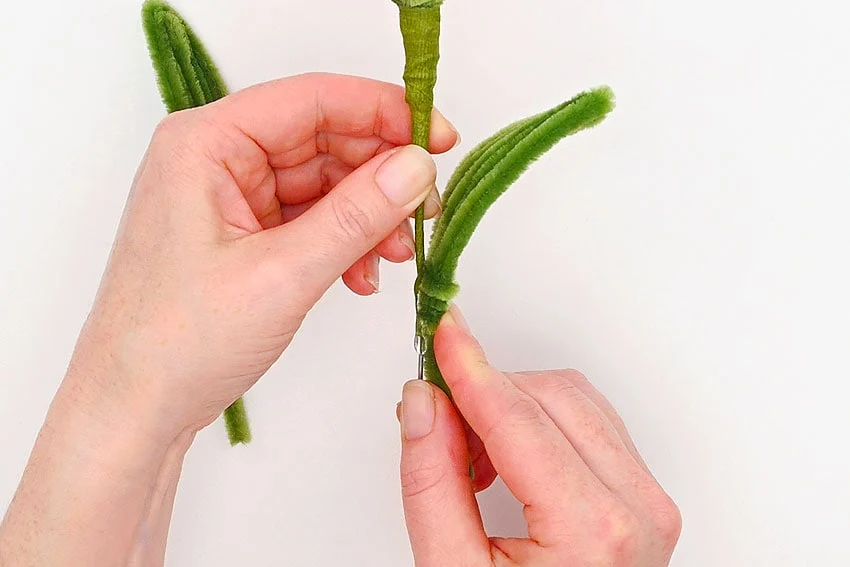
- Wrap more floral tape around the bottom of the leaf, and then glue the 2nd leaf to the other side.
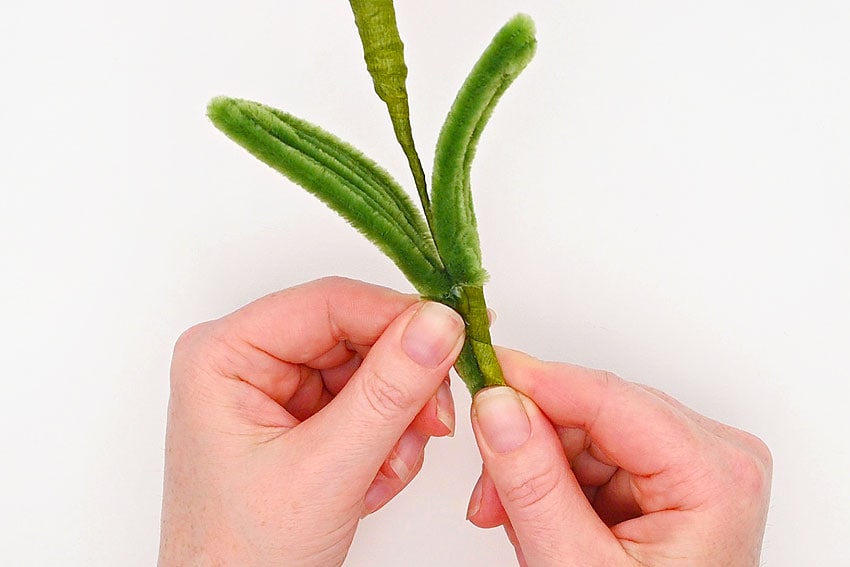
- Wrap floral tape around the bottom of both leaves and continue until the bottom of the stem.Secure the end of the tape with another dab of hot glue, if needed.
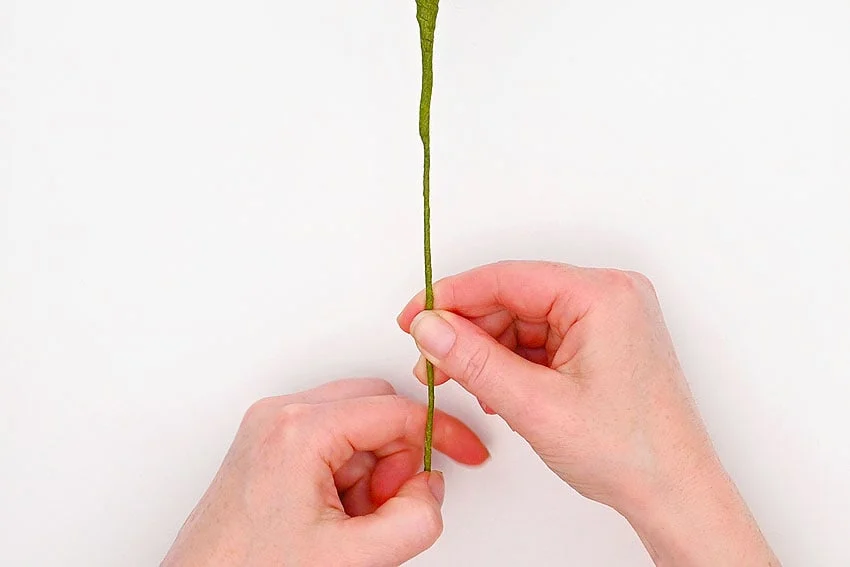
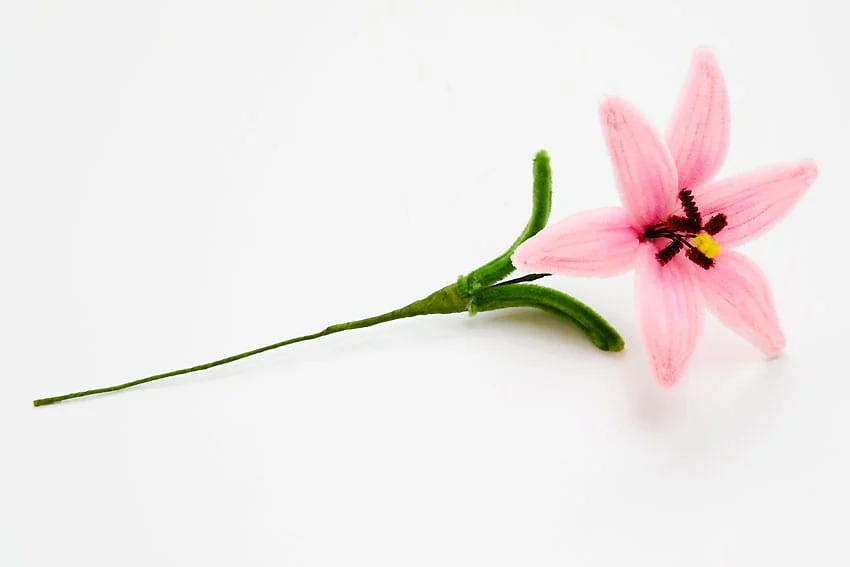
- Your pipe cleaner lily is complete!
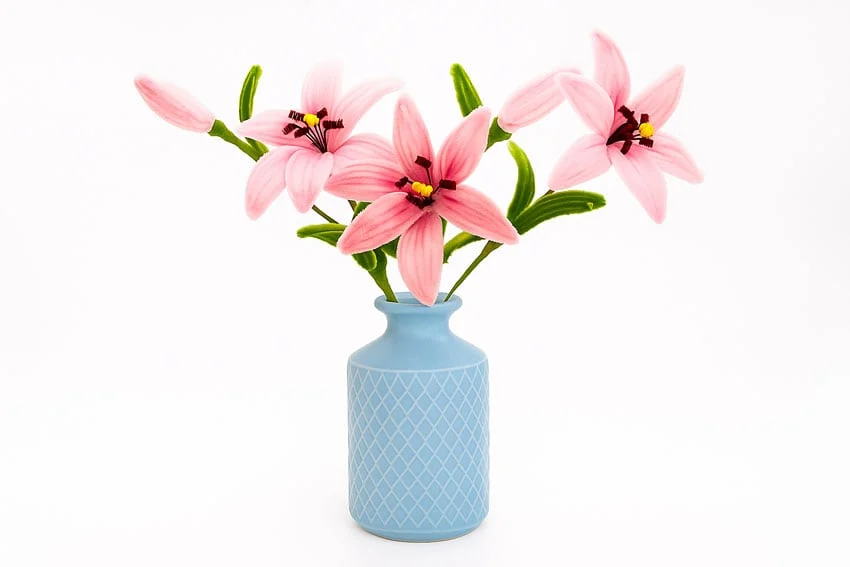
- Place your pipe cleaner lilies in a vase for a beautiful decorative bouquet!
Helpful Tips
- Read through the full tutorial before starting.
- Prepare the listed supplies ahead of time so each step is easier to follow.
- Check the finished craft against the instructions before displaying or using it.
FAQs
Is this tutorial beginner friendly?
Yes. This pipe cleaner lily kids craft is written with simple steps and extra tips for beginners.
Can kids make this craft independently?
Older kids may be able to work independently, while younger kids should have help with any steps that require close attention or small pieces.
How long does the craft take?
Most versions take about 30 minutes, depending on the materials and the pace of the crafter.
Can I use different colors?
Yes. Changing the colors is one of the easiest ways to personalize the finished craft.
Final Thoughts
Once the pipe cleaner lily kids craft is finished, take a moment to check the details, compare the result with the tutorial, and display the project somewhere kids can enjoy their work.
Affiliate disclosure: This post may contain Amazon affiliate links. As an Amazon Associate, Easy Crafts Ideas may earn from qualifying purchases at no extra cost to you.