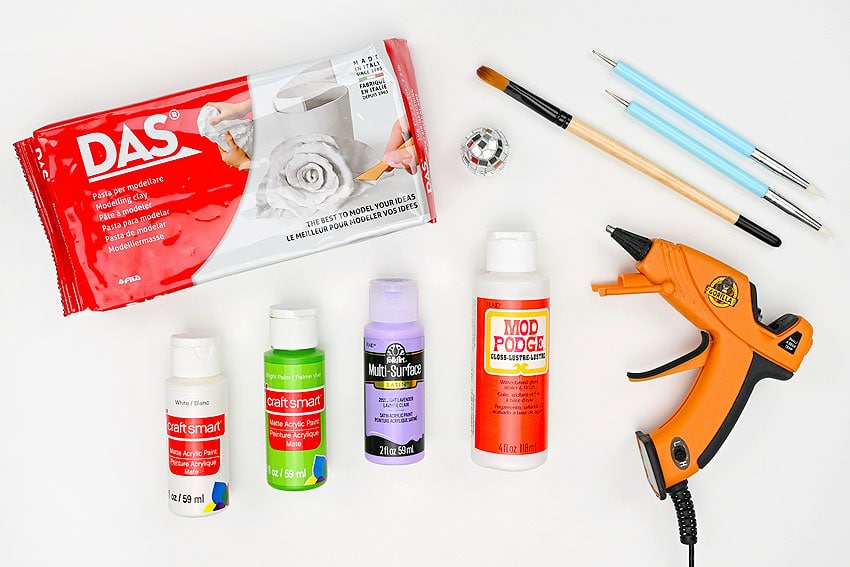
This disco snails kids craft is a cheerful hands-on project for kids, classrooms, and family craft time. It uses the tutorial steps below as the practical guide while adding helpful planning notes so the project feels easier to prepare, follow, and finish. Gather the supplies first, give yourself a little workspace, and enjoy making something creative from simple materials.
Materials:
Equipment:
Instructions:
Step 1: Find what you need
- Gather your supplies and materials.
Step 2: Shape the snail
- Condition a piece of air dry clay by squishing it and rolling it into a ball.Then roll it into a thick coil or “snake”. We rolled this one to about 3-1/2 inches long and about 1/2 inch thick, but you can make whatever size of snail you’d like.
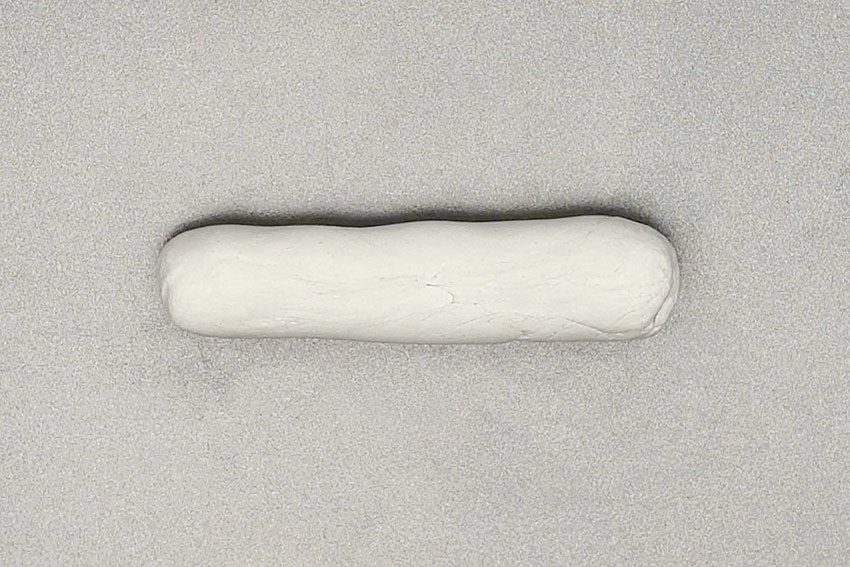
- Pinch one end of the coil to make it a bit more pointed. This will be the tail.Dip your fingers in water if you need to smooth out any cracks or creases.
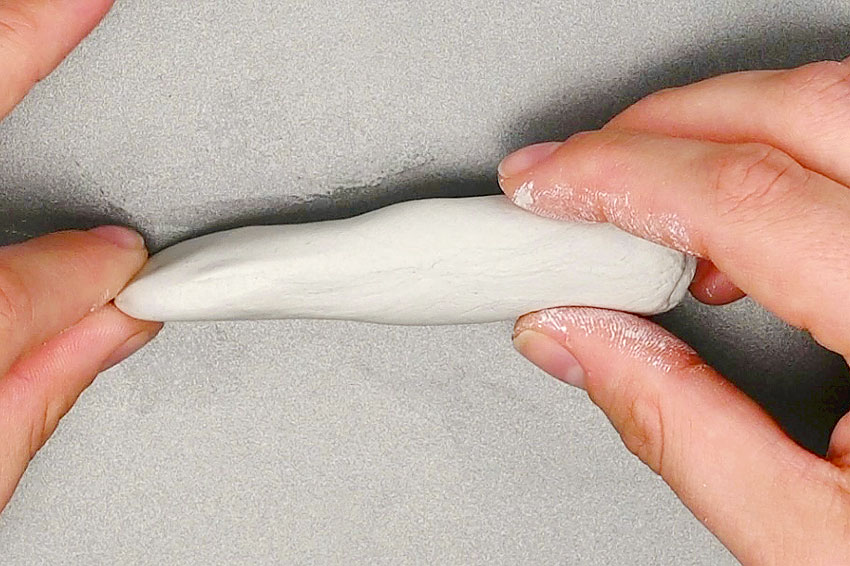
- Then, on the opposite end of the coil, pinch 2 little triangles. These will be the tentacles on the top of the snail’s head (where their eyes are!).
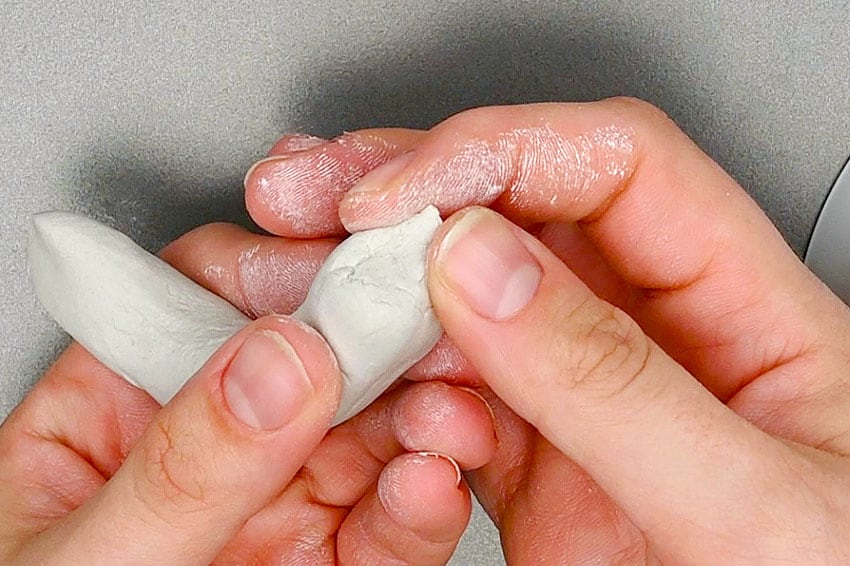
- Even out the triangle shapes and ensure there’s a rounded dip between them.
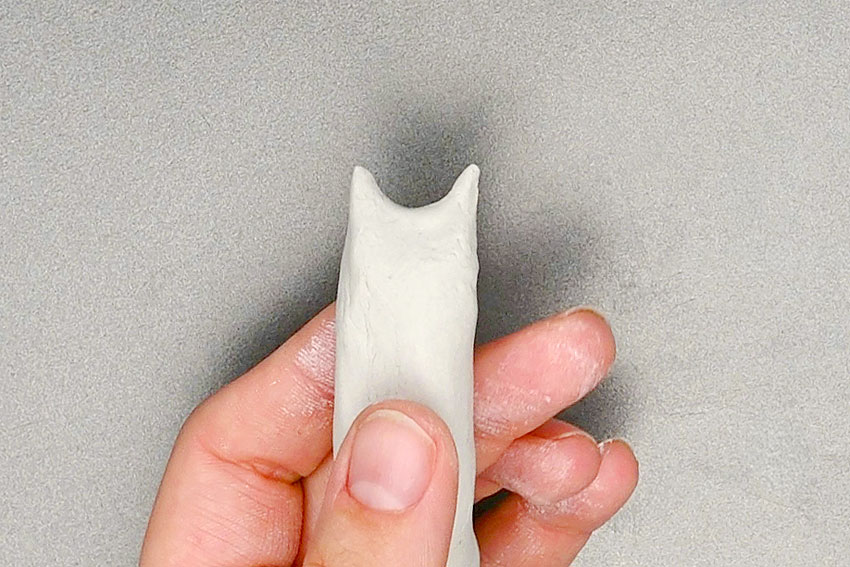
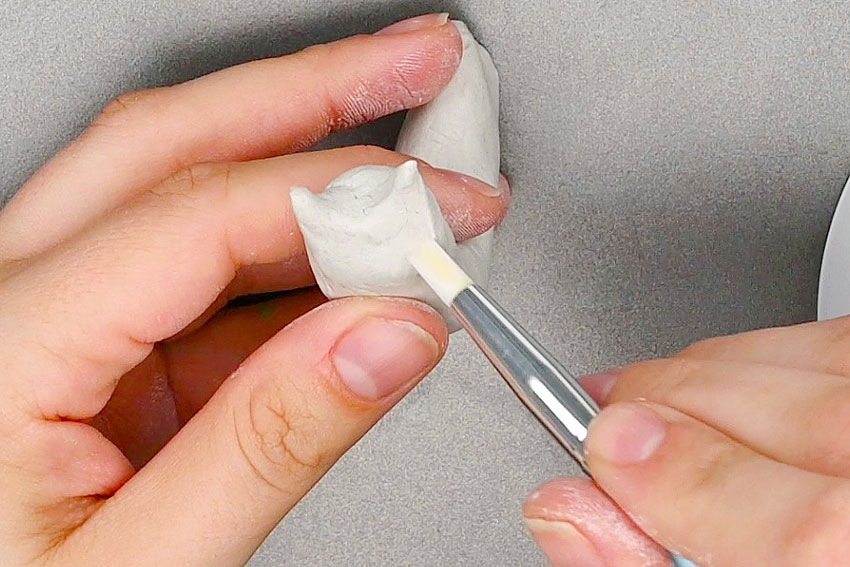
- Smooth out the head area and the tentacles so there aren’t any creases or cracks.We found it helpful to use a silicone brush for precision, but you can also use your fingertips and a bit of water.
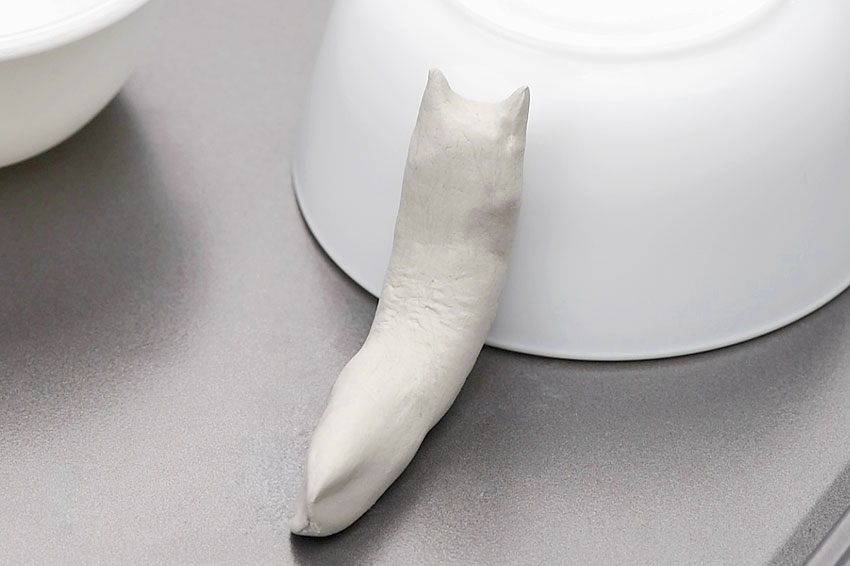
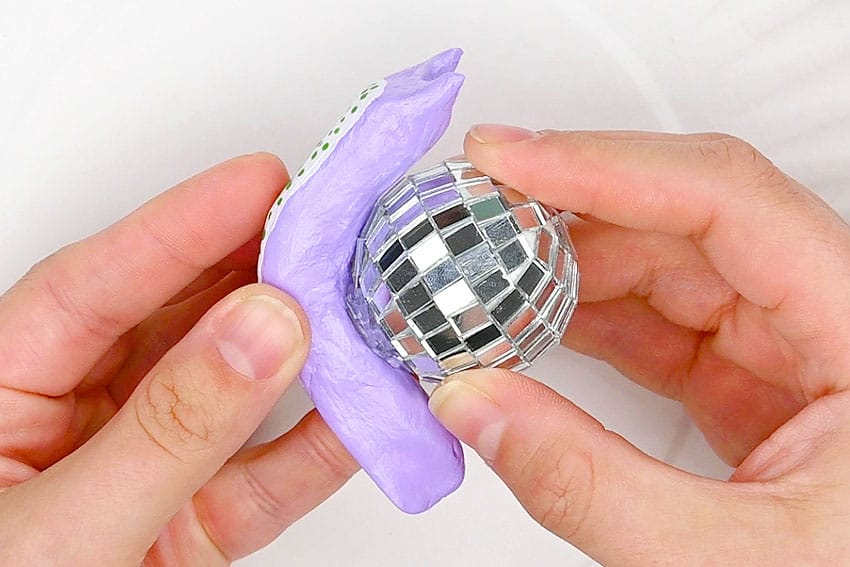
- Now bend the snail so it’s sitting upright. Place the disco ball on the snail temporarily to get the perfect angle for the shell.Then brace the snail against the side of a bowl to keep it in the proper position.Allow to dry 24 hours. Then flip over so the bottom can dry and wait another 24 hours.
Step 3: Paint and seal the snail
- Once the clay is completely dry, brush on a coat of acrylic paint.You’ll probably want to do this in 2 stages — painting the top first and allowing to dry before painting the bottom.
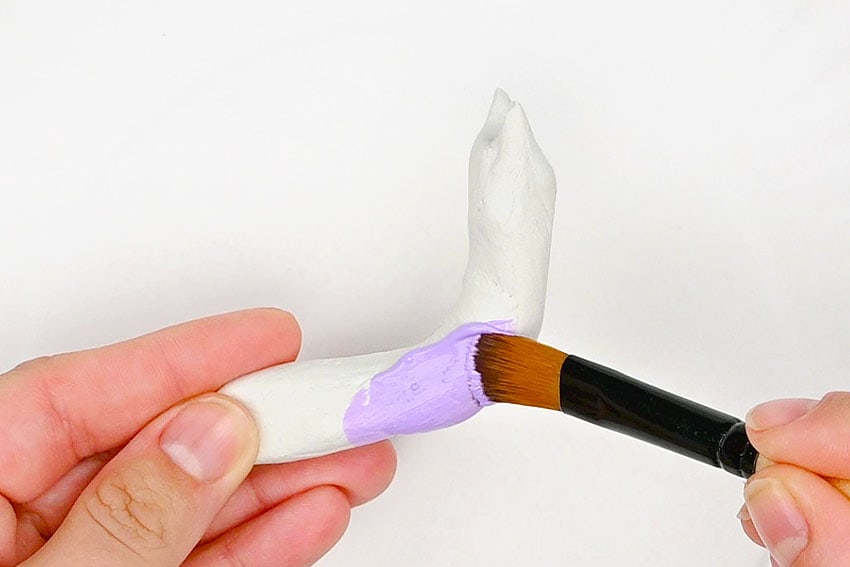
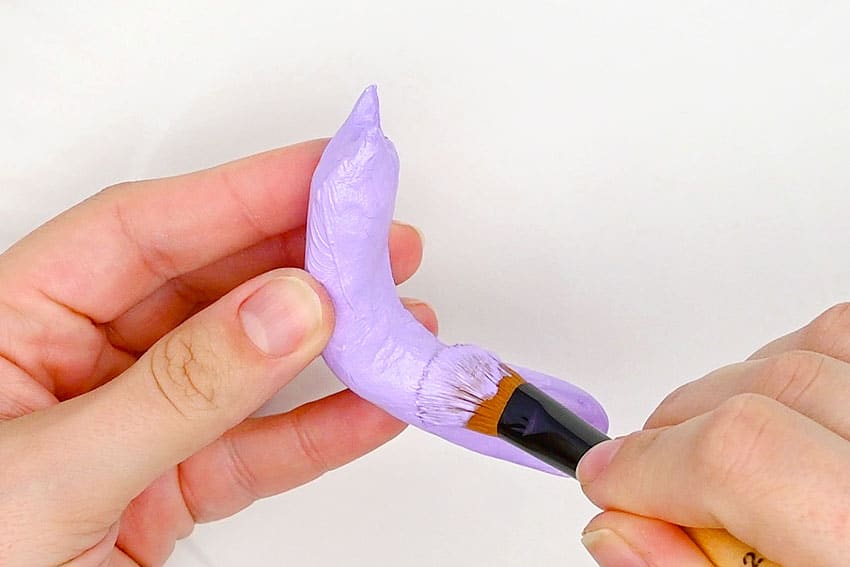
- If necessary, add a second coat of paint all over the snail. (Again, doing it in stages.)
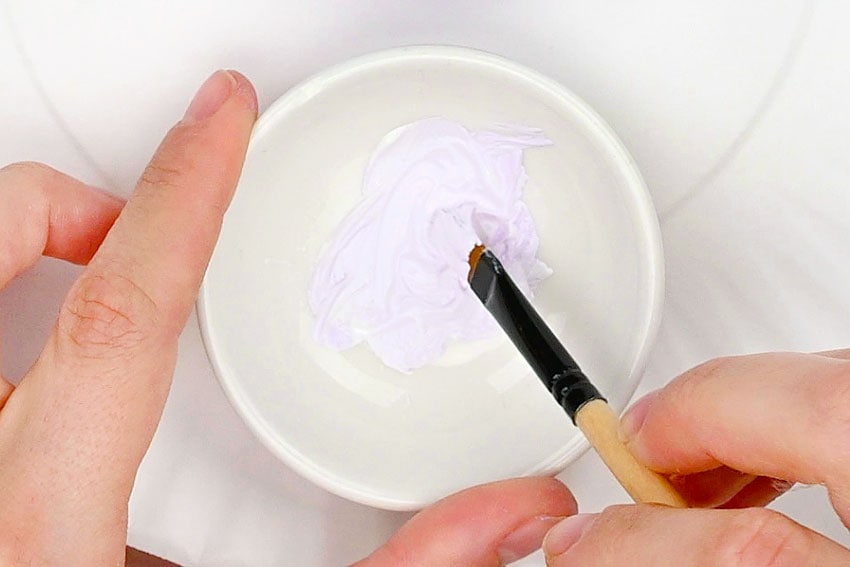
- For the front of the snail we recommend mixing a small amount of your snail colour of paint (purple, for us) into some white paint.This tints the white paint just enough to remove the starkness and helps it match the snail better.
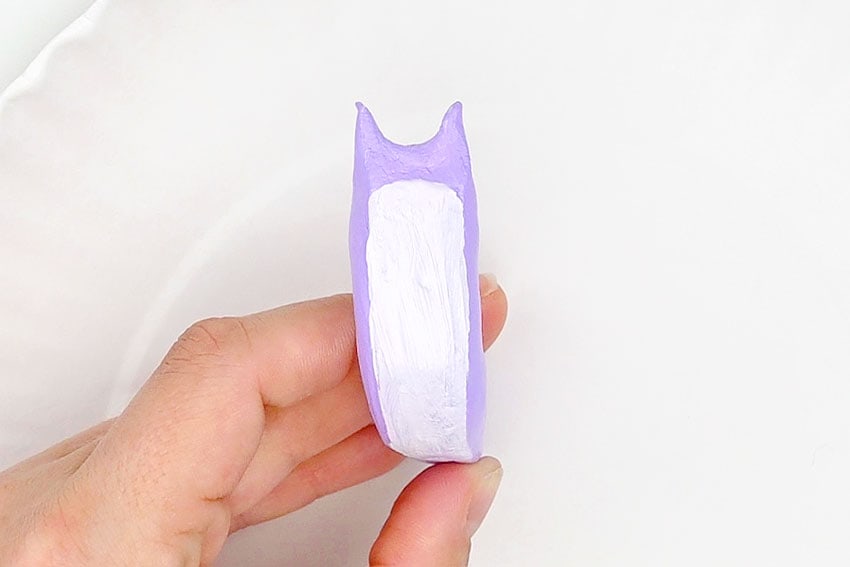
- Paint the front and most of the bottom of the snail with this colour.Make the painted area rounded at the top, going up to about 1/4 inch below the tentacles.Again, allow to dry, and add a second coat, if needed.
- Once the base paint is dry, choose a complementary colour of paint.Use a dotting tool (or several sizes of dotting tools) to add a design to the front (where the light paint was just added).Allow to dry completely.
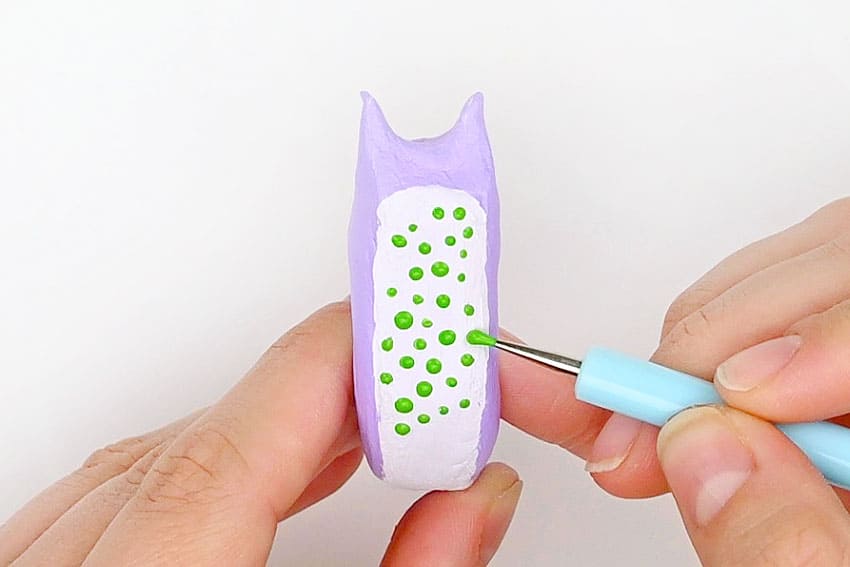
- Optional: Seal the clay by brushing on a thin coat of glossy Mod Podge.Allow to dry.
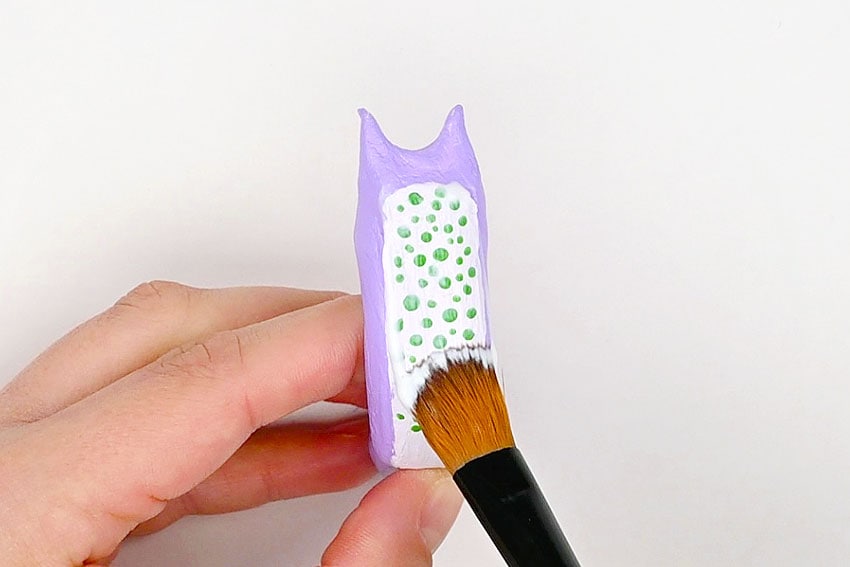
Step 4: Attach the disco ball shell
- Choose a size of disco ball that will fit on your snail. We’re using a 1-1/2 inch ball here.Keep reading below the tutorial for more info on where to get mini disco balls.
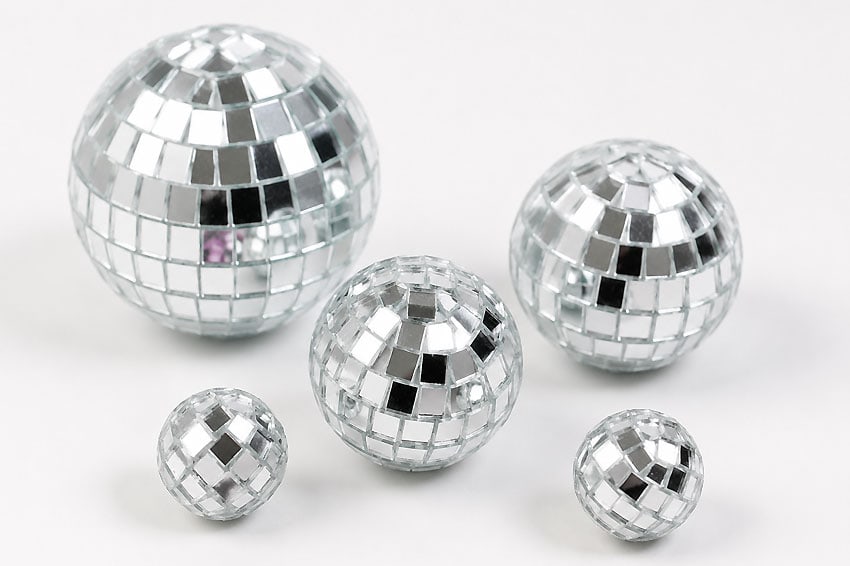
- Add hot glue or tacky glue to the bottom of the disco ball.
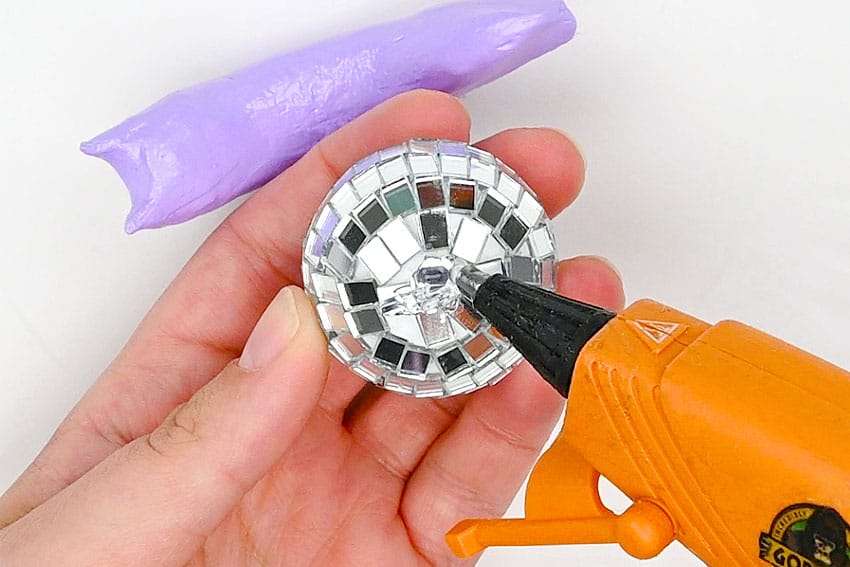
- Attach the disco ball as the snail’s shell, placing it by the curve.
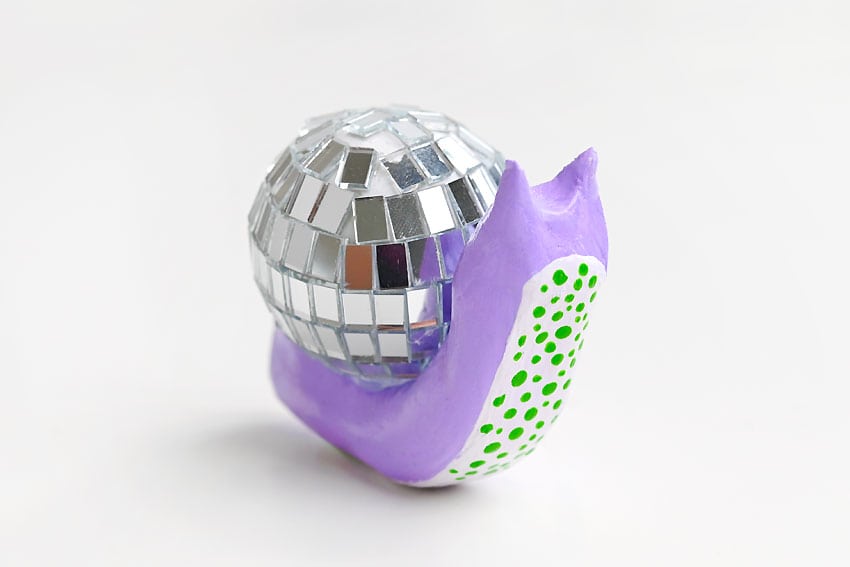
- Your disco snail is complete!
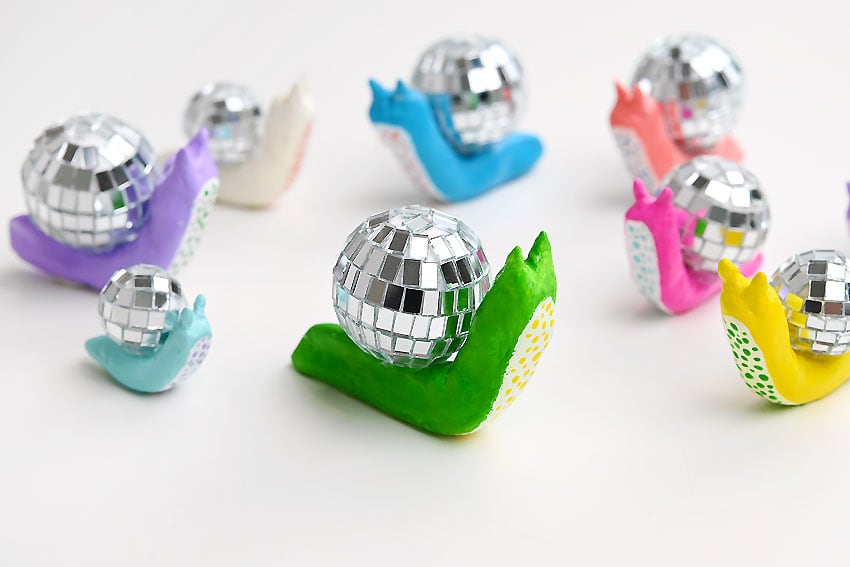
- Have fun making a whole group of colourful snails in different sizes!You can use soothing pastel colours for more demure snails, or embrace the party and use bright rainbow shades — it’s all up to you.
Helpful Tips
- Read through the full tutorial before starting.
- Prepare the listed supplies ahead of time so each step is easier to follow.
- Check the finished craft against the instructions before displaying or using it.
FAQs
Is this tutorial beginner friendly?
Yes. This disco snails kids craft is written with simple steps and extra tips for beginners.
Can kids make this craft independently?
Older kids may be able to work independently, while younger kids should have help with any steps that require close attention or small pieces.
How long does the craft take?
Most versions take about 30 minutes, depending on the materials and the pace of the crafter.
Can I use different colors?
Yes. Changing the colors is one of the easiest ways to personalize the finished craft.
Final Thoughts
Once the disco snails kids craft is finished, take a moment to check the details, compare the result with the tutorial, and display the project somewhere kids can enjoy their work.
Affiliate disclosure: This post may contain Amazon affiliate links. As an Amazon Associate, Easy Crafts Ideas may earn from qualifying purchases at no extra cost to you.