This chicken wire suncatcher kids craft is a cheerful hands-on project for kids, classrooms, and family craft time. It uses the tutorial steps below as the practical guide while adding helpful planning notes so the project feels easier to prepare, follow, and finish. Gather the supplies first, give yourself a little workspace, and enjoy making something creative from simple materials.
Materials:
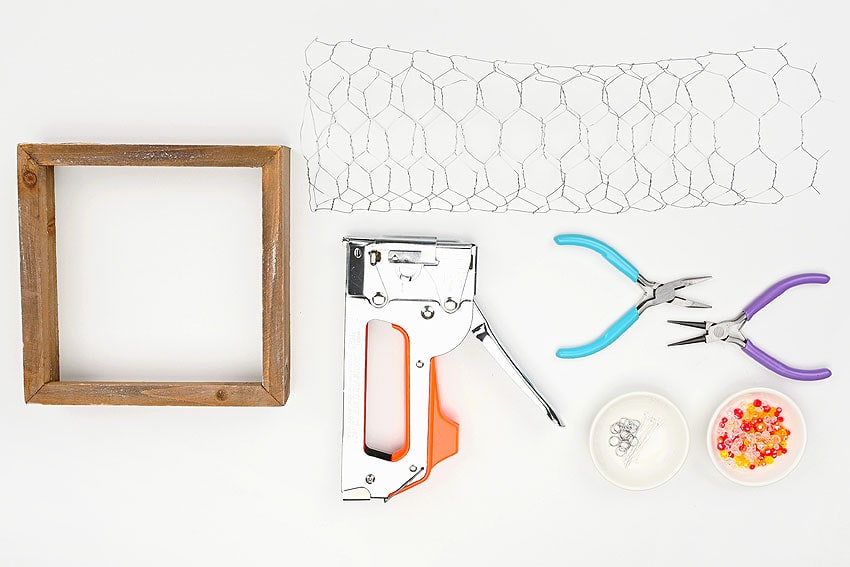
- Wood picture frame
- Chicken wire
- Transparent glass beads (4mm to 8mm)
- Metal eye pins (40mm)
- Jump rings (7mm)
Equipment:
Instructions:
Step 1: Find what you need
- Gather your supplies and materials.
Step 2: Attach the wire to the frame
- The main components for this suncatcher are chicken wire and a wooden frame. We bought our chicken wire at the dollar store and used a thrifted wooden shadow box frame.Tip: You might want to wear work gloves when cutting and attaching the wire — it can be pretty vicious, and gloves will protect you from “bites”.
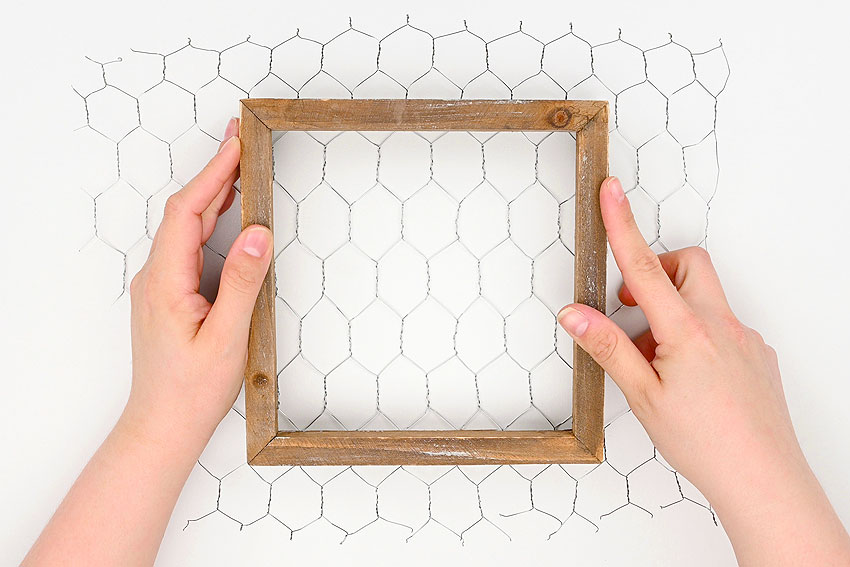
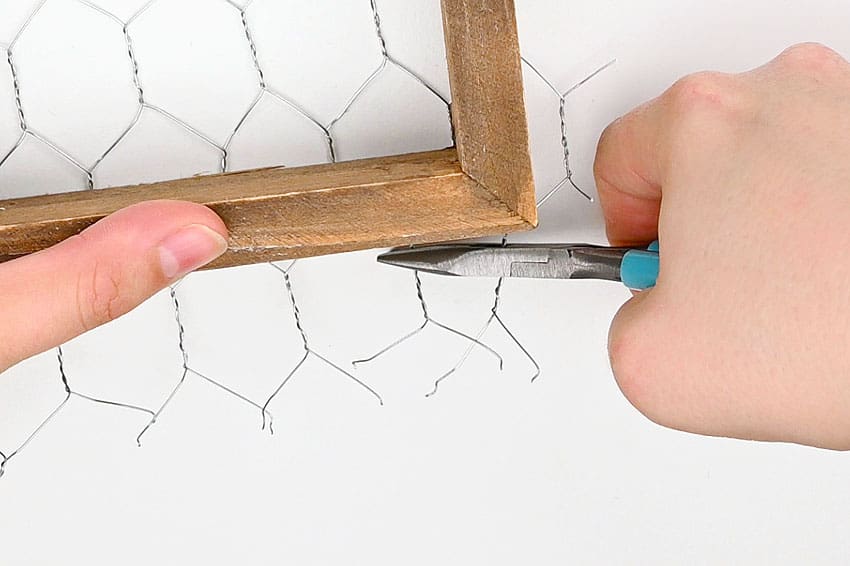
- First, use wire cutters to cut a piece of chicken wire that’s just a bit larger than the frame. This will make it easier to deal with.
- Line up the wire so it’s straight in the frame and then use a staple gun to attach the wire on one side. Place a staple on each section of wire.
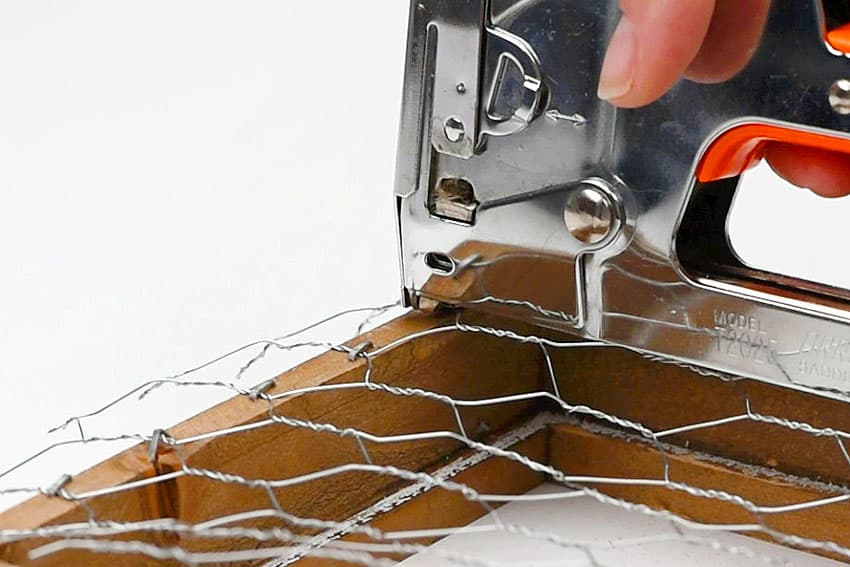
- Then stretch the wire down and staple the opposite side, so it’s fairly taut.
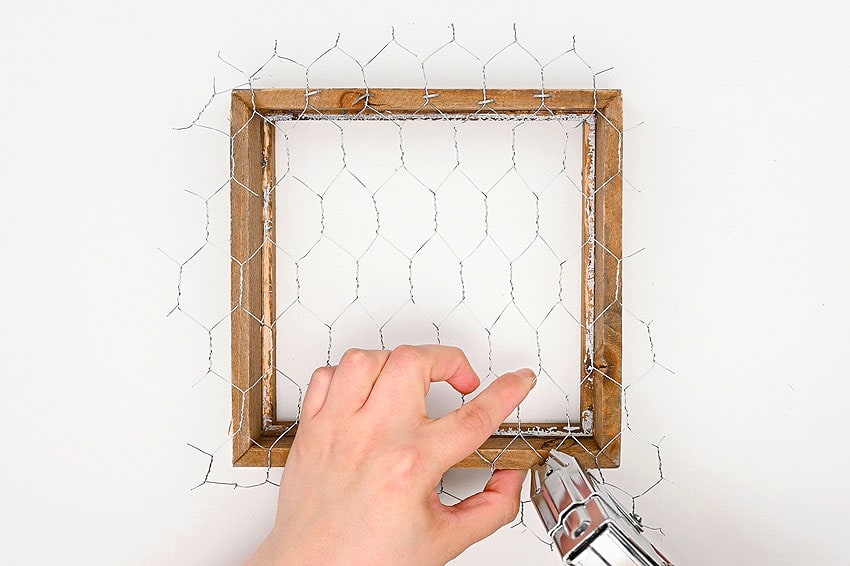
- Repeat on the other two sides. Again, stretch out the wire so there’s little to no slack.
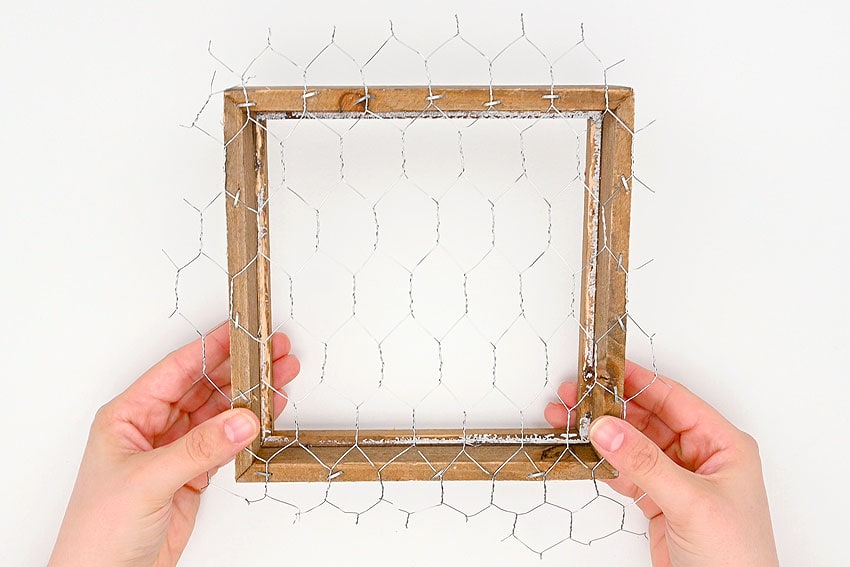
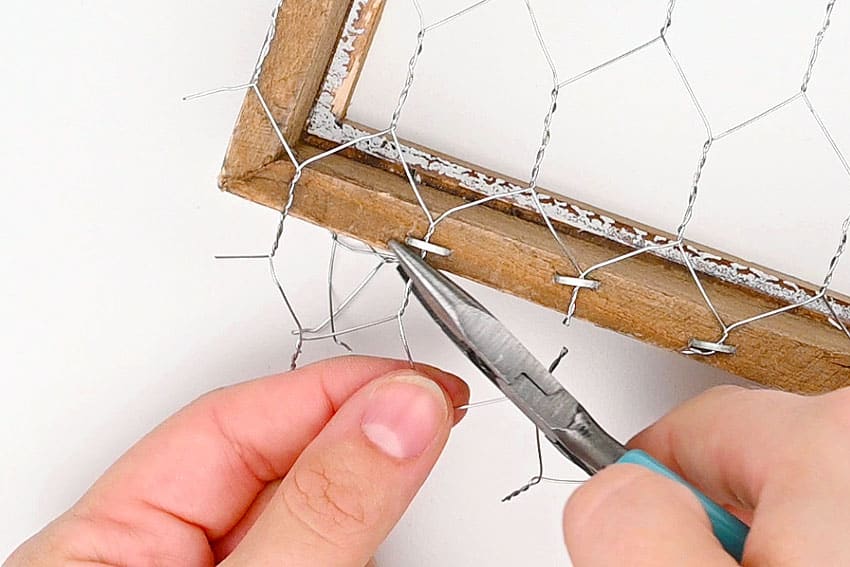
- Now cut off the excess wire that’s sticking out from the sides of the frame and use pliers to fold in the ends.You can also add hot glue to any sharp edges of the wire to ensure it won’t scratch you or your walls/windows.
Step 3: Make the charms
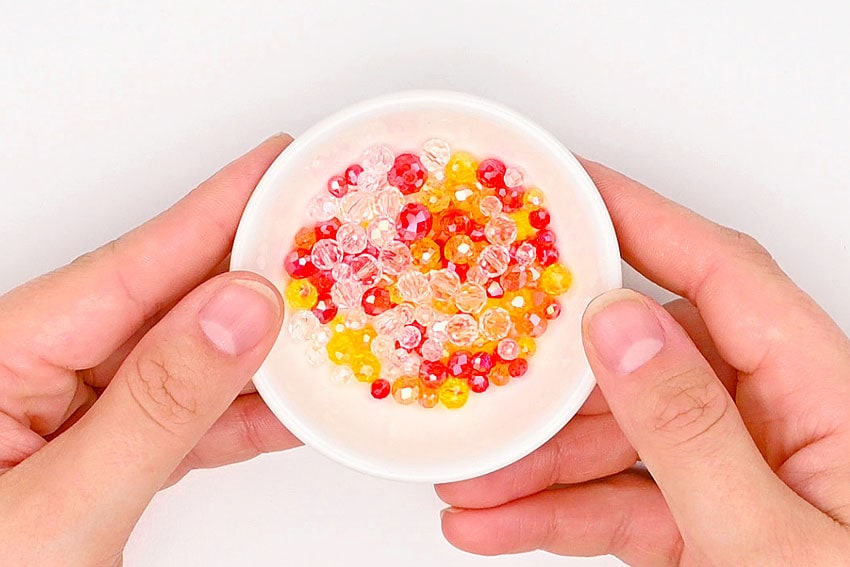
- Next, gather various colours and sizes of glass beads. The exact number of beads you’ll need depends on the size of your frame.(Read more about this below the tutorial.)
- Add 3 or 4 beads to a 40 mm eye pin. We added 2 orange and 1 clear here, with the largest bead in the middle.
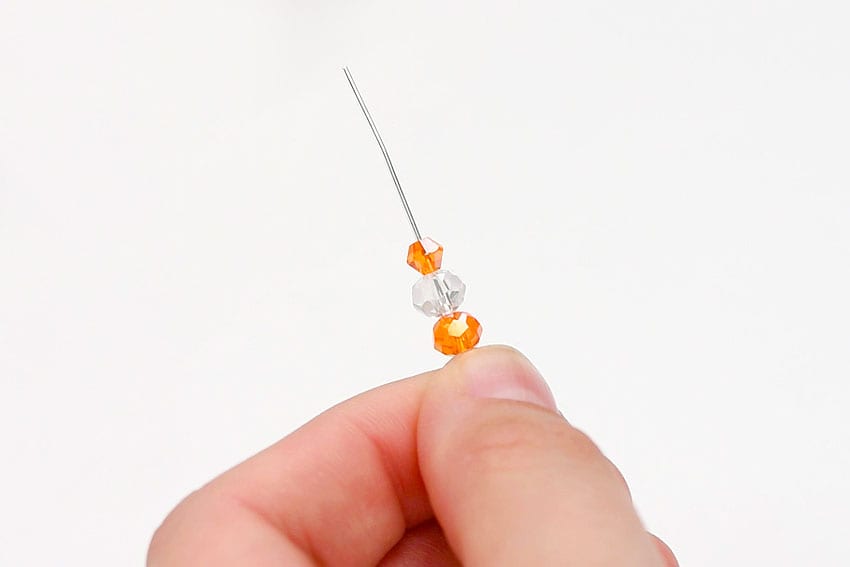
- Cut off the excess pin, leaving about 3/8 inch above the beads.
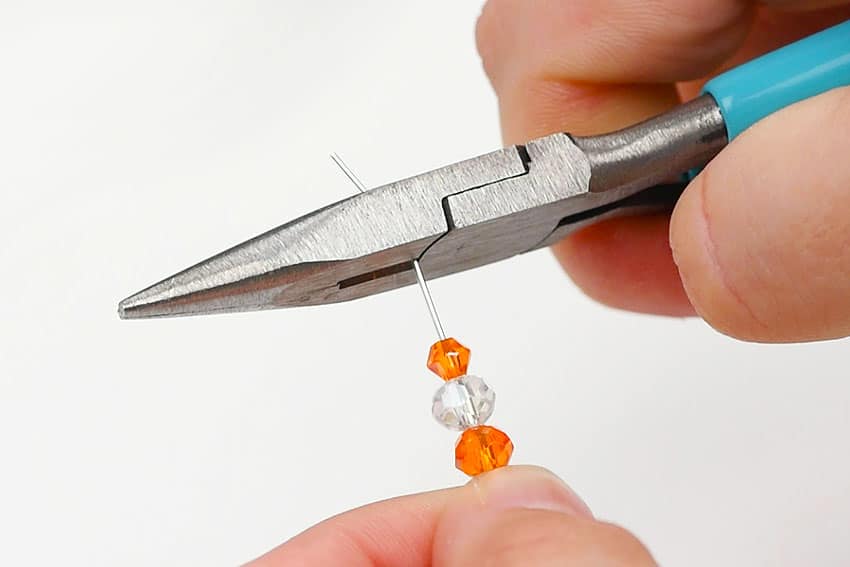
- Use round nose pliers to make a loop above the beads.
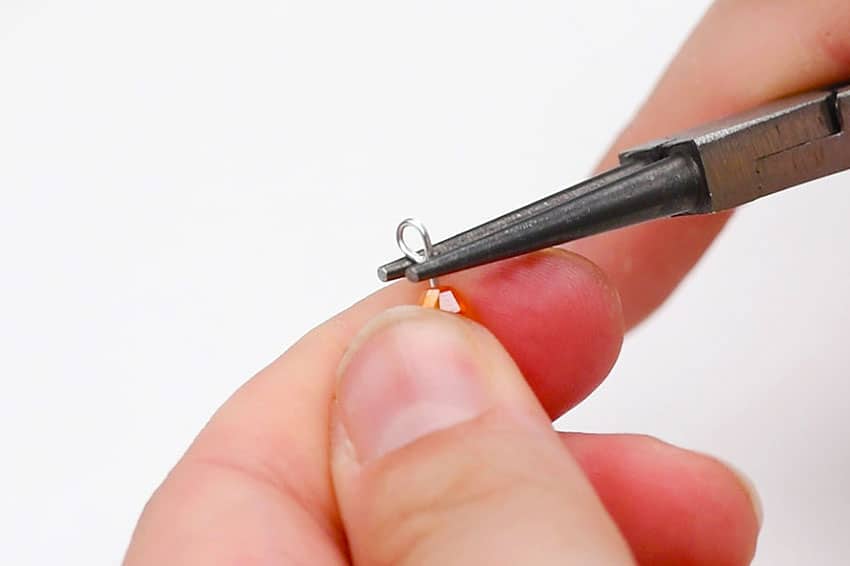
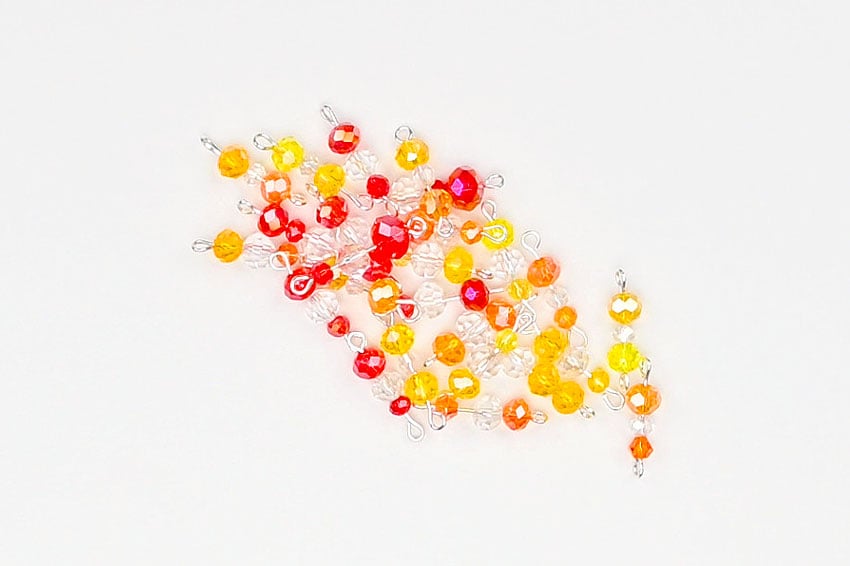
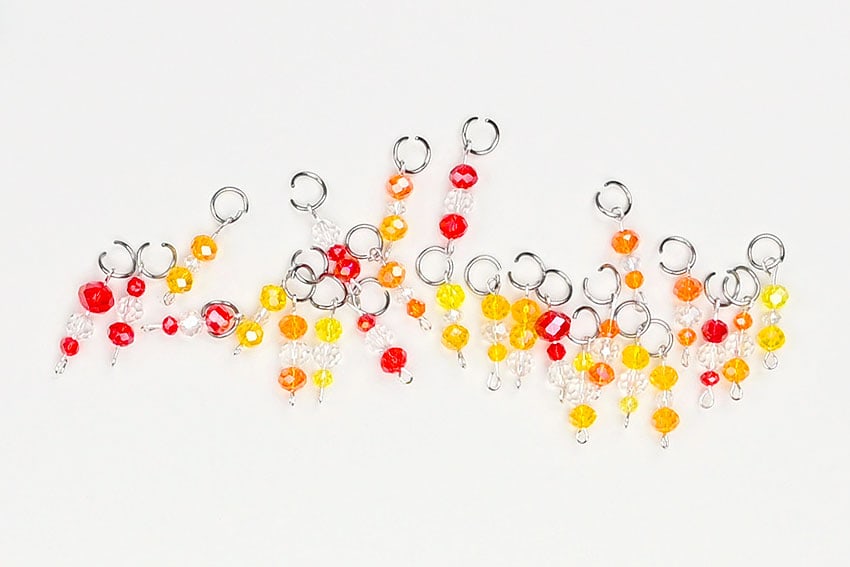
- Repeat, making more charms in different colours.Just like with the number of beads, the exact number of charms needed will depend on the size of your frame. We made 27 beaded pins for this 6×6 inch frame.
Step 4: Add jump rings
- Use pliers to open a 7mm jump ring.
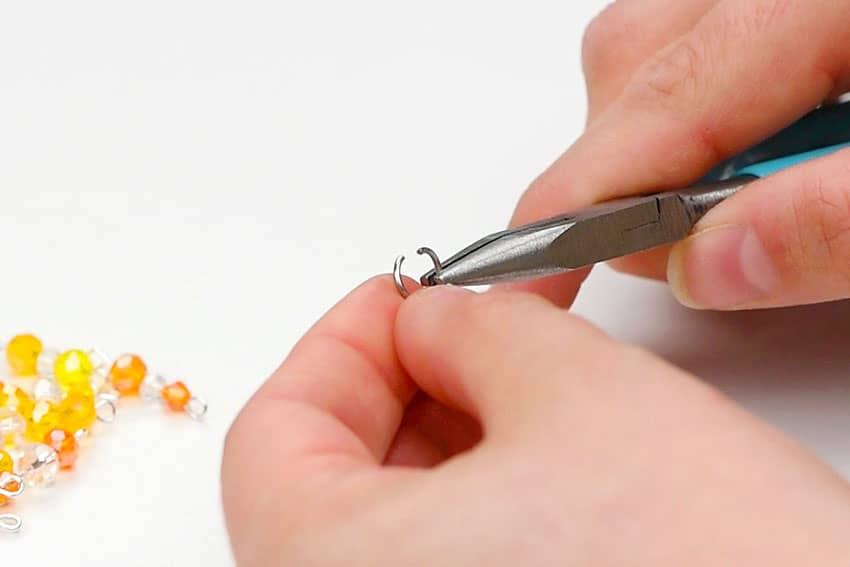
- Slide one of the charms onto the jump ring. Leave the jump ring open.
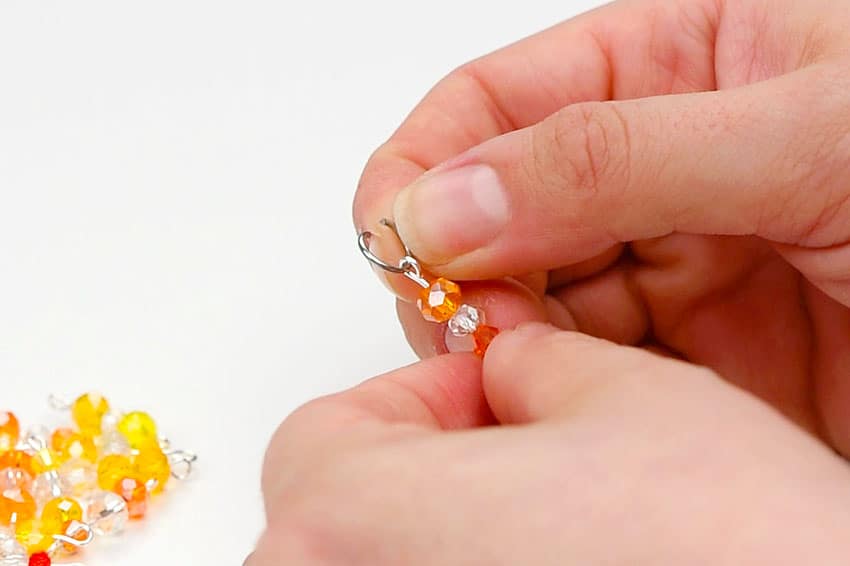
- Repeat, adding all the charms to jump rings.
Step 5: Attach the charms
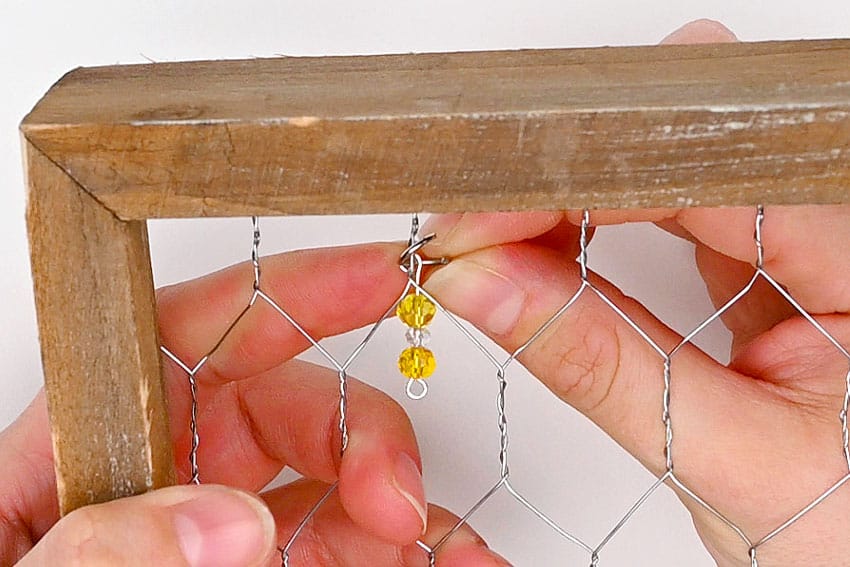
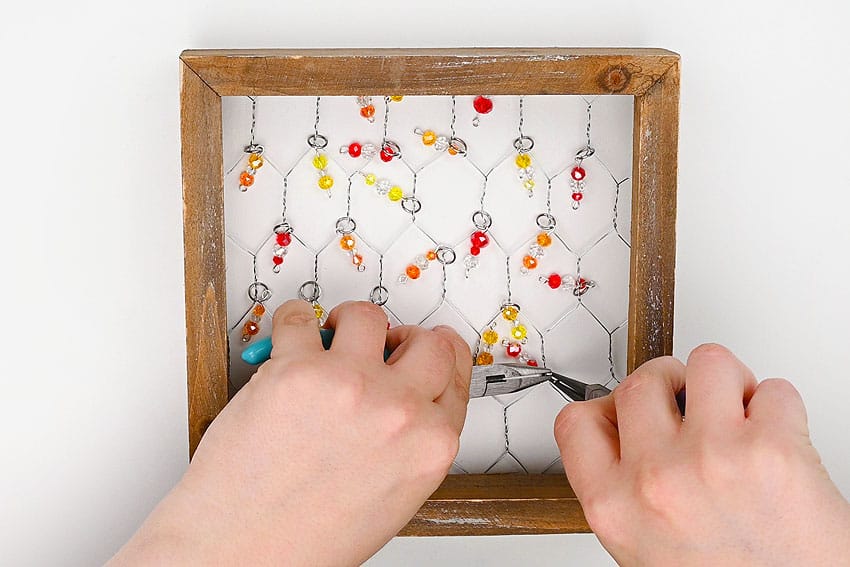
- Slide one of the jump rings onto a vertical section of the chicken wire. This will let it dangle down into the open area below.
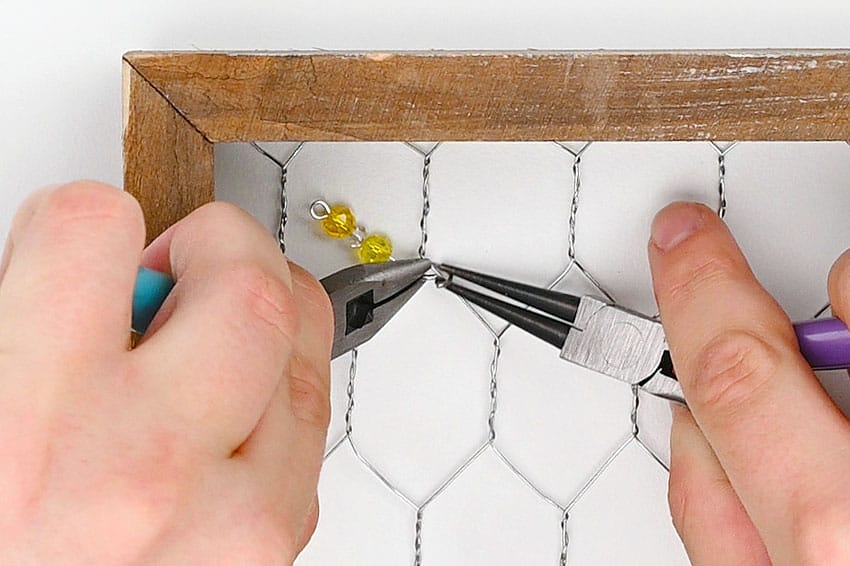
- Use two sets of pliers to close the jump ring tight.
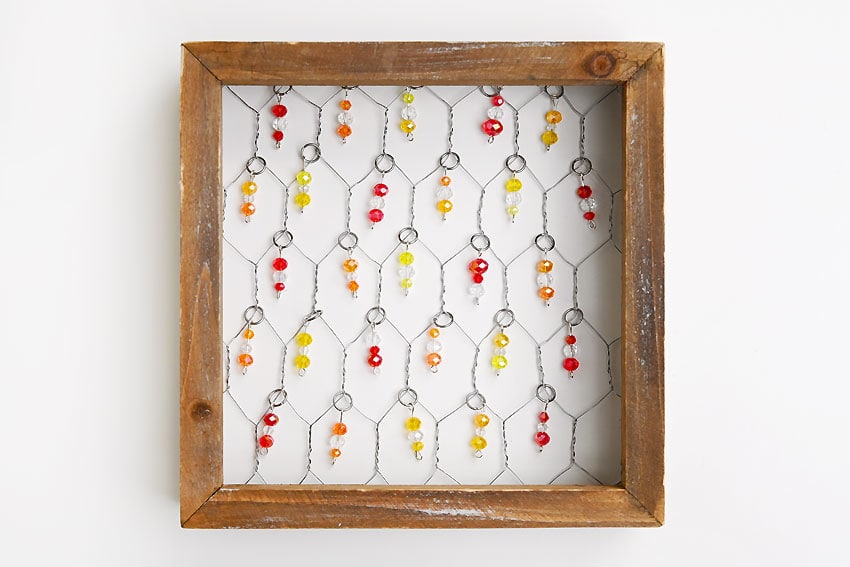
- Repeat, adding charms until every open section is filled.
- Your chicken wire suncatcher is complete!
Helpful Tips
- Read through the full tutorial before starting.
- Prepare the listed supplies ahead of time so each step is easier to follow.
- Check the finished craft against the instructions before displaying or using it.
FAQs
Is this tutorial beginner friendly?
Yes. This chicken wire suncatcher kids craft is written with simple steps and extra tips for beginners.
Can kids make this craft independently?
Older kids may be able to work independently, while younger kids should have help with any steps that require close attention or small pieces.
How long does the craft take?
Most versions take about 30 minutes, depending on the materials and the pace of the crafter.
Can I use different colors?
Yes. Changing the colors is one of the easiest ways to personalize the finished craft.
Final Thoughts
Once the chicken wire suncatcher kids craft is finished, take a moment to check the details, compare the result with the tutorial, and display the project somewhere kids can enjoy their work.
Affiliate disclosure: This post may contain Amazon affiliate links. As an Amazon Associate, Easy Crafts Ideas may earn from qualifying purchases at no extra cost to you.