This clay cat kids craft is a cheerful hands-on project for kids, classrooms, and family craft time. It uses the tutorial steps below as the practical guide while adding helpful planning notes so the project feels easier to prepare, follow, and finish. Gather the supplies first, give yourself a little workspace, and enjoy making something creative from simple materials.
Materials:
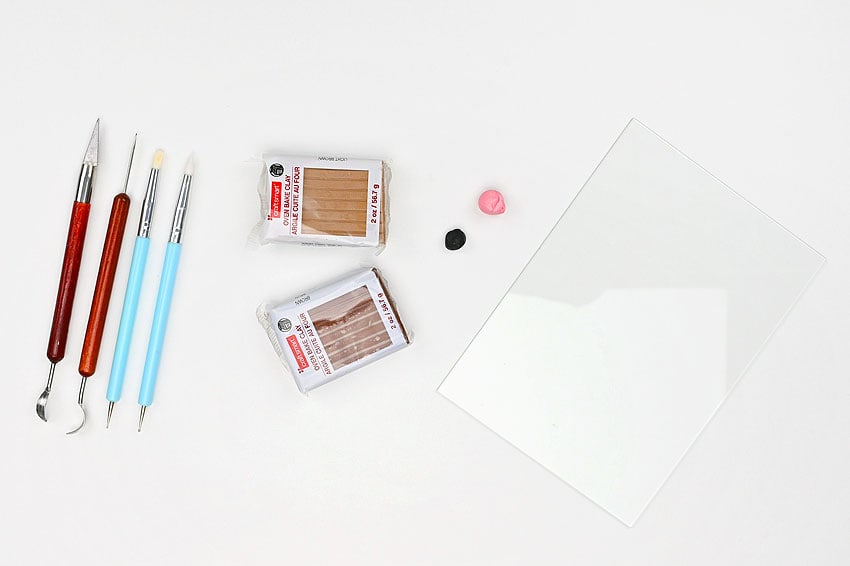
- Polymer clay (tan, brown, black, pink)
Equipment:
Instructions:
Step 1: Find what you need
- Gather your supplies and materials.
Step 2: Condition the clay
- We recommend working with gloves to prevent fingerprints on the clay. Work on a dust-free, smooth surface such as plexiglass, glass, or a silicone mat.
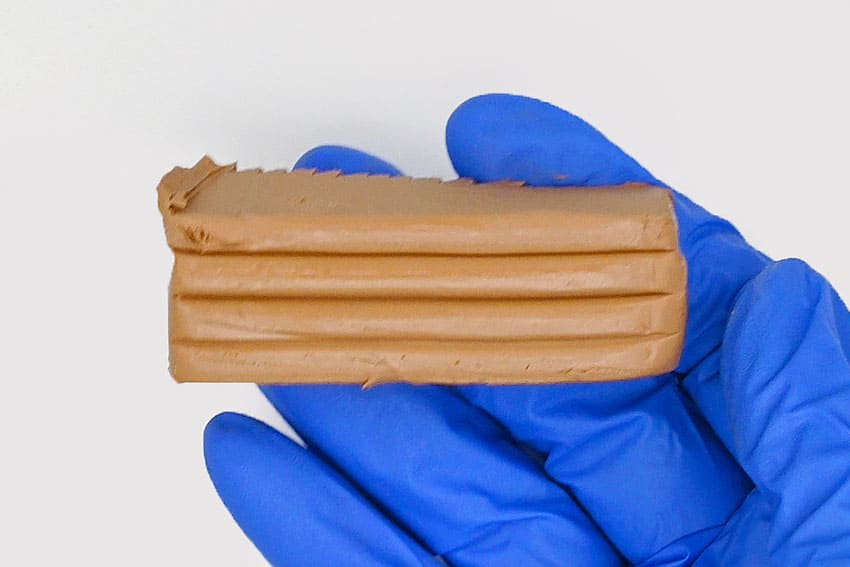
- Condition about 1 ounce of clay, using your hands to squish and roll the clay into a smooth, workable ball.
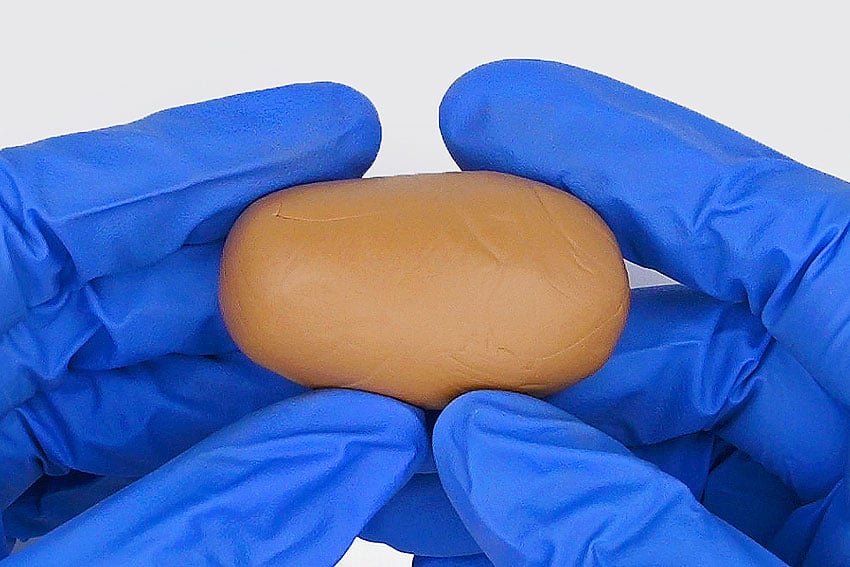
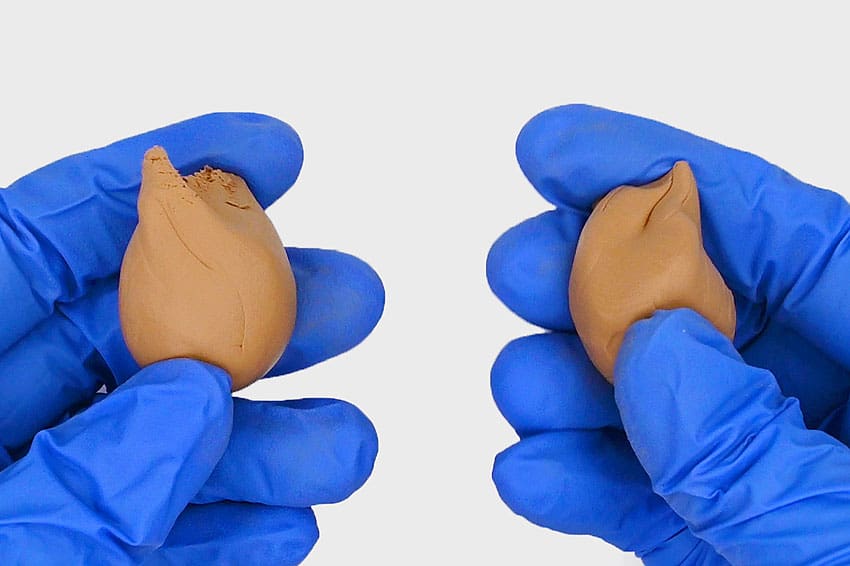
- Break the clay into 2 equal pieces, and then take a small piece off each section. One piece will be the head, one the body, and the small section will be for the cheeks, ears, and tail.
Step 3: Make the cat’s head
- Roll one of the larger balls into a circle, creating the cat’s head.
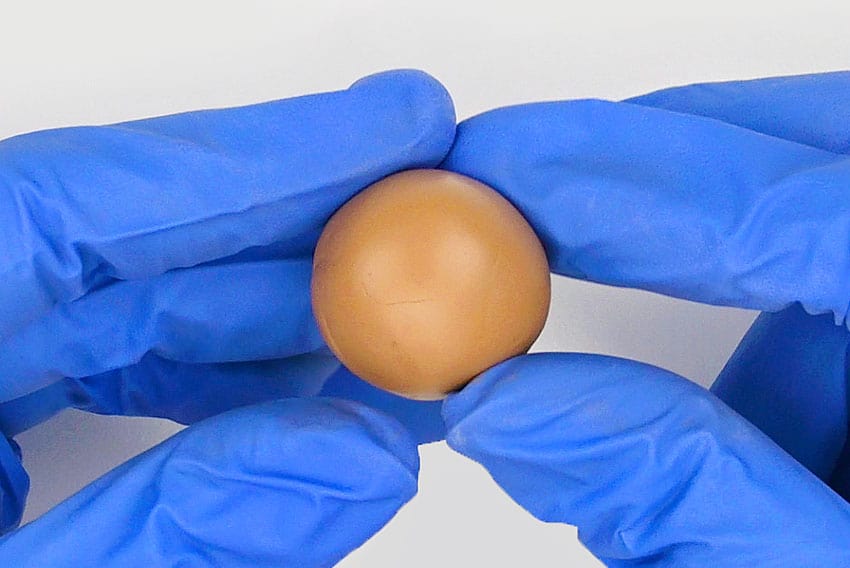
- Break off 2 pieces from the small piece of clay for the ears. Begin by rolling them into balls.
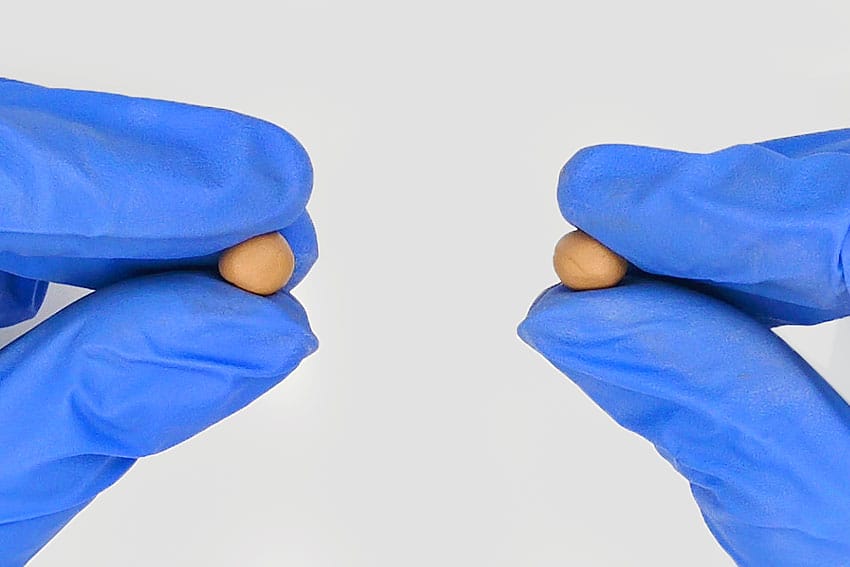
- Use your hands to shape the ears into triangles and then press a clay knife into the clay to make the ear’s indents.
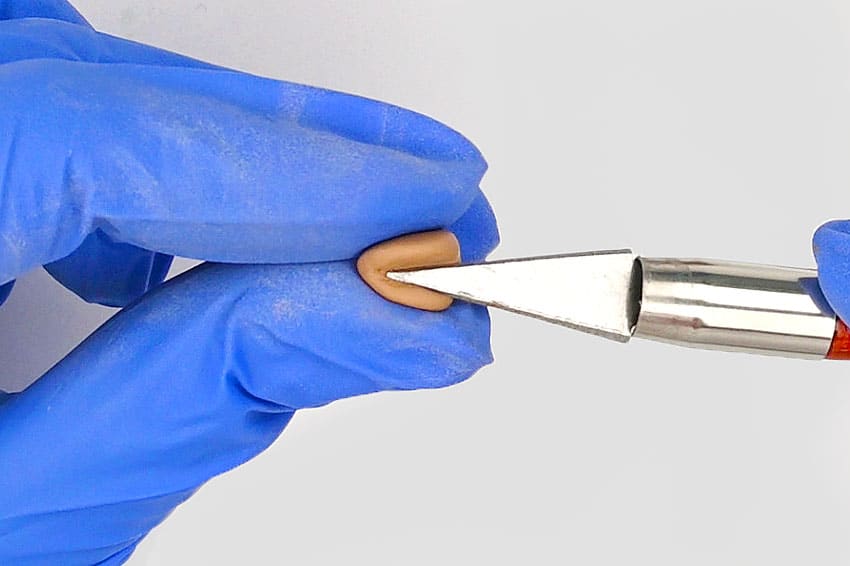
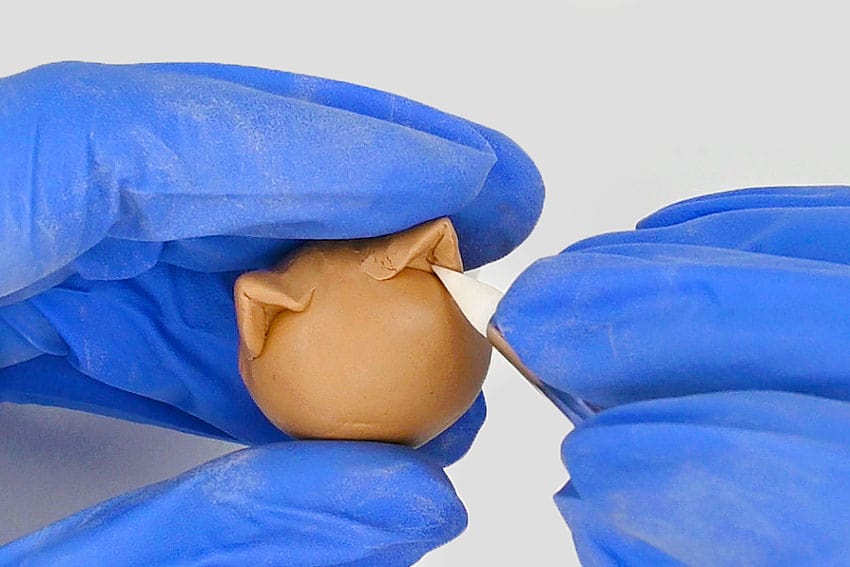
- Attach the ears to the top of the head and use a silicone brush to connect them, smoothing out the clay.
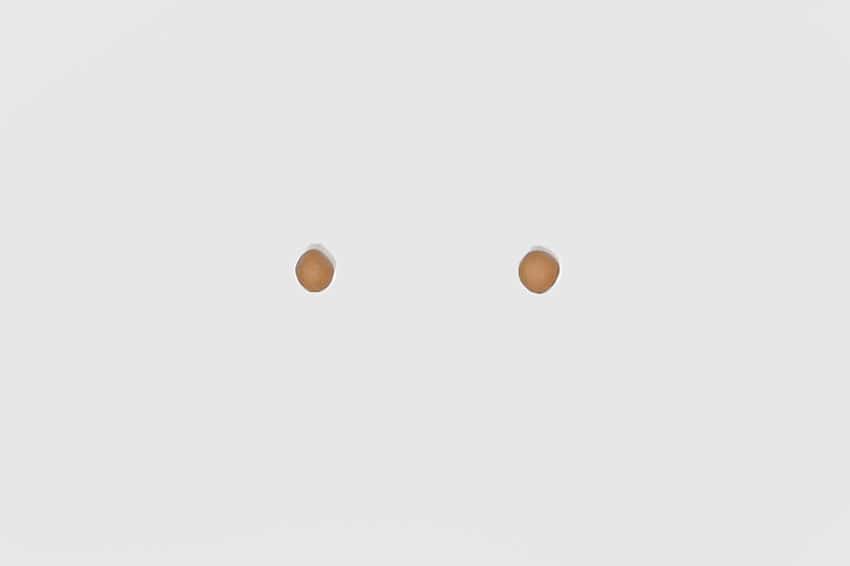
- Roll out another 2 small balls.
- Attach them to the front of the cat’s face for the muzzle (or “cheeks”).
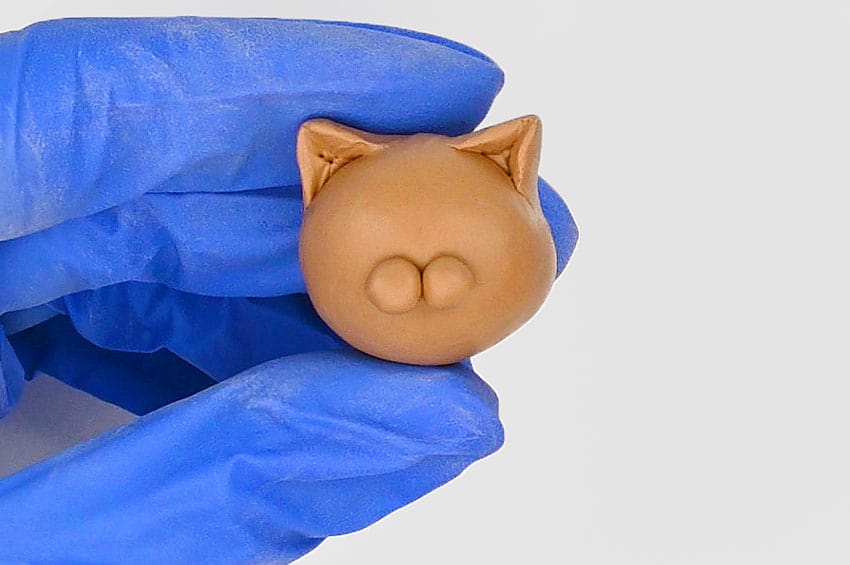
Step 4: Make the cat’s body
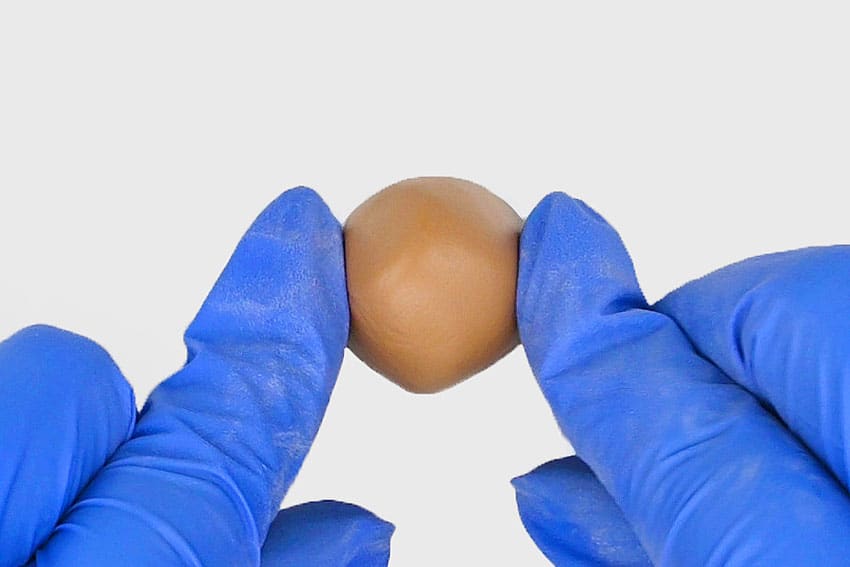
- Roll the other large clay piece into a ball. Then place it onto your working surface to flatten the bottom and shape it into the cat’s body, where it’s a bit smaller close to the top.
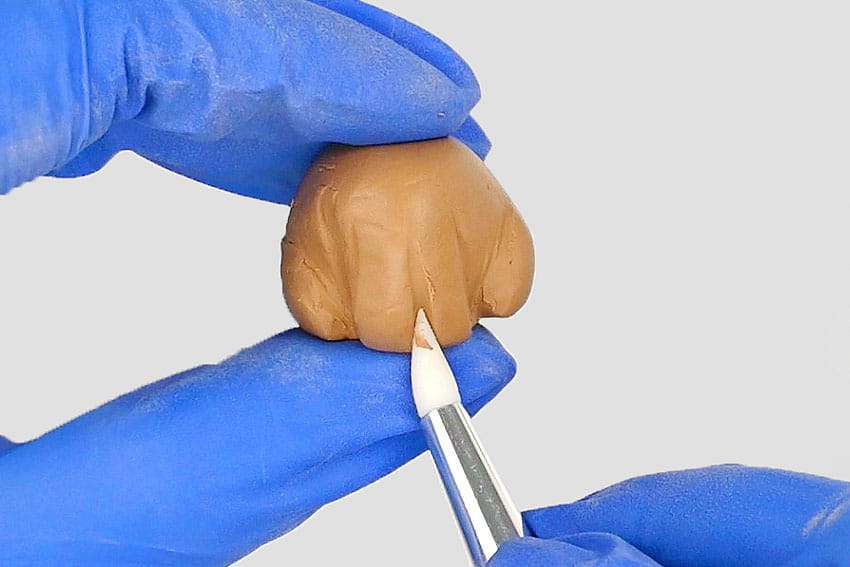
- Use the silicone brush to sculpt lines into the front and sides of the body for the cat’s legs.”Carve” a rounded hind leg into each side, and make the front legs by pressing a vertical line on the front that goes about 3/4 of the way up.
- Roll the rest of the clay into a coil (or “snake”) for the cat’s tail.
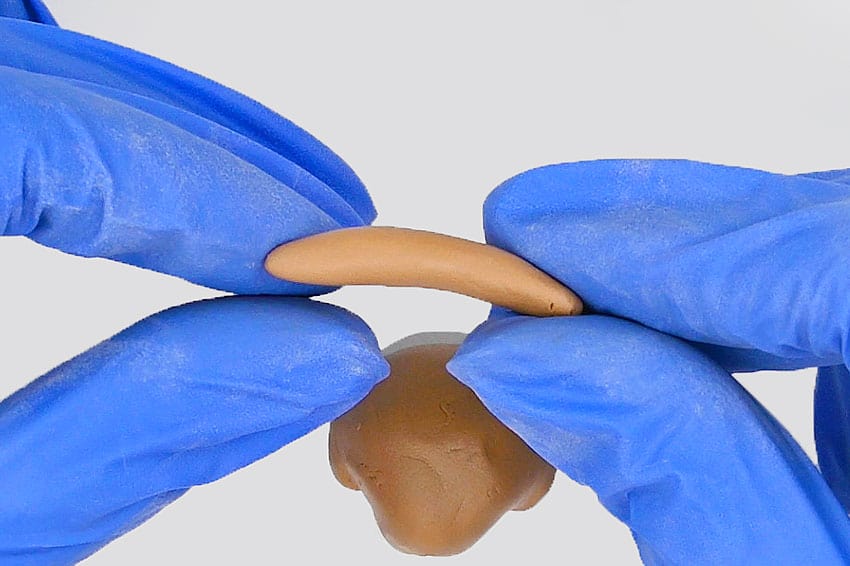
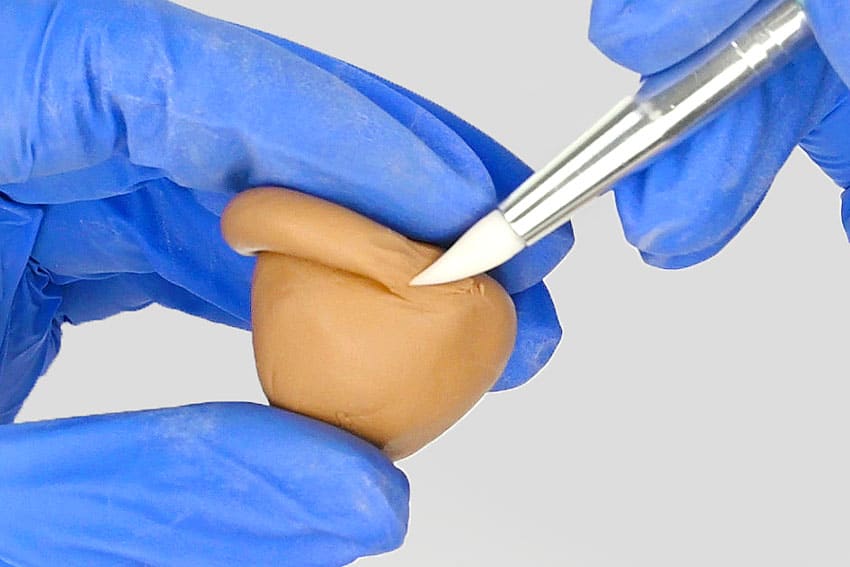
- Attach the tail to the center bottom of the cat’s back and have it wrap around one side of the body. Use a silicone brush to smooth the base of the tail into the body.
Step 5: Add the head and create the face details
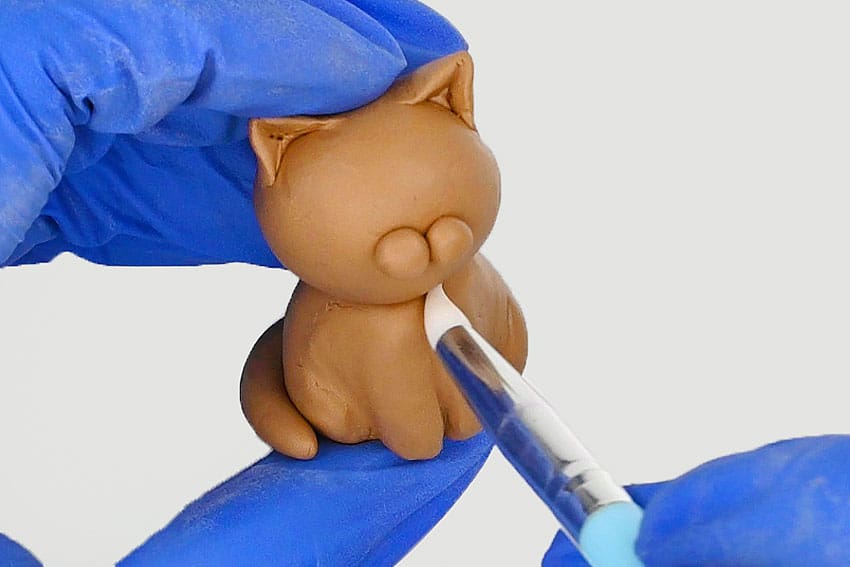
- Attach the head to the body, pressing it down without distorting it too much. Then use a silicone brush to smooth the connection, helping it stay in place.
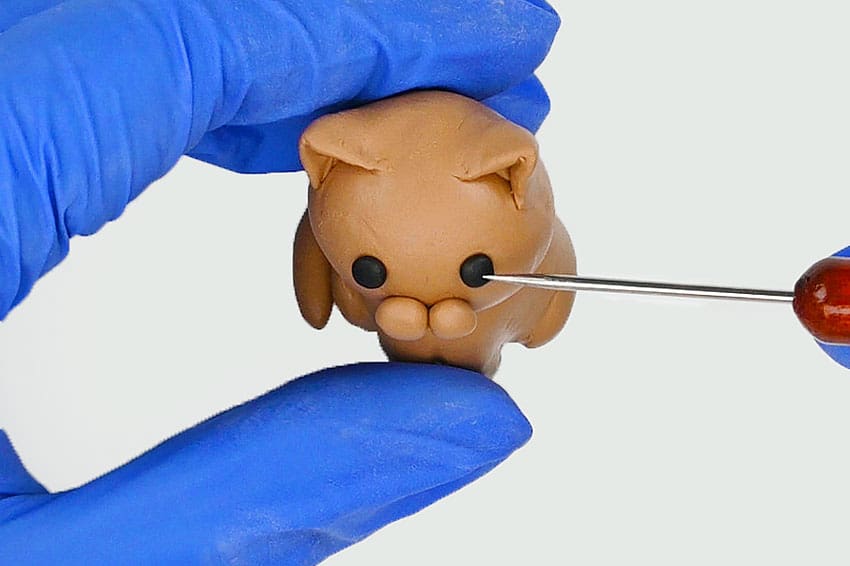
- Make 2 small balls from conditioned black clay. Flatten them and press them on for the cat’s eyes. Use a needle tool to help press them on.
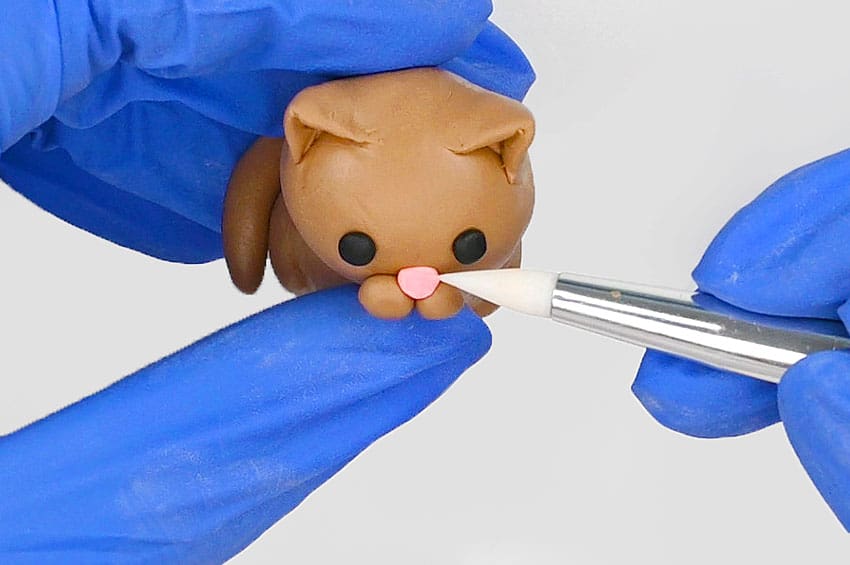
- Make a small triangle with conditioned pink clay for the cat’s nose. Place it at the top center of the muzzle and use a silicone brush to shape it and press it into place.
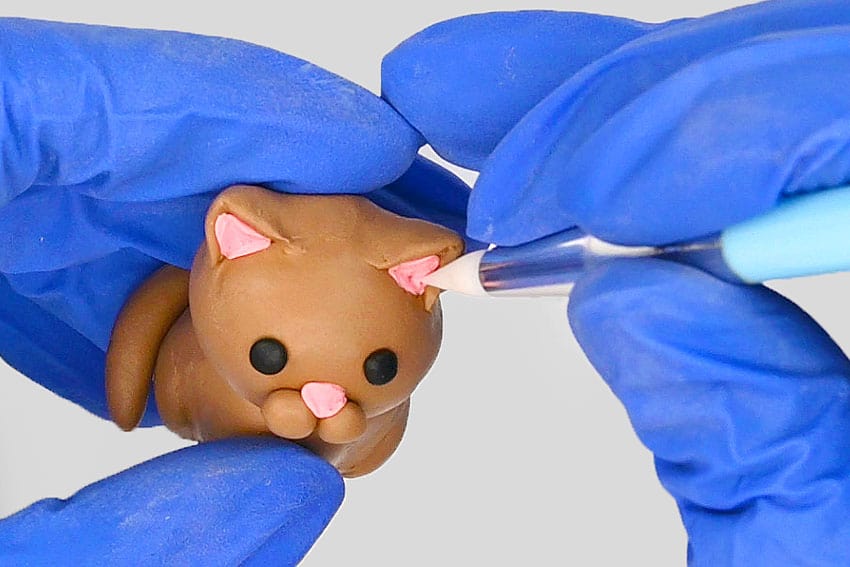
- Then form 2 tiny pieces of pink clay for the inner ears. Use the silicone brush to press them into the ears, smoothing out the clay.
Step 6: Add the last details and bake
- If you want to add spots, stripes, or other details to your cat, choose a complementary colour of clay. Condition it and roll it out.
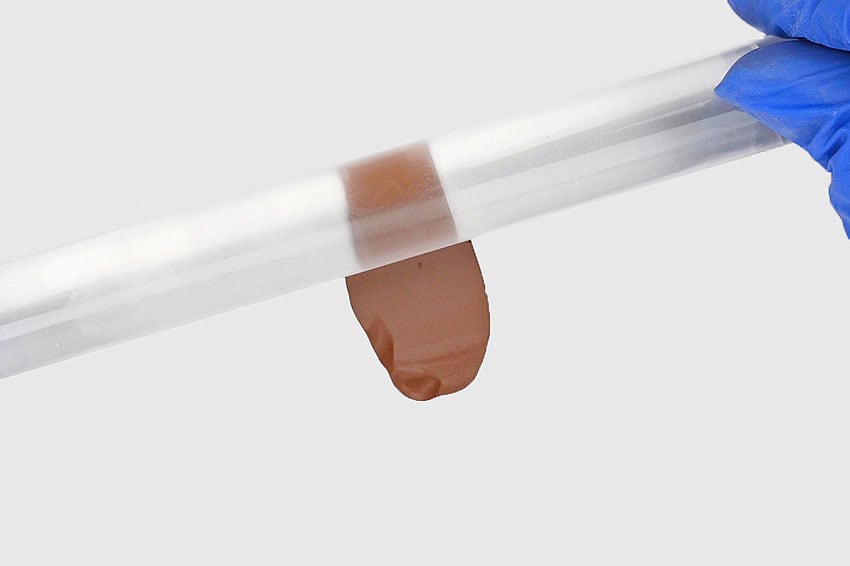
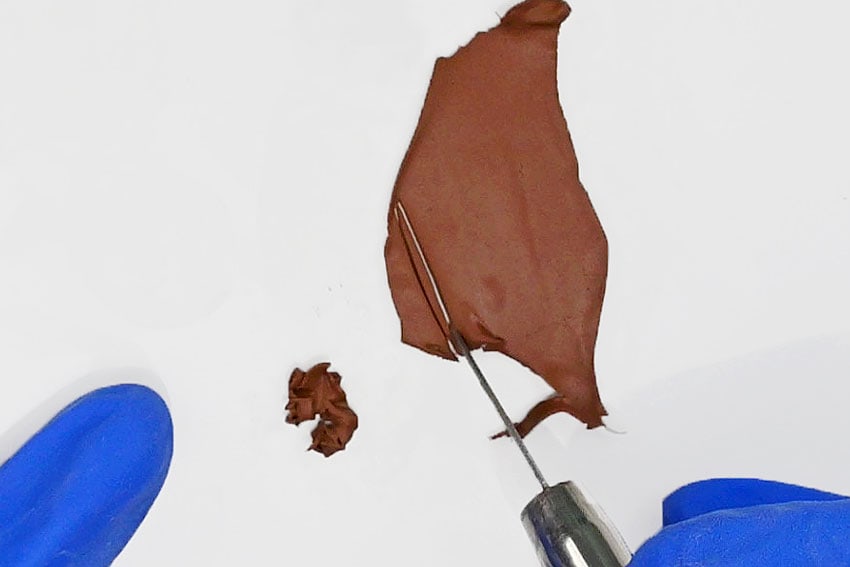
- Use a clay knife to cut out the pieces.
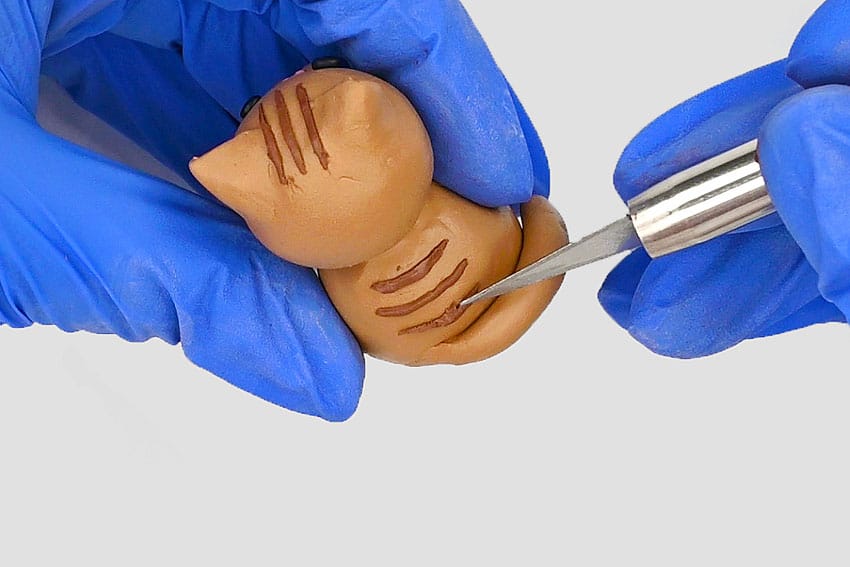
- Then press them onto the cat using the knife to place them and keep them in shape.
- Once you’re happy with your cat’s design, it’s time to bake it! Place it on a parchment lined baking tray and bake in the oven according to package directions.Our clay recommends 275F for 15 minutes per 1/4 inch thickness.
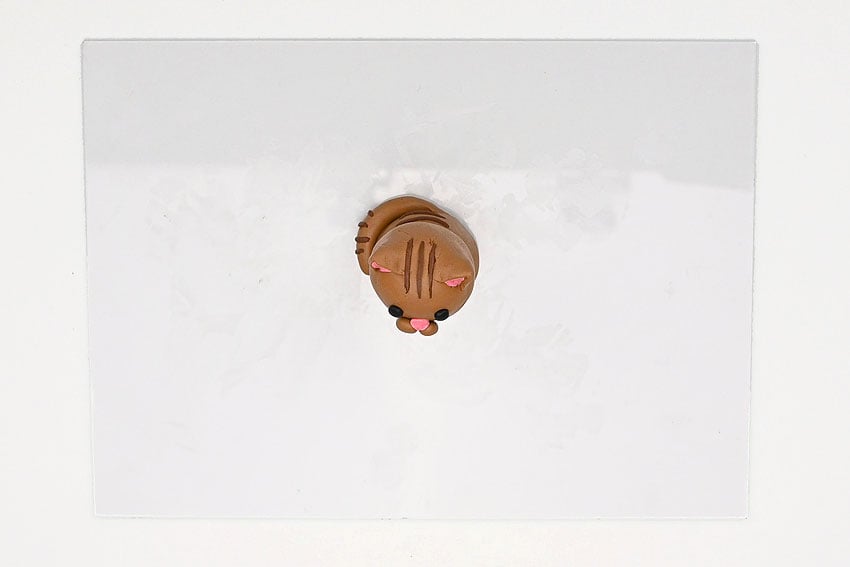
- Your clay cat is complete!
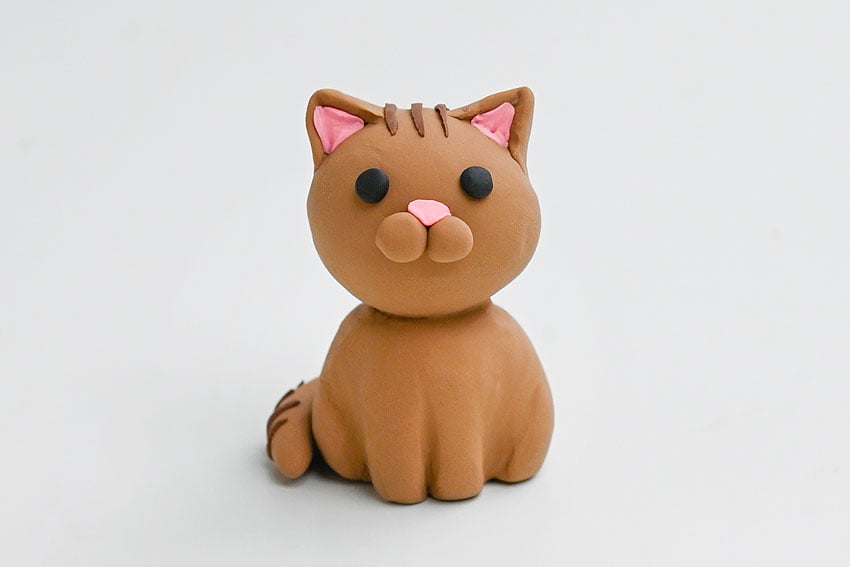
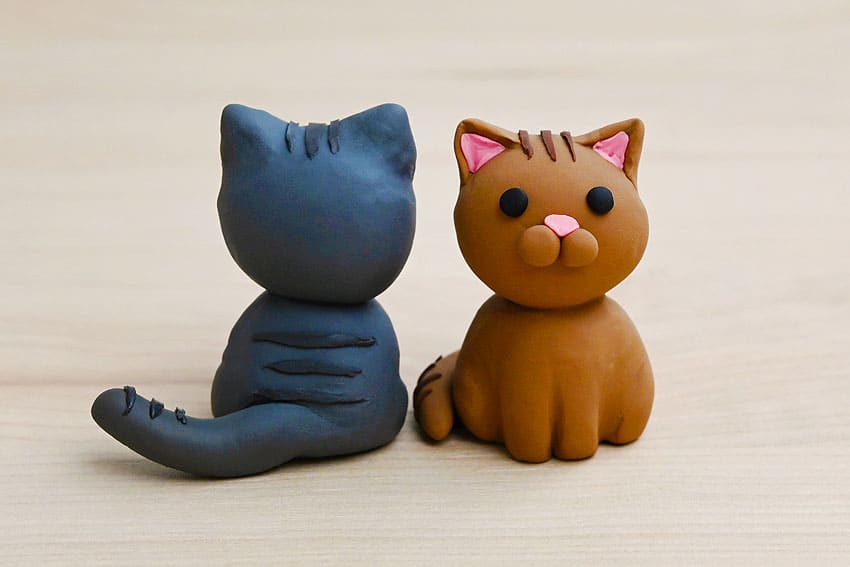
- Have fun making cats in different sizes, or using different colours and patterns.
Helpful Tips
- Read through the full tutorial before starting.
- Prepare the listed supplies ahead of time so each step is easier to follow.
- Check the finished craft against the instructions before displaying or using it.
FAQs
Is this tutorial beginner friendly?
Yes. This clay cat kids craft is written with simple steps and extra tips for beginners.
Can kids make this craft independently?
Older kids may be able to work independently, while younger kids should have help with any steps that require close attention or small pieces.
How long does the craft take?
Most versions take about 30 minutes, depending on the materials and the pace of the crafter.
Can I use different colors?
Yes. Changing the colors is one of the easiest ways to personalize the finished craft.
Final Thoughts
Once the clay cat kids craft is finished, take a moment to check the details, compare the result with the tutorial, and display the project somewhere kids can enjoy their work.
Affiliate disclosure: This post may contain Amazon affiliate links. As an Amazon Associate, Easy Crafts Ideas may earn from qualifying purchases at no extra cost to you.