

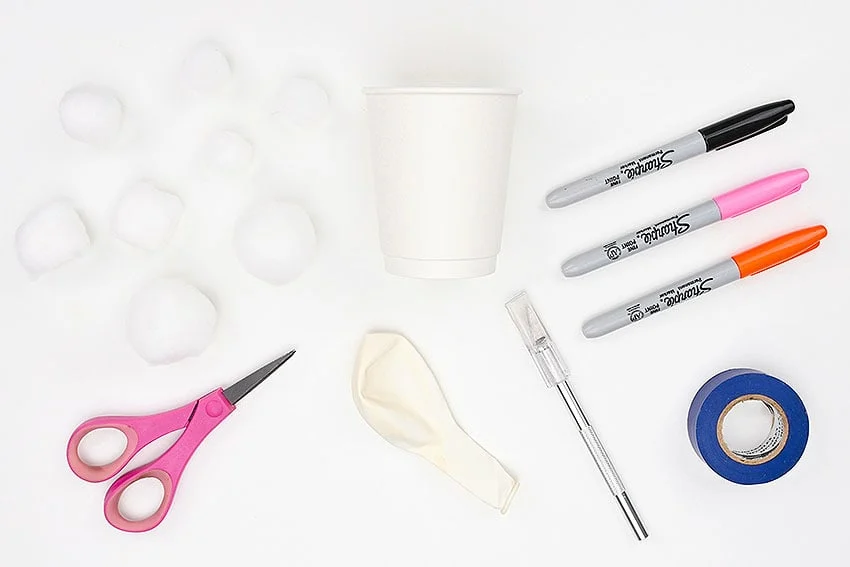
- White paper cup
- Electrical tape (or other colourful tape)
- Permanent markers (black, orange, pink)
Step 1: Find what you need
-
- Gather your supplies and materials.
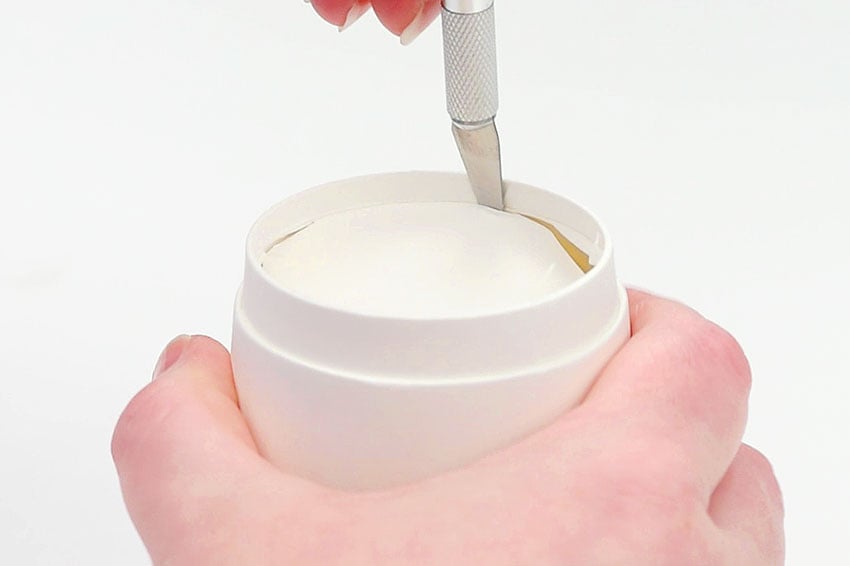
Step 2: Make the pom pom launcher
-
- Have an adult use a craft knife to cut the bottom out of a paper cup.
-
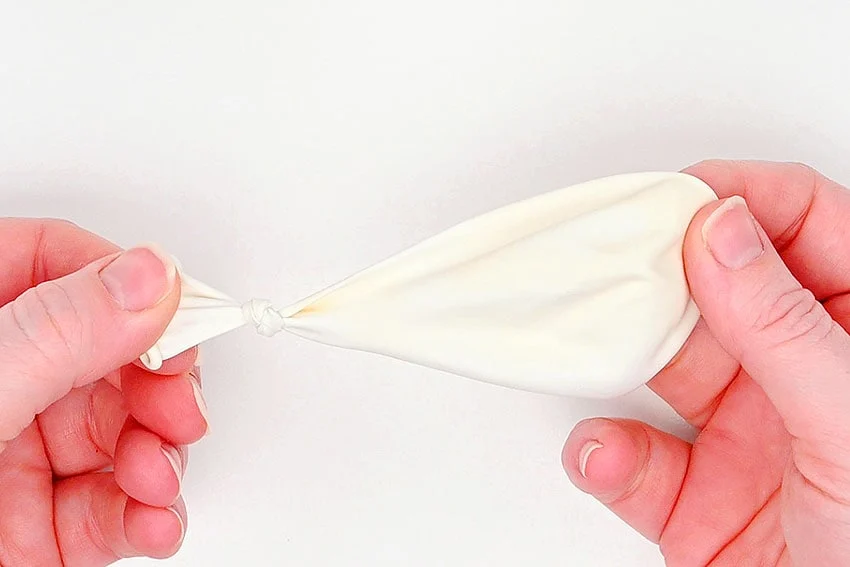
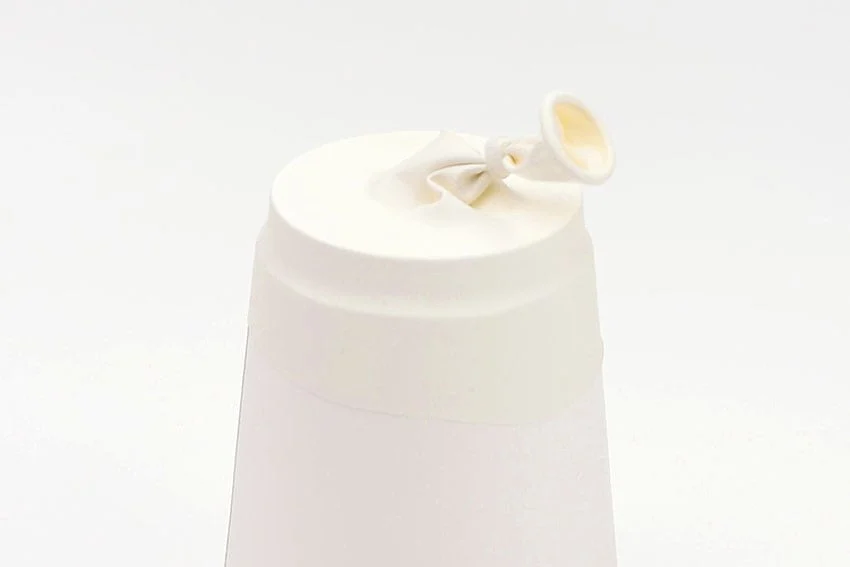
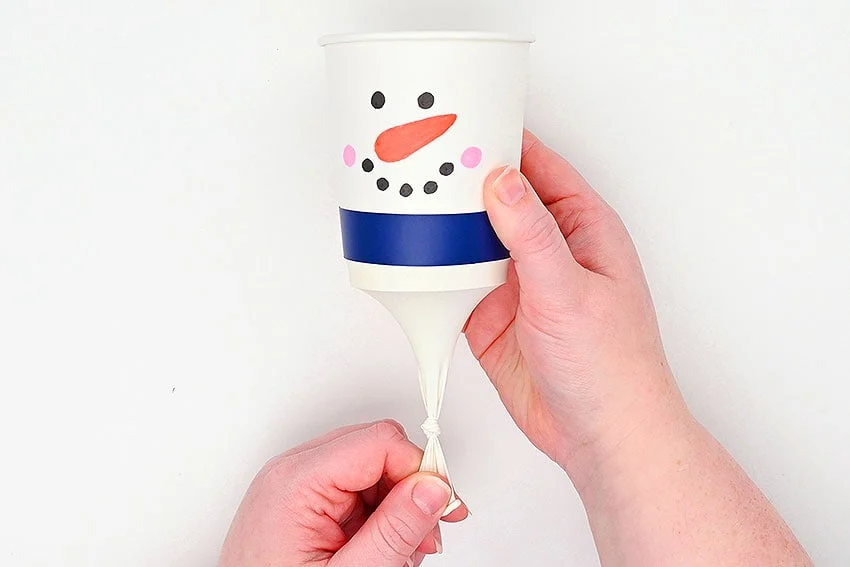
- Tie a knot in an uninflated balloon.
-
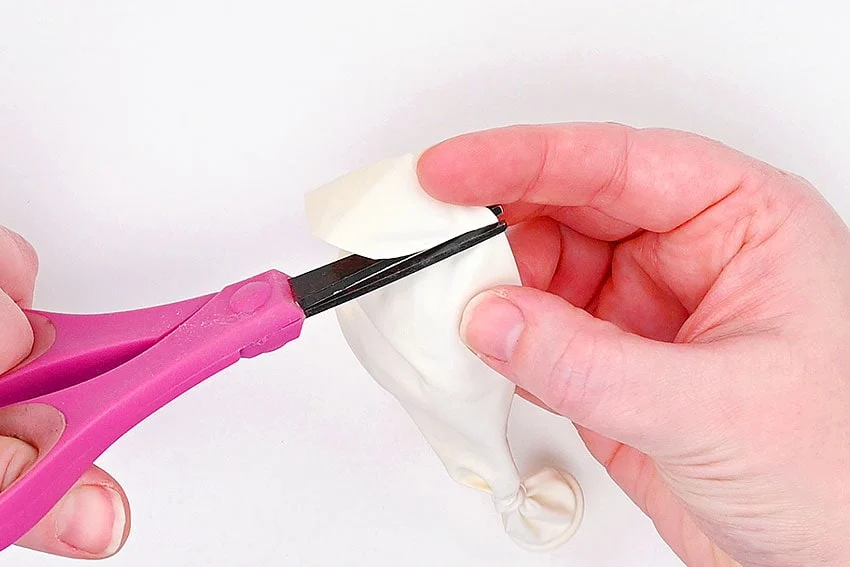
- Then cut off the top of the balloon.
-
- Stretch the balloon over the bottom of the cup.
-
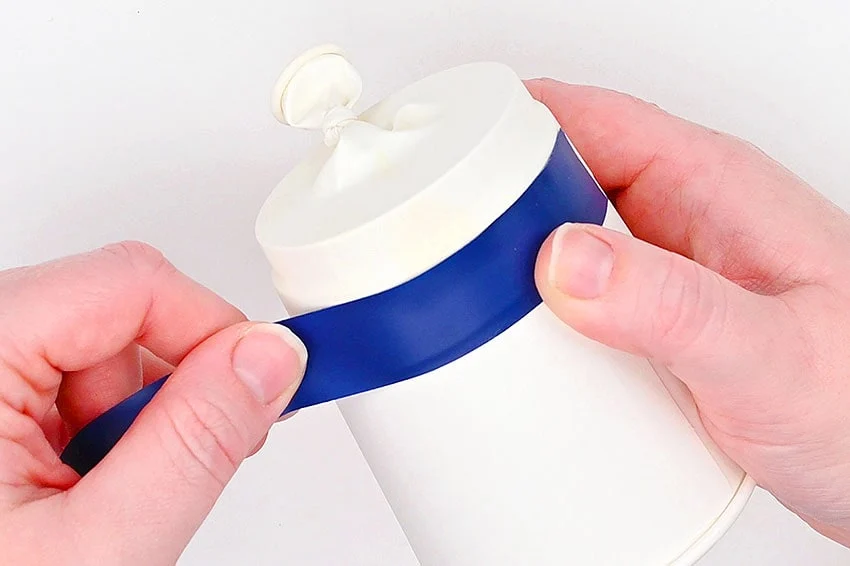
- Then place electrical tape or duct tape where the balloon meets the cup to keep the balloon in place.
Step 3: Draw the snowman
-
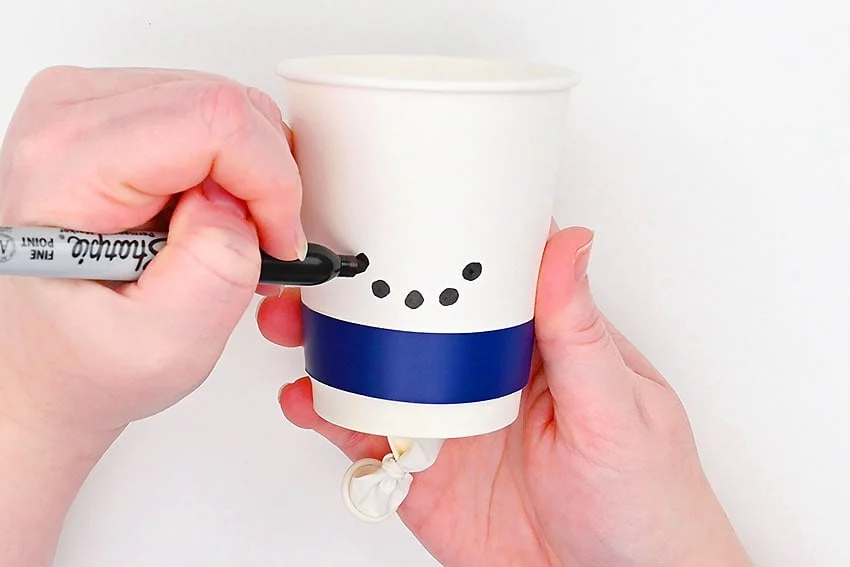
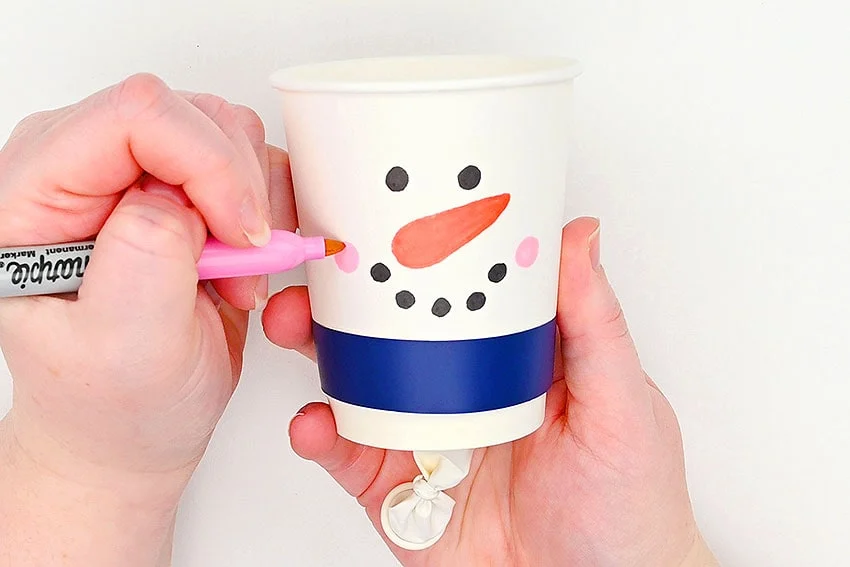
- Now begin to draw the snowman face with permanent markers. We found it easiest to start with the mouth.
-
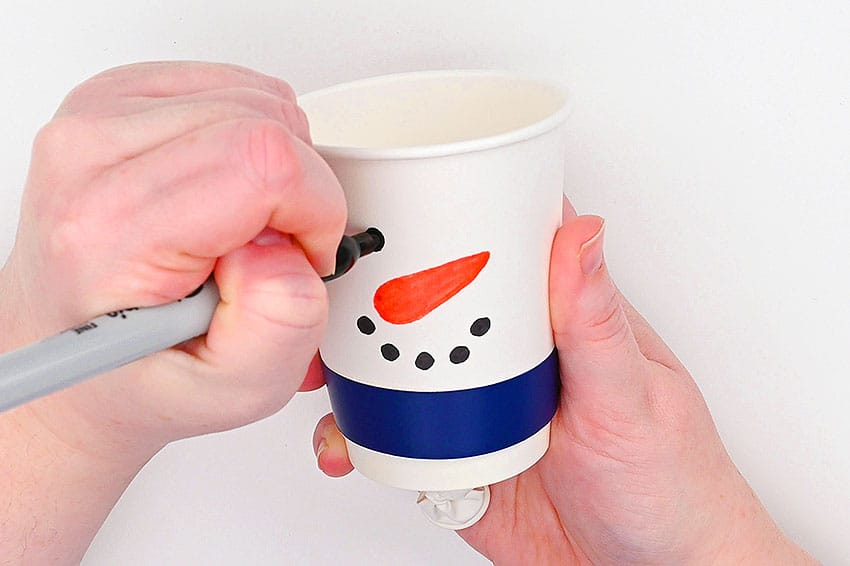
- Add a carrot nose with orange marker, and then switch back to black to add the eyes.
-
- Finally, use a light pink marker to add nice, rosy cheeks.
Step 4: Play with your pom pom launcher
-
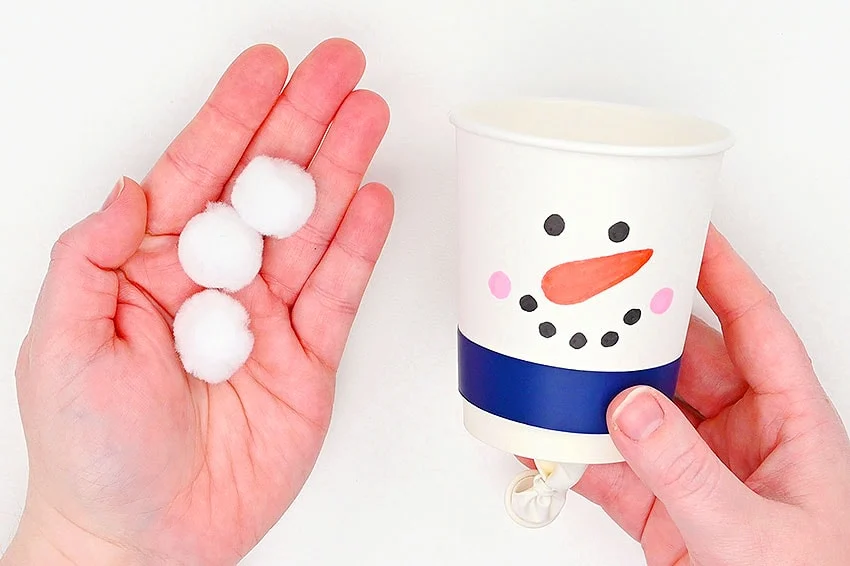
- Gather some white pom poms that you can launch with your contraption. Cotton balls or Styrofoam balls will also work!(You can, of course, use other colours of pom poms — but we like to pretend the white ones are snowballs!)
-
- Add the pom poms into the cup and pull down on the balloon. Let it go to see the pom poms fly into the air.
-
- Your snowman pom pom launcher is complete!
Helpful Tips
- Read through the full tutorial before starting.
- Prepare supplies ahead of time for younger kids.
- Let glue or paint dry fully before handling the finished craft.
FAQs
Is this tutorial beginner friendly?
Yes. This snowman pom pom launcher sensory craft is written with simple steps and extra tips for beginners.
Can kids make this craft independently?
Older kids may be able to work independently, while younger kids should have help with cutting, glue, or paint.
How long does the craft take?
Most versions take about 30 minutes, plus extra drying time if glue or paint is used.
Can I use different colors?
Yes. Changing the colors is one of the easiest ways to personalize the finished craft.
Final Thoughts
Once the snowman pom pom launcher sensory craft is finished, take a moment to check the details, let any glue or paint dry fully, and display the project somewhere kids can enjoy their work.


")


