3D Paper Christmas Tree Card
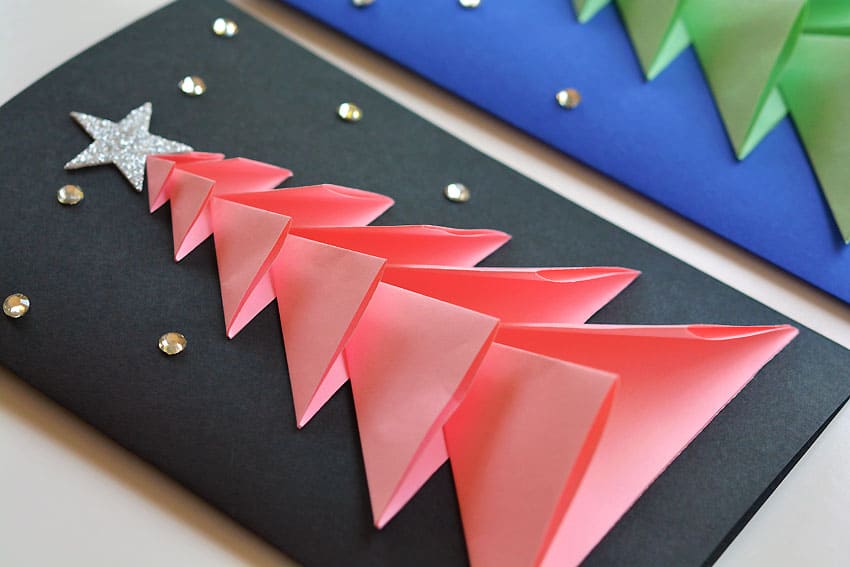
Make your own 3D Christmas tree card by using the free printable template below. The 3 dimensional tree pops off the page, but still folds down to be completely flat!
Christmas Tree Card
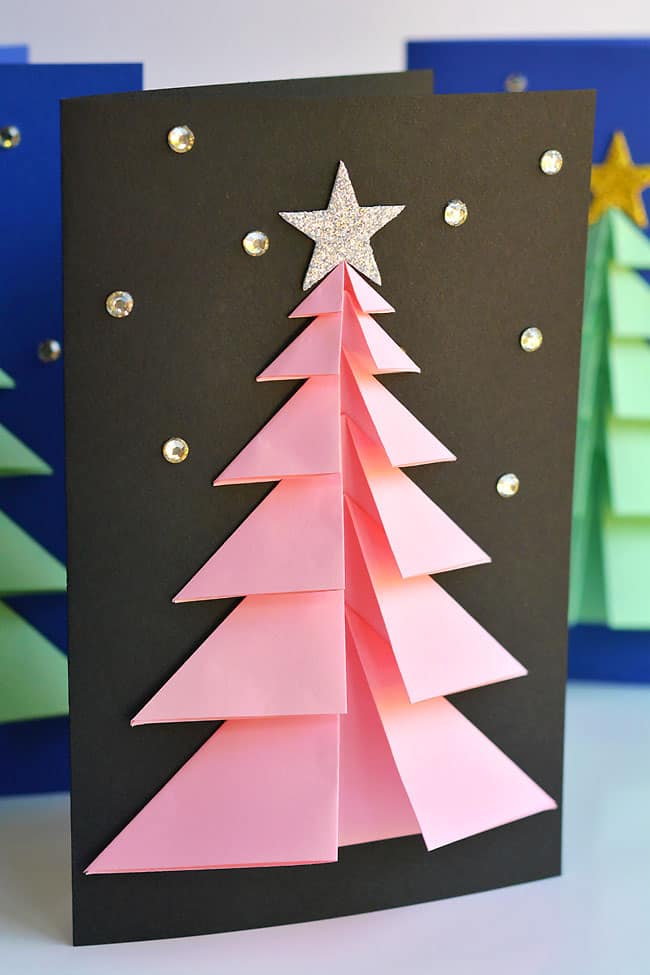
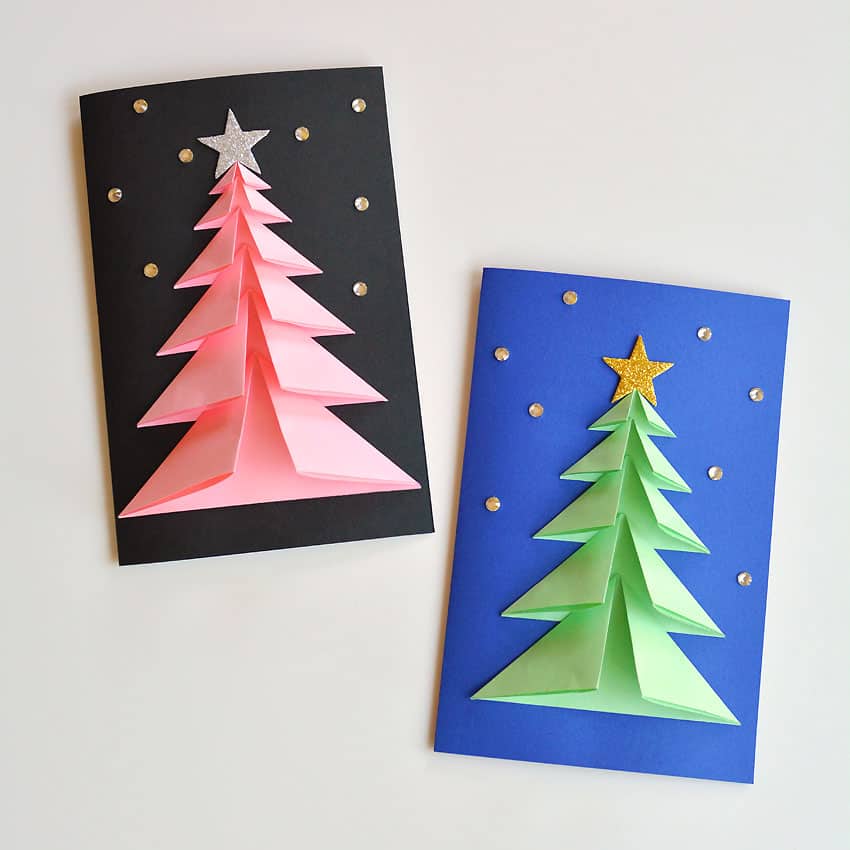
These 3D Christmas tree cards are SO PRETTY. And they’re really easy to make! Can you believe the 3D trees are just made using folded squares of paper!? Seriously, they’re super simple to make.
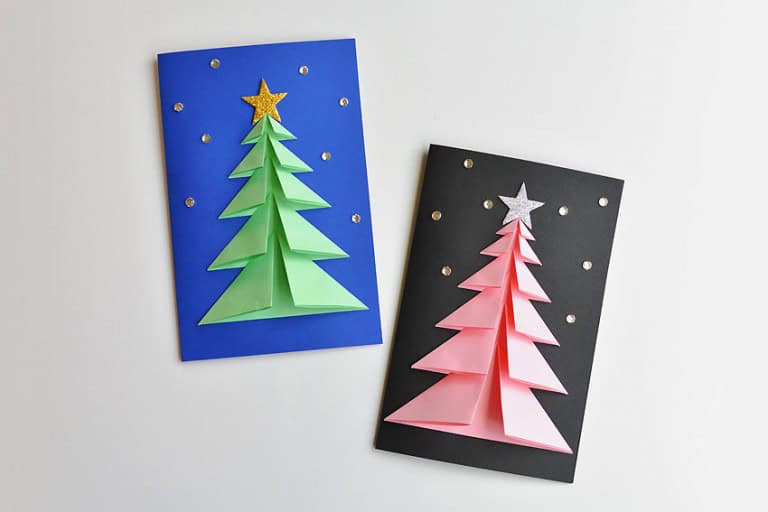
Each card takes less than 15 minutes to put together. You can make a 5 piece tree (the green tree in my photos) or a 6 piece tree (the pink tree in my photos) – I’ve included a link to the free printable templates below.
Add some rhinestones or glitter paint to the night sky. Then use a silver or gold paint pen to write your holiday message inside. Easy peasy!
*Note: Scroll down for the step-by-step photo tutorial.
Looking for more fun Christmas craft ideas? Here’s some of our favourites:
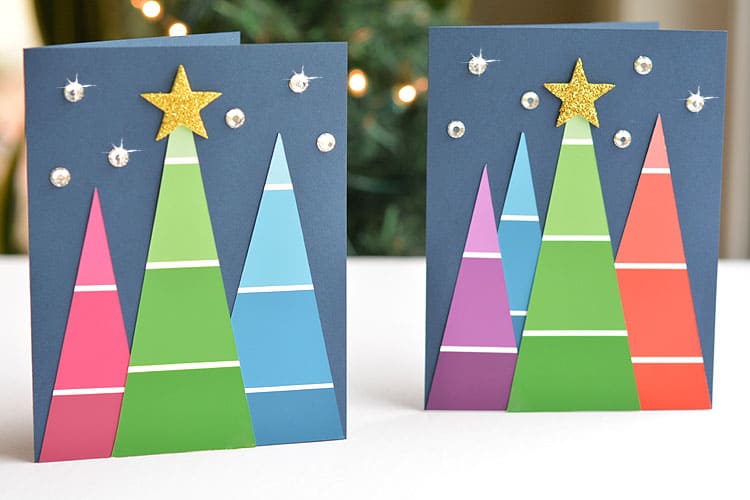
Paint Chip Christmas Cards
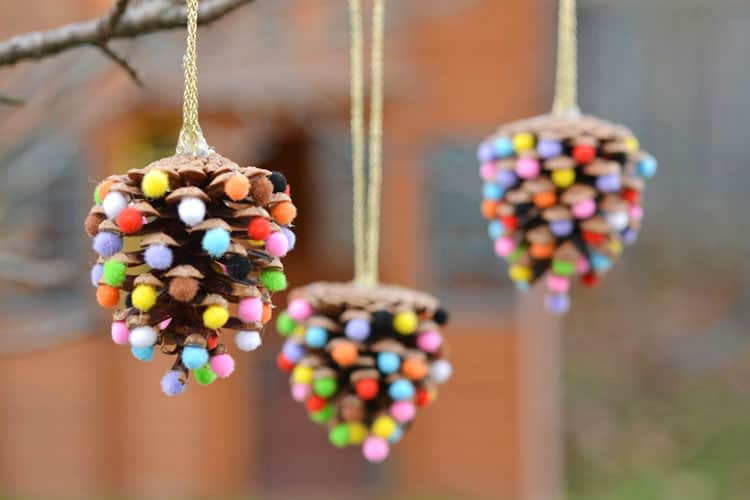
Pom Pom and Pinecones Ornaments
DIY Christmas Crackers
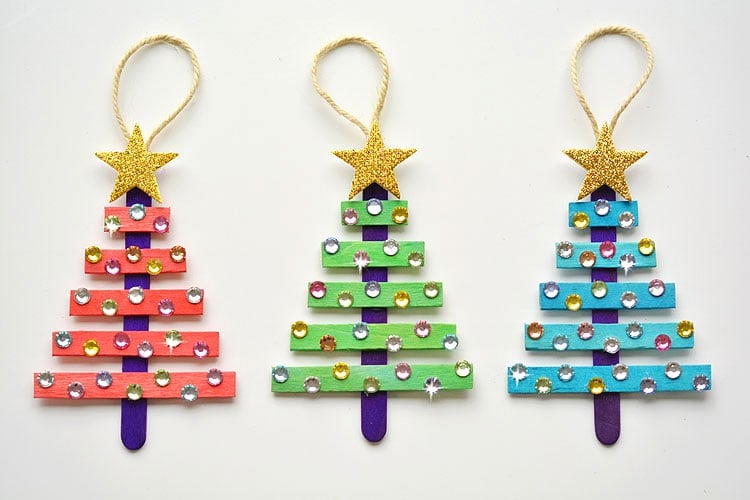
Popsicle Stick Christmas Trees
Here’s what you’ll need:
The full printable instructions are at the end of this post, but here’s a list of affiliate links to products on Amazon that are similar to the supplies we used:
- card stock
- printer paper
- gold star sticker
- Sticker rhinestones
- Silver or gold paint pen
- Scissors
- Printable template
Grab the free printable templates here:
Click one of the links below to open the pdf template. Then print it onto regular printer paper.
>>> *5 Piece* Christmas Tree Card Template <<<
>>> *6 Piece* Christmas Tree Card Template <<<
 What kind of paper should I use?
For the tree part of the card, you can use any kind of regular paper. We used green and pink printer paper, but you could easily use construction paper or origami paper.
For the card part, I recommend using card stock because it’s strong enough to hold the card up. I like to use this Recollections card stock which I originally bought at Michael’s.
I recommend using a dark coloured card stock and pastel coloured trees so the colours really pop.
Where can I get gold star stickers.
I found the sparkly foam star stickers you see in the photos at Michael’s craft store about 5 years ago. Sometimes I’ve seen thicker foam star stickers at the dollar store too, so just keep an eye out. Or of course Amazon has gold star stickers too.
If you don’t want to buy foam star stickers you can choose a star shape over on our star template page and trace it onto yellow paper (or sparkly gold paper if you have it!).
Does this Christmas tree card fold flat?
Yes! If you’d like to send this card in an envelope in the mail, the tree can be pressed down to be completely flat. Then when the card is pulled out of the envelope it will pop back to being 3D again.
What are the sizes of the squares?
Everything is premeasured for you on the templates (see above for the links). But if you prefer measure and cut the squares yourself, here are the sizes:
5 Piece Christmas Tree Card:
Cut 5 squares where the width of each square is:
12cm, 10cm, 8cm, 6cm, and 4cm
6 Piece Christmas Tree Card:
Cut 6 squares where the width of each square is:
13.5cm, 11.25cm, 9cm, 6.75cm, 4.5cm, and 2.85cm
3D Paper Christmas Tree Card Instructions
Materials:
- 1sheetcard stockdark color
- 1template printed on printer paperlinks to templates in tips section below
- 1star stickersilver or gold
- 8sticker rhinestones1/4 inch
Equipment:
-
Silver or gold paint pen
Instructions:
Step 1: Cut out the tree pieces
-
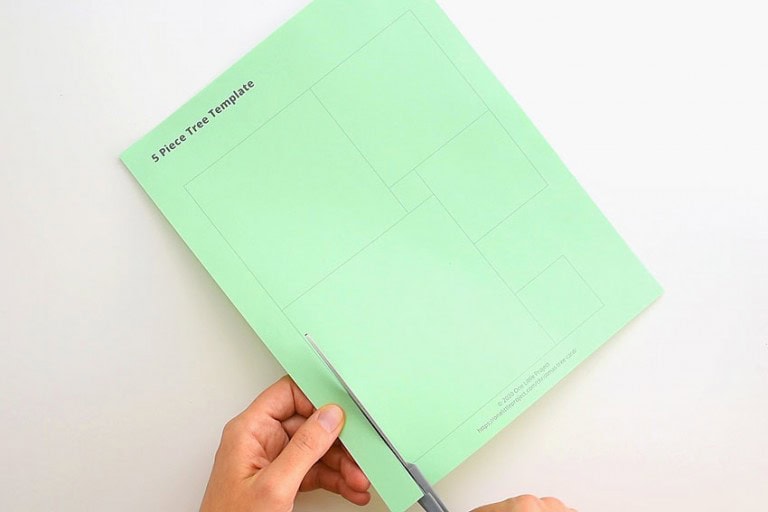
Print out the template onto regular printer paper.
-
Cut out the 5 paper squares (or 6 paper squares if you used the other template).

Step 2: Fold the paper squares
-
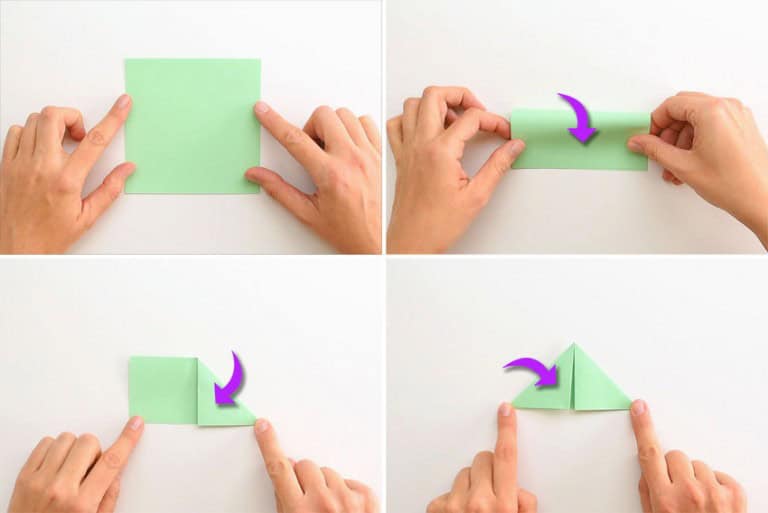
Fold one of the paper squares in half to make a rectangle. Then fold each corner down so the edges line up at the bottom.
-
Repeat this folding process for each of the paper squares. You should have 5 (or 6) folded paper triangle pieces of different sizes.

Step 3: Make the 3D Tree
-
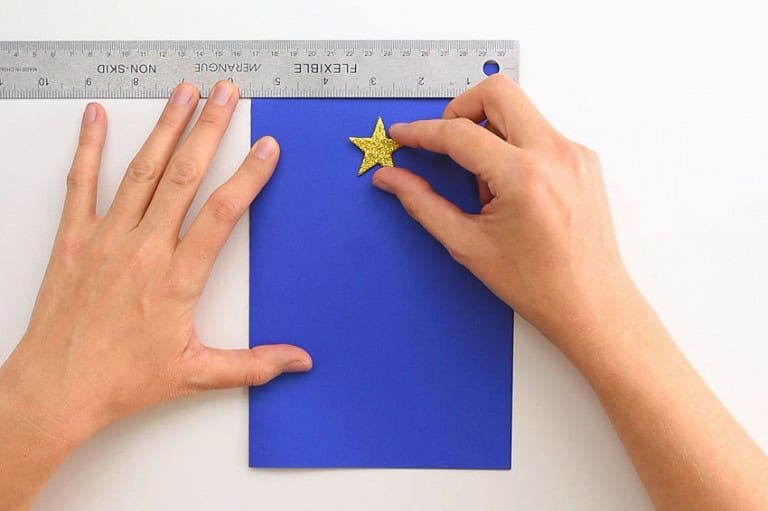
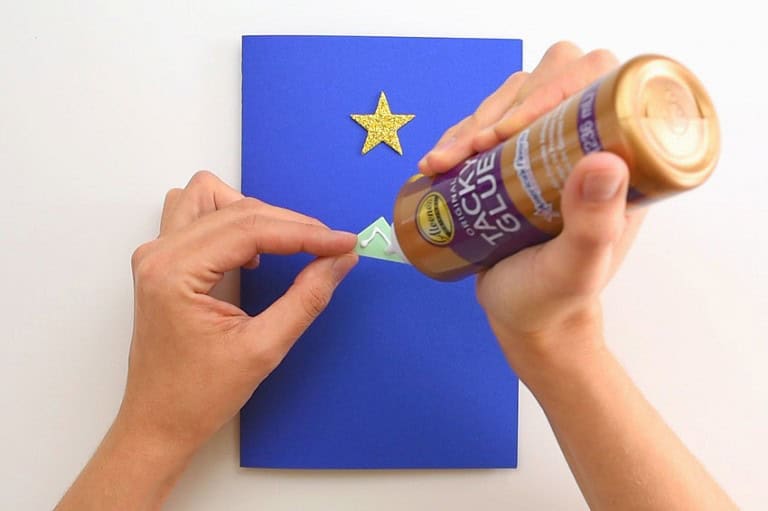
Fold the sheet of card stock in half to make a card. Peel the backing off of the star sticker and place it near the top of the front of the card. You can use a ruler to help make sure it’s centered if you like.
-
Add some tacky glue to the back of the smallest folded paper triangle.
-
Center it underneath the star and press it down gently.

-
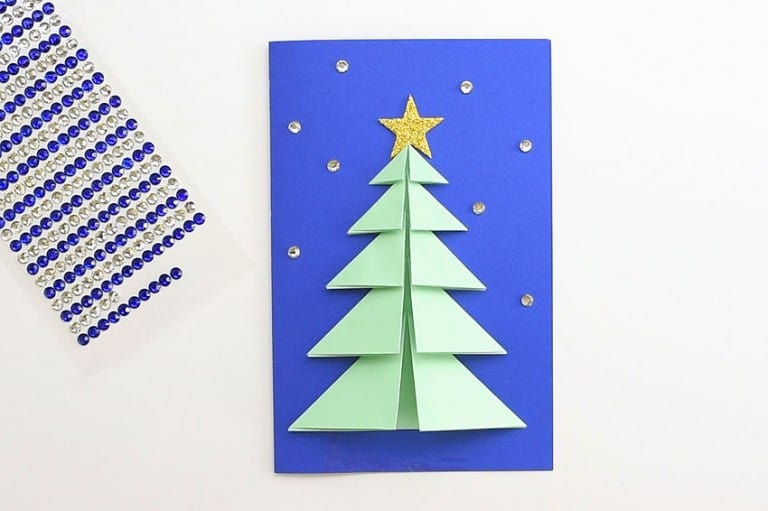
Add tacky glue to the second smallest folded triangle. Carefully place it slightly over top of the inside of the first glued down triangle and gently press down. Repeat until you’ve added all of the folded triangle pieces placing them from smallest at the top to largest at the bottom.

Step 4: Add the finishing touches
-
Place sticker rhinestones in the sky above the paper tree.
-
Using a gold or silver paint pen, write your message inside the card.

-
Your Christmas tree card is complete!
Helpful Tip:
Here are the templates (The 5 piece card is easier to try first):
>>> *5 Piece* Christmas Tree Card Template <<<
>>> *6 Piece* Christmas Tree Card Template <<<
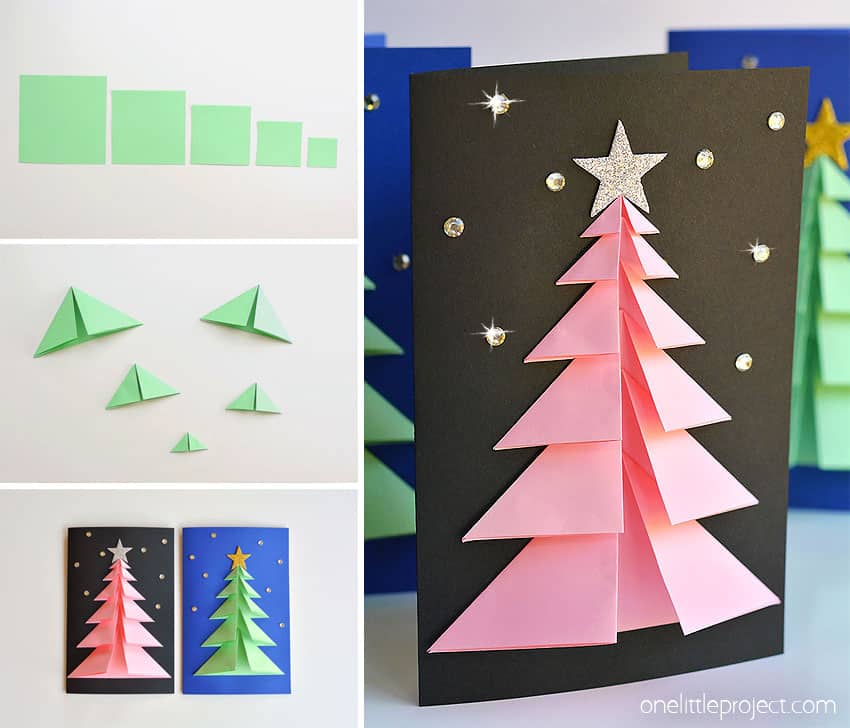
I love how the black card stock looks with the pink tree – the light on dark colour contrast is so pretty! Mix and match to find your favourite colour combinations!
Here’s even more Christmas craft ideas:
Pom Pom and Pinecones Ornaments
Popsicle Stick Christmas Trees
Our book Low-Mess Crafts for Kids is loaded with 72 fun and simple craft ideas for kids! The projects are fun, easy and most importantly low-mess, so the clean up is simple!


