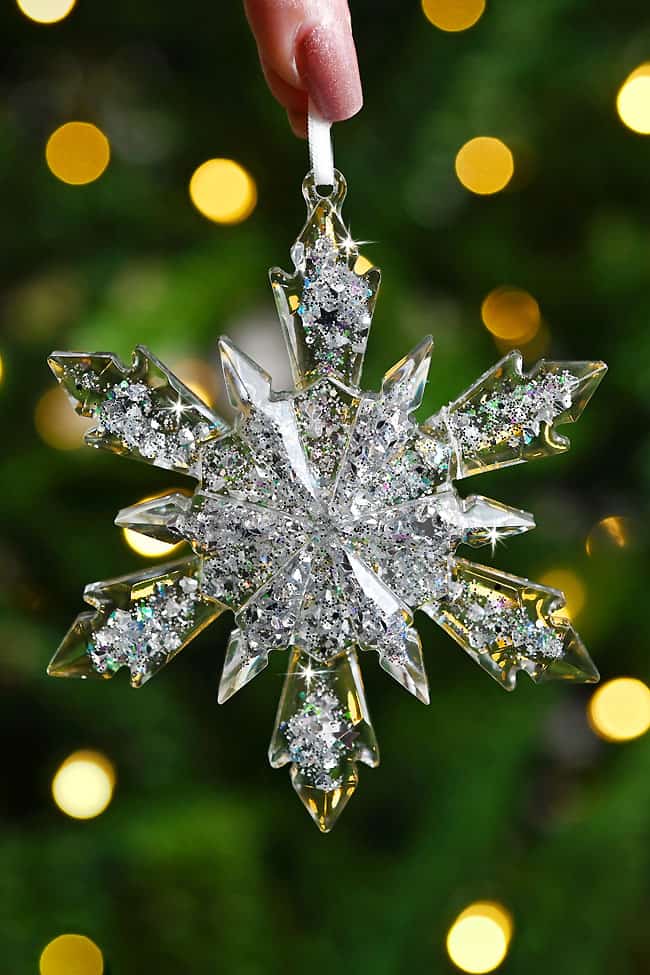
Resin Snowflakes
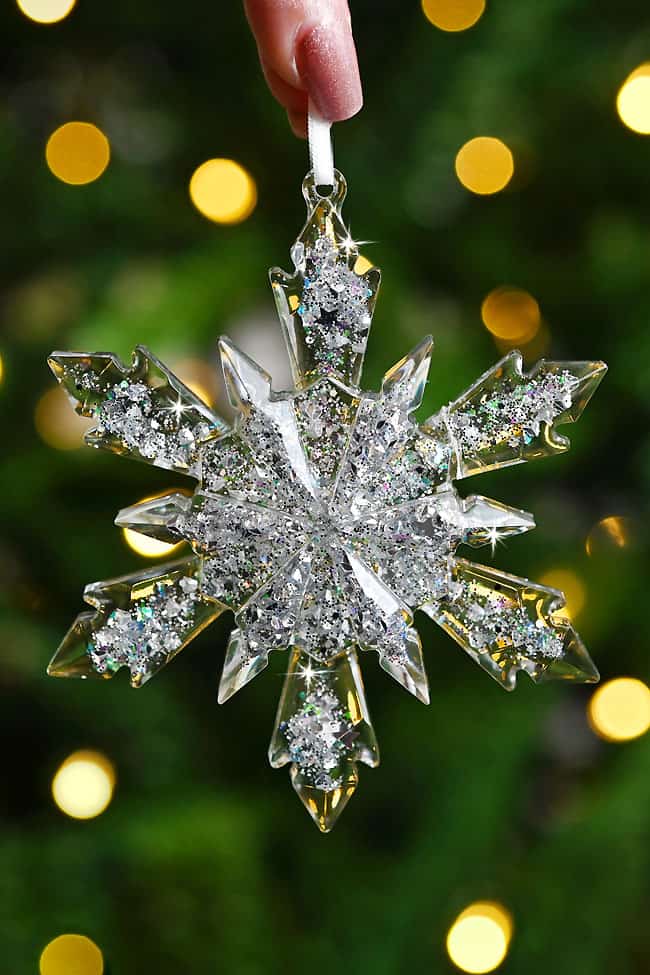
These resin snowflakes are SO PRETTY! Make your own glittery resin snowflake ornaments and hang them on the Christmas tree with pride.
Resin can seem intimidating, but it’s honestly really easy to work with! Read our helpful tips and follow our simple step-by-step tutorial to make one of these sparkling snowflakes. These icy holiday decorations shine amazingly in the light, and they also make an awesome homemade gift for friends and family!
This post contains affiliate links. If you use these links to buy something we may earn a small commission which helps us run this website.
How to Make Resin Snowflakes
Materials:
- Casting resin
- Fine glitter
- Chunky glitter
- Holographic glitter
- Thin white ribbon(or another type of string)
Equipment:
-
Silicone measuring cup(or disposable plastic cup)
-
Popsicle sticks(or silicone stir stick)
Instructions:
Step 1: Find what you need
-
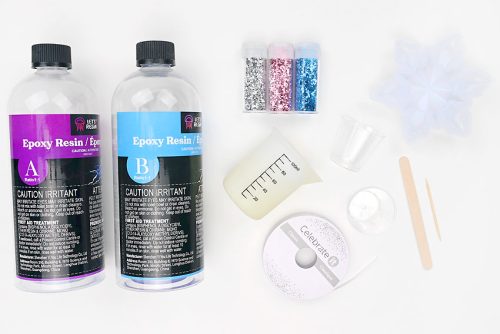
Gather your supplies and materials.

Step 2: Mix the epoxy resin
-
Before working with resin, protect your working surface with a drop cloth and/or a silicone mat. Always wear protective nitrile gloves and eye protection.Work in a well-ventilated space and wear a respirator if your resin requires it. Read your resin’s label for safety requirements.


-
Mix the amount of resin needed for the amount of snowflakes you’d like to make. We mixed 100 ml of resin total, which made 3 snowflake ornaments.Begin by adding 1 part of Part A to a small plastic cup or a silicone measuring cup. The amount of Part A should be half the total amount needed. (In our case, 50 ml.)Follow your specific resin’s instructions for ratios, drying times, and curing times.


-
Add an equal amount of Part B to the measuring cup. Or whatever ratio your brand of resin suggests. (In our case, 50 ml.)


-
Mix the resin and hardener together with a popsicle stick or a reusable resin stir stick.Stir slowly, scraping down the sides and bottom of the measuring cup. Continue mixing for 3 to 5 minutes or until the mixture is clear.


Step 3:
-
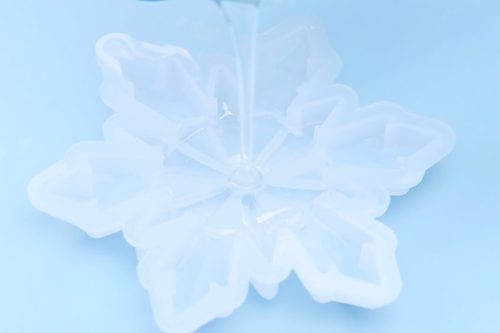
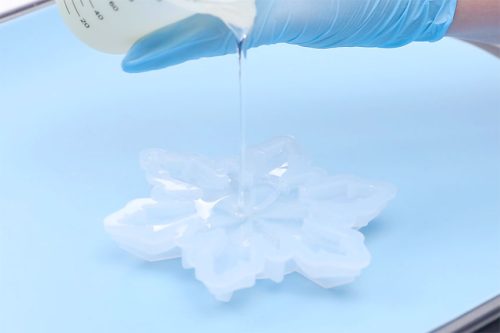
Place the snowflake mold on the silicone mat. Pour resin into the snowflake mold until it’s about half way full.

-
Use a toothpick or popsicle stick to spread the resin into the divots and corners of the mold.


-
Pop any air bubbles in the resin with a toothpick. You can also run a heat gun over the resin to remove bubbles.


-
Fill the mold the rest of the way with resin. Again, remove any surface air bubbles.

Step 4: Add glitter to the resin
-
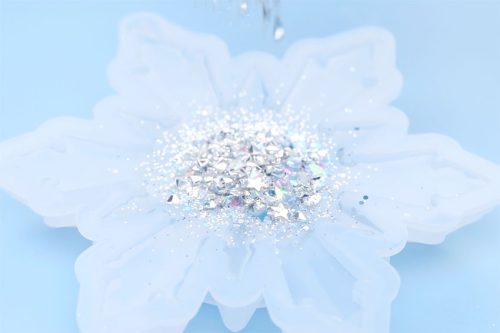
Mix together different shapes and textures of glitter. We used about 1/2 teaspoon total of fine, chunky, and holographic glitter.


-
Pour the glitter into the middle of the mold, on top of the resin.

-
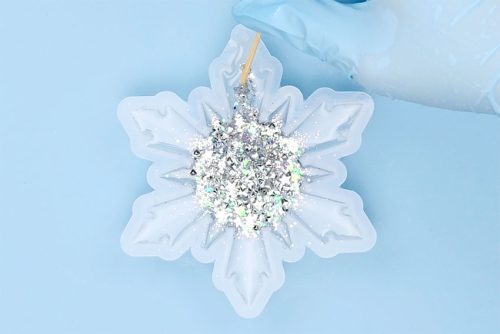
Use a toothpick to spread the glitter down towards each point of the snowflake.

-
Let the snowflake ornament sit, untouched, for the recommended dry (or demold) time.Our resin’s dry time is 18 hours, but we recommend waiting 24 hours so that the snowflake is definitely hard enough to handle without warping.


Step 5: Demold and add an ornament hanger
-
Once the resin snowflake is completely dry you can demold it.Grab the side of the mold and stretch it a bit as you pull it back. Be careful removing the snowflake as the corners will be sharp.(You can sand the sharp edges off with a nail file or sandpaper. We recommend wearing a respirator or dust mask for this.)


-
Cut a 6 to 8 inch piece of ribbon. Thread the ribbon through the hole at the top of the snowflake and tie it in a knot, creating an ornament hanger.(Our molds have a hole built into them, but you can also drill a hole if yours doesn’t.)


-
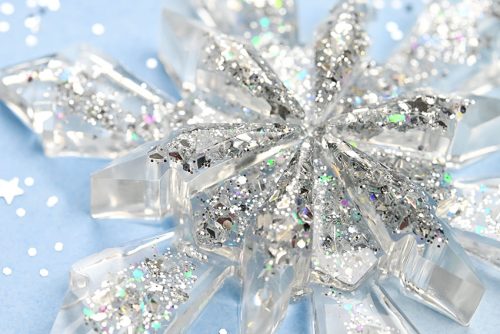
We love how easy it is to make these resin ornaments — the glitter looks so beautiful!

-
Now hang your snowflake ornament on the Christmas tree or display it somewhere else where you’ll enjoy it.Your resin snowflake is complete!


Helpful Tips:
- Pour resin only in a well ventilated area and be sure to protect your working surface. Wear basic PPE: nitrile gloves, eye protection, and long sleeves. Some resin also requires wearing a respirator.
- Add red and green glitter to make these ornaments extra Christmassy, or stick to icy snowflake colours like silver, blue, and purple.
- You can also use alcohol ink or mica powder to add colour to your snowflake ornaments.
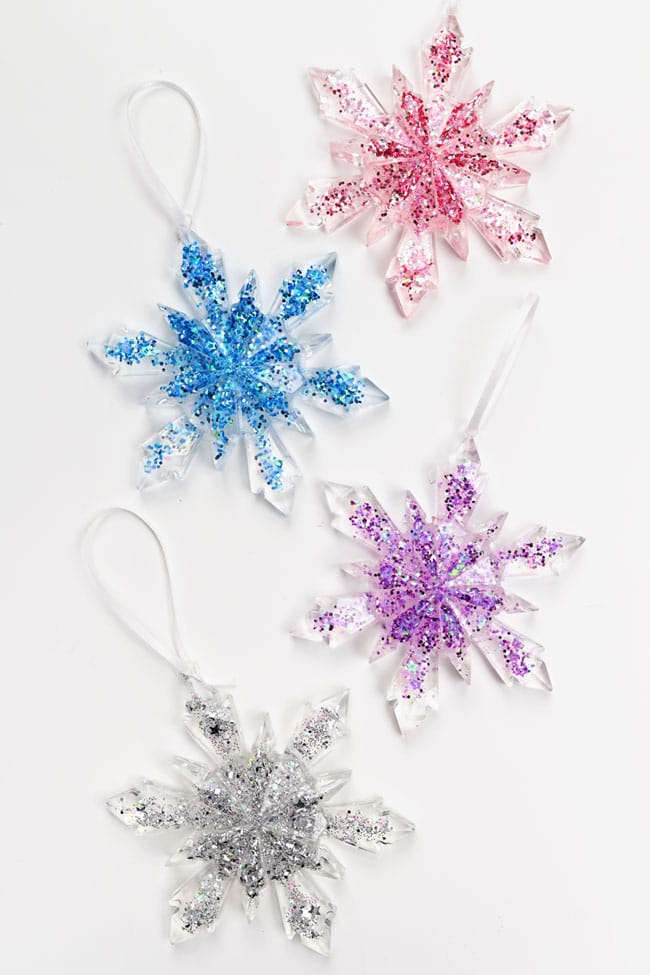

What type of glitter is used to make resin snowflakes?
We always recommend using several different types of glitter to make resin crafts. You can use different shades of the same colour to add dimension to your ornament (eg. light blue and dark blue).
Holographic glitter looks great in these resin snowflake ornaments, helping them catch the light. It’s also recommended to use different sizes and shapes of glitter (both fine and chunky glitter).
You can even use glitter flakes, shaped glitter, or silver flakes in your ornament.
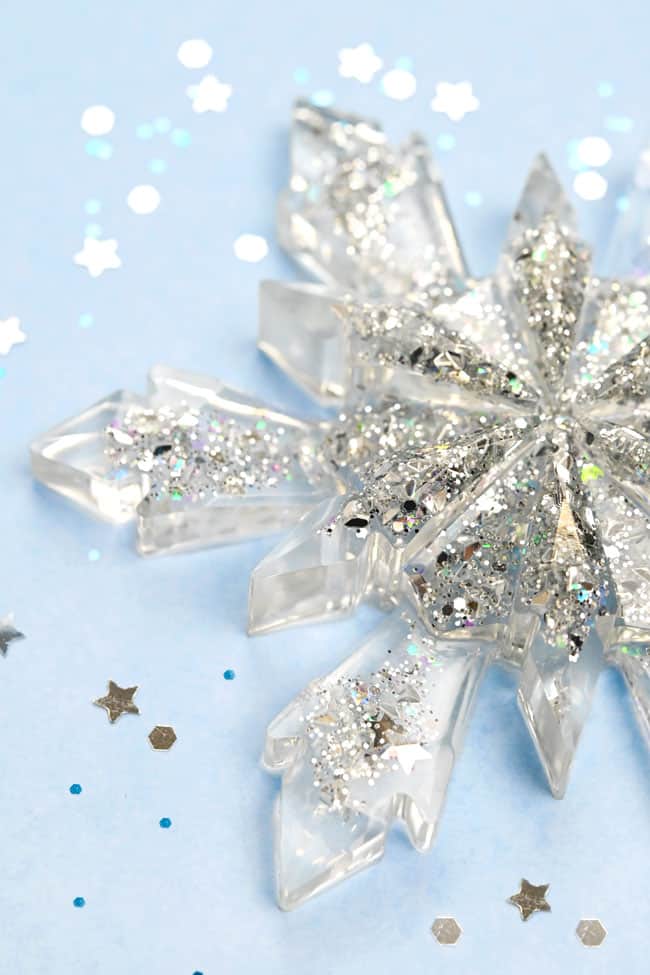

Why is the glitter added separately to these resin snowflakes?
We added the glitter separately to our snowflakes so that the corners would be clear, with the glitter acting as an accent colour.
You can also mix the glitter into the resin, creating a fully coloured snowflake, just like we did for our resin Christmas ornaments.
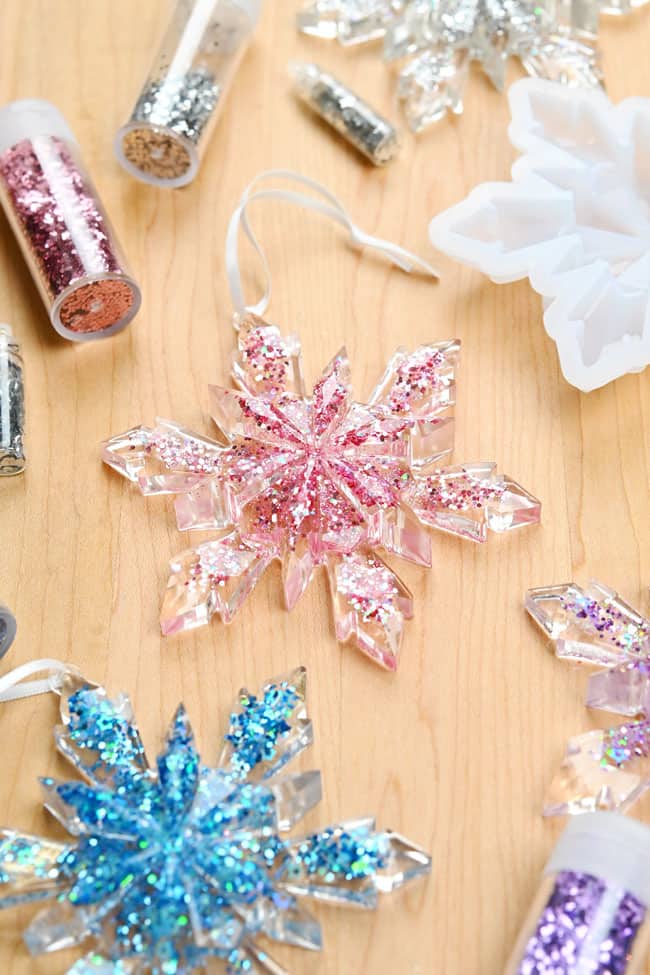

What resin is best for making resin snowflakes?
We used epoxy casting resin to make our snowflakes. Deep pour resin is recommended for any objects thicker than 1/2 inch, so if you’re going to buy one type of resin, casting resin is the one to choose.
How much resin do you need to make a resin snowflake?
We mixed 100 ml of resin to make 3 snowflakes. Each snowflake takes about 30 ml of resin, but it’s always best to make a bit extra so you don’t run out. Use the leftover resin to make resin gummy bears or beads.
The exact amount of resin needed will, of course, depend on the size of the mold you use. Our star ornaments are about 4 inches across and 1/2 inch thick.
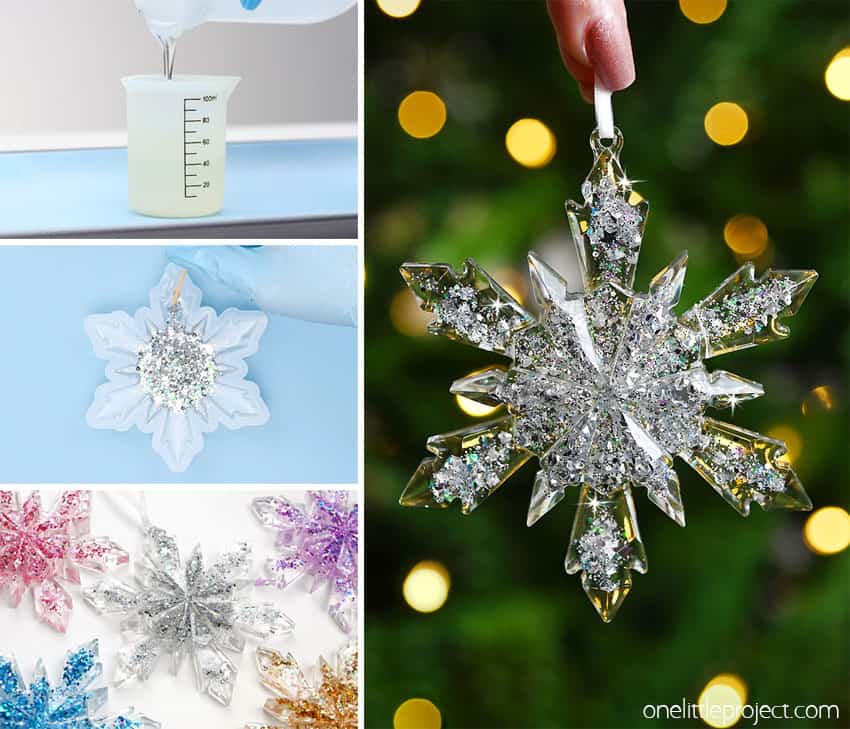

Add some sparkle to your holiday season with these resin snowflakes! These crystal-like stars will definitely be the highlight of your Christmas tree this year.
Choose your favourite colours of glitter, or feel free to personalize the ornament with other types of add-ins, like beads or rhinestones!


Here’s even more DIY ornament ideas:
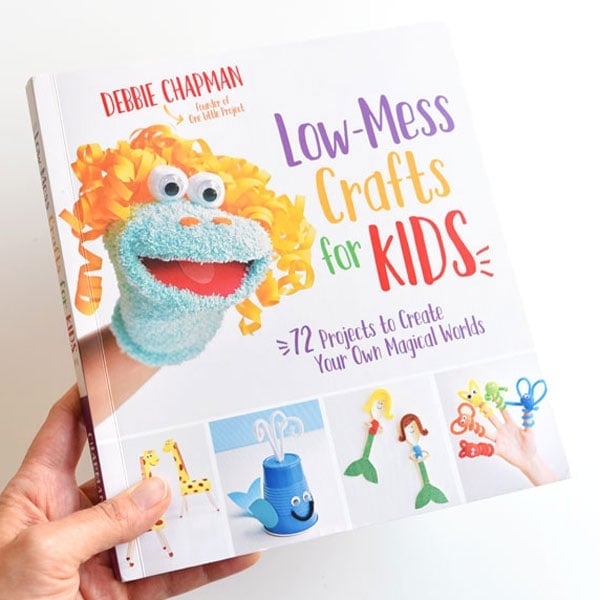
Our book Low-Mess Crafts for Kids is loaded with 72 fun and simple craft ideas for kids! The projects are fun, easy and most importantly low-mess, so the clean up is simple!
Where to buy:
You can purchase Low-Mess Crafts for Kids from Amazon, or wherever books are sold:
Amazon | Barnes and Noble | Books-A-Million | Indiebound | Amazon Canada


