Pipe Cleaner Christmas Tree
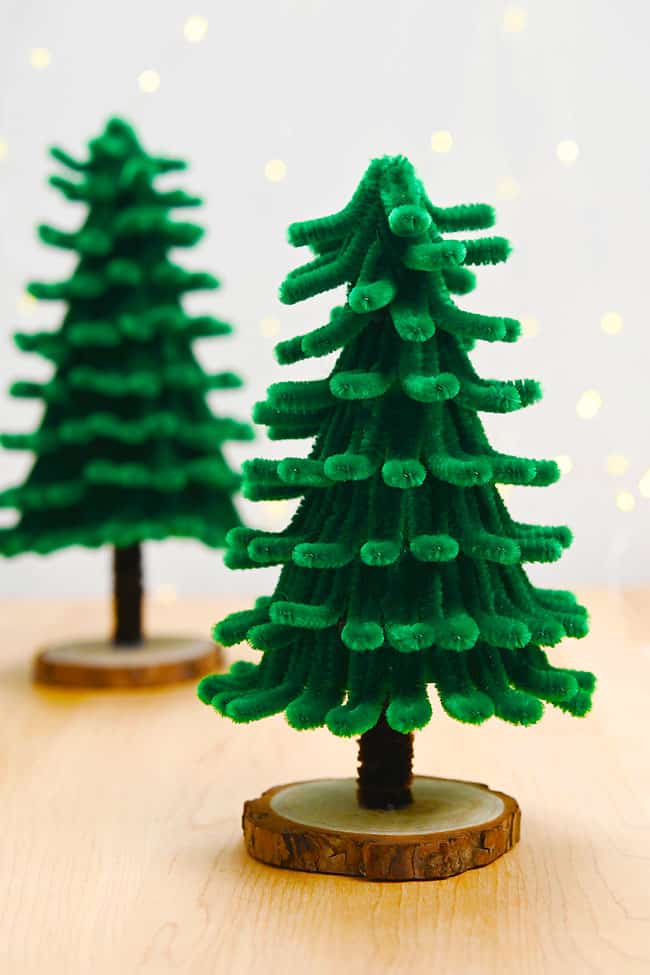
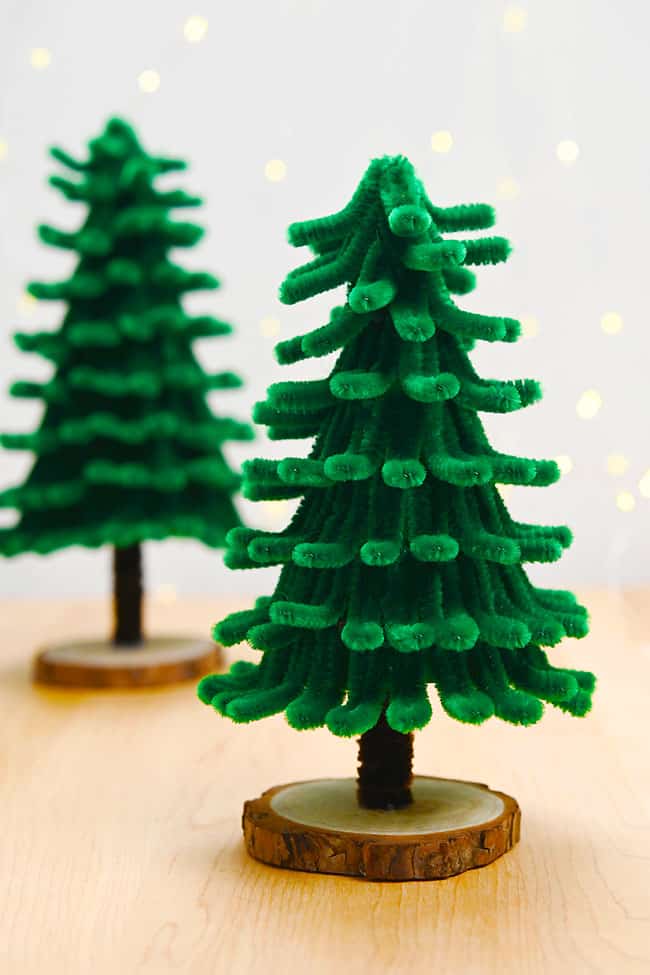
Spruce up your holiday crafting with a pipe cleaner Christmas tree! These pipe cleaner trees are SO CUTE and they’re such an easy Christmas craft — fun for adults, but simple enough for kids to make themselves.
Use dollar store supplies and our free, printable template to make this adorable piece of homemade holiday decor. These pipe cleaner Christmas trees look elegant on their own, but you can also decorate them for a merry and festive look. So let’s craft up some holiday cheer and watch your DIY tree come to life!
This post contains affiliate links. If you use these links to buy something we may earn a small commission which helps us run this website.
How to Make a Pipe Cleaner Christmas Tree
Materials:
- Free Printable Pipe Cleaner Christmas Tree Template
- 20+Green pipe cleaners
- Green cardstock
- Tape
- Bamboo straw(cut to size; or wooden dowel)
- Pipe cleaners(2 brown, 1 white, 1 red)
- Wood slice
- Mini pom poms
- Foam star sticker(s)
Instructions:
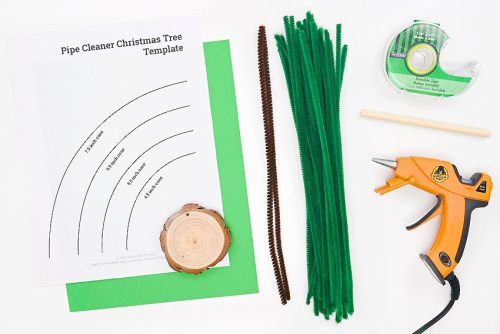
Step 1: Find what you need
-
Gather your supplies and materials.

Step 2: Cut and fold the pipe cleaners
-
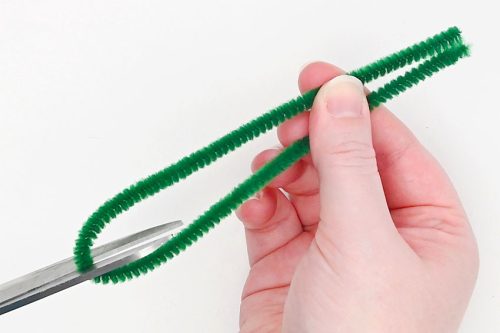
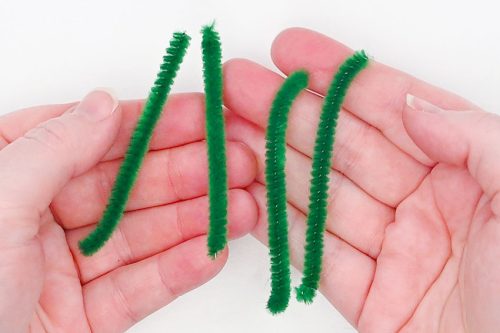
Fold a 12 inch green pipe cleaner and cut it in half.

-
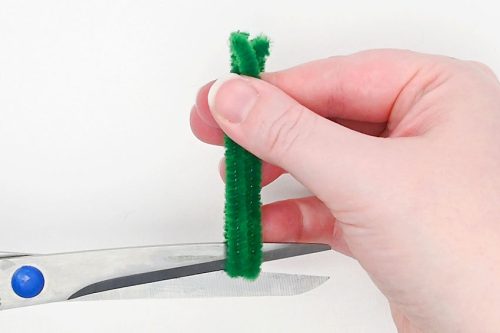
Fold those halves and cut both pieces in half again.

-
You should now have four equal parts of pipe cleaner, each 3 inches long.

-
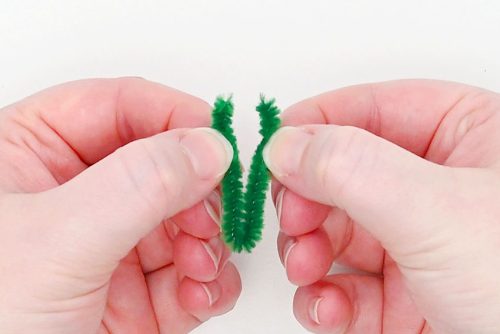
Fold the 3 inch piece in half.

-
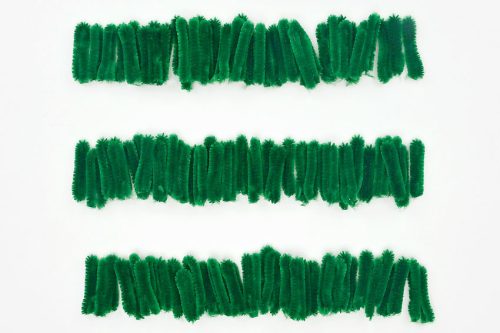
Repeat, cutting and folding at least 20 pipe cleaners (80 pieces).See below the tutorial for more details about how many pipe cleaners are needed for different tree sizes.

Step 3: Make the cone base
-
Print our free pipe cleaner Christmas tree template. The link is in the materials list above.Cut out the cone size of your choosing.


-
Trace the template onto green cardstock and cut it out.(You can also print the template onto the coloured cardstock.)


-
Roll the cardstock into a cone shape and secure it with a couple pieces of tape.


Step 4: Glue pipe cleaners to the cone
-
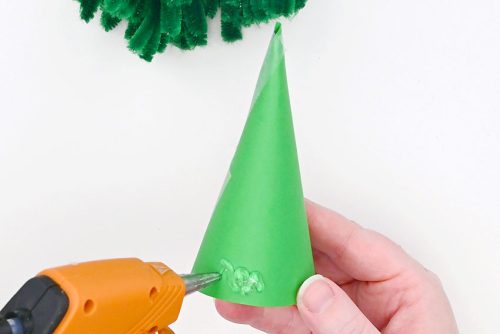
Add a generous amount of hot glue to the bottom of the paper cone, enough to fit 2 to 3 folded pipe cleaners.

-
Place one of the folded pipe cleaner pieces into the glue. The rounded side should point down and stick out from the bottom of the tree about half way.


-
Repeat around, adding more pipe cleaners into the glue with the folded edge down. Place them snugly together.Work small sections at a time so the glue doesn’t dry before you add the pipe cleaner into it.


-
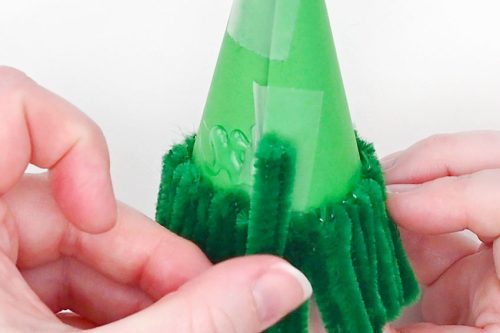
Begin the second row by adding more glue directly above the bottom row of pipe cleaners.Place a folded pipe cleaner piece into the glue, overlapping half of it with the previous row.

-
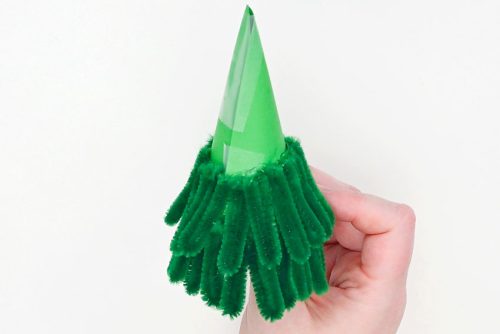
Again, repeat all the way around.

-
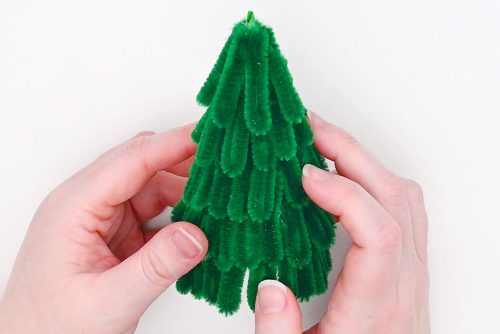
Continue these steps, adding more rows to the tree, until you’re about 1/4 to 1/2 inch away from the top of the tree.We added 5 rows to our 4-1/2 inch cone, but taller trees will need more.

-
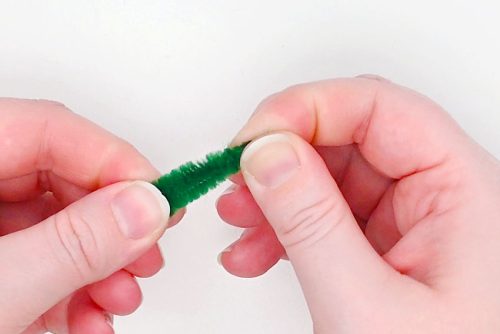
Twist the ends of a folded pipe cleaner together, forming a point.Repeat with another 4 to 5 pieces.

-
Add hot glue to the tip of the tree.
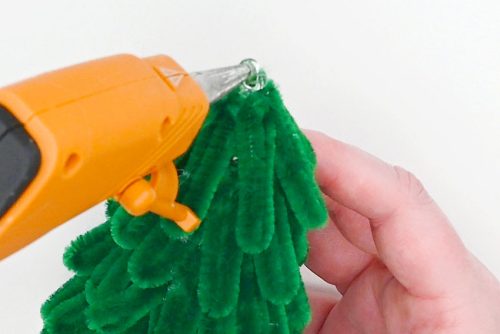

-
Place one of the twisted pipe cleaners into the glue, lining up the point with the tip of the tree.
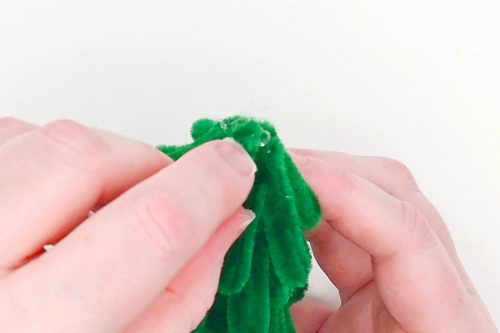

-
Repeat, adding twisted pipe cleaners to the top of the tree until it’s covered. Adjust them, if needed, so they form a nice point.
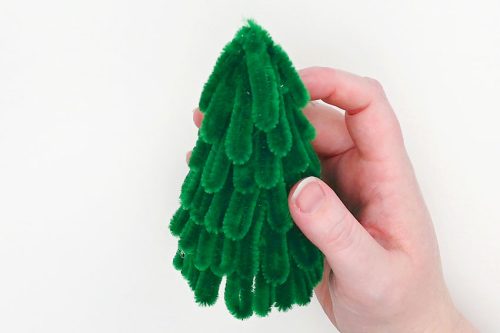

Step 5: Make the Christmas tree trunk
-
Add glue to bottom inch or so of a bamboo straw or wooden dowel.


-
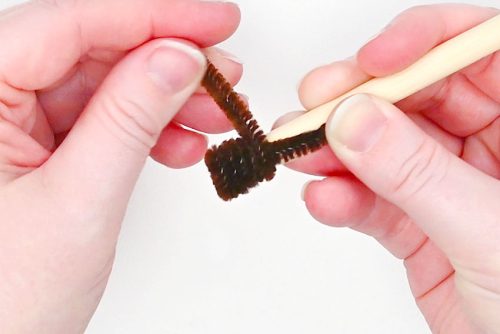
Press the end of a brown pipe cleaner into the glue, holding it until it’s dry.
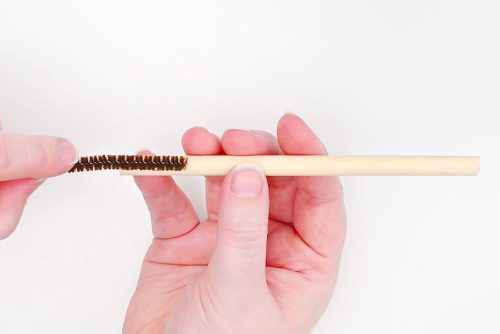

-
Fold the pipe cleaner up and begin wrapping it snugly around the dowel.

-
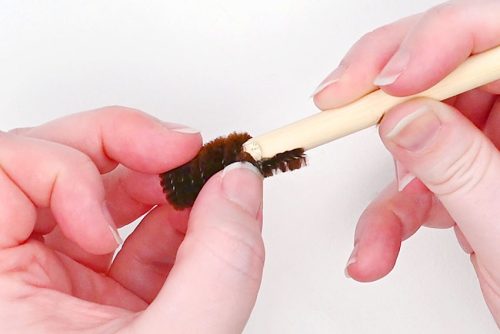
Glue the end of the pipe cleaner down and hold it until it stays in place on its own.

-
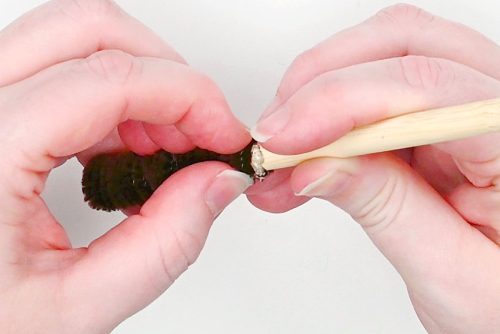
Add more hot glue where the first pipe cleaner ends. Attach a second pipe cleaner, wrapping it around and securing it in place with more glue.

Step 6: Put the tree together
-
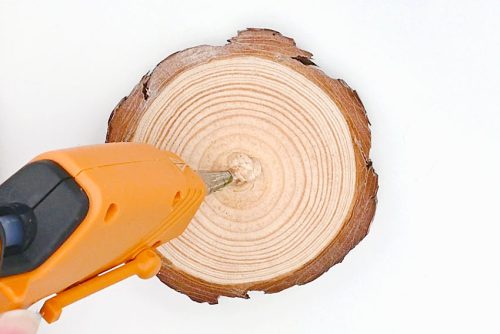
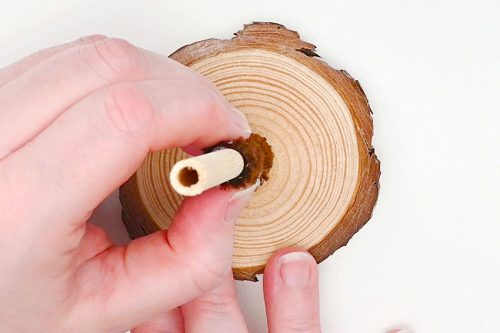
Add hot glue to the center of a wood slice.

-
Place the pipe cleaner wrapped side of the straw into the glue, holding it nice and straight until the glue is dry.

-
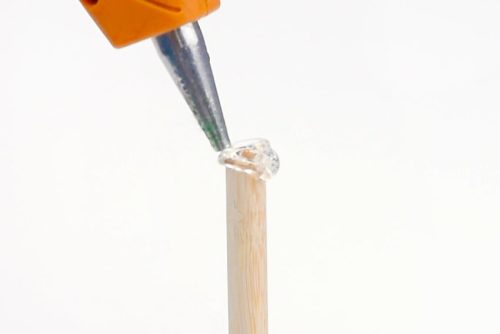
Add a generous amount of hot glue to the top of the bamboo straw.

-
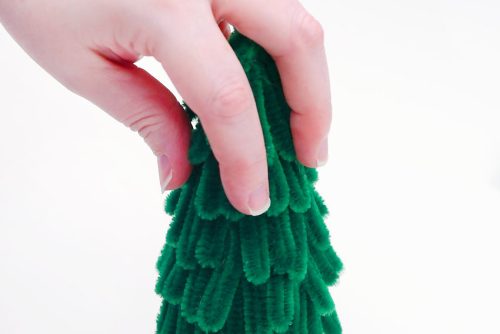
Place the pipe cleaner tree over top of the straw, connecting the glue covered top with the inside top of the tree.Again, let the glue dry for a minute.

-
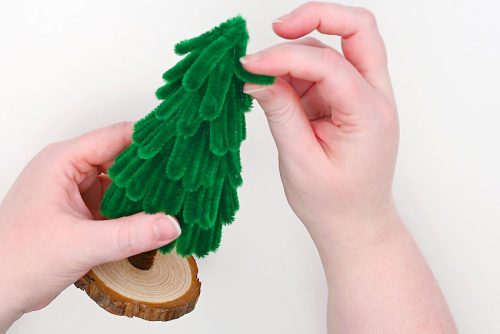
Begin folding the pipe cleaner branches up so they stick out from the tree.

-
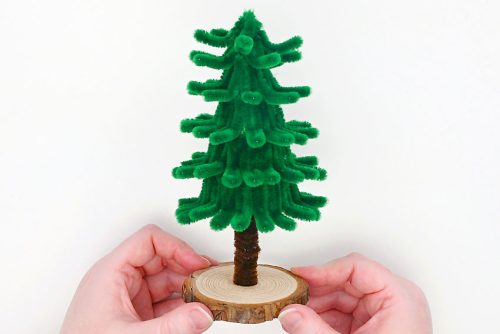
Repeat all the way around, for all layers of the tree.

Step 7: Decorate the Christmas tree (optional)
-
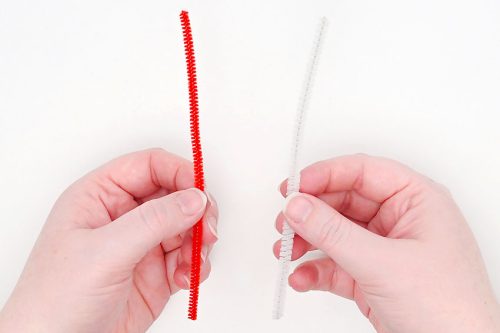
To make a candy cane ornament for the tree, begin with red and white pipe cleaners.(We used 6 inch pipe cleaners here, but you can also use full length ones.)

-
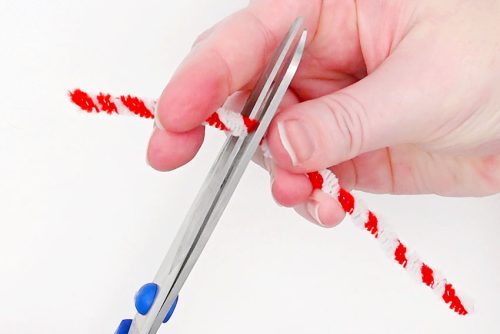
Twist the two colours together and cut them into 3 equal pieces (6 pieces if you’re using 12 inch pipe cleaners).

-
Bend one end down on a curve, creating a candy cane shape!Repeat with the other pieces.


-
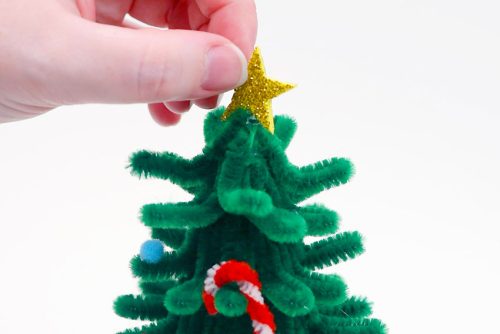
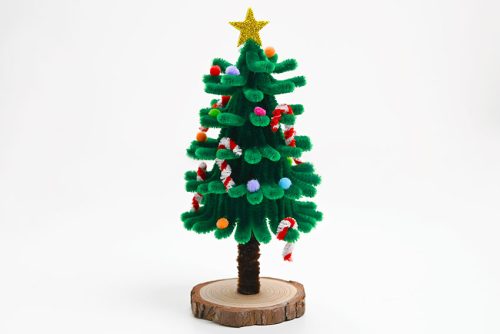
Now decorate your tree: glue on pom pom ornaments, place the candy canes on branches, and glue on a foam star for the tree topper.

-
Your pipe cleaner Christmas tree is complete!

Helpful Tips:
- Use inexpensive dollar store scissors or wire cutters to cut the pipe cleaners. You don’t want to wear down your good scissors!
- Try to keep your folded pipe cleaners arranged in the same direction. It’s hard to tell where the folded edge is, so if they’re all facing the same way you can attach them to the tree without checking each one.
- We highly recommend using a low temp glue gun for this craft since you can feel the heat through the paper cone.

Get our free printable pipe cleaner Christmas tree template:
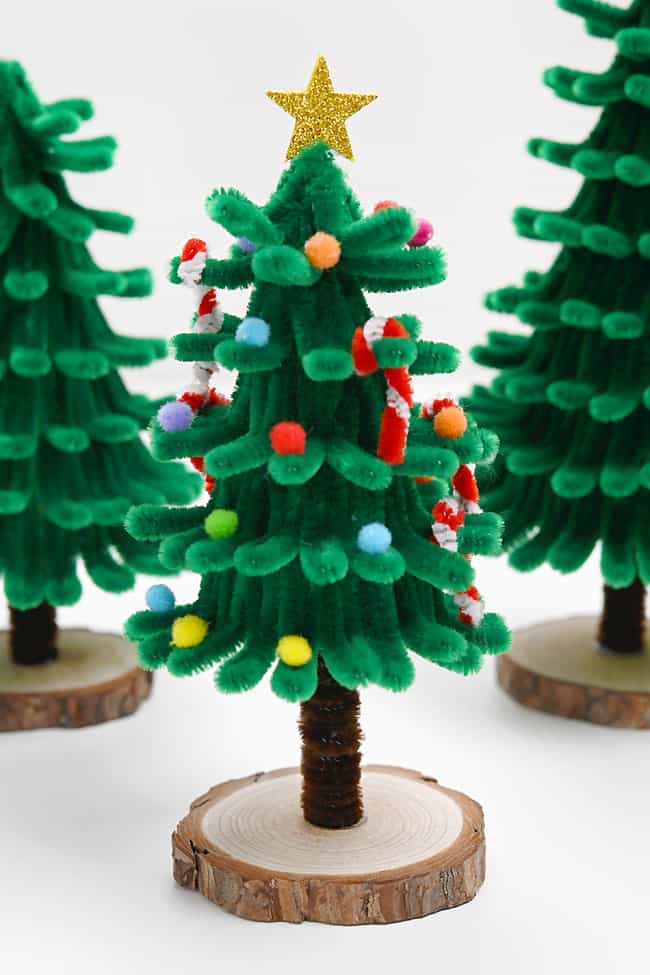
The link below will take you to our free, printable pipe cleaner Christmas tree template! The PDF file will open in a new window. Then simply print the template on 8.5 x 11 (letter size) printer paper or cardstock.
>>> Pipe Cleaner Christmas Tree <<<
How many pipe cleaners do I need to make a pipe cleaner Christmas tree?
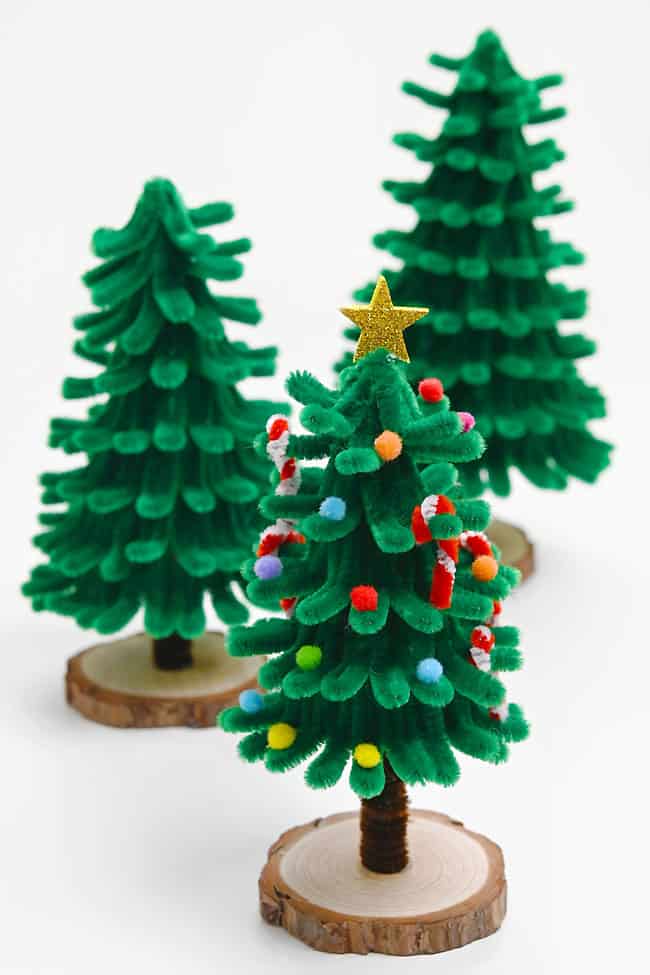
The amount of pipe cleaners you’ll need depends on the size of your tree. Using our template the 4-1/2 inch cone takes about 20 pipe cleaners, the 5-1/2 inch cone takes 30 pipe cleaners, and the 6-1/2 inch cone takes 40 pipe cleaners.
It’s safe to assume that each larger size will take 10 more pipe cleaners than the previous.

What can I use as the trunk of my pipe cleaner Christmas tree?
We used reusable bamboo straws from the dollar store as our tree’s trunks. They’re inexpensive, but they’re really sturdy and stay in place nicely.
We did have to saw part of the straws off for the two shorter trees, so keep this in mind if you don’t have a hand saw available. A wooden dowel would also work well.
If you have a paper straw that’s good quality and doesn’t bend easily, it would also make a good tree trunk.
We tried a wooden skewer and it did work, but it was harder to keep it straight and in place. It felt a lot flimsier than the bamboo straws. If you tie or glue a few skewers together it might work better.

How can I decorate my pipe cleaner tree?
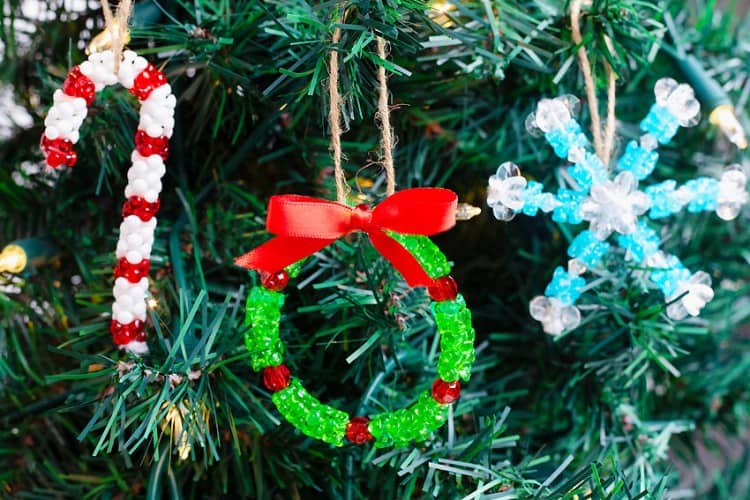
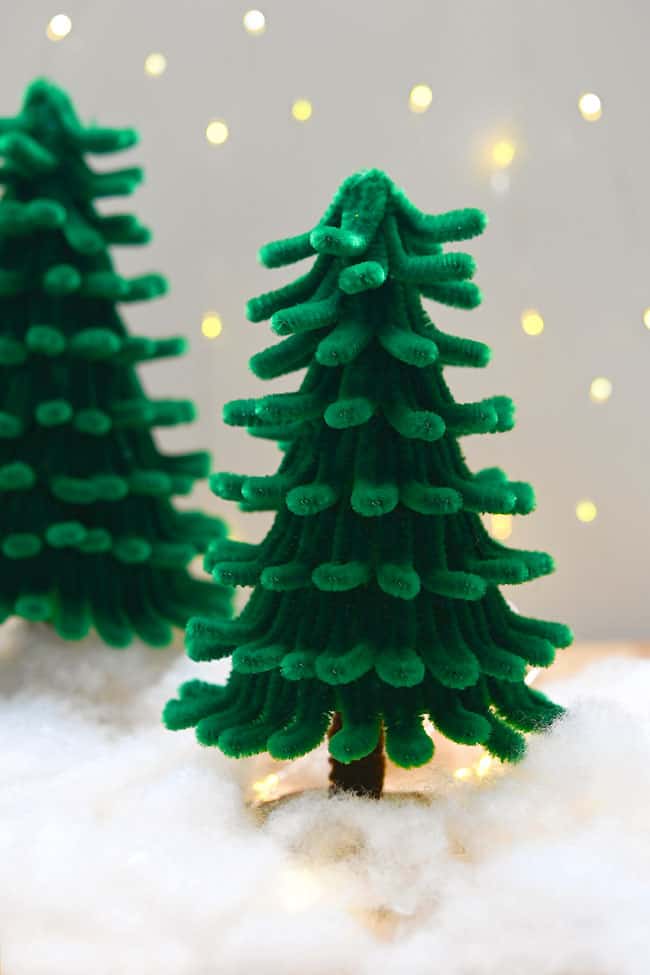
We used mini pom poms and pipe cleaner candy canes to decorate one of our trees. You can also make other pipe cleaner ornaments, like a tiny wreath or mini snowflake.
Beads, pearls, or rhinestone stickers also make nice ornaments for the tree. You can even add a bead strand garland, or create your own garland from metallic pipe cleaners.
We glued foam star stickers to the top of our small tree for a topper, but you can also make a star out of pipe cleaners.
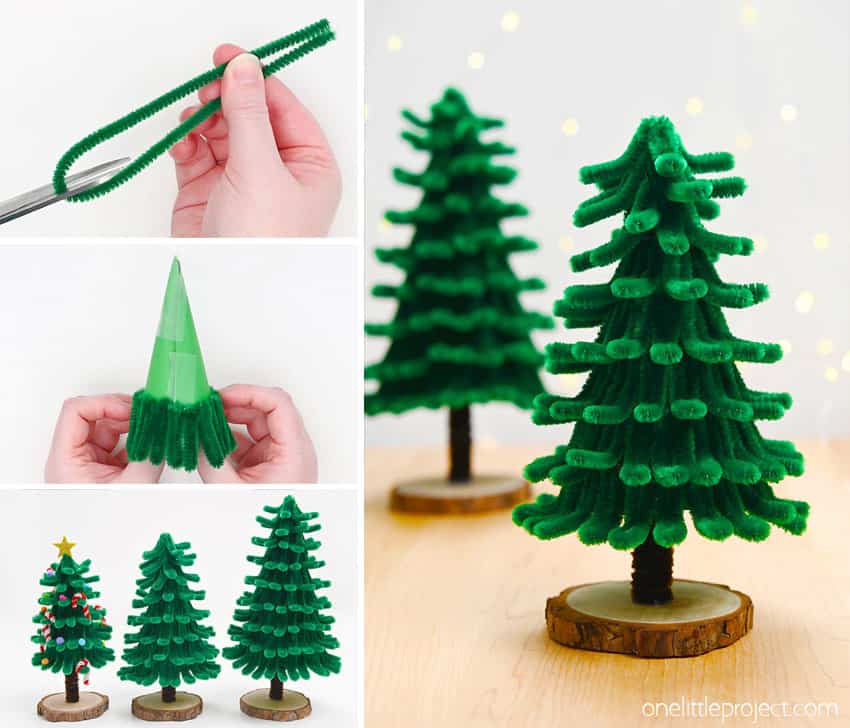

Showcase your creativity with a pipe cleaner Christmas tree! These pipe cleaner trees are definitely time consuming to make, but we think the effort is well worth it! Plus it’s a really soothing and almost mindless craft, perfect for making while watching TV or for a “crafter-noon” with your friends.
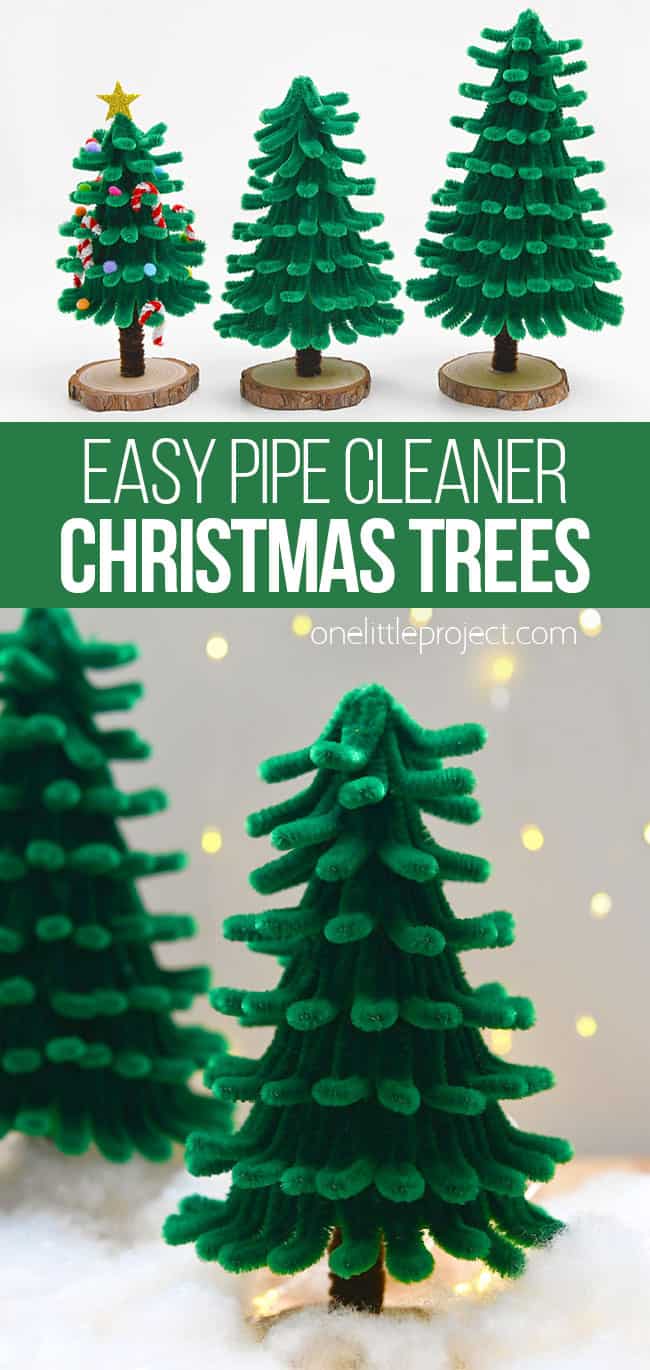

Here’s even more pipe cleaner craft ideas:
Our book Low-Mess Crafts for Kids is loaded with 72 fun and simple craft ideas for kids! The projects are fun, easy and most importantly low-mess, so the clean up is simple!
Where to buy:
You can purchase Low-Mess Crafts for Kids from Amazon, or wherever books are sold:
Amazon | Barnes and Noble | Books-A-Million | Indiebound | Amazon Canada


